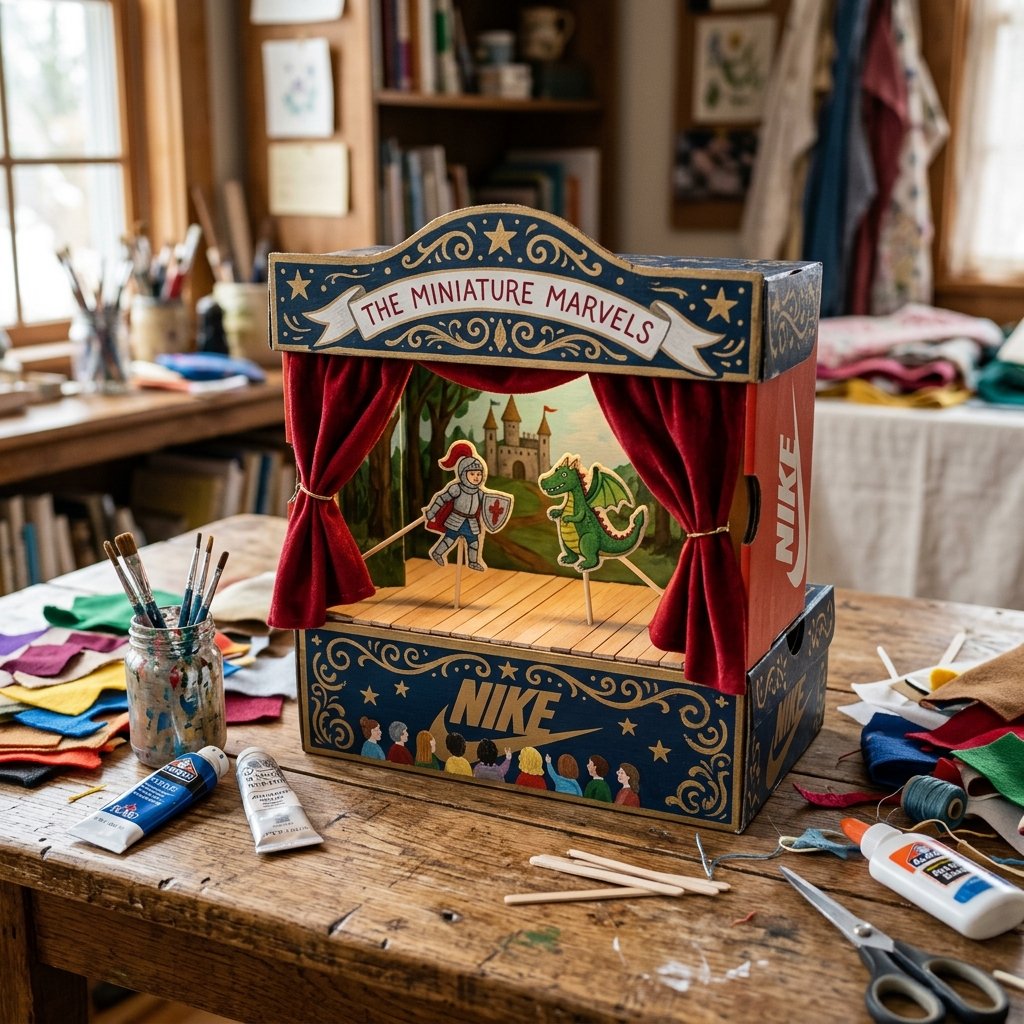

In a world where plastic toys with blinking lights and high price tags dominate the aisles, there is something profoundly satisfying about the zero-budget magic of cardboard. As a resourceful parent or crafty gift-giver, you know that the best toys aren’t bought; they are engineered from the remnants of everyday life. Today, we are taking that sturdy shoebox sitting in the back of your closet and upcycling it into a high-end, durable DIY Puppet Theater. This isn’t just a craft; it is an architectural feat of frugal genius designed to withstand the high-energy play of a toddler while sparking a lifetime of storytelling.
Why spend $40 or $50 on a store-bought plastic stage when you can architect a custom masterpiece for essentially $0? By following this guide, you will learn how to reinforce cardboard for longevity, create functional curtains from fabric scraps, and even integrate ‘lighting’ features that make the performances feel like a Broadway opening. Let’s roll up our sleeves and turn trash into a treasure that will keep your little one occupied for hours on end.
The Architect’s Toolkit: Materials and Budget Breakdown
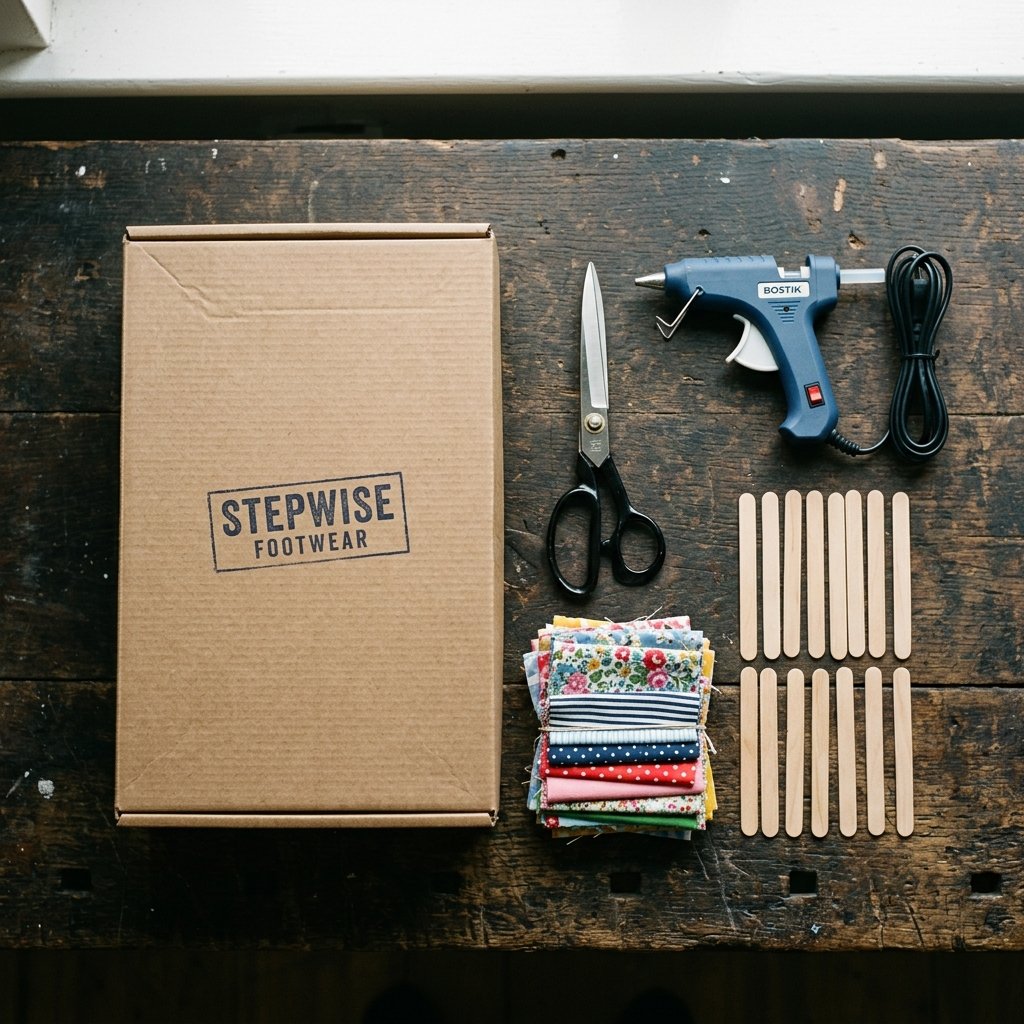
Before we make the first cut, we need to gather our supplies. The beauty of this project lies in its resourcefulness. We are looking for items already occupying your junk drawer or recycling bin. A standard adult-sized shoebox is the ideal foundation—it provides the depth needed for ‘backstage’ maneuvers while remaining portable enough for a toddler to carry from room to room.
| Material | Source | Estimated Cost |
|---|---|---|
| Large Shoebox | Closet/Recycling | $0.00 |
| Utility Knife/Box Cutter | Toolbox | $0.00 |
| Fabric Scraps (for curtains) | Old T-shirt or Pillowcase | $0.00 |
| Hot Glue Gun & Sticks | Craft Kit | $0.50 |
| Popsicle Sticks or Twigs | Kitchen/Backyard | $0.00 |
| Acrylic Paint or Markers | Existing Supplies | $0.00 |
| Total Investment | Resourceful DIY | $0.50 |
Budget Mantra: The most expensive toy in the room is the one they grow bored of in ten minutes. The most valuable toy is the one you built together with grit and imagination.
Selecting the Right Box
Not all cardboard is created equal. For a theater that survives a toddler’s ‘enthusiastic’ acting, look for a corrugated shoebox with a detachable lid. If the lid is attached, don’t worry; we will use that as a structural reinforcement or a built-in marquee. Ensure the box is clean and free of any oily residues that might prevent glue or paint from adhering.
Structural Engineering: Cutting the Stage Opening
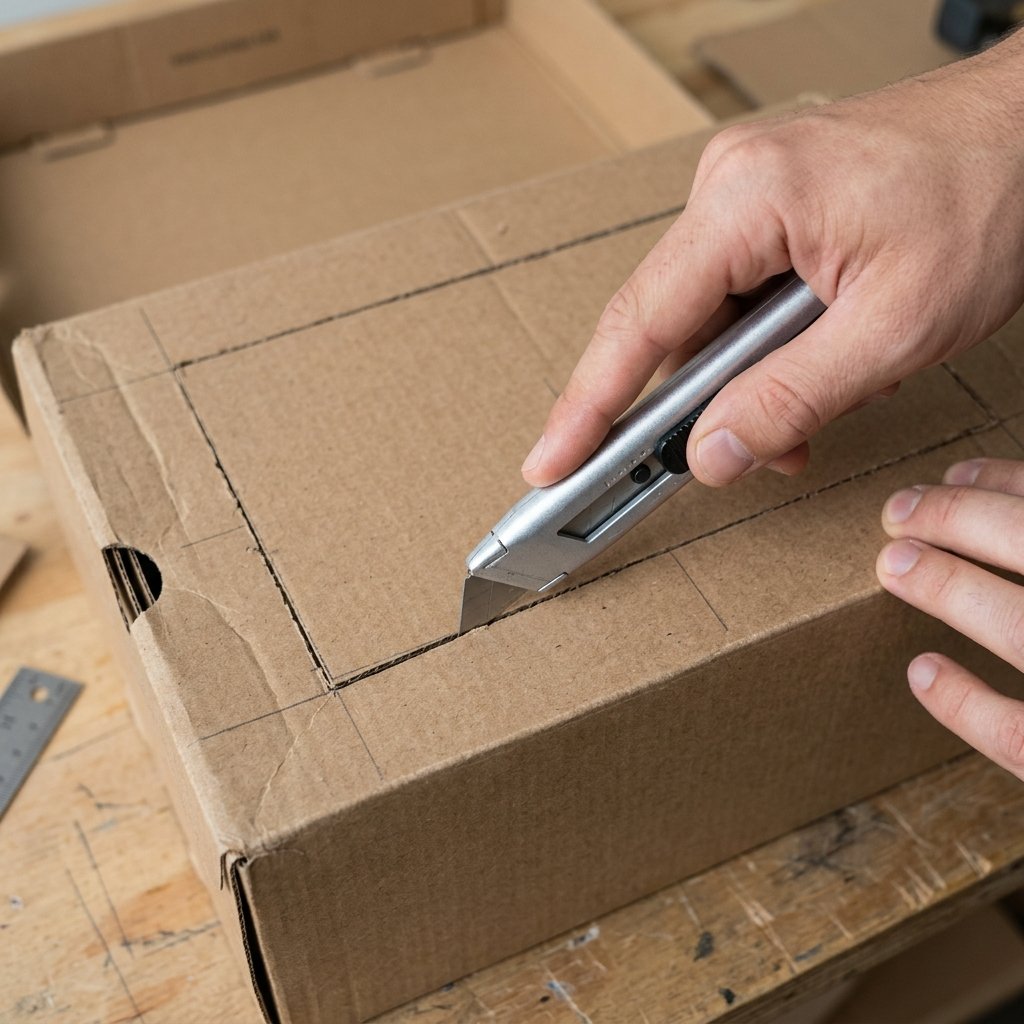
This is where the transformation begins. We aren’t just cutting a hole; we are framing a proscenium. To ensure the theater doesn’t collapse under the weight of toddler play, we need to maintain structural integrity at the corners. Measuring twice and cutting once is the rule of the day.
- Mark the Proscenium: On the bottom of the shoebox (which will now be the front of your theater), measure 1.5 inches in from every edge. This creates a sturdy frame.
- The Precision Cut: Using a utility knife, carefully cut out the rectangle. Safety Note: Always cut away from your body and keep your fingers clear of the blade’s path.
- The Backstage Entrance: On the ‘top’ of the box (the side facing the ceiling when the theater is standing), cut a long, narrow slot about 1 inch wide. This is where the puppets will enter the stage from above.
- Reinforce the Base: Take the lid of the shoebox and glue it inside the bottom of the theater. This double-layering ensures the ‘floor’ of your stage doesn’t sag during heavy-duty puppet action.
Comparison: DIY vs. Store-Bought Durability
| Feature | DIY Shoebox Theater | Store-Bought Plastic Stage |
|---|---|---|
| Customization | Unlimited | Fixed Colors |
| Repairability | Easy (Tape/Glue) | Difficult (Brittle Plastic) |
| Portability | Lightweight/Compact | Bulky/Heavy |
| Cost | <$1.00 | $25 – $60 |
Aesthetic Mastery: Decorating for High-End Visuals
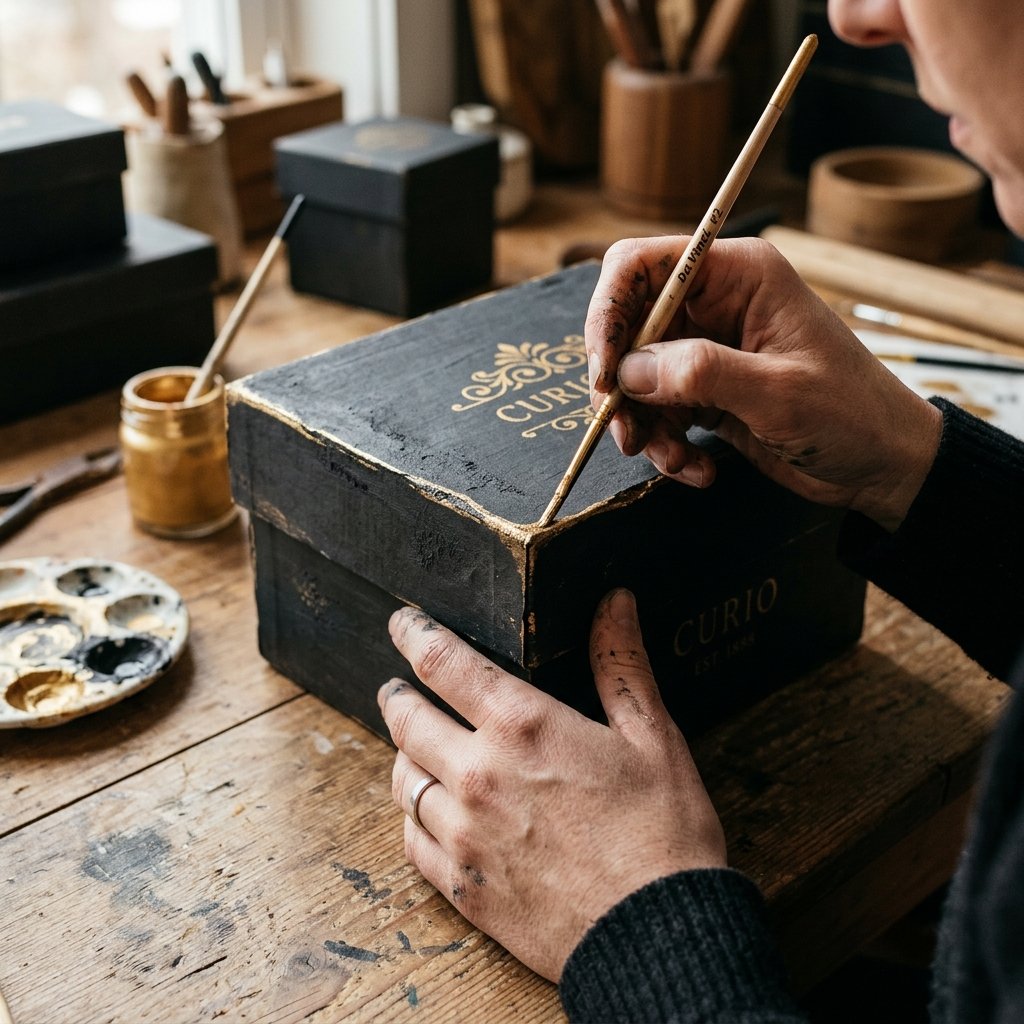
Just because it started as a shoebox doesn’t mean it has to look like one. We want to achieve a masculine-elegant or whimsical aesthetic that looks great on a playroom shelf. This is where we apply the ‘Dollar Tree Interior Designer’ mindset—using simple finishes to create a high-end look.
- The Base Coat: Use a matte black or deep navy acrylic paint for the exterior. This makes the stage opening ‘pop’ and hides any branding on the original box.
- The Interior Backdrop: Glue a piece of light blue felt or decorative scrapbooking paper to the back interior wall. This creates an instant ‘sky’ or ‘wallpaper’ for the puppets.
- The Marquee: Use the cardboard scraps you cut out earlier to create a curved sign for the top. Write ‘The [Your Child’s Name] Playhouse’ in bold, classic lettering.
The ‘Distressed’ Look
If you want a more rugged, vintage theater vibe, use a dry-brush technique. Dip your brush in a bit of gold or silver paint, wipe most of it off on a paper towel, and lightly graze the edges of the box. This creates a metallic patina that looks like aged brass or wood, giving the theater an heirloom quality.
The Grand Reveal: Curtains and Lighting Effects

What is a theater without the drama of the rising curtain? This is the most interactive part of the build for a toddler. We will use a simple tension-based system that requires no sewing and zero specialized hardware.
Step-by-Step Curtain Installation
- The Rod: Find a sturdy twig from the yard or use two extra-long popsicle sticks glued together.
- The Fabric: Cut two rectangles of fabric (velvet or felt works best as they don’t fray). Each should be 1.5 times the width of half the stage opening to allow for ‘gathering.’
- The Loop: Fold the top 1 inch of the fabric over the rod and secure it with a line of hot glue. Ensure the fabric can still slide along the rod.
- Mounting: Glue the ends of the rod to the inside top of the theater frame. For extra security, wrap a small strip of cardboard over the ends of the rod and glue it down like a bracket.
Pro-Tip: To give your toddler the ‘theatrical’ experience, add ‘footlights.’ Take a cheap string of battery-operated LED fairy lights and poke small holes along the bottom of the stage frame. Push the bulbs through for a glowing, professional effect.
The Cast of Characters: 5-Minute Puppets
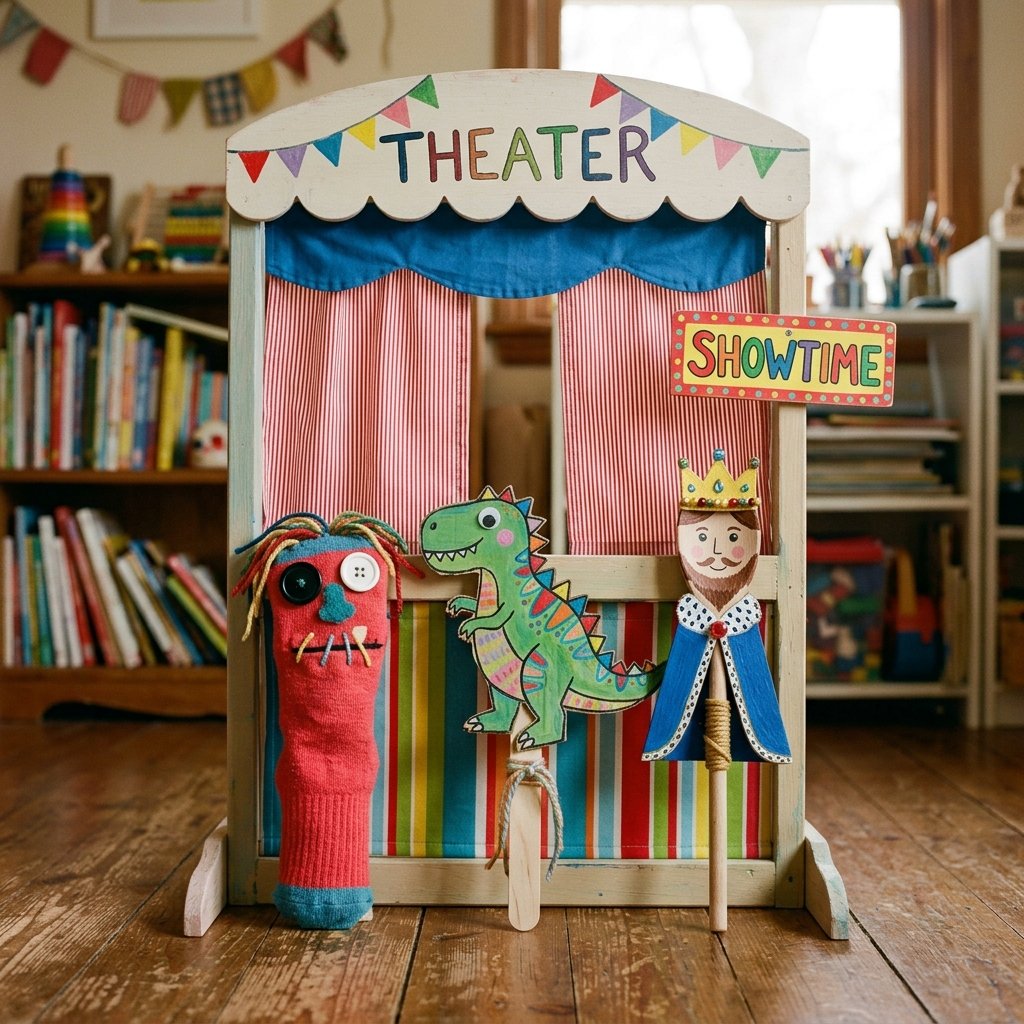
Now that the stage is set, you need performers. You don’t need to be a master tailor to create engaging characters. We are going for rugged and practical designs that can survive being grabbed, dropped, and ‘chewed’ by a curious toddler.
- The Classic Shadow Puppet: Cut silhouettes out of the remaining shoebox scraps. Tape them to popsicle sticks. These are perfect for use with the LED ‘footlights.’
- The Sock Star: We all have a ‘lonely sock’ drawer. Add two button eyes and a felt tongue. Instant personality.
- The Wooden Spoon Troupe: Draw faces on old wooden kitchen spoons with permanent markers. Tie a scrap of ribbon around the ‘neck’ for a bowtie or scarf.
| Puppet Type | Best For… | Durability Level |
|---|---|---|
| Cardboard Cutouts | Quick Variety | Medium |
| Sock Puppets | Tactile Play | High |
| Spoon Puppets | Structural Play | Extreme |
| Felt Finger Puppets | Fine Motor Skills | High |
Conclusion
Building a DIY Puppet Theater from an old shoebox is more than just a rainy-day activity; it is an exercise in intentional, frugal parenting. You have taken an item destined for the bin and, with a bit of grit and creativity, turned it into a portal for your toddler’s imagination. This theater provides a screen-free sanctuary where stories are told, voices are practiced, and confidence is built. Remember, the goal isn’t perfection—it’s the process of creation and the hours of play that follow. So, dim the lights, pull back those velvet curtains, and let the show begin. You’ve just saved $50 and gained a lifetime of memories.

Makenzie is the founder and lead writer at MoneyHackTips.com — a personal finance blog dedicated to delivering street-smart financial wisdom for real people on real budgets. With 300+ published articles covering everything from debt management to investing fundamentals, Makenzie’s mission is to make every dollar work harder. When not writing about money hacks, Makenzie is testing frugal living strategies, optimizing side hustles, and helping readers build financial freedom from scratch.