
The Art of the Bespoke Blade on a Budget
Finding a groomsmen gift that balances rugged masculinity with elegant sentimentality often leads to a common roadblock: the price tag. A high-quality, custom-engraved pocket knife from a boutique shop can easily run you $75 to $150 per person. For a wedding party of six, you are looking at nearly $1,000 just for the knives. But what if you could achieve that same ‘heirloom’ quality for under $15 per gift? By sourcing high-quality ‘blank’ knives and mastering the art of home engraving, you can create a gift that feels personal, practical, and incredibly high-end. This guide will walk you through the resourceful techniques used by professional crafters to etch steel, personalize handles, and present these tools in a way that commands respect without emptying your wallet.
Sourcing the Steel: Choosing the Right Blade for Engraving
Selecting Your Canvas
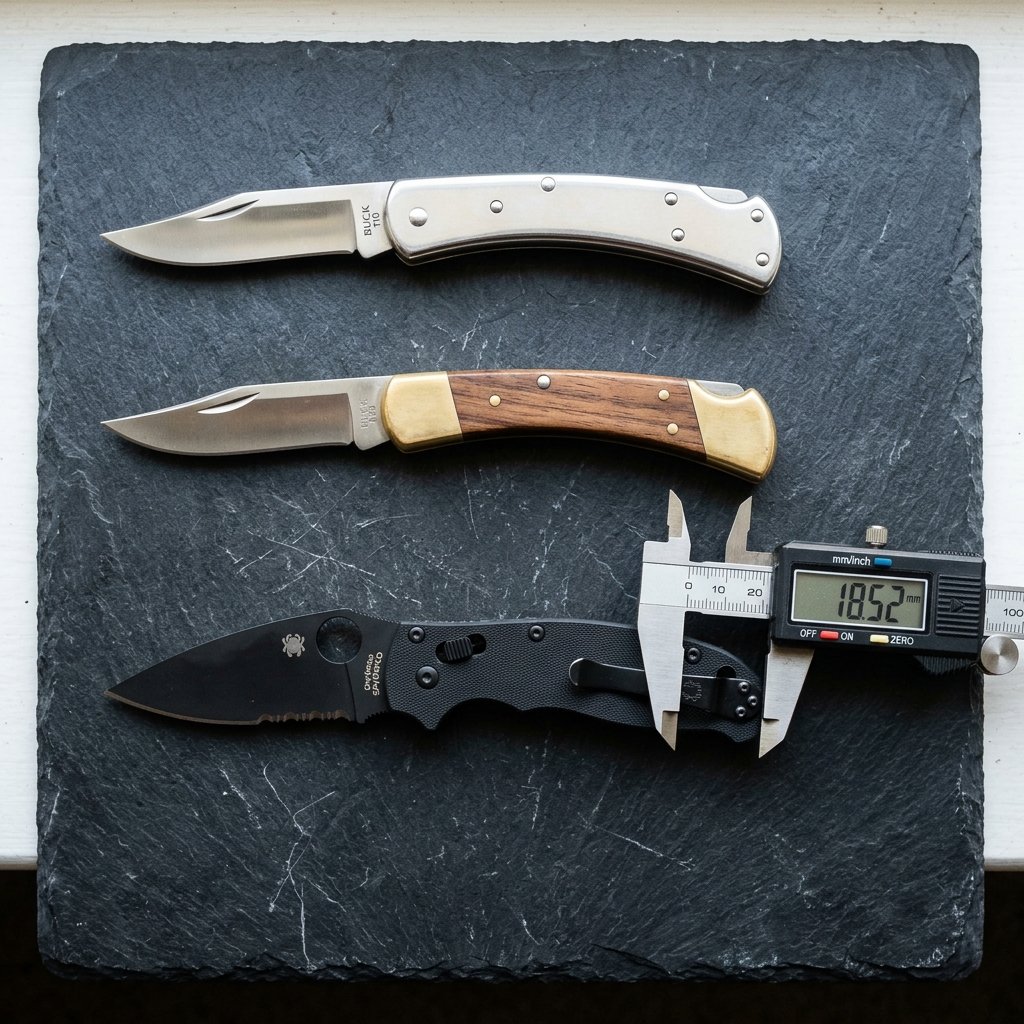
Not all knives are created equal when it comes to DIY engraving. For a professional look, you want a knife with a clean ‘blank’ space on the blade or a smooth metal bolster on the handle. Look for stainless steel options which offer a bright, crisp contrast when etched. Avoid blades with heavy coatings (like black tactical paint) unless you plan to etch through the coating for a high-contrast look.
| Knife Model/Brand | Estimated Cost | Best Engraving Area | Aesthetic Style |
|---|---|---|---|
| Standard Stainless Folder | $5.00 – $8.00 | Blade Surface | Classic/Rugged |
| Wood-Inlay Gentleman’s Knife | $9.00 – $12.00 | Bolster (Metal end) | Masculine-Elegant |
| Multitool (Budget Version) | $7.00 – $10.00 | Handle Scales | Practical/Handy |
When shopping at budget-friendly retailers or bulk wholesalers, ensure the blade is 440 Stainless Steel or higher. This ensures the gift remains a functional tool and not just a decorative piece. A $10 knife that holds an edge is infinitely more valuable than a $50 decorative piece that breaks on the first use.
The Engraver’s Toolkit: Professional Results for Under $30
Essential Gear for the Crafty Groom
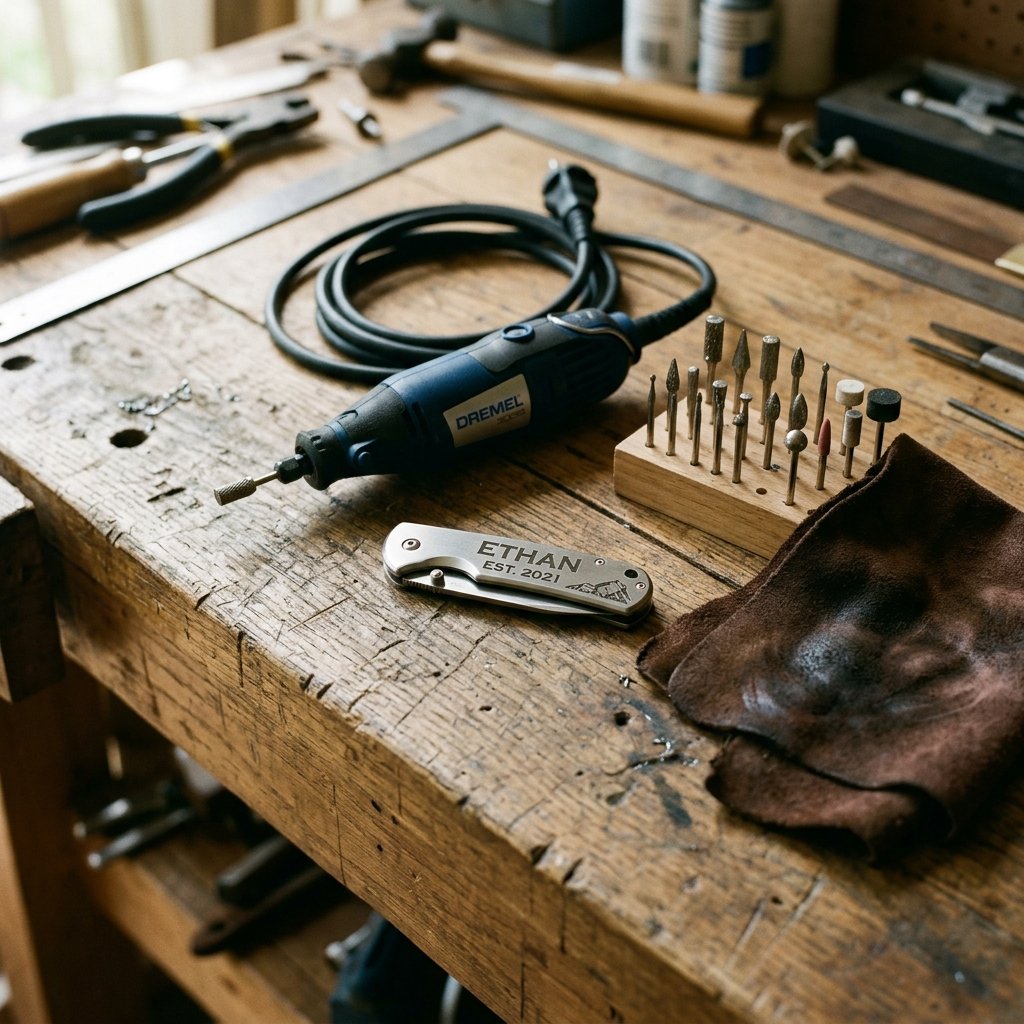
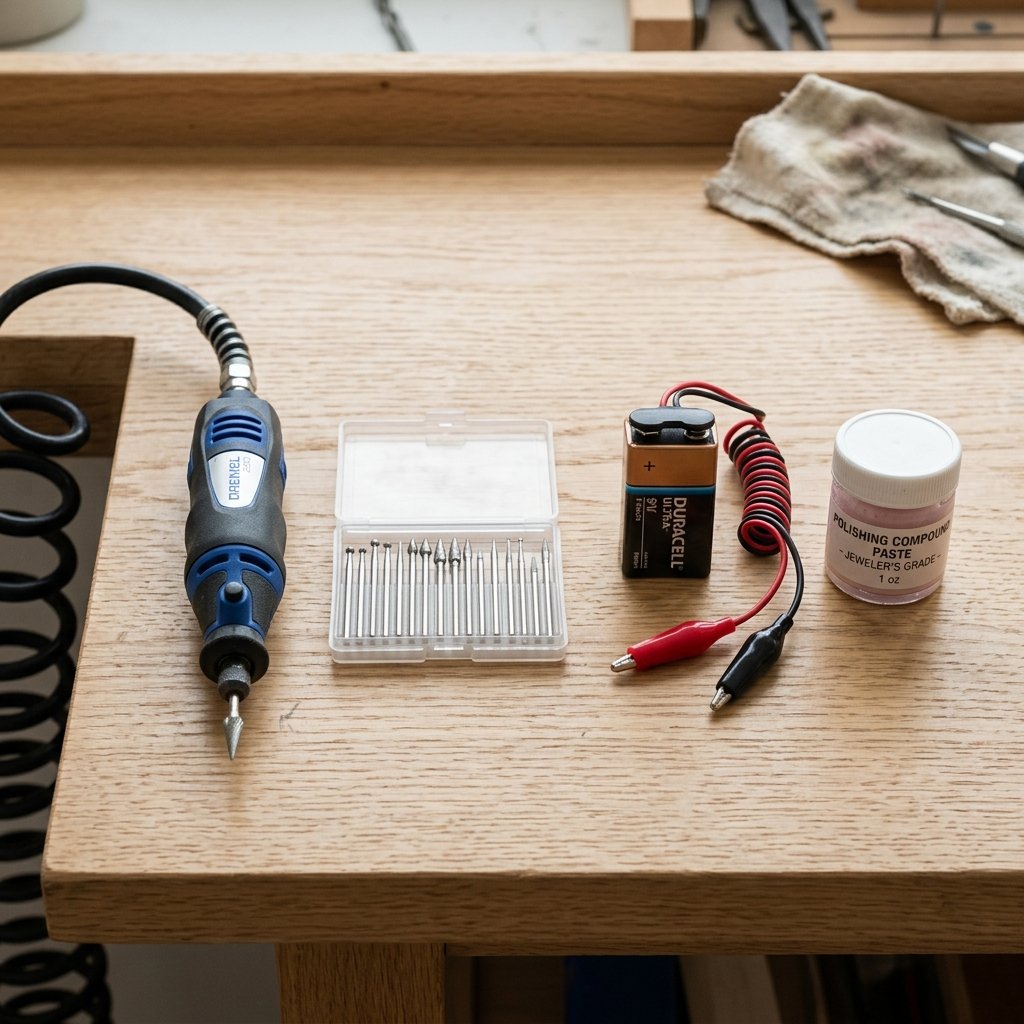
You don’t need a $5,000 laser engraver to get professional results. A clever DIYer uses mechanical or chemical methods to achieve the same effect. For mechanical engraving, a simple rotary tool (like a Dremel) is your best friend. For chemical etching, you can use items found in your kitchen pantry.
- Rotary Tool with Diamond Burr Bits: Essential for physical carving into the steel. Look for ‘fine point’ diamond bits (usually under $10 for a set).
- Painter’s Tape & Carbon Paper: For transferring your design perfectly onto the metal.
- 9V Battery & Salt Water: The ‘secret’ method for deep, clean chemical etching without any power tools.
- Metal Polish: To clean up the edges and make the engraving pop.
“The secret to a high-end look is patience over power. Whether using a bit or a battery, multiple light passes will always look cleaner than one heavy, jagged attempt.”
Method 1: Mechanical Engraving with a Rotary Tool
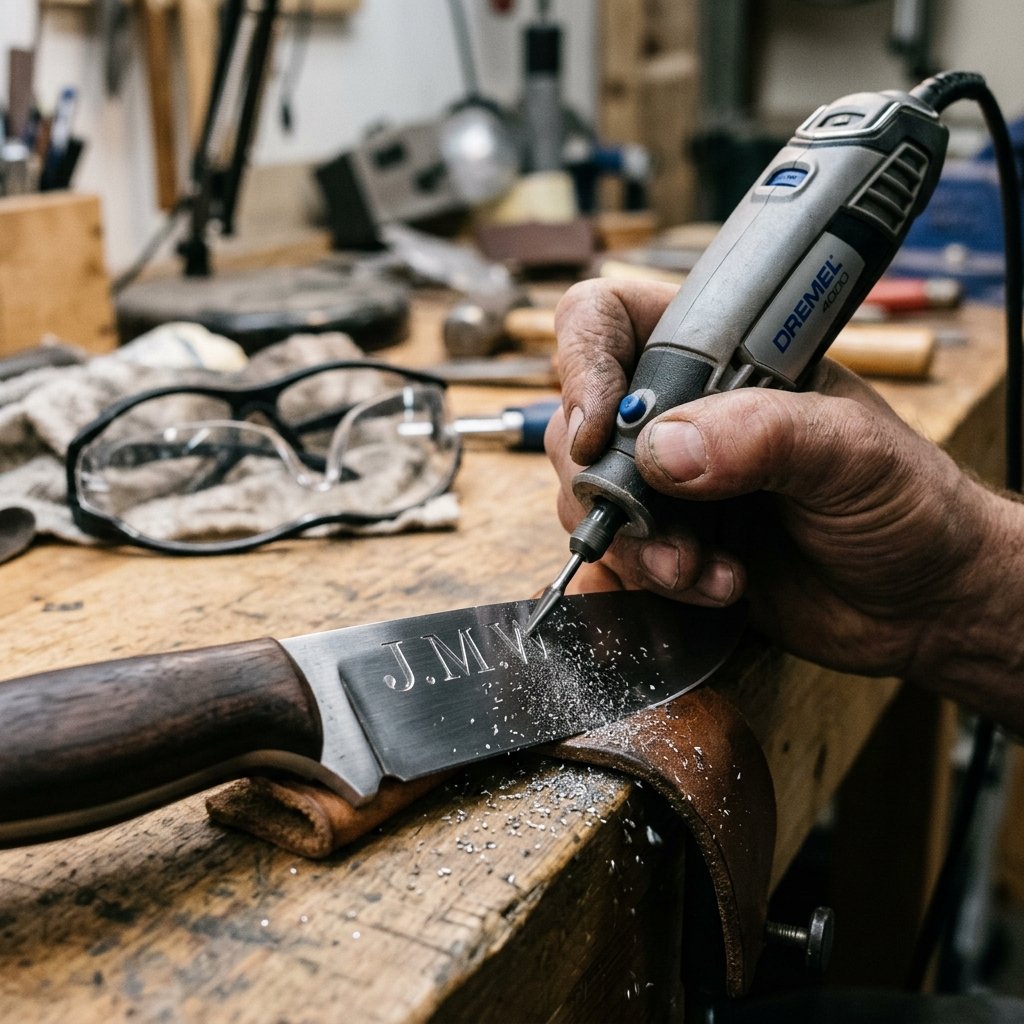
The ‘Hand-Carved’ Aesthetic
Mechanical engraving offers a tactile, rugged look that feels truly handmade. It is perfect for initials, dates, or simple geometric patterns. Follow these steps for a clean finish:
- Clean the Surface: Use rubbing alcohol to remove all oils and fingerprints from the metal.
- Apply the Template: Print your groomsmen’s initials in a ‘Masculine-Elegant’ font (like Copperplate or a clean Sans Serif). Use carbon paper to trace the design onto a piece of painter’s tape stuck to the blade.
- The First Pass: Using a 0.5mm diamond burr bit, lightly trace the outline through the tape. Do not try to go deep; just ‘score’ the metal.
- The Deepening: Remove the tape and go over your scored lines again. Keep the tool at a 45-degree angle for better control.
- Polishing: Use a felt polishing wheel and a dab of compound to buff away any burrs.
Total time per knife: 15 to 20 minutes. Cost per knife in materials: $0.05 (amortized tool cost).
Method 2: Chemical Etching (The ‘Battery & Salt’ Trick)
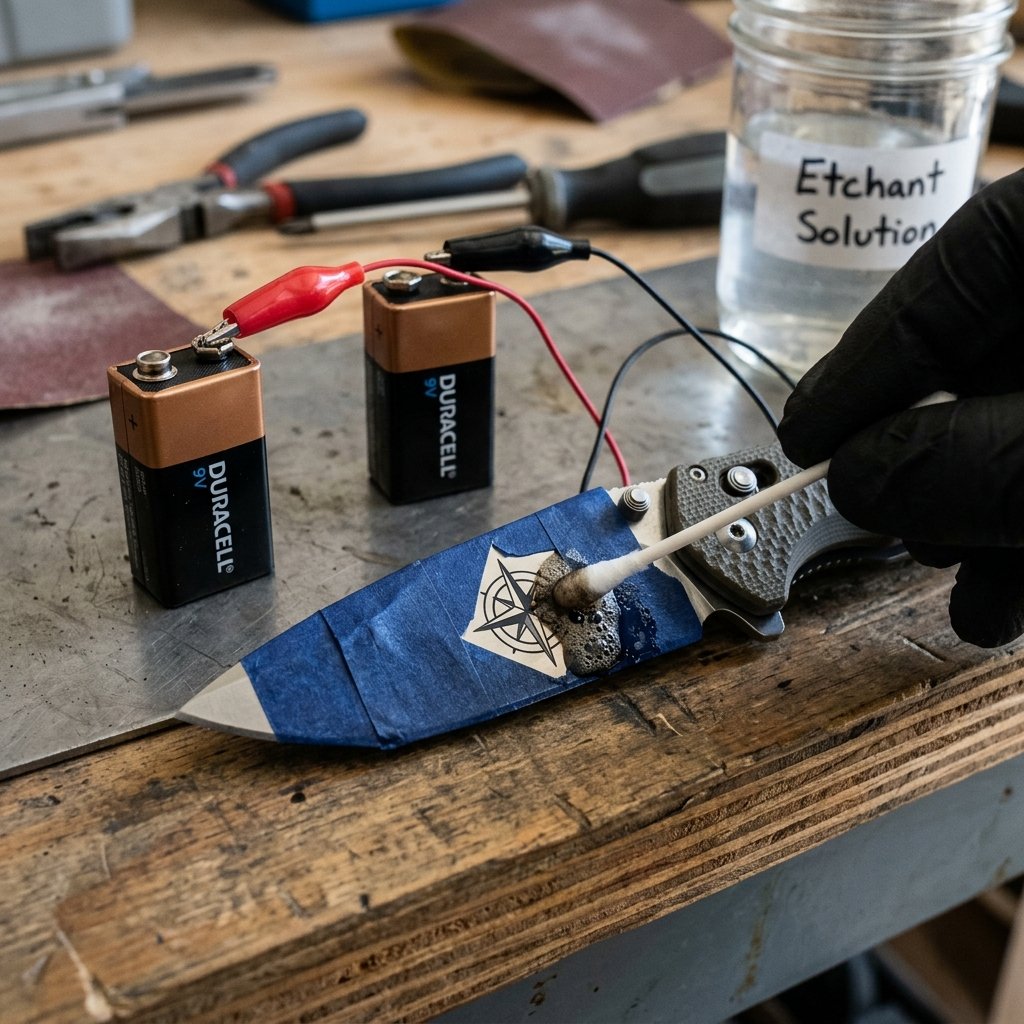
The Resourceful Scientist’s Approach
If you want a look that resembles professional laser engraving—perfectly smooth and deep—chemical etching is the way to go. This uses electrolysis to ‘eat’ away the metal in a controlled pattern.
| Ingredient/Tool | Purpose | Cost |
|---|---|---|
| 9V Battery | Power Source | $3.00 |
| Salt & Warm Water | Electrolyte Solution | $0.00 (Pantry) |
| Cotton Swabs | Applicator | $0.10 |
| Nail Polish (or Vinyl Sticker) | The ‘Mask’ | $1.00 |
The Process:
- Mask the Area: Cover the entire blade in nail polish or a vinyl sticker. Scrape away the design (initials) using a toothpick to expose the bare metal.
- Connect the Power: Clip the Positive (+) terminal of the 9V battery to the knife itself.
- The Etch: Dip a cotton swab in salty water and touch it to the Negative (-) terminal. Press the wet swab onto the exposed metal design.
- Watch the Magic: You will see the water fizz and turn dark. This is the metal being removed. Hold for 30-60 seconds per letter.
- Clean Up: Remove the nail polish with acetone to reveal a crisp, recessed engraving.
The Presentation: Turning a Tool into a Treasure
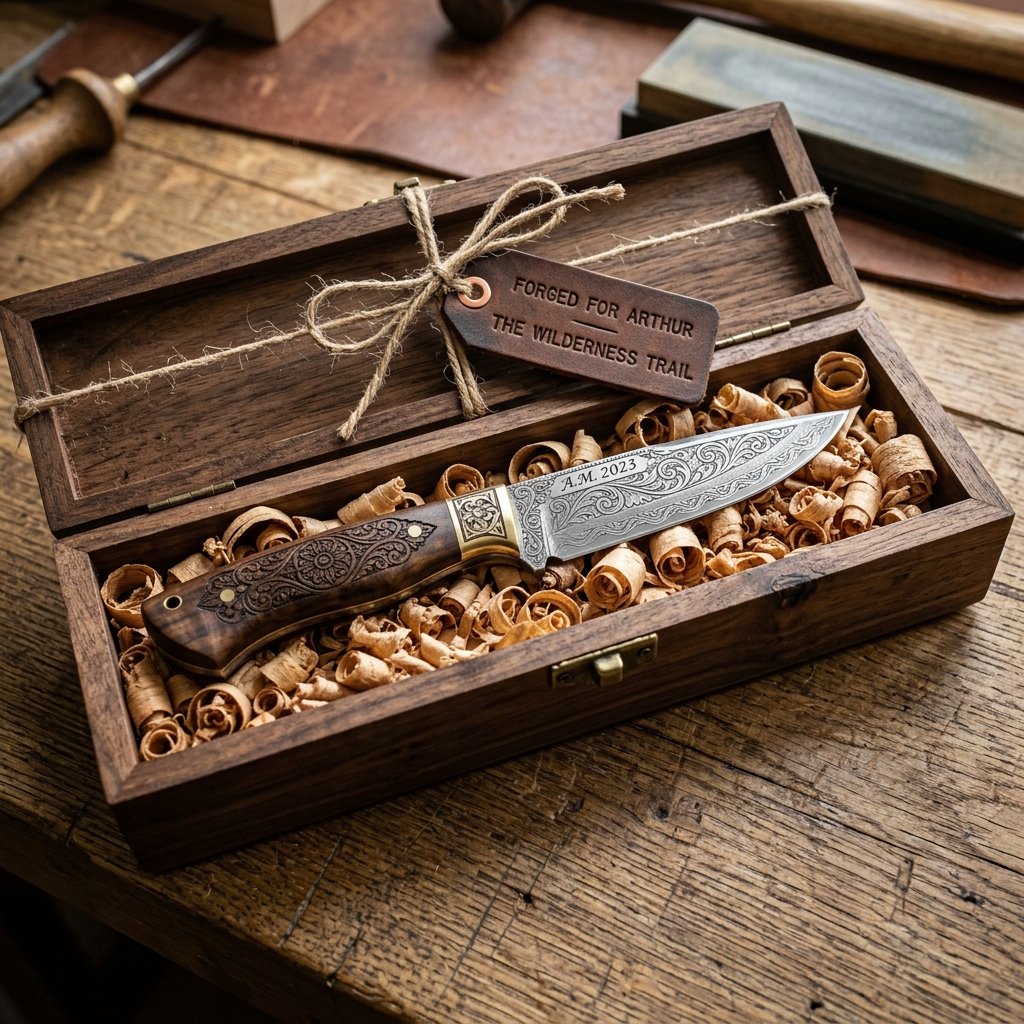
First Impressions Matter
A $10 knife in a plastic bag looks like a $10 knife. A $10 knife in a custom wood box with a leather cord looks like a $100 heirloom. To finish your high-end gift, focus on the packaging.
- The Box: Buy unfinished pine boxes from a craft store for $1.50 each. Stain them with a dark walnut finish or even coffee grounds for a rugged, weathered look.
- The Bedding: Use wood wool (excelsior) or a scrap of dark leather to cushion the knife inside the box.
- The Tag: Hand-write a note on heavy cardstock or a small piece of wood veneer.
“A gift’s value is 50% the item and 50% the story it tells upon opening. Make the story one of craftsmanship and brotherhood.”
Cost Comparison: DIY vs. Professional Services
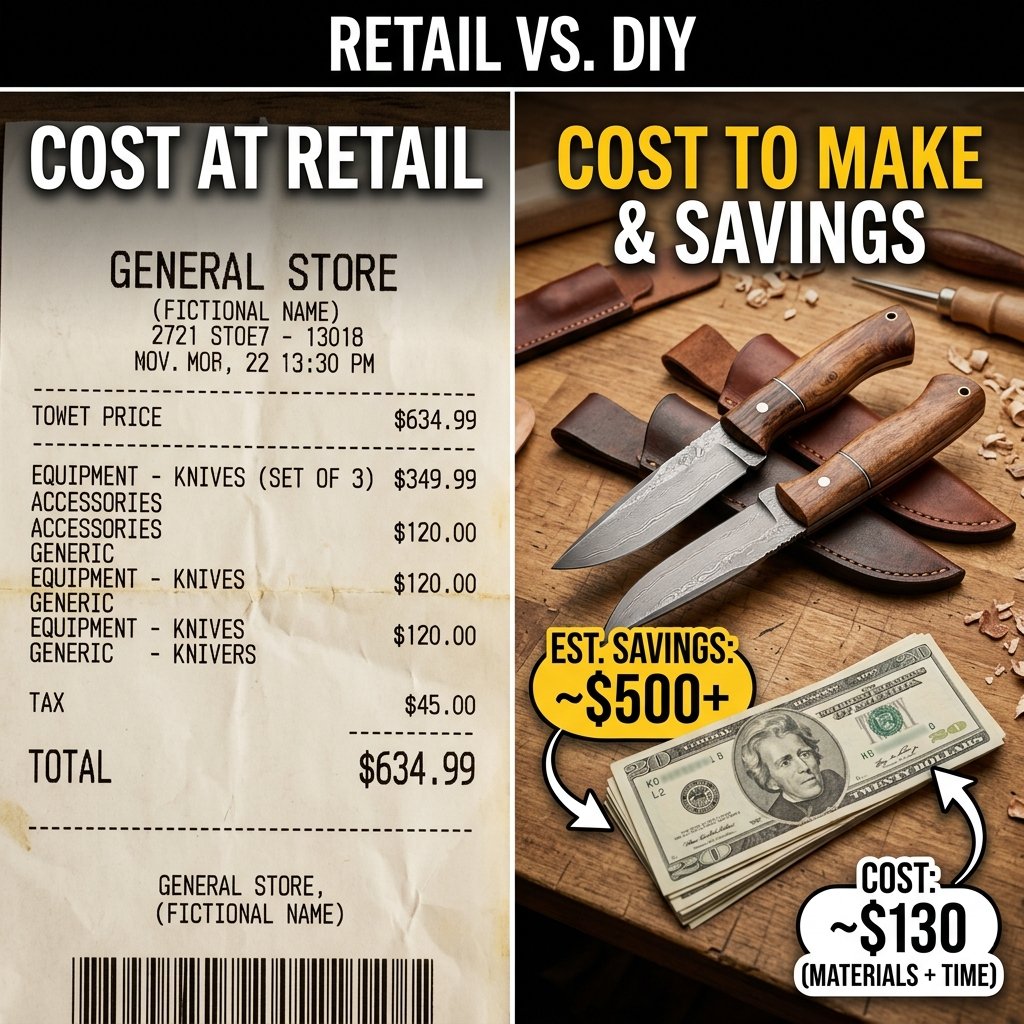
The Frugal Win
When you add up the savings, the DIY route isn’t just about being crafty—it’s about being financially brilliant. You can redirect those hundreds of dollars toward the bachelor party or a better wedding dinner.
| Expense Item | Professional Shop (6 Knives) | DIY At-Home (6 Knives) |
|---|---|---|
| High-End Knives | $450.00 | $60.00 (Bulk Blanks) |
| Engraving Fees | $120.00 | $0.00 |
| Custom Packaging | $60.00 | $12.00 (Upcycled/Craft) |
| Total Cost | $630.00 | $72.00 |
| Total Savings | — | $558.00 (88% Saved) |
Safety First!
Always wear safety glasses when using a rotary tool to prevent metal shards from entering your eyes. If using the chemical method, work in a well-ventilated area as the process can release small amounts of gas.
Conclusion
The Mark of a True Groomsman Gift
By taking the time to engrave your pocket knives at home, you aren’t just saving $500; you are giving your groomsmen a piece of your own effort and time. This resourceful approach transforms a simple utility tool into a symbol of your friendship. Whether you choose the rugged, hand-carved look of the rotary tool or the sleek, professional finish of chemical etching, the result is a high-end, bespoke gift that your friends will carry for a lifetime. Now, grab your steel, fire up your creativity, and start making something legendary.

Makenzie is the founder and lead writer at MoneyHackTips.com — a personal finance blog dedicated to delivering street-smart financial wisdom for real people on real budgets. With 300+ published articles covering everything from debt management to investing fundamentals, Makenzie’s mission is to make every dollar work harder. When not writing about money hacks, Makenzie is testing frugal living strategies, optimizing side hustles, and helping readers build financial freedom from scratch.