
The Secret to Luxury on a Shoestring Budget
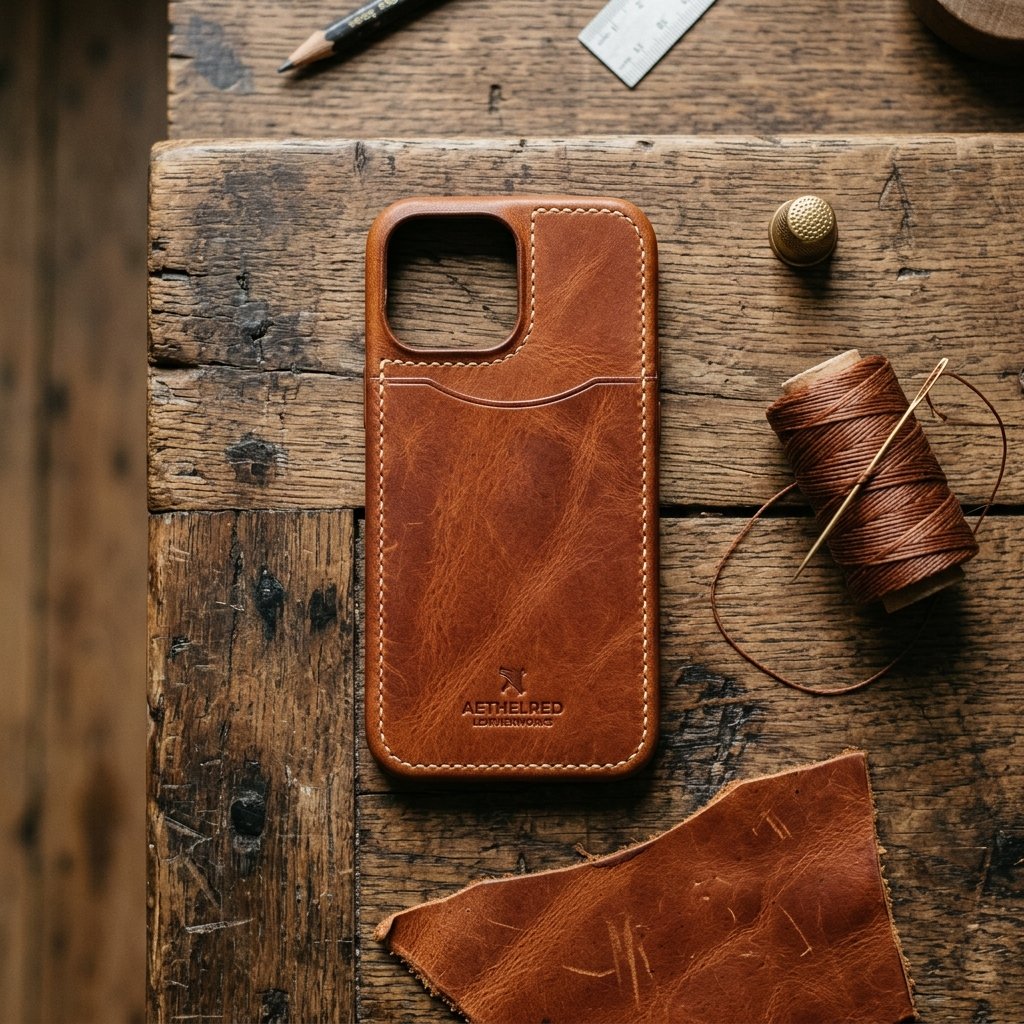
We have all seen them—those sleek, minimalist leather phone cases in high-end boutiques that carry a price tag north of $80. While they look stunning, the secret the fashion industry doesn’t want you to know is that leather crafting is one of the most accessible and rewarding skills for the budget-savvy DIYer. With just a few scraps of leather, some waxed thread, and a little bit of patience, you can create a bespoke, rugged, and elegant phone case that rivals any designer brand. This isn’t just about saving money; it’s about the satisfaction of carrying a piece of gear you built with your own two hands. Whether you are looking for the perfect Father’s Day gift or a stylish upgrade for your own tech, this tutorial will guide you through the process of turning ‘trash’ into a timeless treasure.
Sourcing Your Materials: The Thrifty Hunter’s Guide

The biggest hurdle to leatherworking is often the perceived cost of the leather itself. However, a resourceful crafter knows that you don’t need to buy a full hide to make a phone case. In fact, you can often find high-quality leather for $0 if you know where to look. Check local thrift stores for old leather jackets, skirts, or even large handbags that have seen better days. A single thrifted leather jacket can provide enough material for dozens of phone cases.
The Material Cost Breakdown
When comparing the cost of a DIY case to a store-bought designer version, the savings are staggering. By using scraps or upcycled materials, your total investment per case is often less than the price of a fancy cup of coffee.
| Material Item | Store-Bought Equivalent | DIY Budget Cost |
|---|---|---|
| Genuine Leather Scrap | $45.00 (Finished Case) | $0.00 – $2.00 |
| Waxed Polyester Thread | Included | $0.50 (per project) |
| Edge Burnishing Wax | N/A | $0.25 |
| Total Cost | $45.00 – $120.00 | $0.75 – $2.75 |
Budget Mantra: A designer brand charges for the logo; a craftsman charges for the labor. When you are the craftsman, the luxury is free.
The Minimalist Tool Kit: Crafting Without the Heavy Machinery
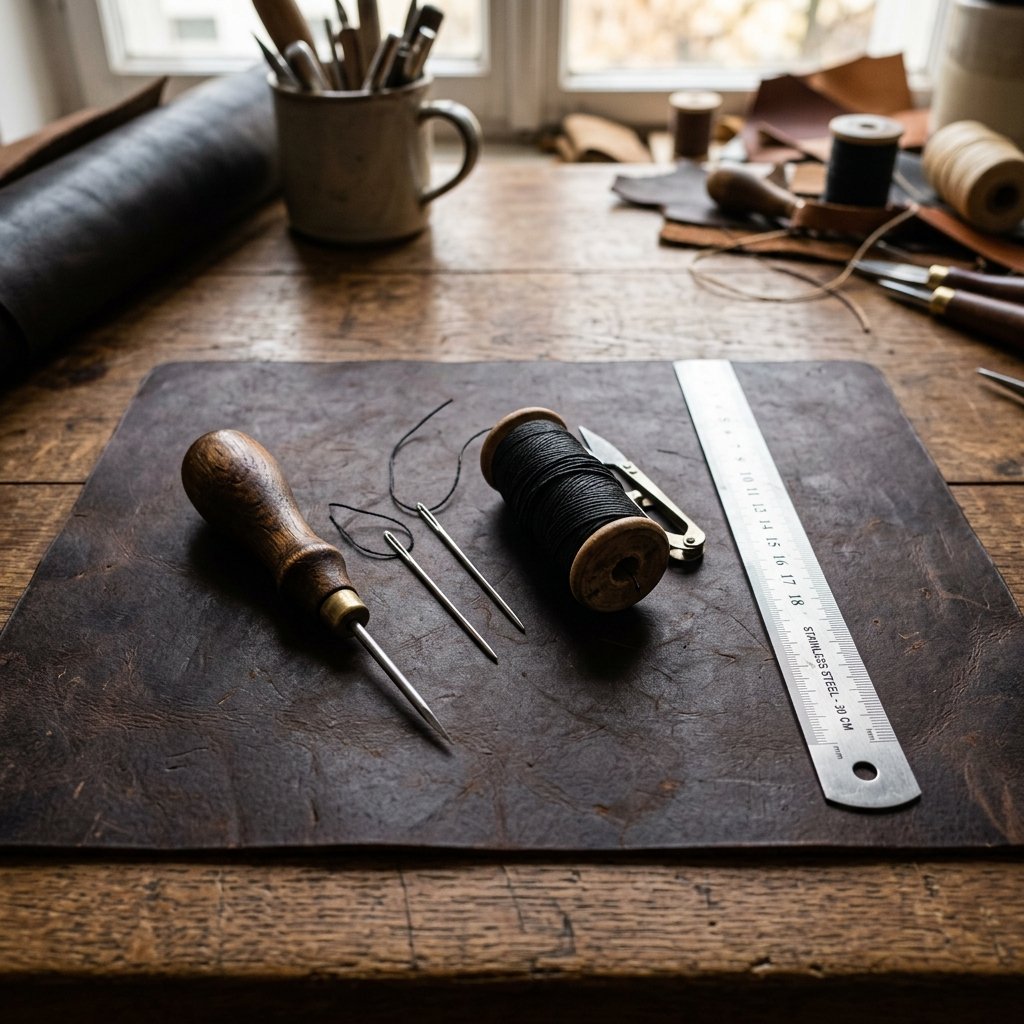
You don’t need a $500 sewing machine to achieve professional results. In fact, the most durable leather goods are hand-stitched using a technique called the saddle stitch. This method is impossible for machines to replicate and ensures that even if one thread breaks, the rest of the seam remains intact.
Essential Tools for the Budget Crafter
- Rotary Cutter or Sharp Utility Knife: For clean, precise lines.
- Two Harness Needles: These have blunt tips to avoid piercing the leather fibers.
- Waxed Thread: Provides grip and prevents rot over time.
- A Stitching Awl or Pricking Iron: To create the holes for your thread.
- Sandpaper (400 grit): To smooth the edges for that ‘designer’ finish.
Safety Note: Always cut away from your body and keep your fingers clear of the pricking iron’s path. Leather is tough, but skin is not!
Measuring and Cutting: The Blueprint for Success
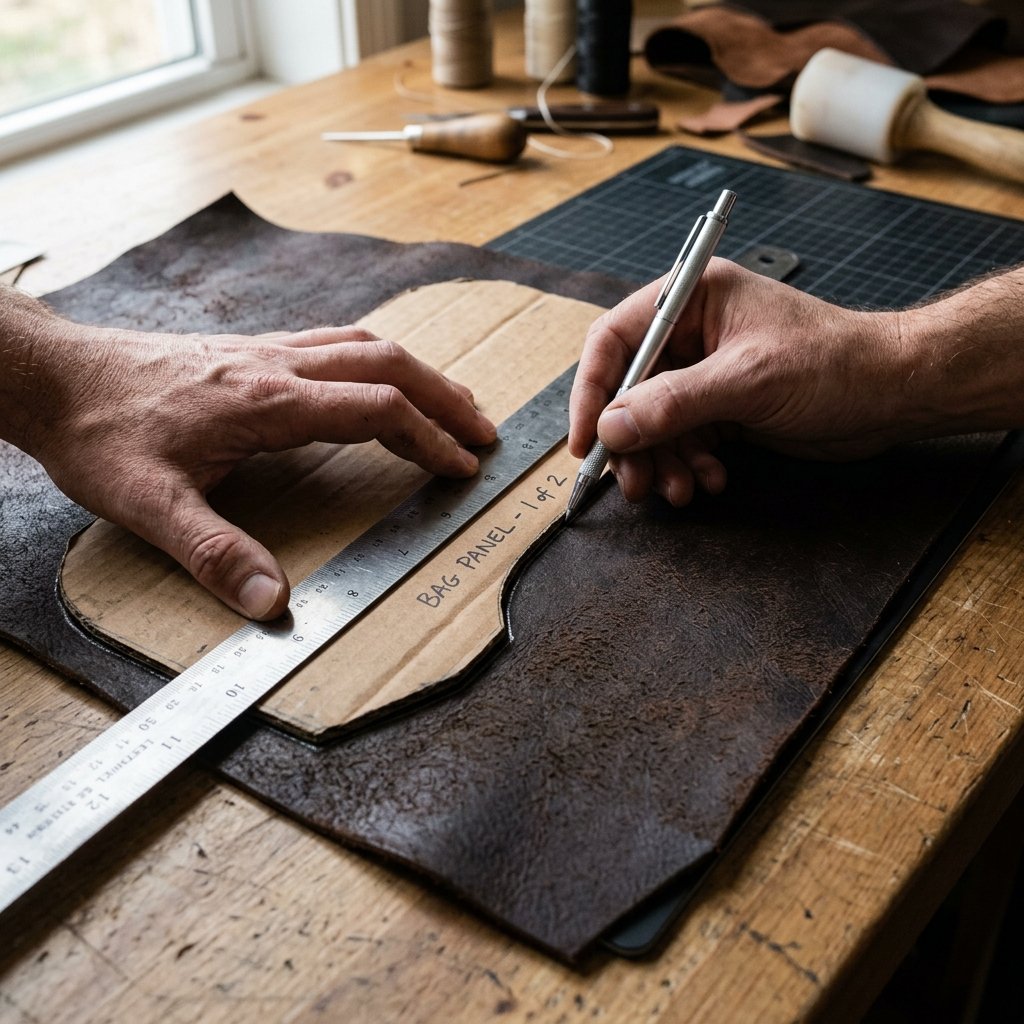
Precision is what separates a ‘homemade’ project from a ‘handmade’ masterpiece. To get the perfect fit, you must account for the thickness of the phone and the thickness of the leather itself. Use a piece of cardstock or an old cereal box to create a template first—this saves you from wasting leather on a mistake.
The Measurement Formula
To calculate the width of your leather pieces, use this simple formula:
- Width: Phone Width + (Phone Thickness x 1.5) + 0.5 inches (for seam allowance).
- Height: Phone Height + (Phone Thickness x 0.5) + 0.25 inches.
Cut two identical rectangles for a simple sleeve, or one long piece if you want a fold-over flap design. For a modern ‘designer’ look, consider cutting a small thumb notch at the top to make it easier to slide the phone out.
The Master’s Stitch: Achieving the Saddle Stitch
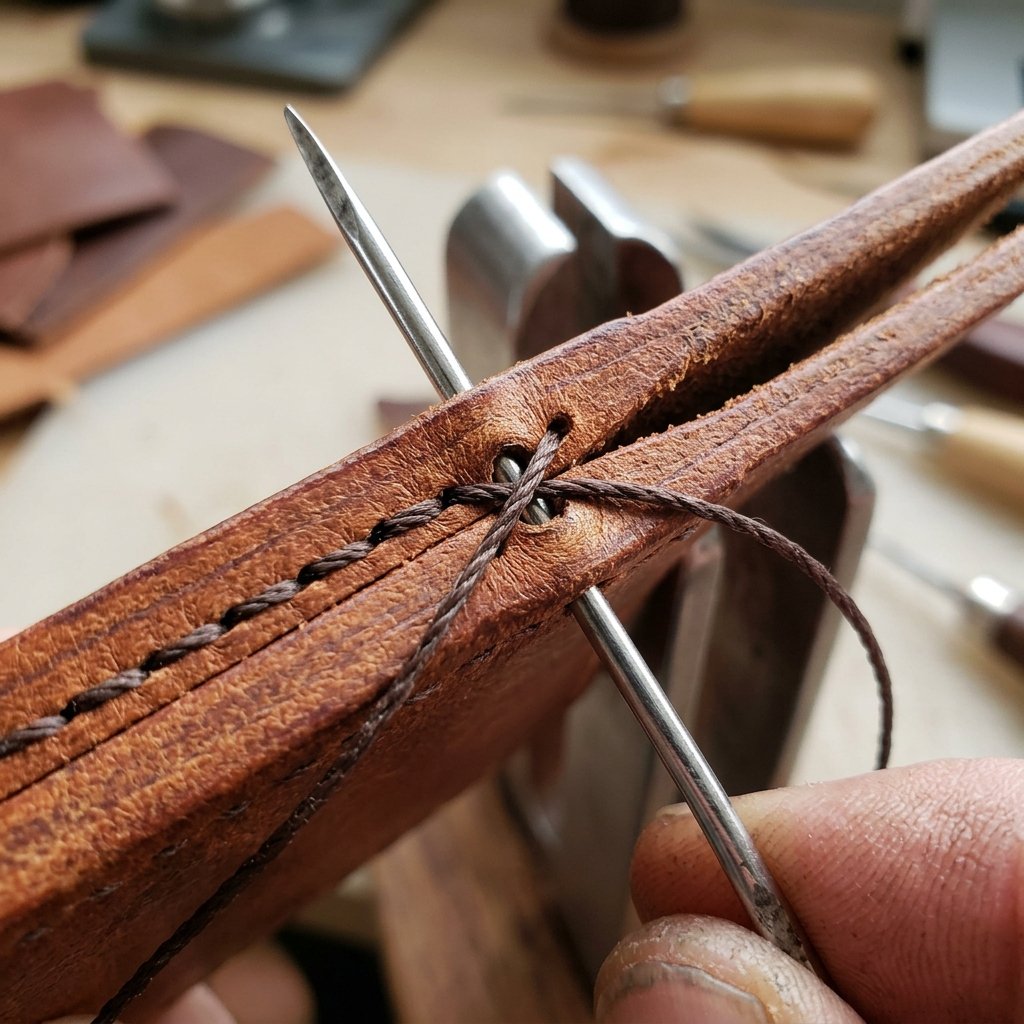
The saddle stitch is the gold standard of leatherwork. It requires two needles on a single piece of thread, passing through the same hole from opposite sides. This creates a beautiful, slanted stitch pattern that screams high-end quality.
Step-by-Step Stitching Guide
- Prep the Holes: Use your pricking iron and a mallet to punch holes along the edge, exactly 1/8 inch from the border.
- Thread the Needles: Cut a length of thread roughly 4 times the length of the seam. Thread a needle on both ends.
- Start the Stitch: Pass one needle through the first hole until the thread is centered.
- The Cross: Pass the left needle through the next hole, then pass the right needle through the same hole from the other side.
- Tension: Pull both threads tight with equal pressure. This ensures a uniform look.
- Backstitch: At the end of the seam, stitch backward two holes to lock the thread, then snip and lightly singe the ends with a lighter.
The Finishing Touches: Burnishing for a Glossy Edge
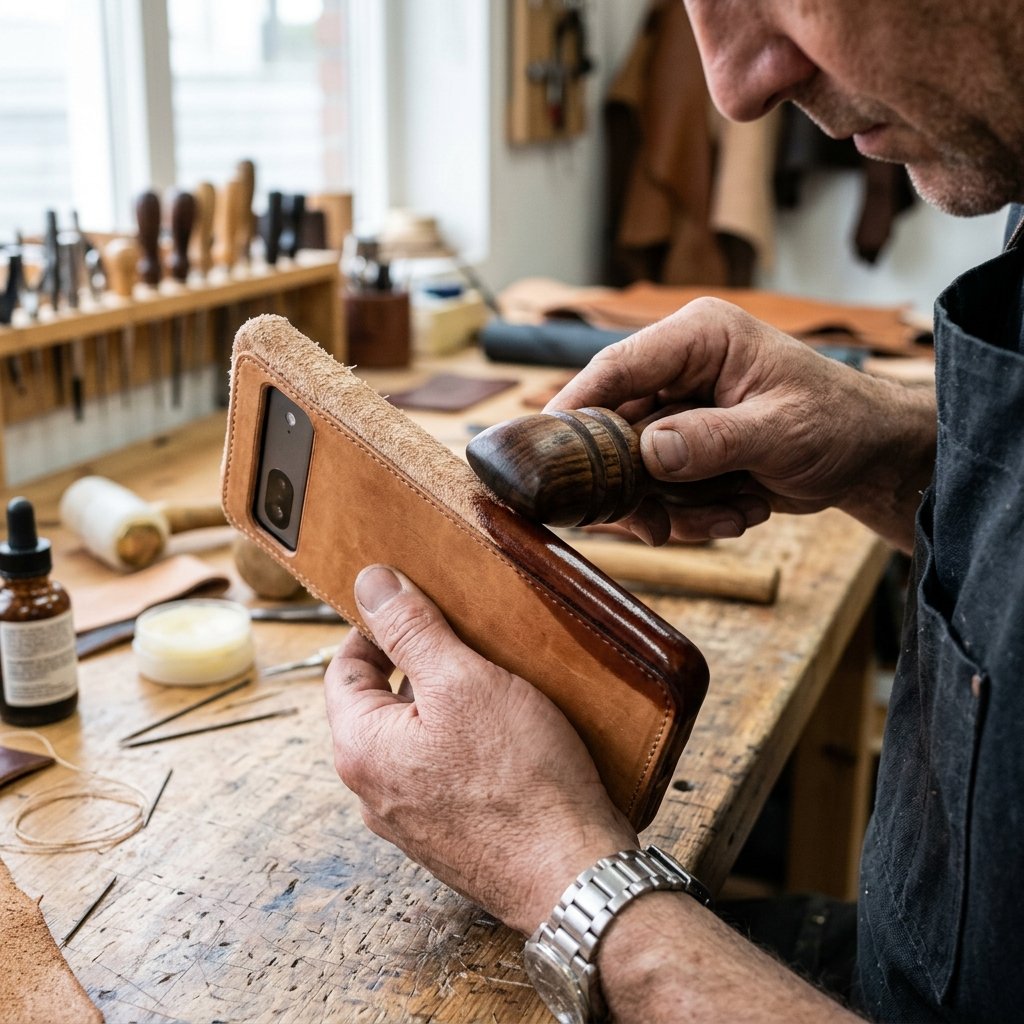
The hallmark of a designer leather case is a smooth, glossy edge. Raw, fuzzy edges look unfinished and cheap. To fix this, we use a process called burnishing. You don’t need expensive chemicals—a little bit of water or even saliva (the old-school way!) and a piece of scrap canvas or wood will do the trick.
Edge Finishing Steps
- Sand: Use 400-grit sandpaper to level the two pieces of leather so they look like one solid piece.
- Dampen: Lightly moisten the edge with a damp cloth.
- Friction: Rub the edge vigorously with a wooden burnisher or a piece of heavy canvas until it becomes shiny and dark.
- Seal: Apply a small amount of beeswax or even clear lip balm to the edge and buff one last time for a water-resistant seal.
Conclusion
A Gift That Ages with Grace
Congratulations! You have just crafted a custom leather phone case that looks like it belongs in a high-end boutique. While a plastic case will eventually crack and yellow, this leather piece will develop a unique patina over time, becoming more beautiful with every year of use. By choosing to DIY, you’ve saved over $50 and created a gift that is truly one-of-a-kind. Whether you’re gifting it to a tech-savvy friend or keeping it for yourself, you now possess the skills to turn simple scraps into rugged, masculine elegance. Now, go forth and upcycle—the world is full of leather waiting for a second life!

Makenzie is the founder and lead writer at MoneyHackTips.com — a personal finance blog dedicated to delivering street-smart financial wisdom for real people on real budgets. With 300+ published articles covering everything from debt management to investing fundamentals, Makenzie’s mission is to make every dollar work harder. When not writing about money hacks, Makenzie is testing frugal living strategies, optimizing side hustles, and helping readers build financial freedom from scratch.