
The Rugged Beauty of Repurposed Denim
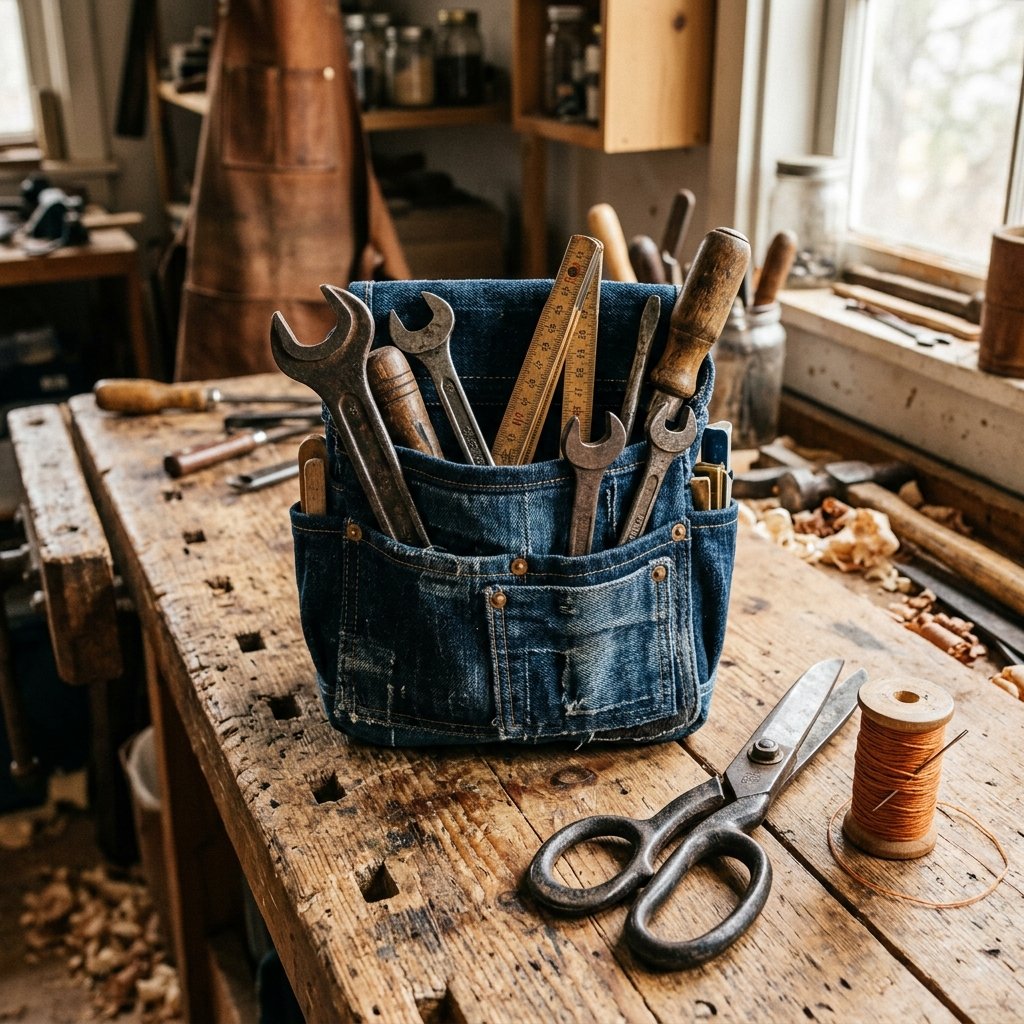
There is a certain undeniable satisfaction in taking a pair of retired work jeans—the ones with the blown-out knees and the permanent grease stains—and giving them a second life as a functional piece of workshop gear. Denim is one of the most resilient fabrics ever created, a heavy-duty cotton twill designed to withstand the rigors of manual labor. When you upcycle this material, you aren’t just being frugal; you are honoring the durability of the textile. This project is for the resourceful DIYer who values both form and function. We aren’t just making a bag; we are engineering a custom organization system that fits your specific tools like a glove. Whether you are a weekend woodworker, a dedicated crafter, or a handy parent trying to tame the chaos of a junk drawer, this denim tool pouch is your ticket to an instantly neater workspace without spending a dime at a big-box store.
Scavenging Your Supplies: The Zero-Budget Material List
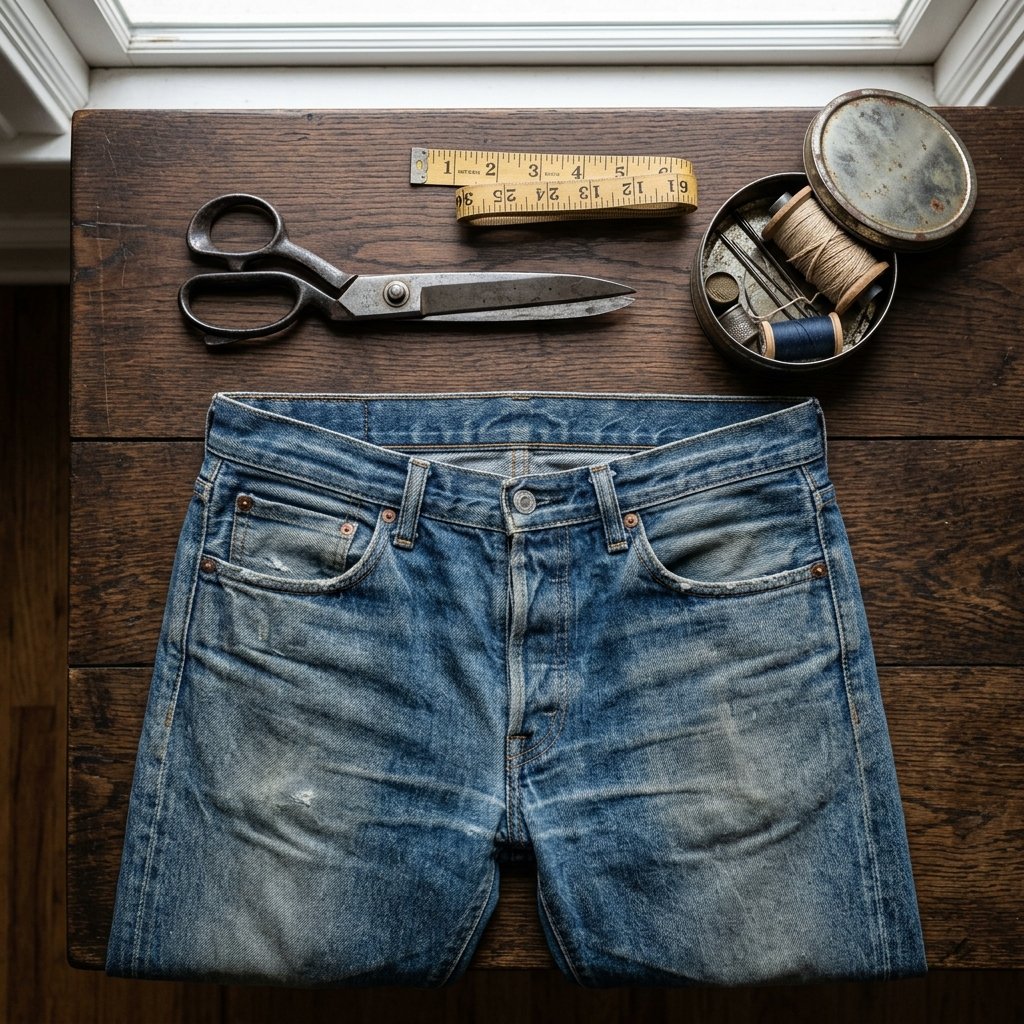
Before we pick up the shears, we need to audit our scrap pile. The beauty of this project lies in its zero-budget nature. You likely already have everything you need sitting in your laundry room or your junk drawer. We are looking for high-quality denim, preferably 100% cotton without too much spandex, as it holds its shape better under the weight of heavy metal tools.
| Material | Source/Substitution | Estimated Cost |
|---|---|---|
| Old Denim Jeans | Thrift store, scrap pile, or retired work pants | $0.00 |
| Heavy-Duty Thread | Upholstery thread or doubled-up polyester thread | $0.00 |
| Large Sewing Needle | Darning needle or denim-specific needle | $0.00 |
| Closure Method | Old belt, shoelace, or denim scrap tie | $0.00 |
| Total Project Cost | Resourceful Upcycling | $0.00 |
Why Denim is the Ultimate Workshop Fabric
Denim’s weave is a right-hand twill, meaning it resists punctures and abrasions far better than standard canvas. In a workshop environment where sharp screwdriver tips and jagged pliers are common, denim acts as a protective barrier. Furthermore, as denim ages, it develops a patina that tells the story of your projects, making your tool pouch a personalized piece of history.
The Blueprint: Designing Your Custom Tool Layout
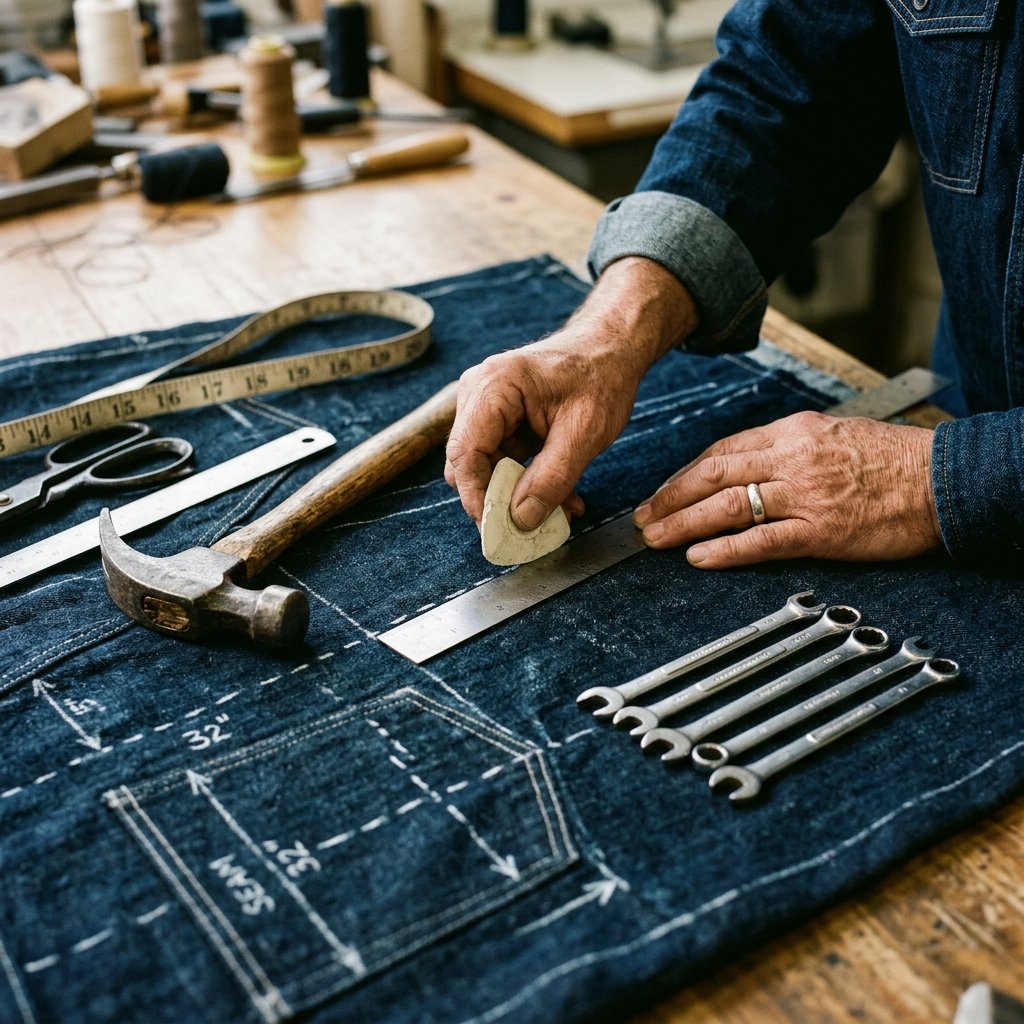
A generic store-bought tool roll never quite fits. The pockets are either too shallow for your long-nose pliers or too narrow for your favorite chisel. By building your own, you are the architect of your own efficiency. Start by laying out the tools you use most frequently on the leg of the jeans to visualize the spatial requirements.
Pro-Tip: Always place your heaviest tools toward the center of the pouch. This keeps the weight balanced when the pouch is rolled or hung, preventing it from lopsided sagging.
When measuring your denim, remember to account for the thickness of the tools. A flat piece of fabric will tighten significantly once a bulky tool is inserted. I recommend leaving at least 1 inch of ‘slack’ fabric between each vertical seam to accommodate the girth of handles.
Step-by-Step Construction: Turning Scraps into Tactical Storage
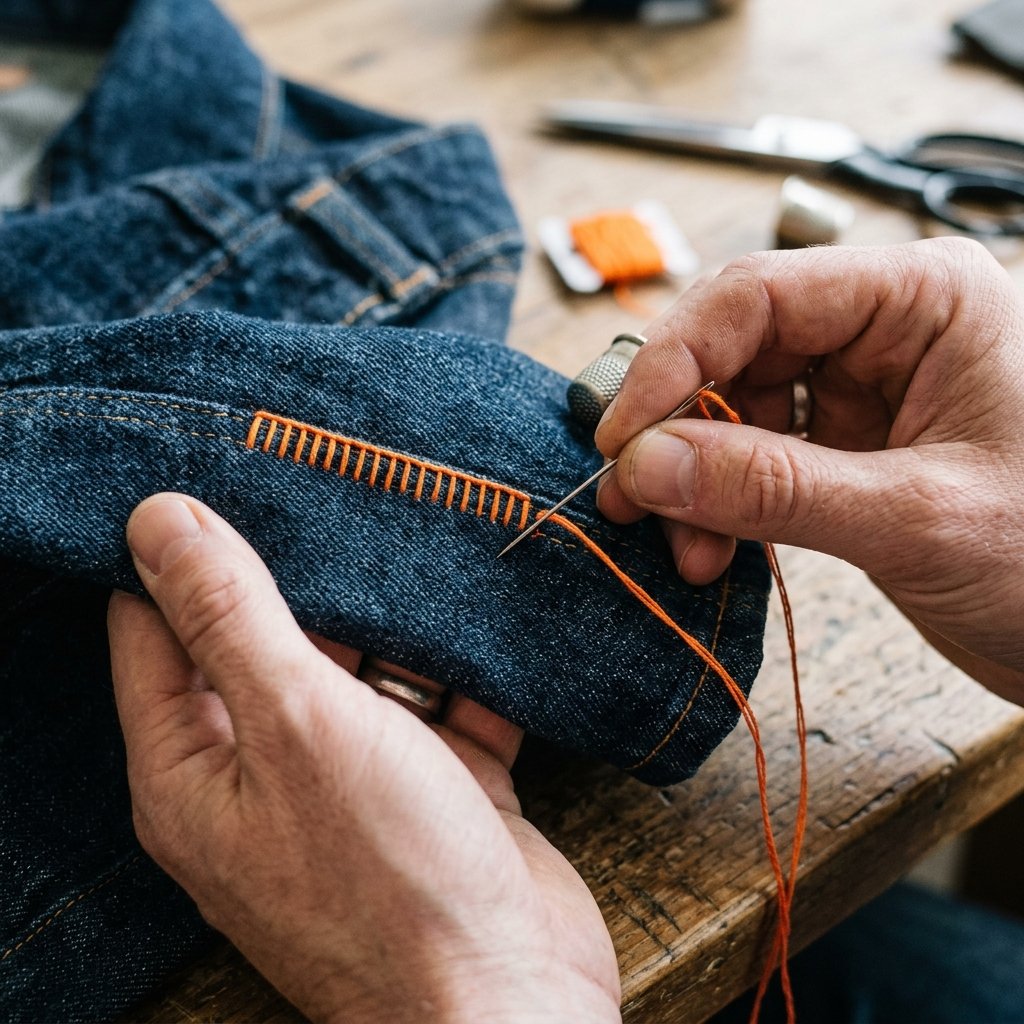
Follow these steps to assemble your pouch. We will use the ‘back-pocket’ method for the main body to save time and add extra durability.
- Cut the Base: Cut a large rectangle from the leg of your jeans. For a standard tool roll, aim for 18 inches by 12 inches.
- Harvest the Pockets: Carefully cut the back pockets off the jeans, leaving a 1/2 inch border of fabric around the original factory stitching.
- Arrange the Layout: Pin the harvested pockets onto your base rectangle. These will serve as ‘quick-access’ zones for smaller items like drill bits or pencils.
- Create Tool Slots: Cut a secondary strip of denim (about 5 inches tall) and pin it across the width of the base. We will sew vertical lines through this strip to create individual slots.
- The Stitching: Use a backstitch for maximum strength. This stitch mimics a machine’s lockstitch and is incredibly difficult to break.
| Stitch Type | Best Used For | Strength Rating |
|---|---|---|
| Running Stitch | Temporary basting | Low |
| Backstitch | Main structural seams | High |
| Whipstitch | Edge finishing/fray prevention | Medium |
Reinforcement Techniques: Making it Shop-Tough

A tool pouch is only as good as its weakest seam. In a workshop, tools are constantly being shoved in and pulled out, which puts immense stress on the top corners of the pockets. To ensure your pouch lasts for decades, we need to apply some rugged reinforcement.
The ‘Box-X’ Mantra: For any point where a strap meets the body, or at the top of a high-tension pocket, sew a square and then an ‘X’ through the middle. This distributes the load across five different stitch lines rather than one.
If you have access to old copper rivets from another pair of pants or a craft kit, now is the time to use them. Hammering a rivet into the corner of a denim pocket is the gold standard for masculine-elegant utility. If you don’t have rivets, a ‘bar tack’ (a series of very close, horizontal zig-zag stitches) will do the trick just as well.
The Finishing Touches: Personalizing Your Gear

Utility doesn’t have to be boring. A truly clever crafter knows that the finishing touches are what transform a project from ‘homemade’ to ‘hand-crafted.’ Consider adding a closure system that reflects your style. An old leather belt can be cut down to create a rugged wrap-around strap, or you can use a simple heavy-duty shoelace for a minimalist look.
Customization Ideas:
- Dyeing: If you want a sleeker look, use a black fabric dye to give the entire pouch a uniform, tactical appearance.
- Labeling: Use a bleach pen or fabric paint to label the slots for specific wrenches. This ensures you notice immediately if a tool is missing.
- Portability: Sew two loops of denim on the back so the pouch can be slid onto a standard waist belt for mobile repairs.
By the time you finish, you will have a piece of gear that outperforms the $30.00 polyester versions found in stores, all while keeping your workspace instantly neat and your wallet full.
Conclusion
Mastering the Art of the Upcycle
Creating your own DIY denim tool pouch is more than just a weekend project; it is a statement of resourcefulness. In a world of disposable products, choosing to mend, repurpose, and build your own gear is a powerful way to reclaim your workspace. You have successfully turned a piece of ‘trash’ into a high-functioning tool that will serve you for years to come. Your workspace is now organized, your tools are protected, and you’ve saved money that can be better spent on your next big project. So, the next time you see a pair of jeans destined for the bin, remember: that’s not waste—it’s the raw material for your next clever masterpiece. Happy crafting!

Makenzie is the founder and lead writer at MoneyHackTips.com — a personal finance blog dedicated to delivering street-smart financial wisdom for real people on real budgets. With 300+ published articles covering everything from debt management to investing fundamentals, Makenzie’s mission is to make every dollar work harder. When not writing about money hacks, Makenzie is testing frugal living strategies, optimizing side hustles, and helping readers build financial freedom from scratch.