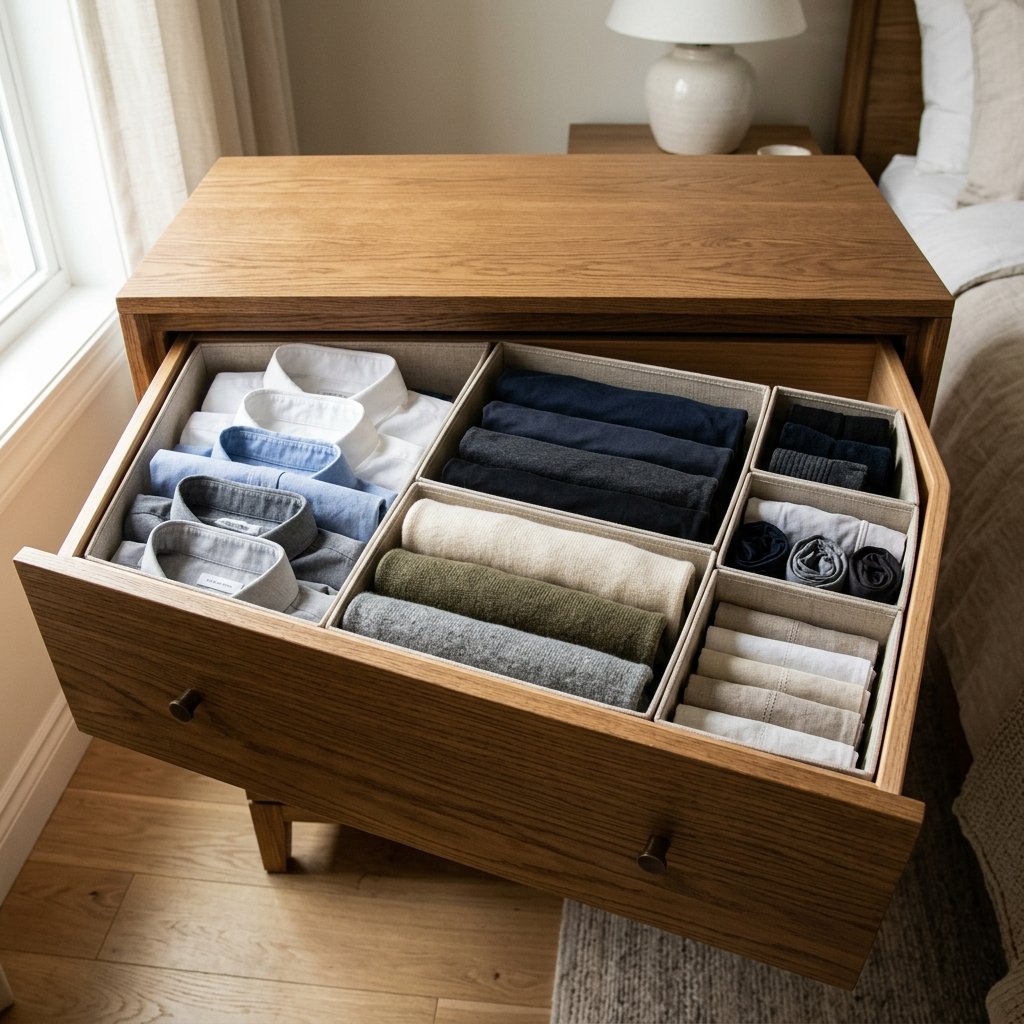

The War on Drawer Chaos Ends Today
We have all been there: you open your dresser drawer looking for that one specific pair of wool socks, and instead, you are met with a tangled nest of cotton, spandex, and frustration. The modern solution sold to us by big-box retailers is to spend $20 to $40 per drawer on molded plastic bins or bamboo inserts. But as a resourceful crafter, you know better. Why pay for plastic when the most versatile engineering material on the planet is currently sitting in your recycling bin? In this guide, we are going to master the art of the Zero-Budget Drawer Overhaul. We aren’t just shoving boxes into drawers; we are engineering custom-fit, interlocking grid systems that rival high-end boutique cabinetry. By the end of this project, you will have a dresser that functions with masculine-elegant precision, all for the grand total of $0.00.
Scavenging Your Supplies: The Cardboard Architect’s Toolkit
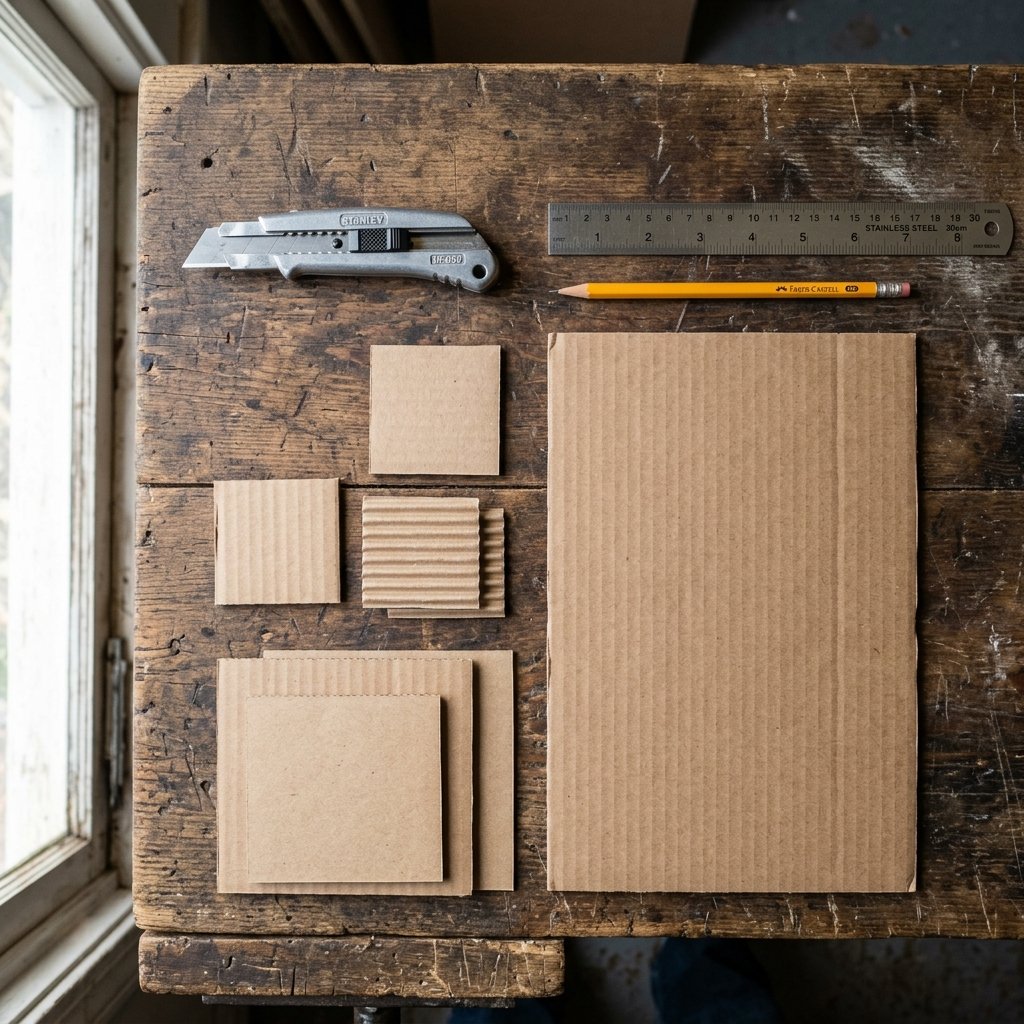
Before we cut a single strip of material, we must source the right ‘lumber.’ Not all cardboard is created equal. For a rugged, long-lasting divider, you need structural integrity. Corrugated cardboard from shipping boxes is your best friend for deep drawers, while thinner cereal or cracker boxes are perfect for delicate items like ties or jewelry.
The Material Hierarchy
- Double-Wall Corrugated: Best for deep dresser drawers holding heavy items like jeans or hoodies.
- Single-Wall Corrugated: The ‘Goldilocks’ material—perfect for most T-shirt and sock dividers.
- Paperboard (Cereal Boxes): Ideal for shallow ‘junk’ drawers or small accessory dividers.
Beyond the cardboard itself, you will need a few basic tools that every handy DIYer should have in their arsenal. Precision is the difference between a ‘trashy’ look and a ‘treasure’ result.
| Tool | Purpose | Budget Tip |
|---|---|---|
| Utility Knife or Box Cutter | Clean, straight cuts through thick corrugation. | Ensure the blade is brand new for zero fraying. |
| Metal Ruler or T-Square | Measuring and acting as a cutting guide. | A heavy metal ruler prevents the blade from skipping. |
| Self-Healing Mat or Scrap Wood | Protecting your floors/table during cutting. | Use a flattened shipping box as a sacrificial cutting surface. |
| Hot Glue or Masking Tape | Securing the joints (optional for interlocking designs). | Masking tape is paintable; hot glue is permanent. |
“The secret to a professional finish is in the measurement. Measure twice, cut once, and always account for the 1/8-inch thickness of the cardboard itself.”
The Master Blueprint: Measuring for a Custom Fit
Engineering the Perfect Grid
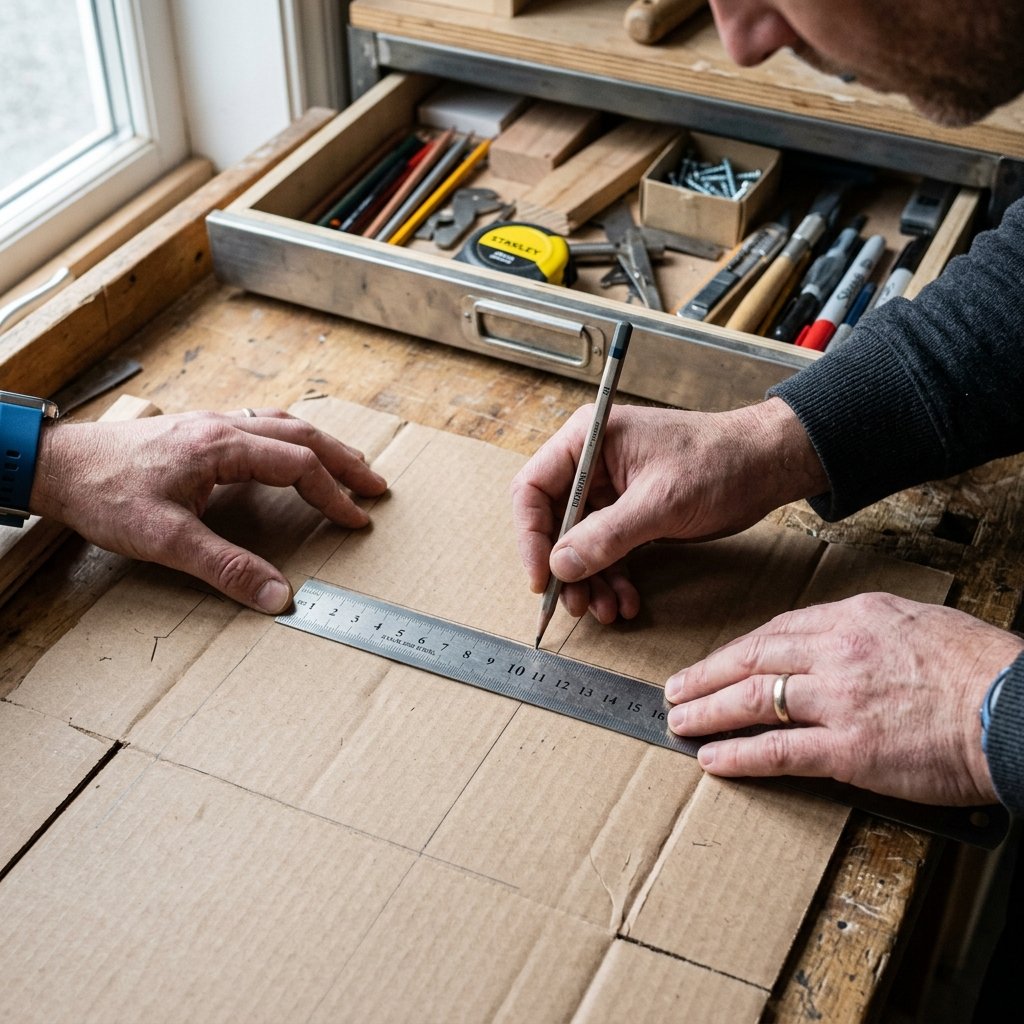
The biggest mistake people make with DIY dividers is ‘eyeballing’ it. To achieve that high-end, built-in look, you must treat your drawer like a construction site. We are going to use the Interlocking Slot Method, which provides incredible lateral stability without needing a drop of glue.
Step 1: The Internal Audit
- Empty your drawer completely. This is the time to donate what you don’t wear.
- Measure the internal width, depth, and height of the drawer.
- Subtract 1/4 inch from the height measurement. You never want your dividers to scrape the top of the dresser frame when you slide the drawer shut.
Step 2: The Layout Strategy
Consider what you are storing. A ‘one size fits all’ grid is a waste of space. Use this guide for your layout planning:
- Socks & Underwear: 3-inch by 3-inch square cells.
- T-Shirts (File Folded): 5-inch wide rows.
- Jeans & Sweaters: 8-inch to 10-inch wide sections.
| Item Type | Recommended Slot Width | Folding Style |
|---|---|---|
| Ankle Socks | 3″ | Rolled or Tucked |
| Graphic Tees | 5.5″ | KonMari Vertical Fold |
| Dress Belts | 4″ | Coiled |
The Build: Executing the Interlocking Slot Technique

Precision Cutting and Assembly
This is where the magic happens. The interlocking slot technique allows the cardboard strips to support each other, creating a rigid skeleton that won’t collapse. It is the hallmark of a clever, budget-savvy craftsman.
The Execution Process
- Cut Your Strips: Cut long strips of cardboard to the height of your drawer (minus that 1/4 inch). You will need ‘Vertical Strips’ (running front to back) and ‘Horizontal Strips’ (running side to side).
- Mark Your Notches: On your vertical strips, mark where you want the horizontal dividers to cross.
- The Half-Cut: This is critical. On the vertical strips, cut a notch halfway down from the top. On the horizontal strips, cut a notch halfway up from the bottom.
- The Width of the Notch: Ensure the notch is exactly as wide as the thickness of your cardboard. If the notch is too wide, the divider will wobble. If it’s too tight, the cardboard will buckle.
“When cutting notches, I find that a small ‘V’ shape works better than a single slit. It allows the two pieces to ‘seat’ into each other with a satisfying click, providing much better structural integrity.”
Once your notches are cut, simply slide the horizontal pieces into the vertical ones. You now have a custom grid that fits your drawer like a glove. If you’ve measured correctly, the tension against the drawer walls should hold it firmly in place without any adhesive.
The ‘High-End’ Hack: Making Cardboard Look Like Luxury
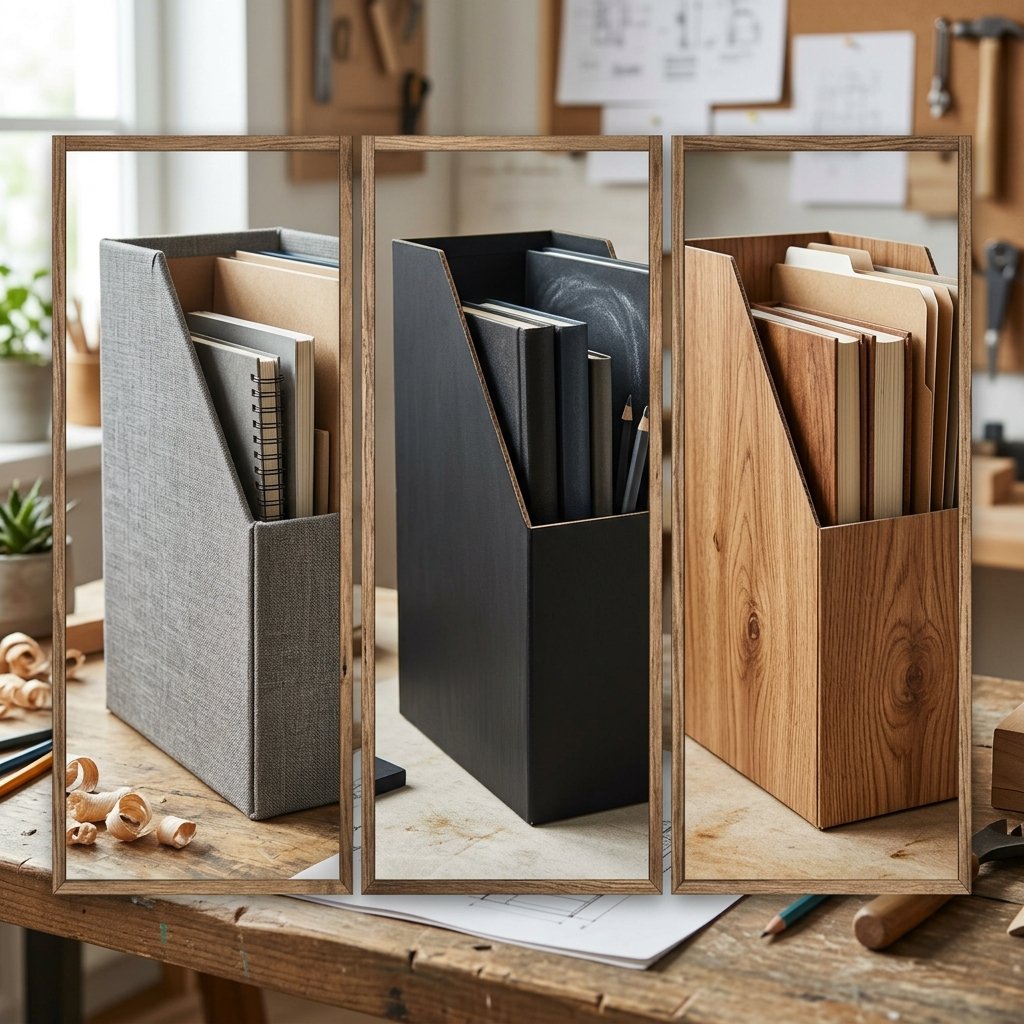
From Trash to Designer Aesthetic
If you prefer the rugged, industrial look of raw cardboard, you are done. However, if you want your spouse to think you spent $200 at a boutique organization store, we need to apply a finish. This is where we turn ‘frugal’ into ‘masculine-elegant.’
Option A: The Minimalist Paint Job
Using leftover interior house paint or a $1.25 can of spray paint, you can give your dividers a uniform, matte finish. Dark charcoal or navy blue creates a sophisticated, high-contrast look against white or light wood drawers.
Option B: The Fabric Wrap (The ‘Linen’ Look)
This is the ultimate upcycling trick. Take an old, stained white bedsheet or a worn-out button-down shirt. Use a light coating of spray adhesive or a glue stick to wrap the fabric around your cardboard strips before assembly. It adds a soft texture that protects delicate fabrics like silk or lace.
Option C: Contact Paper or Wallpaper Scraps
If you have leftover peel-and-stick wallpaper, this is the time to use it. Wood-grain contact paper can make your cardboard dividers look like genuine oak or walnut inserts for a fraction of the cost.
| Finish Method | Cost | Durability |
|---|---|---|
| Raw Cardboard | FREE | Moderate |
| Acrylic Paint | ~$2.00 | High |
| Upcycled Fabric | FREE | High (Washable-ish) |
| Contact Paper | ~$5.00 | Very High |
Strategic Maintenance and Longevity Hacks
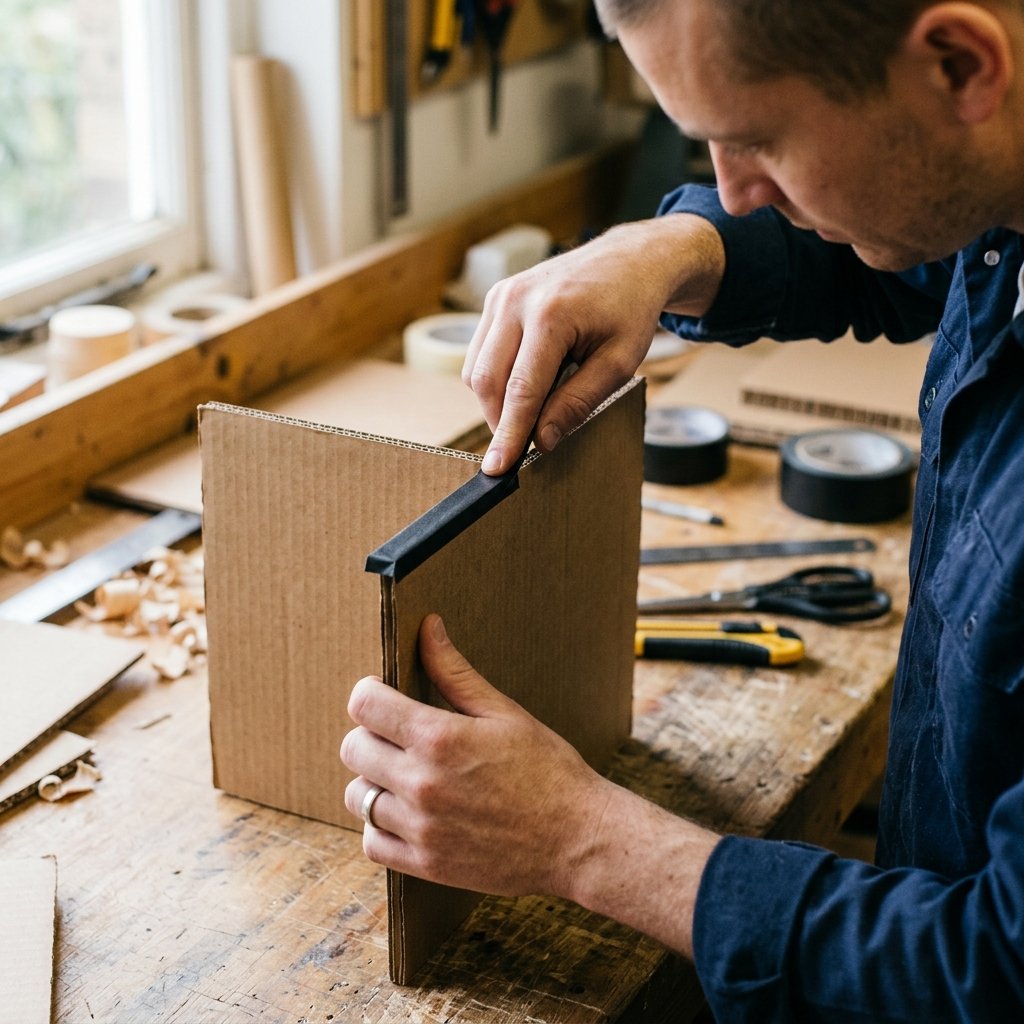
Ensuring Your Dividers Last for Years
Cardboard is surprisingly durable, but it can be susceptible to moisture or heavy friction. To ensure your hard work lasts, follow these crafty-expert tips.
- Reinforce the Edges: The top edge of the cardboard is the most likely to fray. Run a thin bead of hot glue along the exposed corrugation or cover it with a strip of matching washi tape to ‘seal’ the edge.
- Moisture Protection: If you live in a humid climate, a quick coat of clear polyurethane or even a simple rub-down with a candle (wax coating) will make the cardboard water-resistant.
- The ‘Snug Fit’ Rule: Over time, drawers can expand or contract. If your dividers become loose, simply glue a small ‘shim’ of extra cardboard to the end of one strip to restore the tension fit.
“A truly frugal DIYer doesn’t just build for today; they build for the long haul. A five-minute edge-reinforcement today saves you from rebuilding your entire system in six months.”
Conclusion
Mastering the Art of the Organized Life
You have successfully transformed a pile of shipping waste into a precision-engineered organization system. By choosing to build your own drawer dividers, you haven’t just saved $50 to $100; you have created a custom solution tailored specifically to your wardrobe and your lifestyle. This project is a testament to the fact that with a little ingenuity and a sharp blade, you can achieve luxury results on a zero-dollar budget. Now, every time you open your dresser, you won’t feel the stress of clutter—you’ll feel the pride of a job well done. Go forth and conquer the rest of your house, one cardboard box at a time!

Makenzie is the founder and lead writer at MoneyHackTips.com — a personal finance blog dedicated to delivering street-smart financial wisdom for real people on real budgets. With 300+ published articles covering everything from debt management to investing fundamentals, Makenzie’s mission is to make every dollar work harder. When not writing about money hacks, Makenzie is testing frugal living strategies, optimizing side hustles, and helping readers build financial freedom from scratch.