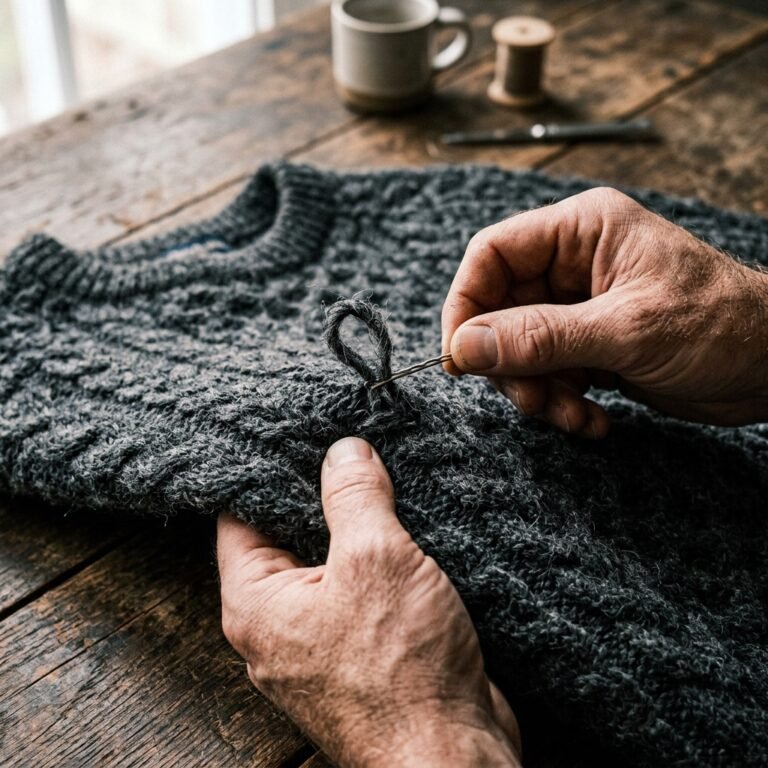
There is something inherently comforting about a well-worn flannel shirt. It’s the fabric of chilly mornings, campfire coffee, and honest work. But what happens when the elbows blow out or the collar frays beyond repair? Most people toss them, but the clever DIYer knows that the best part of the shirt—that soft, durable cotton—is still perfectly good. Today, we are reclaiming that fabric to create a stunning pocket scarf that looks like a high-end boutique find but costs exactly $0.
This project is the epitome of resourceful creativity. Whether you are a budget-savvy parent looking to keep the family warm or a crafty gift-giver searching for a rugged, masculine-elegant present, this tutorial is your blueprint. We aren’t just sewing scraps together; we are engineering a functional accessory that combines the warmth of a scarf with the utility of deep, hidden pockets. Let’s dive into the art of the trash-to-treasure transformation.
The Anatomy of Upcycling: Why Flannel is King
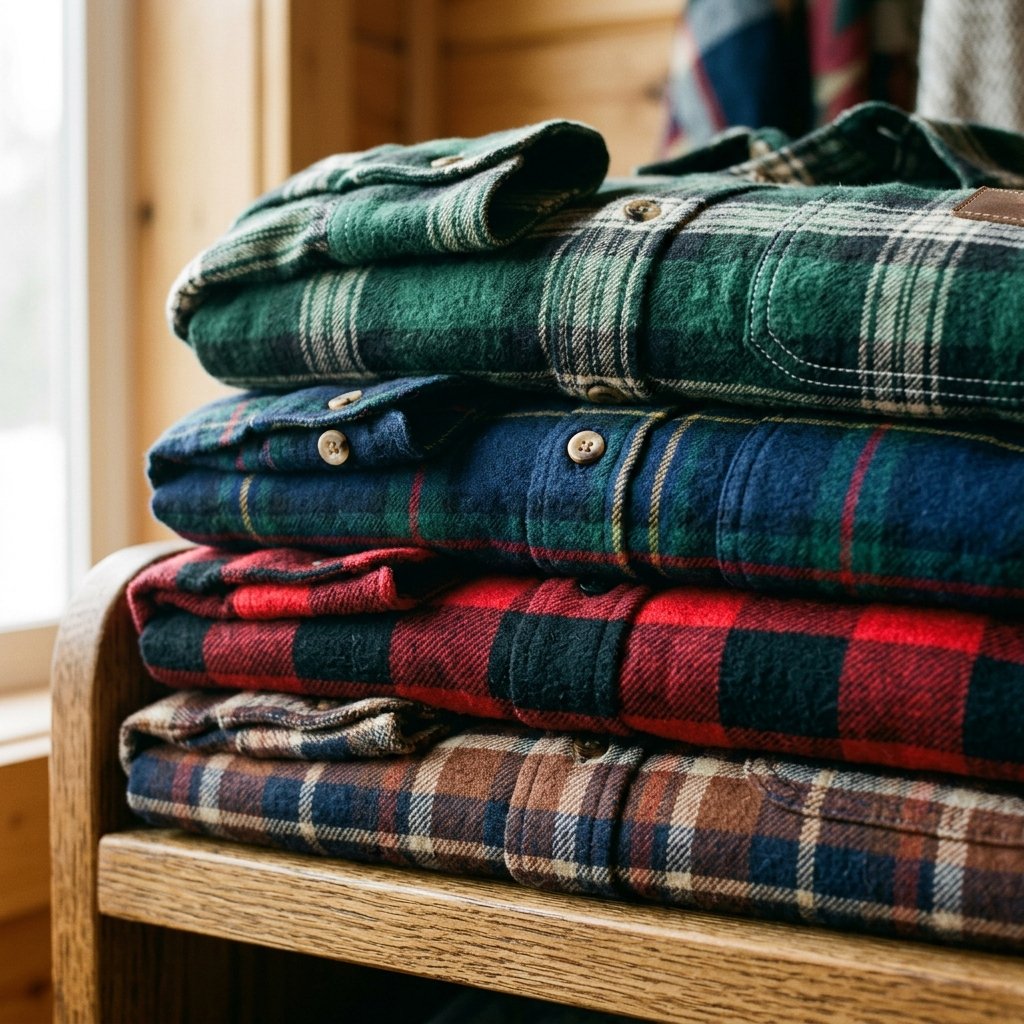
Before we pick up the shears, let’s talk about why we are using flannel. Flannel is typically a brushed cotton or wool blend, meaning it has a raised surface that traps heat. It’s forgiving to sew by hand because the weave hides slightly uneven stitches—a major win for the frugal beginner.
Selecting Your Donor Shirts
To make a substantial scarf, you’ll need two to three old flannel shirts. Don’t worry if they don’t match perfectly; a mix-and-match aesthetic adds to the rugged, artisanal charm. Look for shirts with:
- Intact Back Panels: This is where we get our longest continuous strips of fabric.
- Functional Pockets: If the original shirt has breast pockets, we can harvest them to save time.
- Complementary Colors: Think deep forest greens, navy blues, and classic buffalo reds.
| Feature | Why It Matters | DIY Benefit |
|---|---|---|
| Brushed Texture | Insulation & Softness | Maximum Warmth |
| Plaid Patterns | Alignment Guide | Easy Straight Cutting |
| Durability | Long-lasting Wear | Heirloom Quality |
The goal isn’t perfection; it’s character. Every fade and fray in the original shirt tells a story of the work it did before becoming your new favorite accessory.
The Scavenger’s Toolkit: Essential Supplies
No Sewing Machine? No Problem!
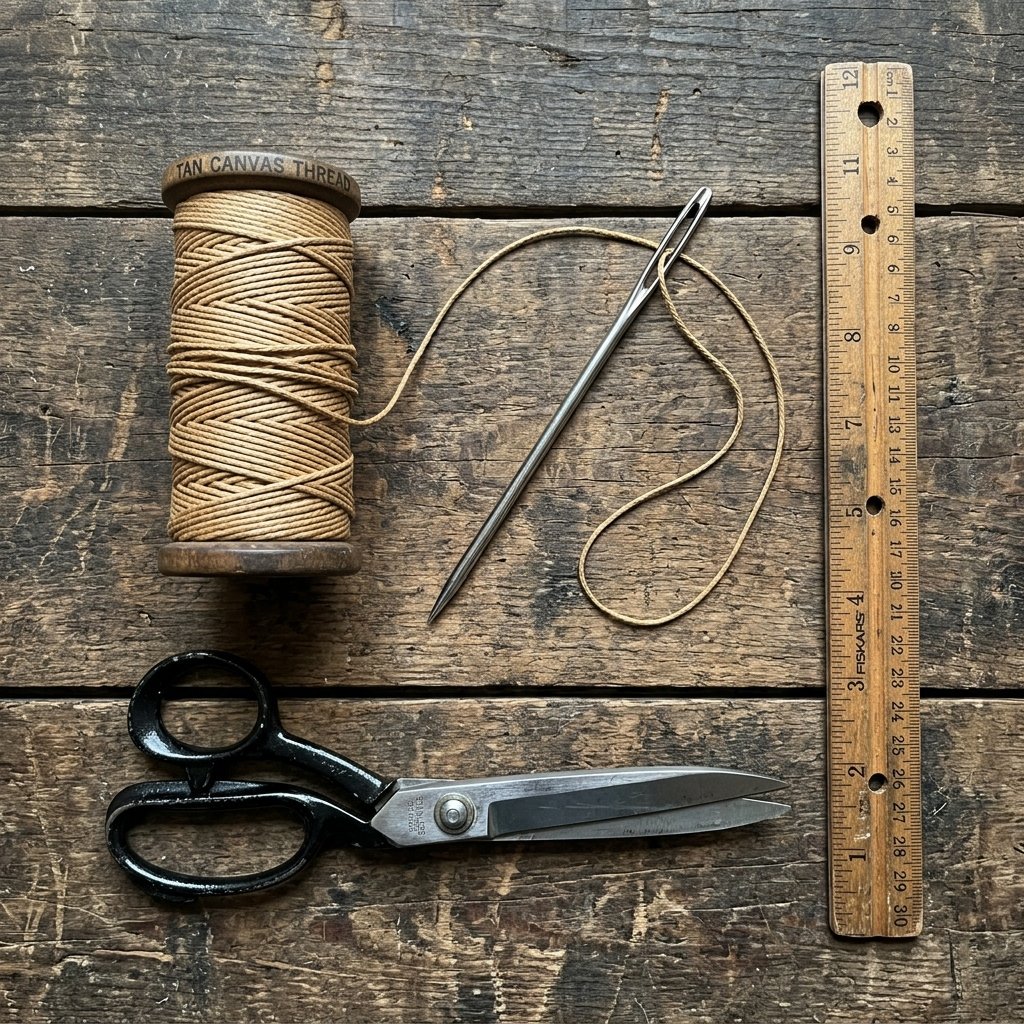
This project is designed for the hand-sewing enthusiast. You don’t need an expensive machine to achieve a professional finish. In fact, hand-stitching allows for greater control and a more authentic, handcrafted feel. Here is what you need to scavenge from your junk drawer or sewing kit:
- Heavy-Duty Fabric Shears: Or the sharpest scissors you own. Dull blades lead to jagged edges.
- Embroidery Floss or Upholstery Thread: We want a strong, visible stitch. Using a contrasting color like cream or tan against a dark plaid adds a masculine-elegant touch.
- Large Sewing Needle: Ensure the eye is big enough for thicker thread.
- Straight Pins or Binder Clips: To hold your fabric panels in place before you commit to the stitch.
- A Cardboard Template: Cut a rectangle of cardboard (about 10 inches by 12 inches) to use as a consistent guide for your scarf segments.
| Item | Budget Source | Estimated Cost |
|---|---|---|
| Flannel Shirts | Closet / Thrift Store | $0 – $3 |
| Needle & Thread | Existing Kit | $0 |
| Measuring Tool | Construction Tape Measure | $0 |
The Blueprint: Cutting and Preparing Your Panels
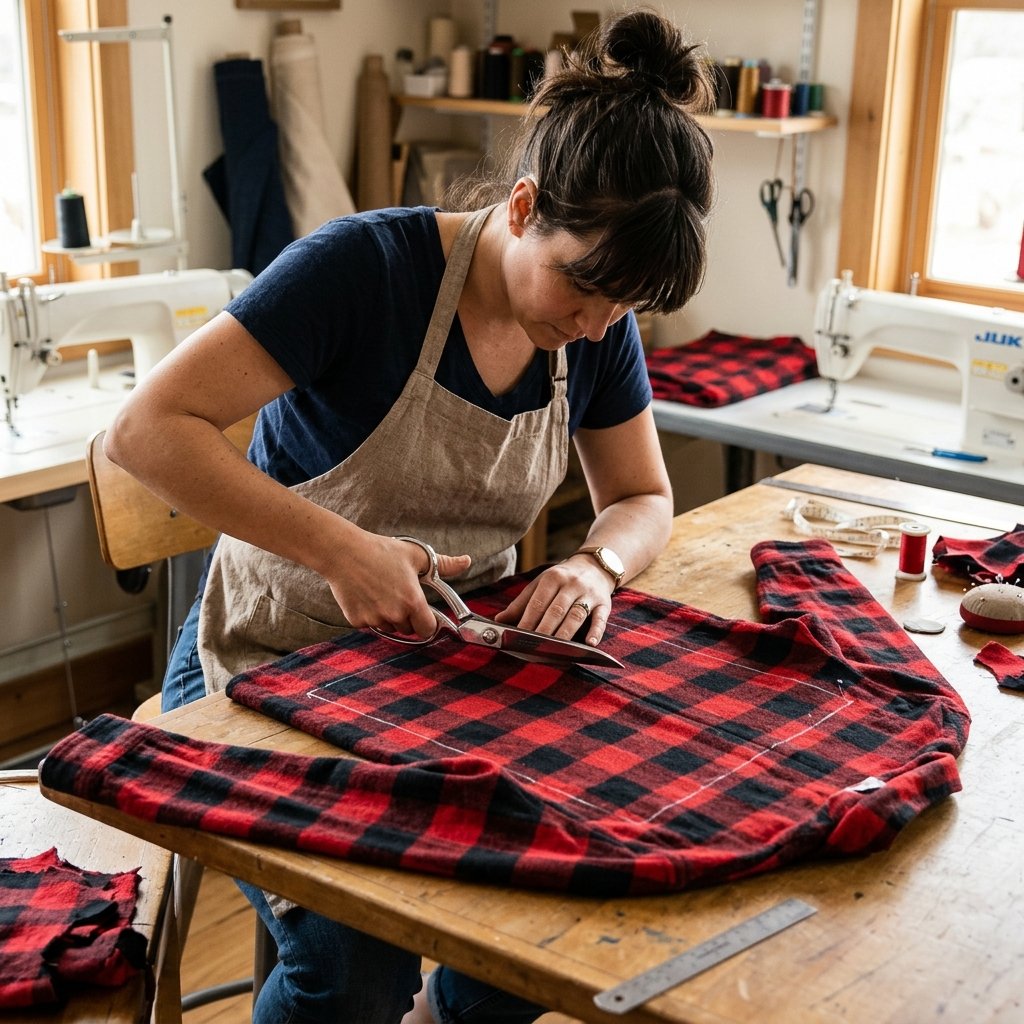
Deconstructing the Shirt
Lay your shirts flat on a hard surface. We are going to perform ‘surgical’ cuts to maximize our yield. Follow these steps to harvest your fabric:
- Remove the Sleeves: Cut along the shoulder seam. Save these! The cuffs make excellent small interior pockets.
- Cut the Back Panel: Cut along the side seams and across the yoke (the shoulder area). This large rectangle is your primary scarf material.
- The Pocket Harvest: If the shirt has front pockets, carefully use a seam ripper or small scissors to remove them, keeping the fabric behind the pocket intact.
Creating the Scarf Body
A standard pocket scarf is usually 60 to 70 inches long and 8 to 10 inches wide. Since our shirt panels won’t be 70 inches long, we will join them together. Use your cardboard template to cut 6 to 8 identical rectangles from your harvested fabric. This modular approach allows you to alternate patterns for a clever, patchwork look.
Safety Note: Always cut away from your body and keep your fingers clear of the shears’ path. Flannel can be thick, so take slow, steady snips.
The Master’s Stitch: Joining Panels with Strength
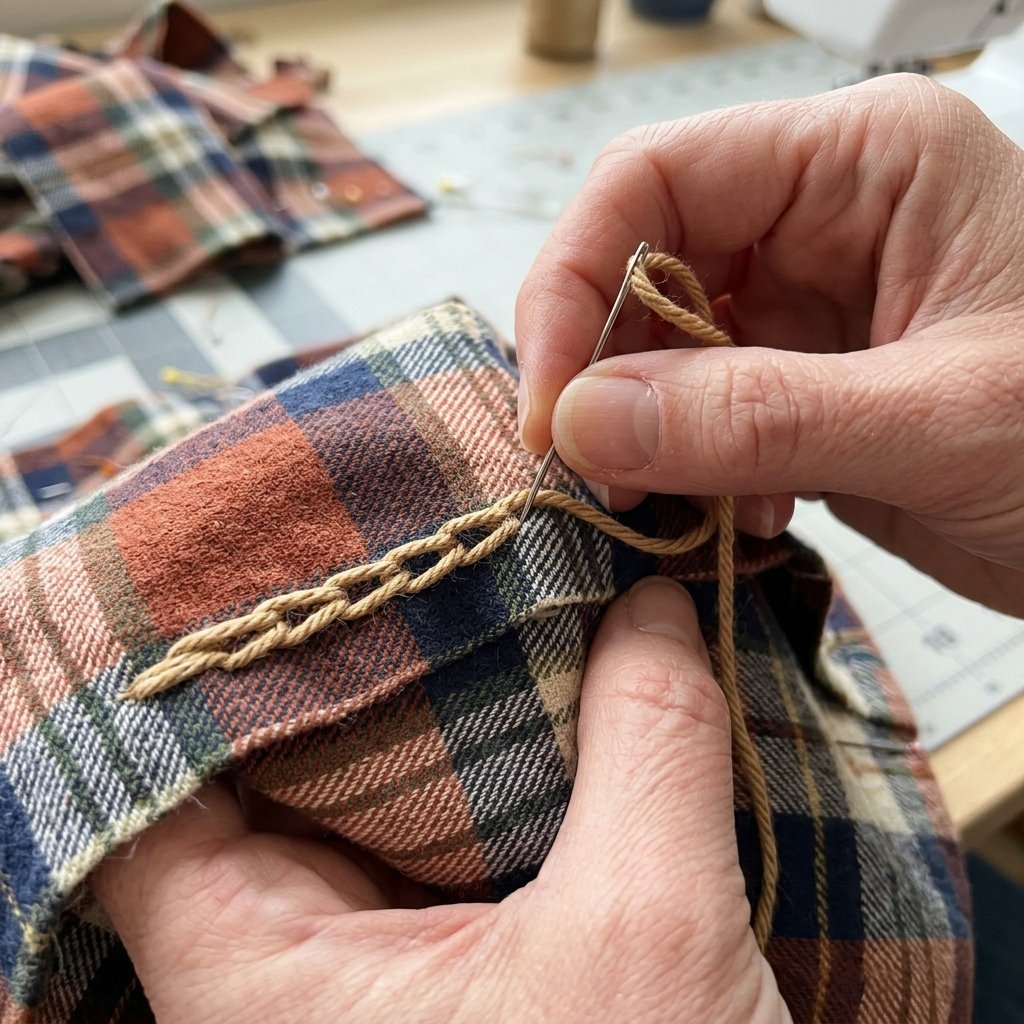
The Backstitch: Your Secret Weapon
To ensure your scarf doesn’t fall apart after a week of wear, we use the backstitch. It is the strongest hand-stitch, mimicking the durability of a machine. It provides the rugged reliability needed for an outdoor accessory.
How to Execute a Perfect Backstitch:
- Thread your needle and tie a sturdy knot at the end.
- Bring the needle up through both layers of fabric.
- Take a small stitch backward (about 1/8 inch) and bring the needle up a stitch-length ahead of the first point.
- Repeat, always going back into the end of the previous stitch.
Pin two of your rectangles right-sides together (the ‘pretty’ sides facing each other). Sew along the short edge using a 1/2 inch seam allowance. Open them up, and you’ll see a seamless transition between fabrics. Continue this until you reach your desired scarf length.
| Stitch Type | Best Use Case | Strength Level |
|---|---|---|
| Backstitch | Joining main panels | High |
| Running Stitch | Decorative edging | Low |
| Whipstitch | Attaching pockets | Medium |
The Pocket Power-Up: Adding Functional Storage

Engineering the Perfect Pocket
The ‘Pocket’ in Pocket Scarf is what makes this project truly clever. These aren’t just for show; they are designed to hold your phone, keys, or simply keep your hands warm. We will place a pocket at each end of the scarf.
Option A: The Reclaimed Shirt Pocket
If you harvested the original pockets, simply center them on the bottom panels of your scarf. Use a whipstitch around the sides and bottom, leaving the top open. This is the ultimate budget-savvy hack.
Option B: The Hidden Cuff Pocket
Take the cuffs you cut off earlier. Because they are already reinforced and often have a button, they make perfect ‘security pockets’ for keys. Sew these onto the inside of your scarf panels before you do the final assembly.
Closing the Scarf
Once your panels are joined and pockets are attached, fold the entire long strip in half lengthwise (right-sides together). Sew down the long edge and one short edge. Turn the whole thing right-side out through the remaining open end—it’s like turning a giant sock inside out! Finally, hand-stitch the last end closed using an invisible ladder stitch.
The Finishing Touches: Style and Maintenance
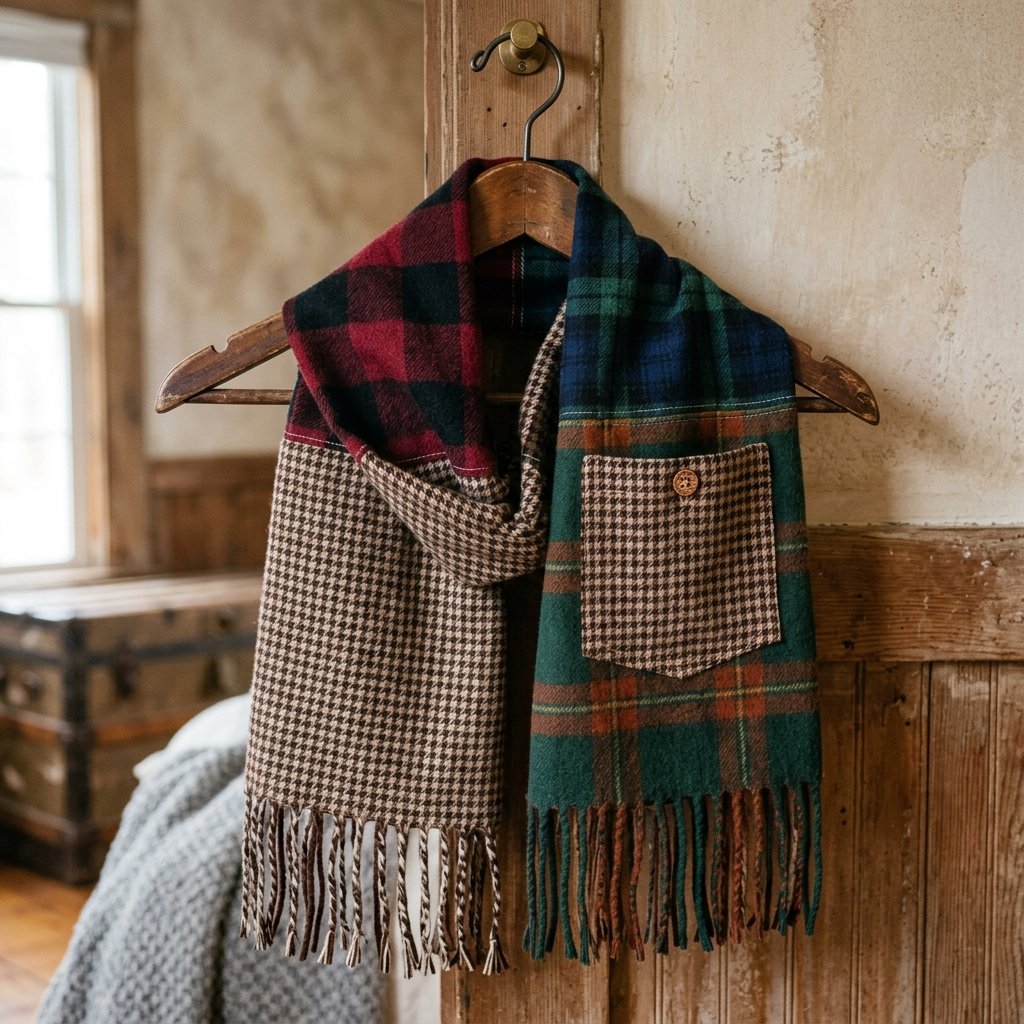
Adding Rugged Detail
To give your scarf that masculine-elegant edge, consider adding a self-fringe. Simply stop your bottom seam about 2 inches from the edge and pull out the horizontal threads of the flannel. This creates a soft, feathered fringe that looks professional and intentional.
Caring for Your Creation
Because your scarf is made from 100% cotton flannel, it is incredibly easy to maintain. However, to preserve your hand-stitching:
- Wash Cold: Prevents the different flannel patterns from shrinking at different rates.
- Air Dry: Keeps the fibers soft and prevents the thread from becoming brittle.
- Iron Flat: A quick steam iron will crisp up the seams and make your DIY masterpiece look like it came from a high-end department store.
| Action | Frequency | Benefit |
|---|---|---|
| Cold Wash | As needed | Color preservation |
| Steam Iron | After wash | Professional finish |
| Spot Clean | Weekly | Longevity of stitches |
Conclusion
You have just turned a pile of potential rags into a stunning, functional accessory. This pocket scarf isn’t just a way to stay warm; it’s a testament to resourceful living and the power of crafty expertise. By choosing to upcycle, you’ve saved money, reduced waste, and created a one-of-a-kind piece that carries the history of your favorite shirts.
Whether you’re heading out for a winter hike or looking for the perfect frugal gift for a loved one, this flannel pocket scarf is proof that you don’t need a big budget to have big style. So, the next time you see a worn-out shirt, don’t see trash—see your next treasure. Happy crafting!

Makenzie is the founder and lead writer at MoneyHackTips.com — a personal finance blog dedicated to delivering street-smart financial wisdom for real people on real budgets. With 300+ published articles covering everything from debt management to investing fundamentals, Makenzie’s mission is to make every dollar work harder. When not writing about money hacks, Makenzie is testing frugal living strategies, optimizing side hustles, and helping readers build financial freedom from scratch.