
The Heart of the Home Deserves a High-End Upgrade (Without the High-End Price Tag)
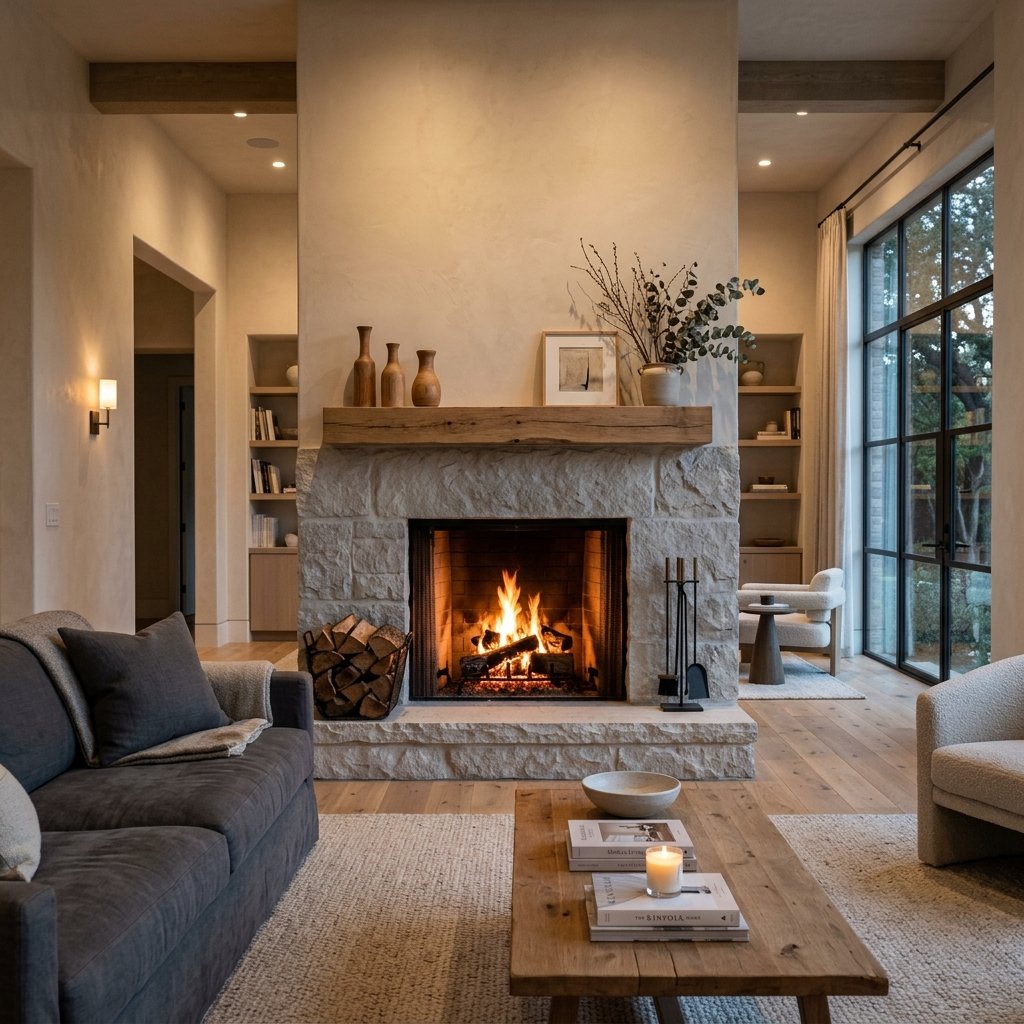
Let’s be honest: that heavy, dark red brick fireplace sitting in your living room probably felt ‘timeless’ back in 1978, but today? It’s a visual anchor that’s dragging your entire room’s aesthetic into the past. We’ve all seen those stunning, floor-to-ceiling limestone fireplaces in luxury architectural magazines—the ones that cost upwards of $5,000 to $10,000 for professional masonry. But as a frugal DIYer, you know that ‘expensive’ is just a challenge waiting for a clever solution. We aren’t just ‘painting’ brick here; we are performing a structural-looking metamorphosis. By using a few rugged, practical materials like joint compound and a specific ‘stipple-and-drag’ technique, you can achieve that soft, porous, organic look of real limestone for pennies on the dollar. This guide is for the handy moms, the budget-savvy dads, and the craft-experts who aren’t afraid to get their hands a little dusty to save a few thousand bucks. Let’s turn that ‘dated’ into ‘designer.’
The Master’s Toolkit: Materials and Budget Breakdown
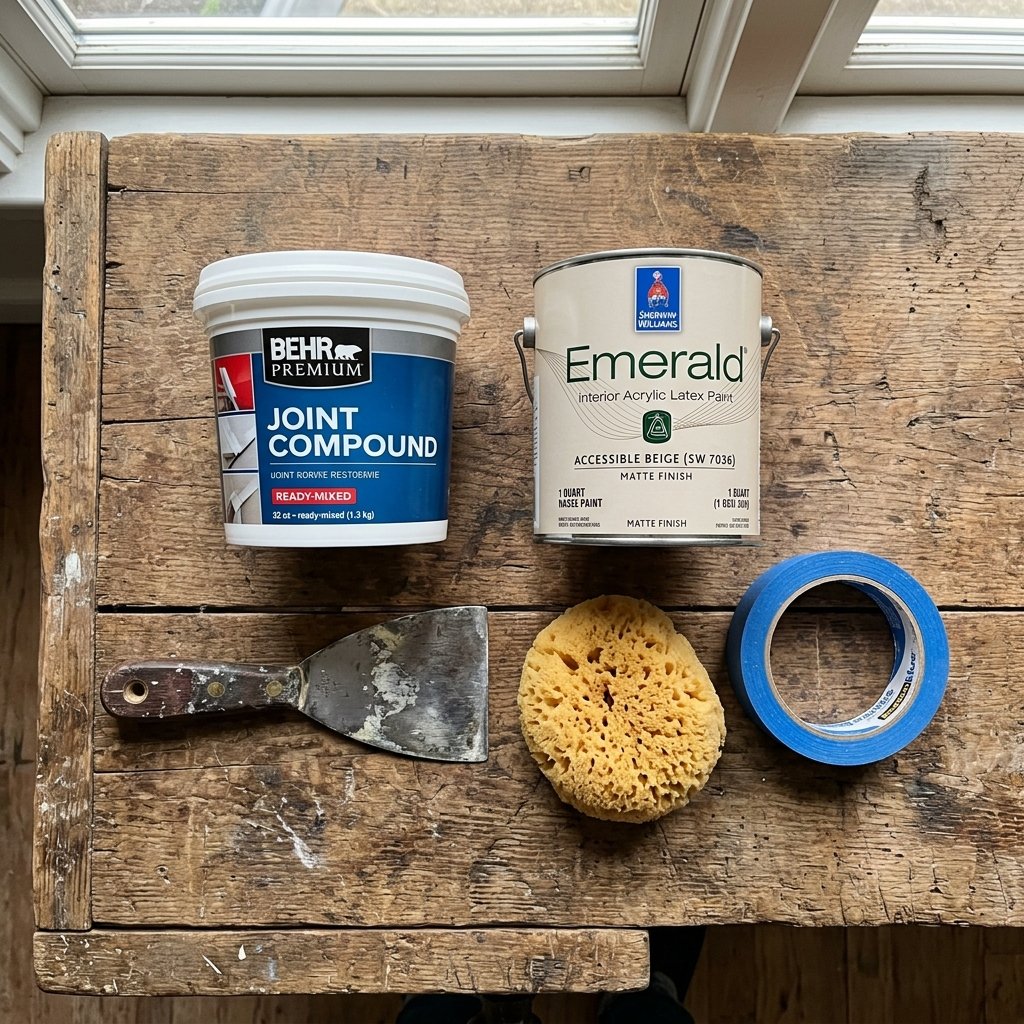
Before we dive into the grit, we need to gather our supplies. The beauty of this project is that most of these items are likely sitting in your garage or can be picked up at a local hardware store for a minimal investment. We are looking for a rugged, durable finish, so don’t skimp on the quality of your primer, but feel free to be resourceful with your mixing tools.
| Material | Estimated DIY Cost | Professional Alternative |
|---|---|---|
| All-Purpose Joint Compound (Pre-mixed) | $15.00 | Real Limestone Slab ($3,000+) |
| High-Adhesion Primer (KILZ or Zinsser) | $12.00 | Masonry Labor ($1,500+) |
| Matte Latex Paint (Greige/Sand tones) | $15.00 | Stone Sealants ($200) |
| Baking Soda or Texture Additive | $2.00 | Specialty Plasters ($400) |
| Total Investment | $44.00 | $5,100+ Total Savings |
Essential Supplies Checklist:
- 4-inch Putty Knife: For the ‘heavy lifting’ of the texture.
- Large Sea Sponge: Crucial for creating those organic limestone pores.
- Stiff Bristle Brush: To knock down the peaks and create a honed stone look.
- Painter’s Tape and Drop Cloths: Protect your floors—this gets messy!
- Trisodium Phosphate (TSP): The secret to making sure your paint actually sticks to decades of soot.
Phase 1: The Rugged Prep (Scrubbing Away Decades of Soot)
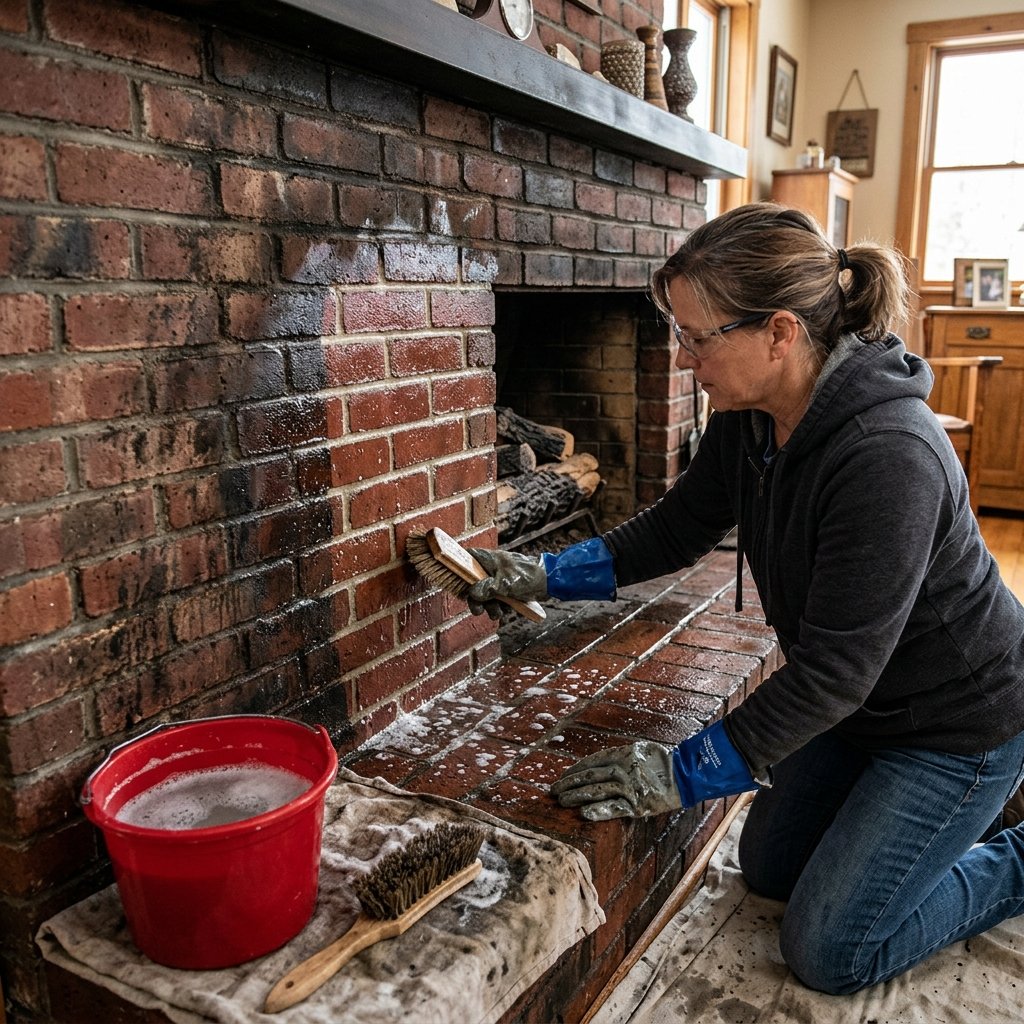
You wouldn’t build a house on a swamp, and you shouldn’t put high-end faux finish on a greasy, soot-covered brick. This is where the ‘handy’ part of ‘handy parent’ comes in. Brick is porous, meaning it has spent the last thirty years absorbing smoke, oils, and dust. If you skip this, your beautiful limestone finish will peel off within a month.
“Budget Mantra: 10 minutes of extra scrubbing saves 10 hours of future repairs. Do it right, do it once.”
- Vacuum the Surface: Use a shop-vac with a brush attachment to get deep into the mortar lines.
- The TSP Scrub: Mix a solution of TSP and warm water. Using a stiff scrub brush, work from the top down. You’ll be shocked at the black sludge that comes off.
- Rinse and Dry: Wipe down with clean water and let it dry for at least 24 hours. Moisture trapped in the brick is the enemy of adhesion.
- Tape Off: Use high-quality painter’s tape to mask off the mantel, the firebox, and the surrounding walls.
Safety Note: When using TSP or cleaning heavy soot, always wear gloves and ensure the room is well-ventilated. If your fireplace is functional, ensure it is completely cold before starting.
Phase 2: The Secret Sauce—Mixing the Faux Limestone Compound
The Chemistry of the ‘Stone’ Look
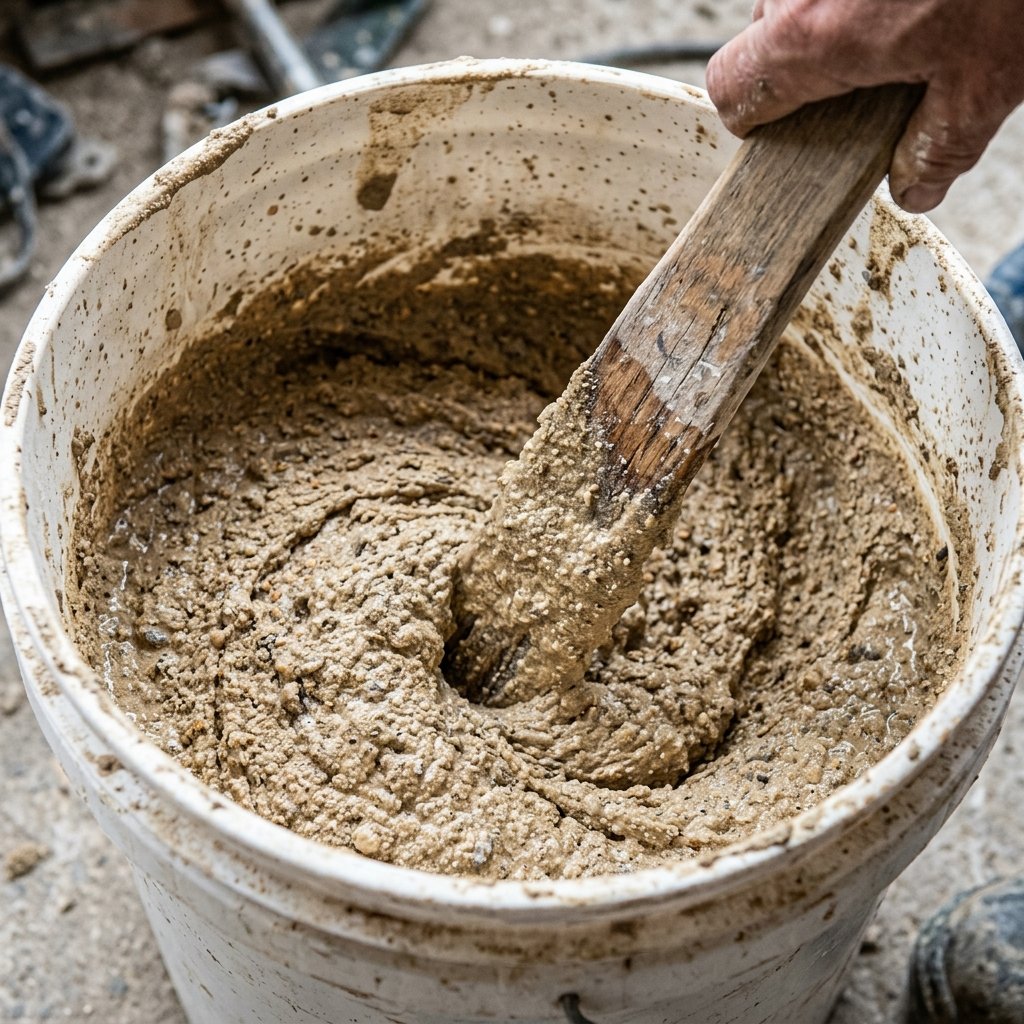
We aren’t just using flat paint. To get the tactile feel of limestone, we need dimension. We are going to create a ‘Stone Slurry’ that mimics the mineral composition of real rock. This is where your inner craft-expert shines. We are mixing joint compound with paint to give us a longer ‘open time’ (workability) and a stone-like thickness.
The ‘Limestone’ Recipe:
- 2 Parts All-Purpose Joint Compound
- 1 Part Matte Latex Paint (Look for colors like ‘Swiss Coffee,’ ‘Agreeable Gray,’ or ‘Natural Tan’)
- 1/2 Cup Baking Soda (This adds a micro-grit that mimics the sandy texture of natural stone)
Mix these in a small bucket until you have the consistency of thick peanut butter. If it’s too runny, add more compound; if it’s too thick to spread, add a splash of paint. Pro Tip: Mix in small batches. Joint compound dries faster than paint, and you want to work in 3×3 foot sections to keep a ‘wet edge.’
Phase 3: The ‘Stipple and Drag’ Technique
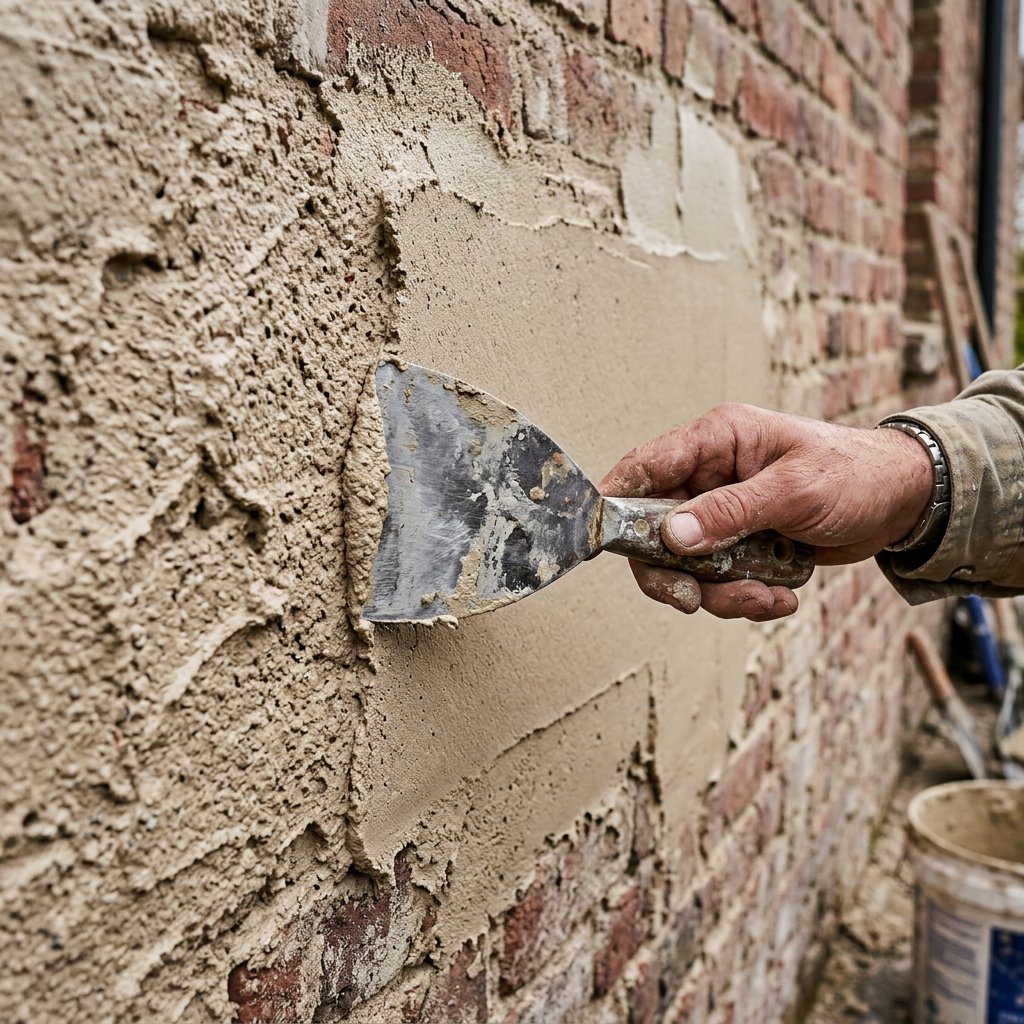
This is the most critical step for achieving that high-end, masculine-elegant finish. Real limestone isn’t perfectly smooth; it has pits, fossils, and ‘honed’ flat areas. We are going to replicate this in three layers.
Step-by-Step Application:
- The Base Coat: Use a roller to apply a thin coat of your mixture over the bricks and deep into the mortar lines. This kills the red color.
- The Texture Layer: While the base is still tacky, take your putty knife and ‘glob’ the mixture onto the brick. Don’t worry about being neat. Take your sea sponge and dab it into the wet mixture to create ‘peaks.’
- The Knockdown (The Magic Step): Wait about 10-15 minutes until the peaks start to lose their shine. Take a clean, slightly damp putty knife and lightly ‘drag’ it across the surface. This flattens the tops of the peaks, creating the ‘honed’ look of stone while leaving the ‘pits’ for depth.
- The Mortar Blur: Don’t leave the mortar lines deep and dark. Fill them almost flush with the brick face to give the illusion of large, solid stone blocks rather than individual bricks.
Phase 4: Adding Organic Depth with Color Washing
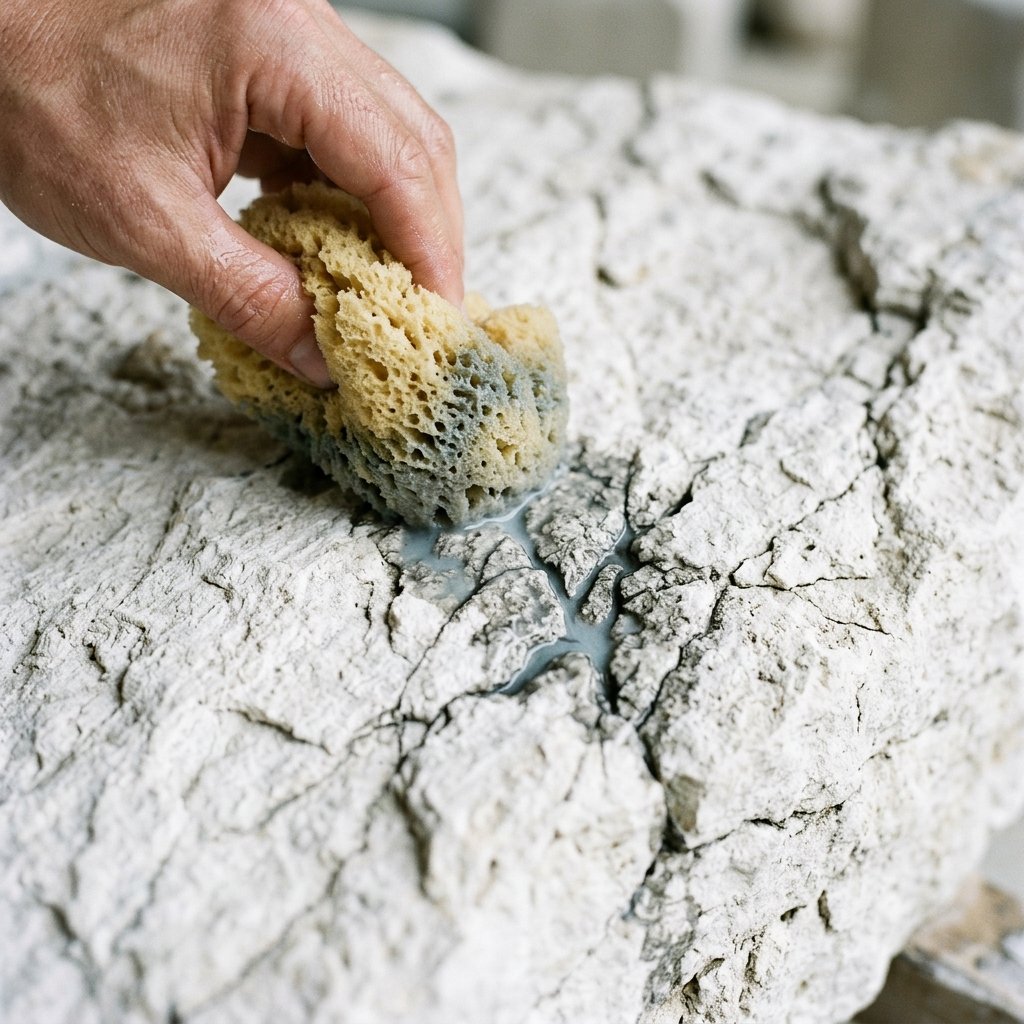
Natural stone is never one solid color. If you stop at the previous step, it might look like a ‘painted’ fireplace. To get that Pottery Barn or Anthropologie look, we need to add subtle ‘veining’ and shadows. This is a master-level hack that costs $0 if you have some leftover grey or brown acrylic paint.
The Color Wash Method:
Mix 1 part dark grey paint with 4 parts water to create a translucent ‘ink.’ Using a spray bottle, lightly mist the fireplace in random areas. Immediately take a rag and dab it away. This allows the dark pigment to settle into the ‘pits’ you created with the sponge, highlighting the texture and giving it the rugged, organic feel of aged limestone. Focus these shadows near the base and in the corners where natural soot or weathering would occur.
| Technique | Visual Effect | Target Area |
|---|---|---|
| Heavy Stippling | Deep Pits/Fossils | Center of Bricks |
| Flat Dragging | Honed/Polished Stone | Raised Surfaces |
| Dark Wash | Shadows/Age | Mortar Crevices |
| White Dry-Brush | Highlight/Mineral Deposits | Edges and Corners |
Sealing the Masterpiece: Protection and Maintenance
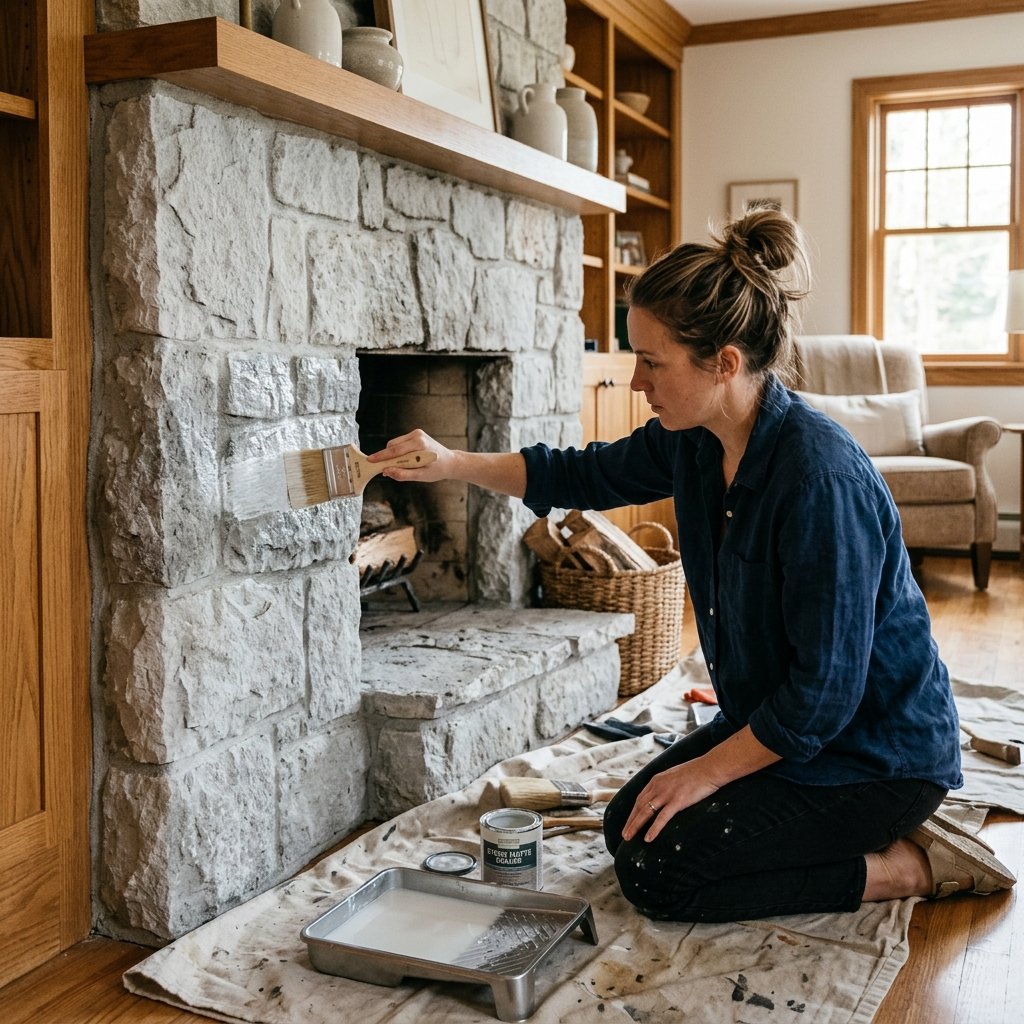
Since the fireplace is a high-traffic area (and a heat source), you need to protect your hard work. Joint compound is porous and can be dusty if left unsealed. However, you must avoid ‘glossy’ sealers—nothing screams ‘fake’ louder than a shiny stone fireplace.
- The Sealer: Use a Dead Flat Matte water-based polycrylic. This provides a protective barrier against soot and fingerprints without changing the look of the ‘stone.’
- Application: Use a high-quality synthetic brush to apply two thin coats. Do not let the sealer pool in the textures.
- Curing Time: Wait at least 48 hours before lighting a fire. Even then, ensure your first few fires are small to allow the materials to settle into the heat cycles.
“Budget Savvy Tip: If you have leftover matte floor sealer from a previous project, it works beautifully here. Just ensure it is water-based to prevent yellowing over time.”
Conclusion
From Dated Eyesore to Designer Anchor
There you have it—a high-end, faux limestone fireplace that looks like it was quarried in France, all for the price of a couple of pizzas. By being resourceful and clever with your materials, you’ve not only saved thousands of dollars but also added significant ‘sweat equity’ value to your home. This project proves that you don’t need a massive renovation budget to have a beautiful space; you just need a bit of grit, a putty knife, and the willingness to get a little messy. Now, grab a drink, kick up your feet, and enjoy the glow of your ‘new’ luxury fireplace. You earned it!

Makenzie is the founder and lead writer at MoneyHackTips.com — a personal finance blog dedicated to delivering street-smart financial wisdom for real people on real budgets. With 300+ published articles covering everything from debt management to investing fundamentals, Makenzie’s mission is to make every dollar work harder. When not writing about money hacks, Makenzie is testing frugal living strategies, optimizing side hustles, and helping readers build financial freedom from scratch.