
The Secret to High-End Style on a Shoestring Budget
Welcome, frugal DIYers, handy upcyclers, and crafty gift-givers! If you have ever walked through the aisles of a high-end home decor store, running your hands over gorgeous distressed wood and galvanized metal farmhouse pieces, only to flip over the price tag and gasp in sheer horror, you are in the right place. You do not need to spend hundreds of dollars to achieve that cozy, rugged, and elegantly masculine farmhouse aesthetic. With a little resourcefulness, a clever eye, and a few basic supplies from your local Dollar Tree, you can replicate those exact looks for under $5.
The philosophy of the budget-savvy crafter is simple: look past what an item is, and see what it can become. A flimsy plastic planter? That is a faux-galvanized metal sconce waiting to happen. A pack of wooden tumbling blocks? Those are the architectural bones of a rustic windmill mirror. We are going to dive deep into the art of the ‘dupe,’ utilizing clever paint tricks, structural hacks, and upcycling secrets to turn literal pocket change into heirloom-quality wall decor.
“Never pay retail for rustic charm. The most beautiful farmhouse decor isn’t bought; it is built with resourcefulness, patience, and a little bit of hot glue.”
In this comprehensive masterclass, we are going completely hands-on. We will cover the core elements of farmhouse design, provide a strict budget breakdown, and walk you through three exclusive, highly detailed DIY wall decor projects that will fool even the most discerning interior designer. Roll up your sleeves, plug in your hot glue gun, and let us turn trash into absolute treasure.
Deconstructing the Farmhouse Aesthetic: Why It Works
Understanding Texture and Tone
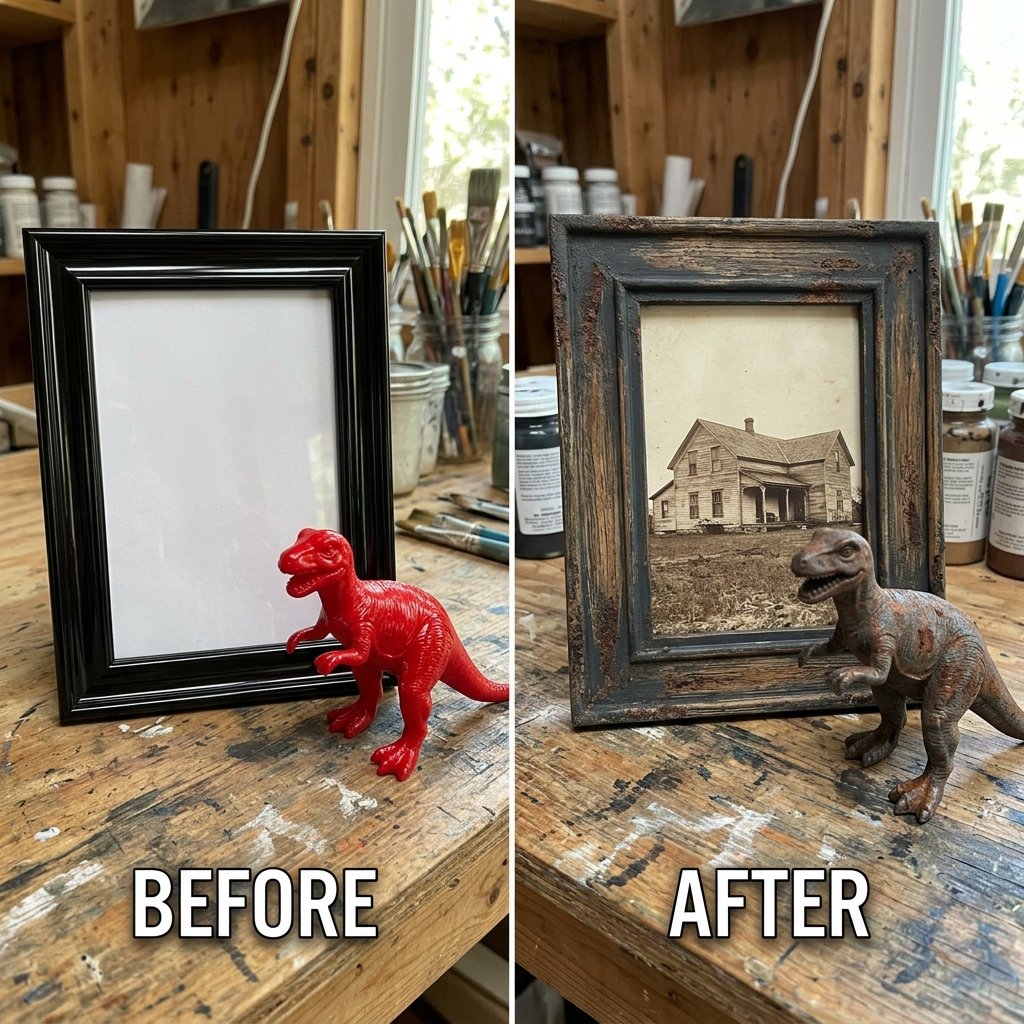
Before we start cutting and gluing, we need to understand the DNA of high-end farmhouse decor. Why do pieces from Pottery Barn or Magnolia Market look so expensive? It all comes down to texture, weight, and history. High-end pieces tell a story. They look rugged, lived-in, and practical. To replicate this on a budget, we must artificially inject these qualities into cheap, mass-produced dollar store items.
- Mixed Materials: Farmhouse style thrives on contrast. Combining warm, distressed wood tones with cold, industrial metals (like galvanized steel or wrought iron) creates visual intrigue.
- Matte Finishes: Cheap plastic is shiny. Expensive vintage metal is matte. By simply altering the light reflectivity of an object using chalk paints or baking soda mixtures, we instantly elevate its perceived value.
- Intentional Imperfection: Machine-made perfection looks cheap. Hand-sanded edges, dry-brushed distressing, and faux rust add the “masculine-elegant” ruggedness that defines this style.
The Frugal Crafter’s Price Comparison
To truly appreciate the power of frugal upcycling, let us look at the hard numbers. Below is a breakdown of what you would typically pay at a high-end retailer versus what we will be spending today. The savings are not just significant; they are astronomical.
| Decor Item | High-End Retail Price | Our Dollar Tree DIY Cost | Total Savings |
|---|---|---|---|
| Distressed Windmill Wall Mirror | $129.00 | $4.50 | $124.50 |
| Galvanized Metal Wall Sconce (Set of 2) | $85.00 | $3.75 | $81.25 |
| Botanical Wood Framed Shadow Box | $65.00 | $4.00 | $61.00 |
When you master these techniques, you aren’t just saving money; you are gaining the superpower of infinite, customizable home styling. You can tailor every piece to perfectly match your home’s unique color palette and spatial needs.
The Master Supply List: Navigating the Dollar Tree
Sourcing Your Raw Materials
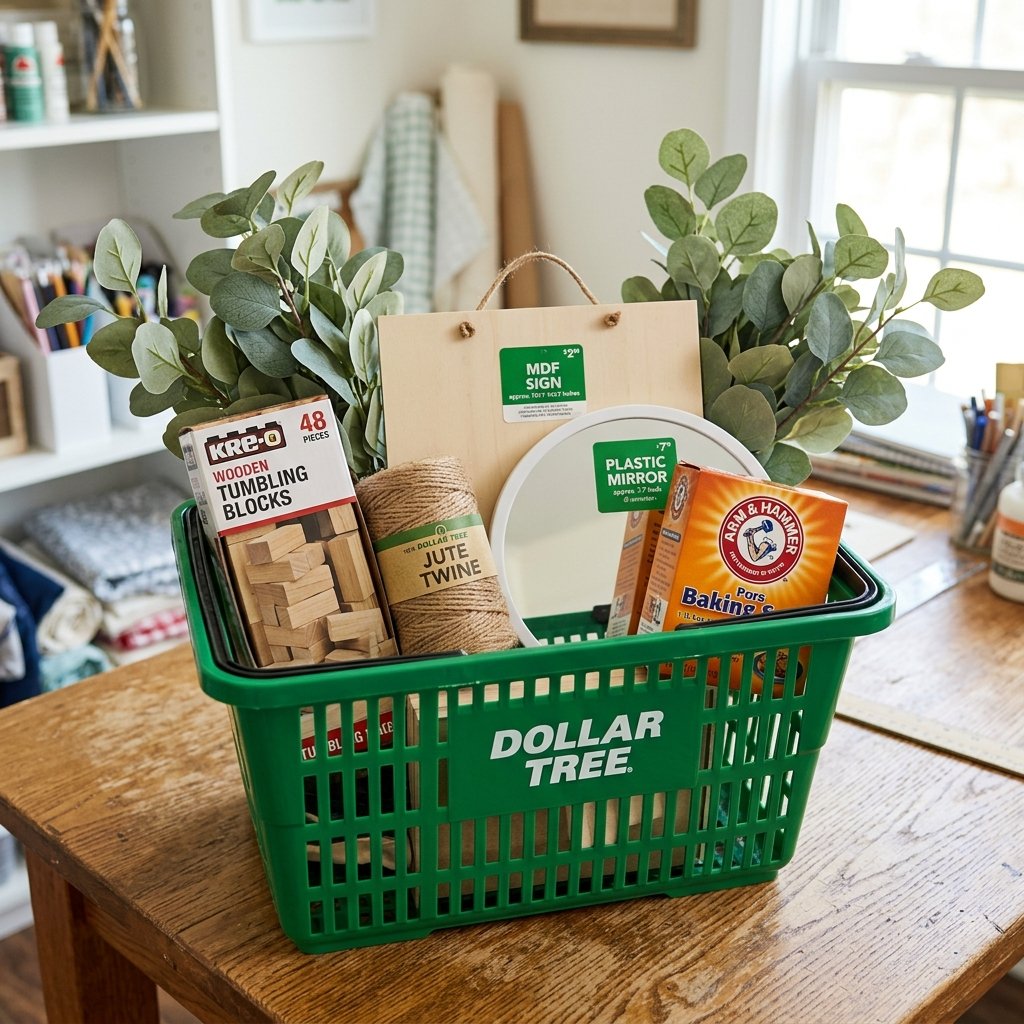
The Dollar Tree is a goldmine for the resourceful crafter, provided you know exactly which aisles to hit and what to ignore. We are bypassing the pre-made, flimsy decor section and heading straight for the raw materials. Here is your ultimate shopping list for building high-end farmhouse decor.
- Crafter’s Square Wooden Blanks: Look for blank MDF signs, wooden plaques, and the iconic wooden tumbling tower blocks (Jenga knock-offs). These are the structural foundation of our projects.
- Hardware & Automotive Aisle: Grab super glue (gel control is best), zip ties, and small metal hardware like D-rings for hanging.
- Floral Aisle: We need jute twine, floral wire, and Spanish moss. Skip the brightly colored faux flowers and look for muted greenery like eucalyptus or dusty miller for a more authentic, expensive look.
- Household & Kitchen: Pick up a box of baking soda. This is our secret weapon for creating faux-ceramic and faux-metal textures.
- Framing Aisle: Look for document frames with glass. We will be discarding the cheap plastic borders but keeping the glass and MDF backing.
Essential Tools You Probably Already Own
To keep our budget strictly under $5 per project, we rely on tools you likely have in your garage or craft drawer. You will need a standard hot glue gun, a pair of sharp scissors or heavy-duty snips, some basic acrylic craft paints (black, white, burnt umber), and a few cheap bristle brushes. If you have some medium-grit sandpaper (around 120-grit), keep it handy for distressing.
“Safety Note: When cutting thick plastics or MDF from dollar store frames, always use heavy-duty snips or a sharp utility knife with a metal straight edge. Never force the blade, and always cut away from your body to prevent slipping.”
Project 1: The Distressed Shiplap Windmill Mirror
Transforming Plastic into Heavy Iron
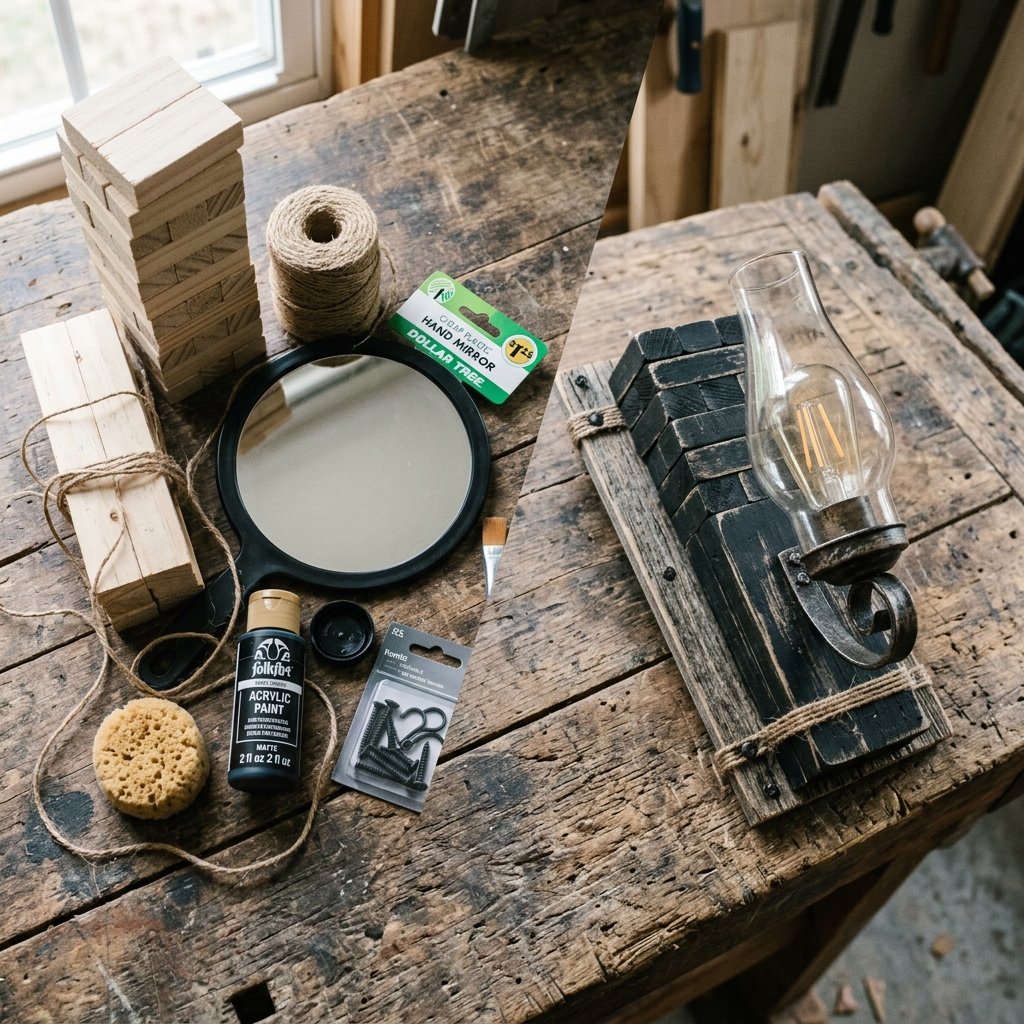
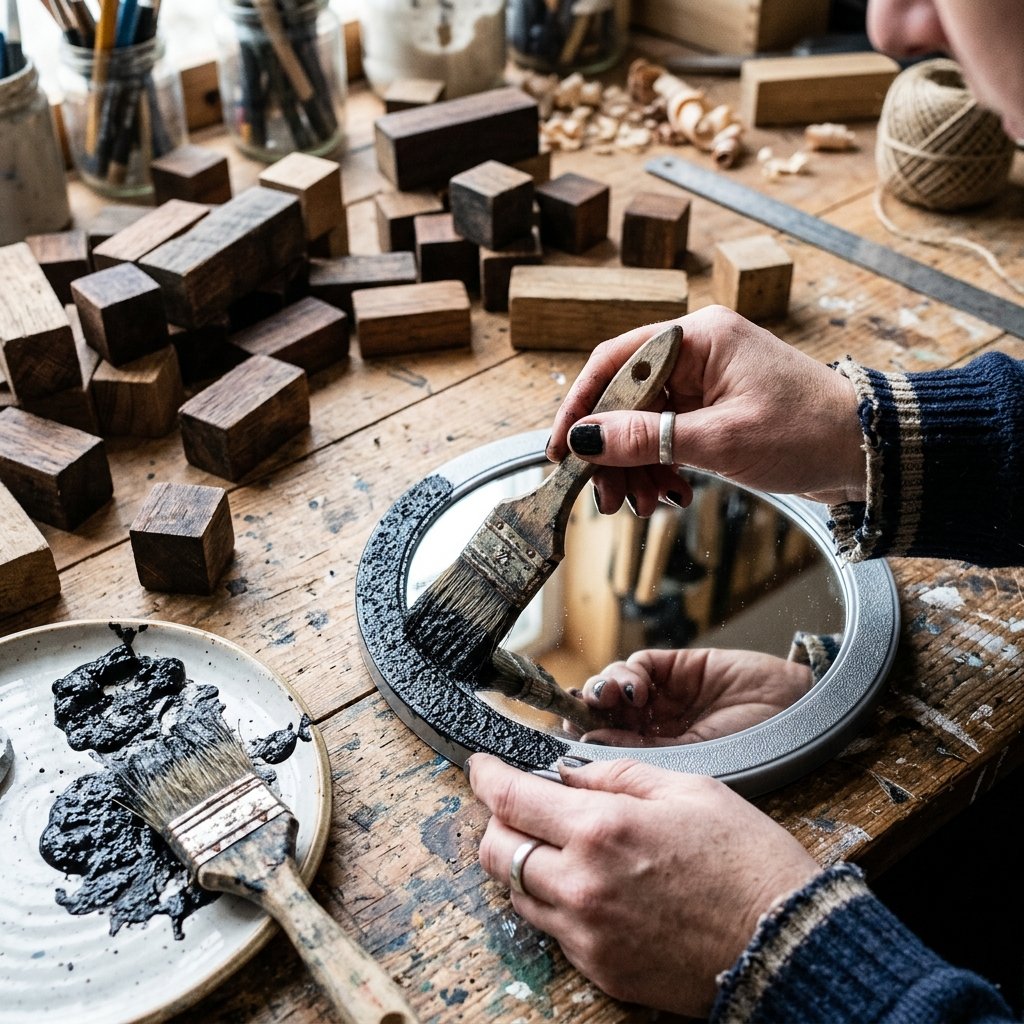
Our first project tackles the iconic farmhouse windmill mirror. Retailers sell these heavy, iron-and-wood centerpieces for upwards of $100. We are going to build one using a cheap round plastic mirror, tumbling tower blocks, and craft sticks, spending roughly $4.50 and 45 minutes of active crafting time.
Step-by-Step Construction
- Prep the Base: Take your Dollar Tree round plastic mirror. Using medium-grit sandpaper, lightly scuff the plastic frame. This gives the paint something to grip. Wipe away the dust with a damp cloth.
- The Faux Iron Finish: Mix black acrylic paint with a tiny pinch of baking soda (about a 4:1 ratio). Stipple this mixture onto the plastic frame using a stiff bristle brush. The baking soda adds a gritty, cast-iron texture. Let it dry completely for 20 minutes.
- Dry Brush Distressing: Once the black base is dry, take a clean, dry brush and dip just the very tips of the bristles into silver or metallic gray paint. Wipe almost all the paint off onto a paper towel. Lightly dust the edges of the mirror frame. This mimics the look of worn, aged metal.
- Build the Windmill Blades: Take 8 wooden tumbling tower blocks. Using a mixture of hot glue (for instant hold) and super glue (for long-term durability), attach the blocks evenly around the outer edge of the mirror frame, pointing outward like sun rays.
- Stain the Wood: If you don’t have expensive wood stain, water down some brown acrylic paint (burnt umber works best) until it is the consistency of milk. Brush it over the wooden blocks and immediately wipe it off with a rag. This creates a beautiful, rugged faux-stain that highlights the wood grain.
- Add the Shiplap Detail: Cut standard wooden craft sticks to fit between your windmill blades. Stain them using the same method, and glue them horizontally between the blocks to create a shiplap backing effect.
The result is a hefty, textured, gorgeous piece of wall decor that looks like it was salvaged from an old barn, entirely built from items that cost pocket change.
Project 2: Faux Galvanized Metal & Wood Tiered Sconce
The Baking Soda Paint Trick Masterclass
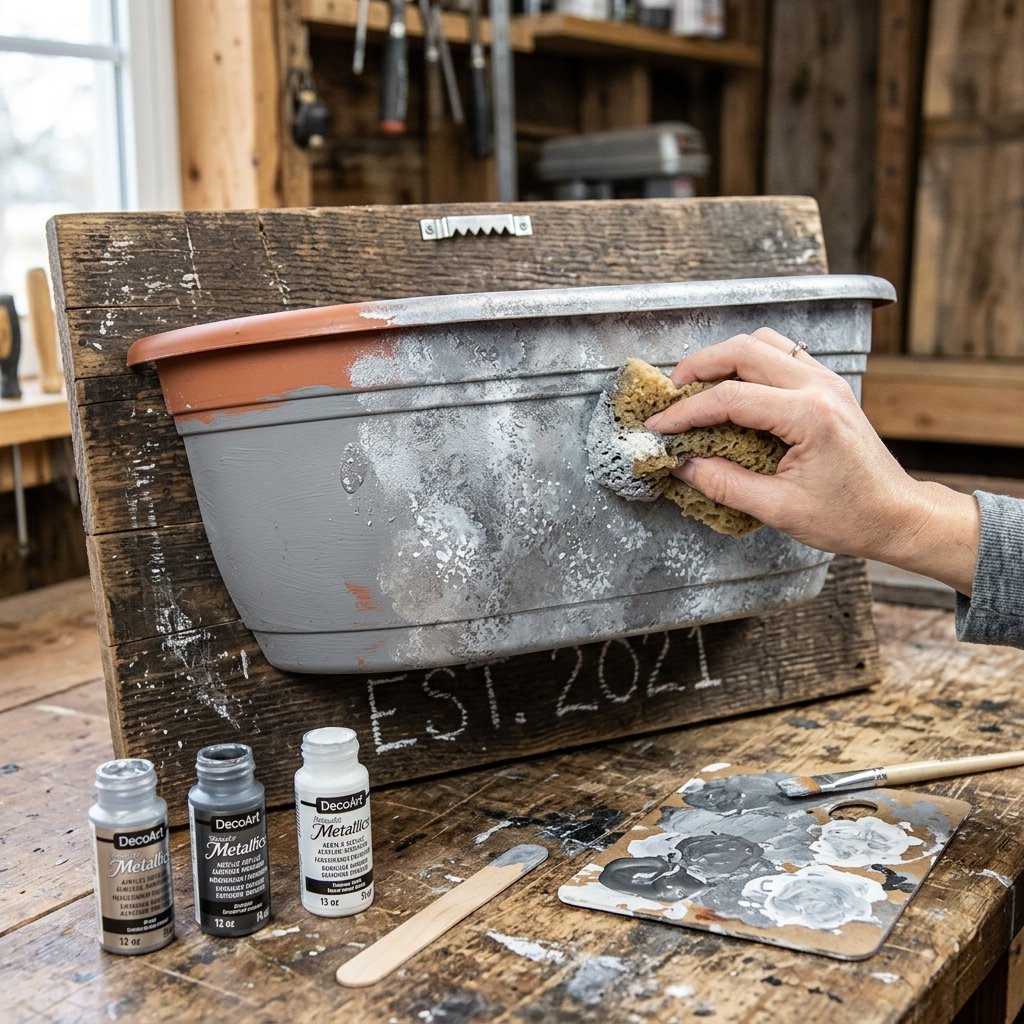
Farmhouse decor relies heavily on galvanized metal. Real galvanized metal is heavy and expensive. We are going to replicate it using cheap, lightweight plastic wall planters from the dollar store’s gardening section. This project costs exactly $3.75 and takes about 30 minutes.
Step-by-Step Construction
- The Wood Plaque Base: Purchase a long, rectangular blank MDF sign from the crafter’s aisle. Discard the cheap rope hanger. Using our watered-down brown paint trick, stain the entire board. For an extra rugged look, take a hammer and lightly tap the board in random spots to create “wormholes” and dents before staining.
- Prepping the Planter: Take a plastic half-circle wall planter. Scuff it with sandpaper.
- Creating the Galvanized Texture: This requires a three-layer paint technique. First, paint the entire planter with a solid coat of medium gray acrylic paint mixed with a pinch of baking soda. Let it dry for 15 minutes.
- The Sponging Technique: Take a sea sponge (or a crumpled up piece of paper towel). Dip it lightly into white paint, dab off the excess, and randomly sponge the gray planter. Before the white dries, take a clean sponge and dab metallic silver paint over the same areas, blending the white and silver into the gray base. This perfectly mimics the mottled, crystalline look of hot-dip galvanization.
- Faux Rust (Optional but Recommended): For that truly authentic, weathered look, use a small detail brush to dab burnt sienna (rust colored) paint around the rim and the base of the planter. Smudge it with your finger to soften the edges.
- Assembly: Run a generous bead of hot glue and super glue along the flat back edge of your faux-metal planter and press it firmly onto the bottom third of your stained wood plaque. Hold for 60 seconds.
- The Finishing Touch: Fill the sconce with a block of dollar store floral foam, cover it with a handful of Spanish moss, and arrange muted faux eucalyptus branches inside. Attach a heavy-duty D-ring to the back of the wood plaque for hanging.
This sconce is perfect for framing a doorway, hanging beside a bathroom mirror, or adding vertical interest to a living room gallery wall.
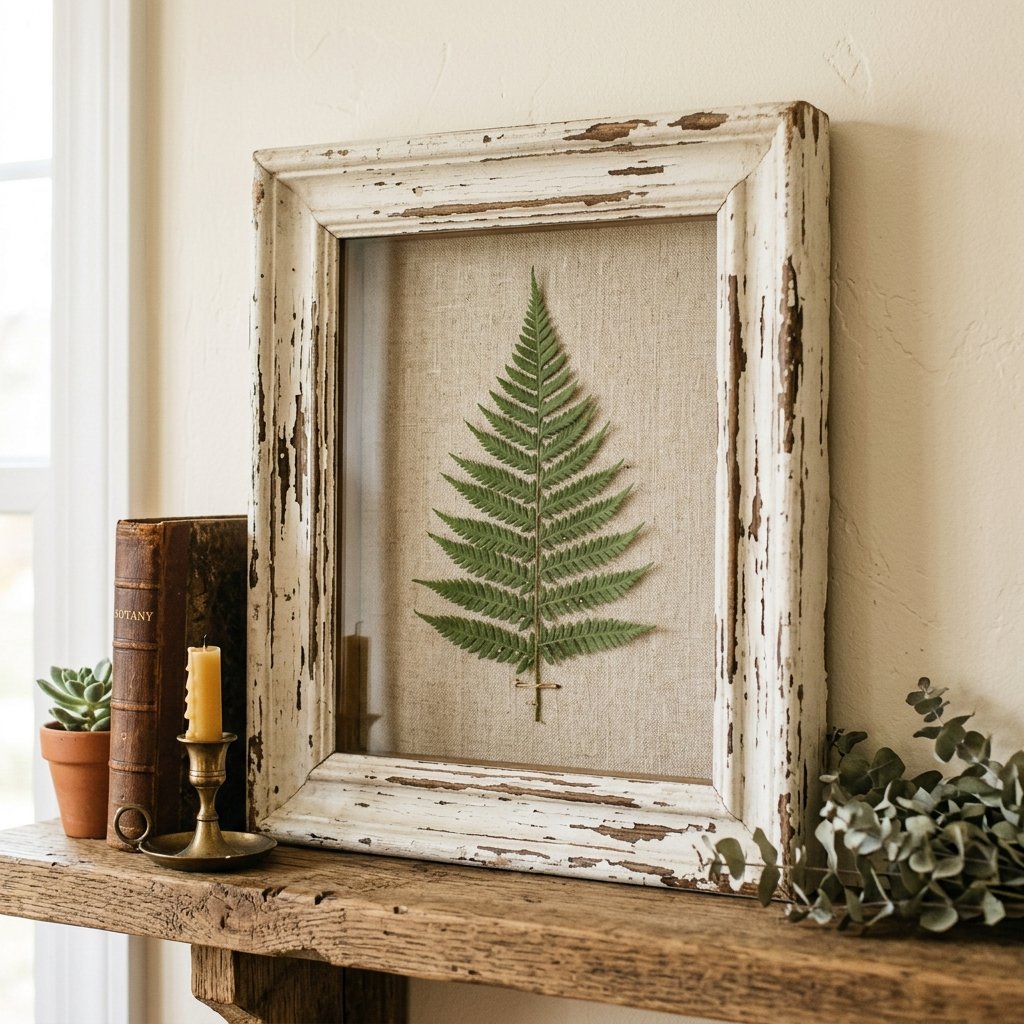
Project 3: The “Magnolia Inspired” Botanical Shadow Box
Elevating Cheap Florals with Custom Framing
High-end botanical prints and shadow boxes add an elegant, natural touch to farmhouse interiors. Retailers charge a premium for these because of the deep framing and glass work. We are going to build a stunning, rustic botanical shadow box for just $4.00 using clever layering techniques.
Step-by-Step Construction
- Deconstruct the Frames: Purchase two identical 8×10 document frames. Carefully remove the glass from both and set it aside safely. Discard one of the plastic frames, but keep the MDF backing boards.
- Build the Shadow Box Depth: Take four tumbling tower blocks. Glue one block into each corner of the remaining plastic frame, sitting flush against the inner lip. This creates a 0.5 inch gap between the front glass and the backboard, giving us our shadow box depth.
- Distress the Frame: Farmhouse frames shouldn’t be shiny black plastic. Paint the frame with a thick coat of white chalk paint (or white acrylic mixed with baking soda). Once dry, use a piece of sandpaper to aggressively sand the edges and corners, revealing the dark plastic underneath. This creates a beautiful, chippy, distressed wood look.
- Create the Canvas Backing: Take the MDF backing board. Instead of using plain paper, stretch a piece of dollar store canvas (cut from a cheap canvas panel) or a piece of unbleached muslin fabric over the board. Secure it to the back with hot glue. This woven texture immediately screams high-end.
- The Botanical Mount: Snip a single, perfect sprig of faux greenery (like a fern frond or lamb’s ear). To make the plastic leaf look real, lightly dust it with flour or baby powder to remove the artificial shine, then wipe it clean. Use tiny dabs of hot glue to mount the sprig directly onto the center of your fabric backing.
- Final Assembly: Place the glass into the front of the painted frame. Lay the frame face down. Place your fabric-wrapped backing board onto the wooden blocks you glued in earlier. Seal the edges with hot glue or duct tape to hold the backing firmly in place.
Group three of these shadow boxes together in a horizontal line above a couch or headboard for a massive, expensive-looking architectural statement piece.
Advanced Frugal Finishes: The Secret Sauce of Upcycling
Mastering the Art of the Illusion
The difference between a craft that looks like a “dollar store DIY” and a craft that looks like a “Pottery Barn antique” lies entirely in the finishing techniques. As frugal upcyclers, our greatest asset is our ability to manipulate cheap surfaces. Here are three advanced techniques you must add to your arsenal.
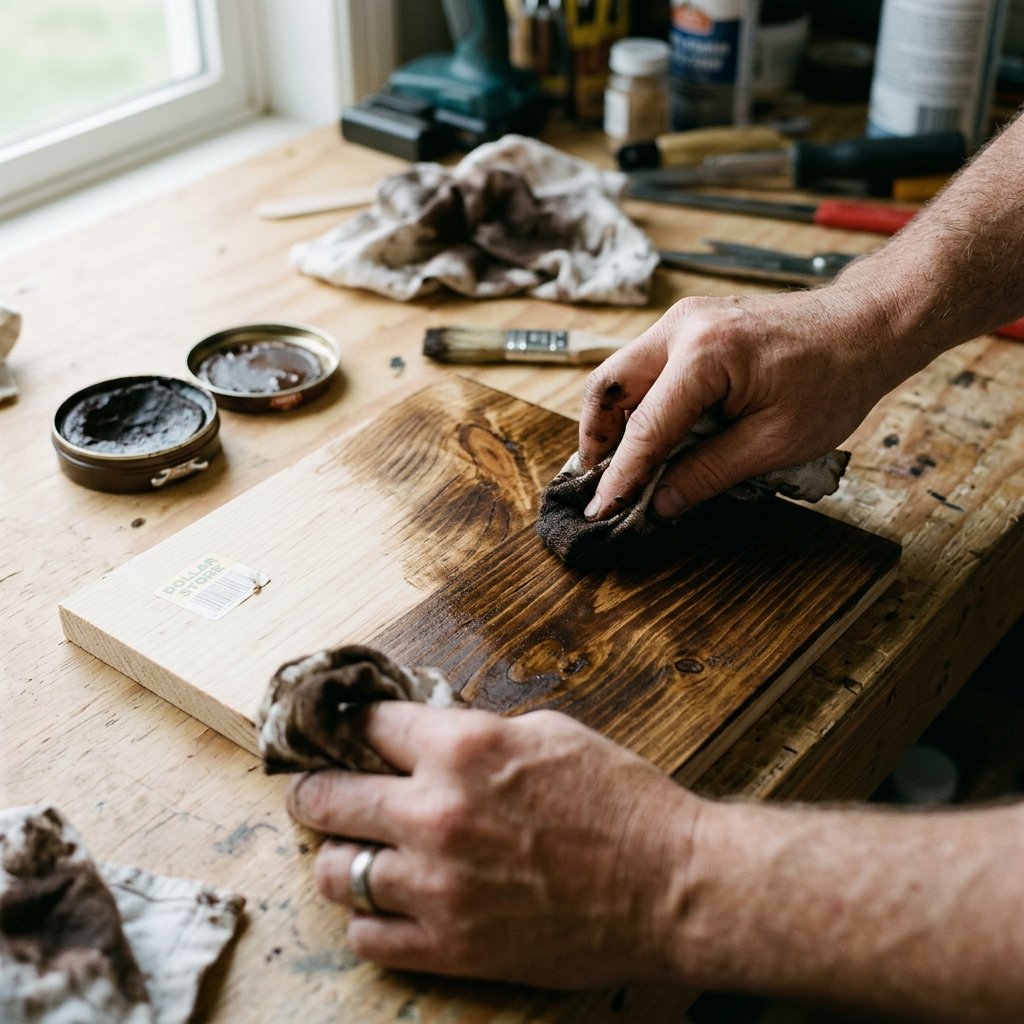
- The Shoe Polish Stain: If you run out of wood stain or brown paint, head to your closet. Brown paste shoe polish is an incredible, budget-friendly wood stain alternative. Rub it onto raw dollar store wood with a rag. It smells a bit at first, but it provides a rich, deep, waterproof finish that highlights wood grain beautifully.
- Tea and Coffee Aging: Bright white paper or fabric looks too modern for farmhouse decor. To age paper prints or muslin fabric, brew a strong cup of black tea or cheap instant coffee. Brush the liquid over the material and let it dry in the sun or bake it in the oven on the lowest setting for 5 minutes. The resulting sepia tones add instant historical charm.
- The Wet Distressing Method: Sandpaper can sometimes leave obvious scratch marks on plastic frames. Instead, try wet distressing. Paint your base color (e.g., dark brown), let it dry. Paint your top color (e.g., white). When the white paint is about 80% dry, take a damp baby wipe and gently rub the edges. The wet wipe pulls away the top layer of paint smoothly, revealing the dark undercoat without scratching the plastic beneath.
| Desired Finish | Retail Material | Frugal DIY Alternative | Cost per Application |
|---|---|---|---|
| Cast Iron Texture | Specialty Spray Paint | Acrylic Paint + Baking Soda | $0.15 |
| Aged Wood Grain | Premium Gel Stain | Watered-down Acrylic / Shoe Polish | $0.10 |
| Chippy Vintage Paint | Crackle Medium | Elmer’s Glue Base Coat + Heat Gun | $0.25 |
By memorizing these simple chemical and textural reactions, you free yourself from ever having to buy expensive specialty crafting mediums again. You become a true master of your materials, capable of bending literal garbage into gorgeous, masculine-elegant interior design.
Conclusion
Your Walls, Your Rules, Your Budget
Creating a beautiful, inviting home should never require you to empty your bank account or go into debt. As we have proven today, high-end farmhouse style is not about the price tag; it is about the texture, the intentionality, and the rugged, lived-in charm. By looking at Dollar Tree supplies through the lens of a resourceful crafter, you have unlocked the ability to replicate hundred-dollar retail pieces for less than the cost of a cup of coffee.
Whether you are building the heavy iron-look windmill mirror, crafting the faux-galvanized sconces, or assembling elegant botanical shadow boxes, remember that perfection is the enemy of rustic charm. Embrace the happy accidents, the slightly crooked wood grains, and the messy paint distressing. Those imperfections are exactly what give your DIY decor its authentic, heirloom quality.
So grab your hot glue gun, head to your local dollar store, and start looking at those plastic bins and cheap wooden toys with a new level of creative respect. You have the skills, you have the budget-savvy mindset, and now you have the exact blueprints to transform your walls on a dime. Happy crafting, and keep upcycling!

Makenzie is the founder and lead writer at MoneyHackTips.com — a personal finance blog dedicated to delivering street-smart financial wisdom for real people on real budgets. With 300+ published articles covering everything from debt management to investing fundamentals, Makenzie’s mission is to make every dollar work harder. When not writing about money hacks, Makenzie is testing frugal living strategies, optimizing side hustles, and helping readers build financial freedom from scratch.