
The Tragedy of the Bacon Neck
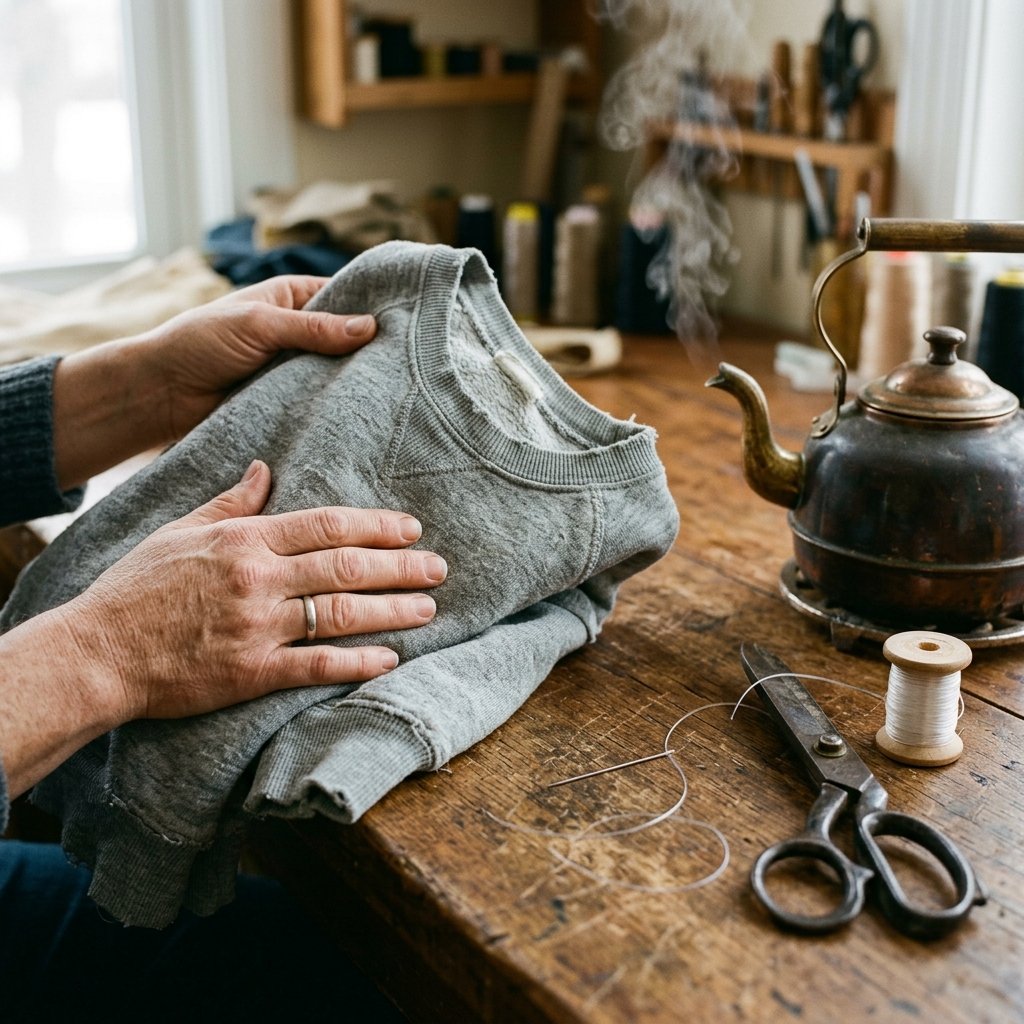
We all have that one garment. The legendary, perfectly broken-in sweatshirt that feels like a warm hug on a crisp autumn morning. It has survived camping trips, late-night garage tinkering, and countless Sunday couch marathons. But lately, something terrible has happened. The snug, comforting crewneck has morphed into a wavy, drooping, lifeless ring of fabric. You, my resourceful friend, have fallen victim to the dreaded bacon neck.
Before you toss that beloved pullover into the rag bin or shell out $30 for a professional tailor, stop right there! As frugal DIYers and practical upcyclers, we know that a stretched-out neckline is not a death sentence; it is simply an opportunity to flex our mending muscles.
“A stitch in time saves nine, but a clever hack saves your favorite hoodie and your hard-earned cash.”
Whether you are a handy parent trying to salvage your kid’s expensive school sweatshirts or a rugged crafter looking to preserve your favorite workwear, this guide is your ultimate toolkit. We are going to dive into the ingenious, zero-budget tricks that utilize simple household items—like boiling water, ice, and a simple needle and thread—to snap those tired fibers back into shape. Roll up your sleeves, grab your stretched-out gear, and let us perform some textile magic!
The Science of the Stretch & Fabric Compatibility Guide
Why Do Collars Lose Their Shape?
To fix the problem, we first need to understand the enemy. Sweatshirt collars are typically made from a ribbed knit fabric. This ribbing is designed to stretch over your head and immediately snap back to comfortably hug your neck. Over time, the constant pulling, the high heat of modern tumble dryers, and the natural degradation of elastane or spandex fibers cause the memory of the fabric to fail. The cotton fibers get pulled out of alignment, and the elastic core snaps, leaving you with a wavy, stretched-out mess.
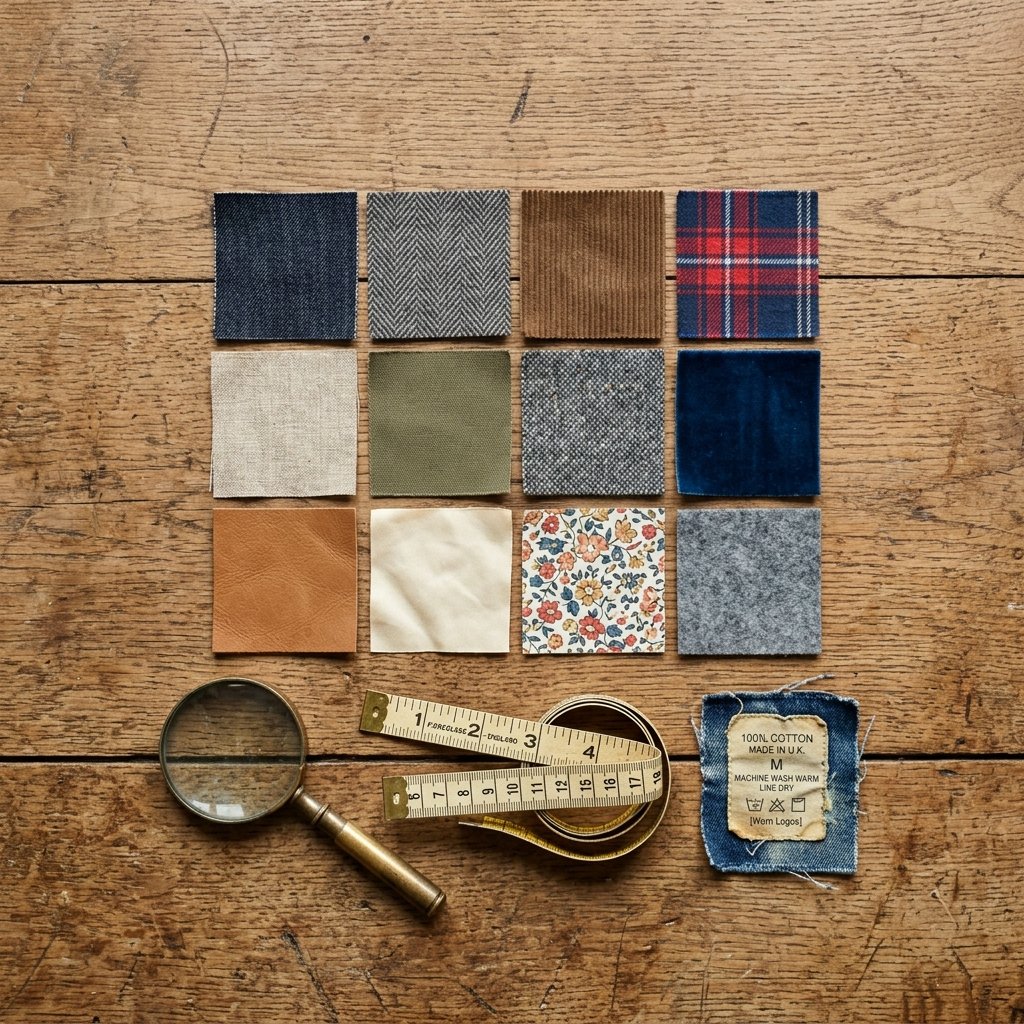
Fabric Matters: Know Your Materials
Not all sweatshirts are created equal. The magical shrinking trick you use will depend entirely on the fabric composition of your garment. A 100% heavy cotton workwear hoodie will react very differently than a cheap polyester blend.
| Fabric Type | Characteristics | Best Fixing Method |
|---|---|---|
| 100% Cotton | High shrinkage potential, holds heat well, easily reshaped. | Boiling Water Shock & Ironing |
| Cotton/Poly Blend (e.g., 50/50) | Resists shrinking, durable, requires higher heat to manipulate. | Boiling Water + High Heat Tumble Dry |
| Spandex/Elastane Blends | Fibers can melt or snap under extreme heat. Requires gentle handling. | Elastic Thread Invisible Mend |
| Wool Blends | Shrinks aggressively when agitated in hot water (felting). | Warm Water Soak & Flat Reshaping |
Always check the care tag on the inside seam of your sweatshirt before proceeding. If the tag is faded into oblivion (a true sign of a well-loved garment), assume it is a standard cotton-poly blend and proceed with cautious optimism.
Method 1: The Boiling Water & Iron Shock (Zero-Sew Magic)

The Boiling Water Trick
This is the ultimate, resourceful, zero-budget hack that feels like absolute magic the first time you do it. By subjecting the stretched-out cotton fibers to extreme, localized heat, we can force them to contract and remember their original tightly-knit structure. This method takes about 10 minutes and costs absolutely nothing.
Step-by-Step Instructions
- Boil the Water: Bring a kettle or a medium-sized pot of water to a rolling boil. You want it as hot as possible to effectively shock the fibers.
- Submerge the Collar: Carefully fold the body of the sweatshirt out of the way. Gather the ribbed neckline and carefully dip only the stretched collar into the boiling water.
Safety First: Boiling water causes severe burns. Use long wooden tongs to hold the fabric in the water and keep your hands clear of the steam.
- Steep the Fabric: Let the collar sit in the boiling water for exactly 5 minutes. This gives the heat enough time to penetrate the core of the cotton yarns.
- Squeeze and Arrange: Carefully remove the collar from the water using your tongs. Place it flat on a thick, clean towel. Roll the towel up and press down firmly to extract as much excess water as possible. Do not wring or twist the fabric, as this will stretch it out again!
- The Ironing Phase: Unroll the towel and lay the sweatshirt flat on an ironing board. Use your fingers to gently push and scrunch the ribbed collar inward, coaxing it back into a tight circle. Set your iron to the highest cotton setting with steam. Press the iron firmly onto the collar, working your way around the circle. The intense heat combined with the moisture will lock the shrunken fibers into place.
- Dry Flat: Leave the sweatshirt flat on the board until it is 100% bone dry.
This clever trick can reduce a collar’s circumference by up to 2 inches, completely eliminating the bacon-neck wave!
Method 2: The Elastic Thread Invisible Mend (Grandma’s Tailoring Secret)
When Heat Isn’t Enough: The Hand-Sewing Solution
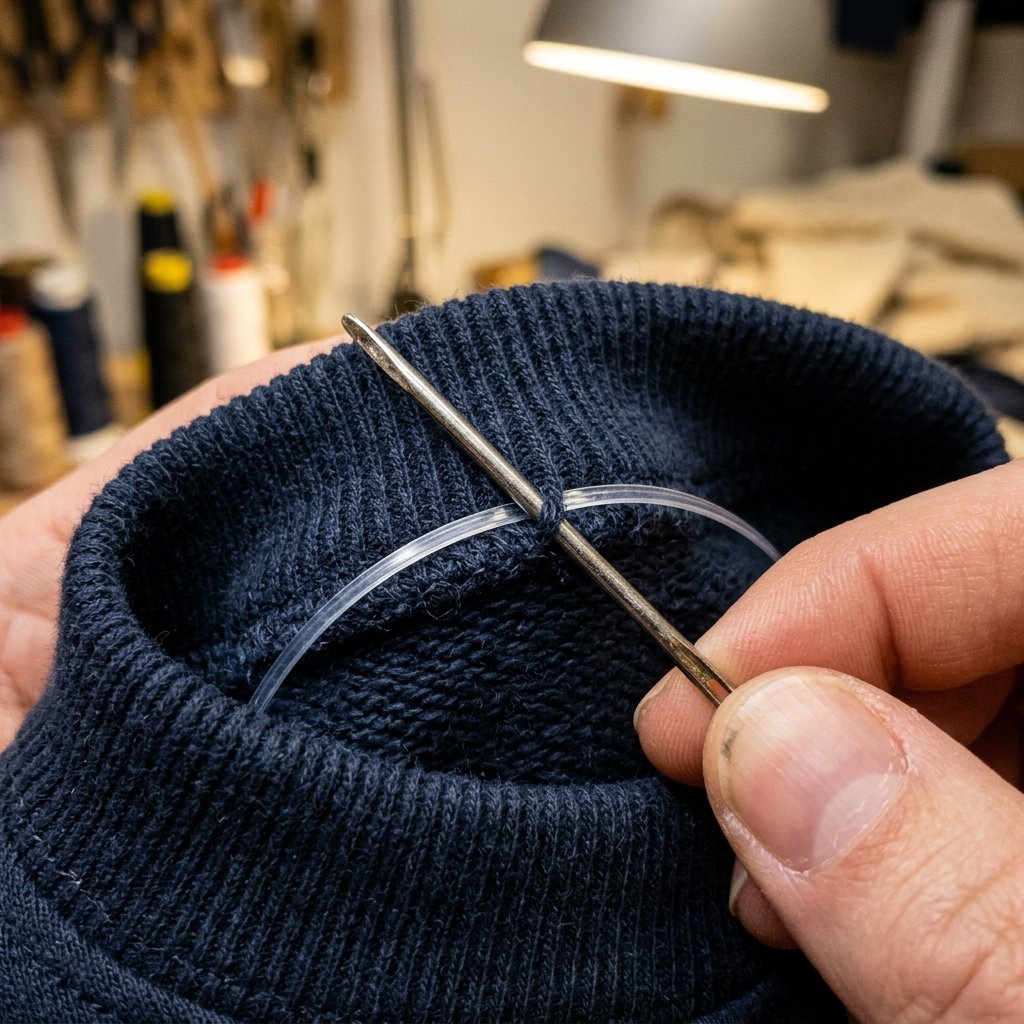
If your sweatshirt is a synthetic blend or the elastane in the collar has completely snapped, boiling water won’t save you. The fibers have lost their structural integrity. But as frugal upcyclers, we don’t give up that easily. We turn to Grandma’s secret weapon: elastic thread. This method weaves a hidden support system into the collar, restoring its snap for under $3.
Materials Needed
- Clear elastic sewing thread (often used for shirring or beading)
- A blunt tapestry needle or a standard needle with a large eye
- Small tailor’s scissors
- Your stretched-out sweatshirt
The Weaving Technique
- Thread the Needle: Cut a piece of elastic thread about 24 inches long. Thread your needle and tie a sturdy double knot at the end.
- Anchor the Thread: Turn the sweatshirt inside out. Find the seam where the ribbed collar meets the shoulder. Push the needle through the seam allowance (not through the outside fabric) to anchor your knot invisibly.
- The Weave: Look closely at the ribbed fabric on the inside of the collar. You will see vertical columns of stitches. Gently weave your blunt needle in and out of these columns, staying as close to the top edge of the collar as possible. You are essentially creating a hidden drawstring inside the fabric.
- Work Around the Collar: Continue weaving your needle through the ribs all the way around the neckline. Keep your stitches completely on the inside layer so nothing shows on the outside.
- Cinch and Tie Off: Once you reach your starting point, gently pull the elastic thread. You will see the collar instantly gather and shrink back to its original size! Try the sweatshirt on over your head to ensure it still fits comfortably. Once you are happy with the tension, anchor the thread with a few tight knots into the shoulder seam and snip the excess.
This crafty-expert technique is incredibly durable and will survive countless runs through the washing machine.
Method 3: The Thermal Shock Ice Bath Hack
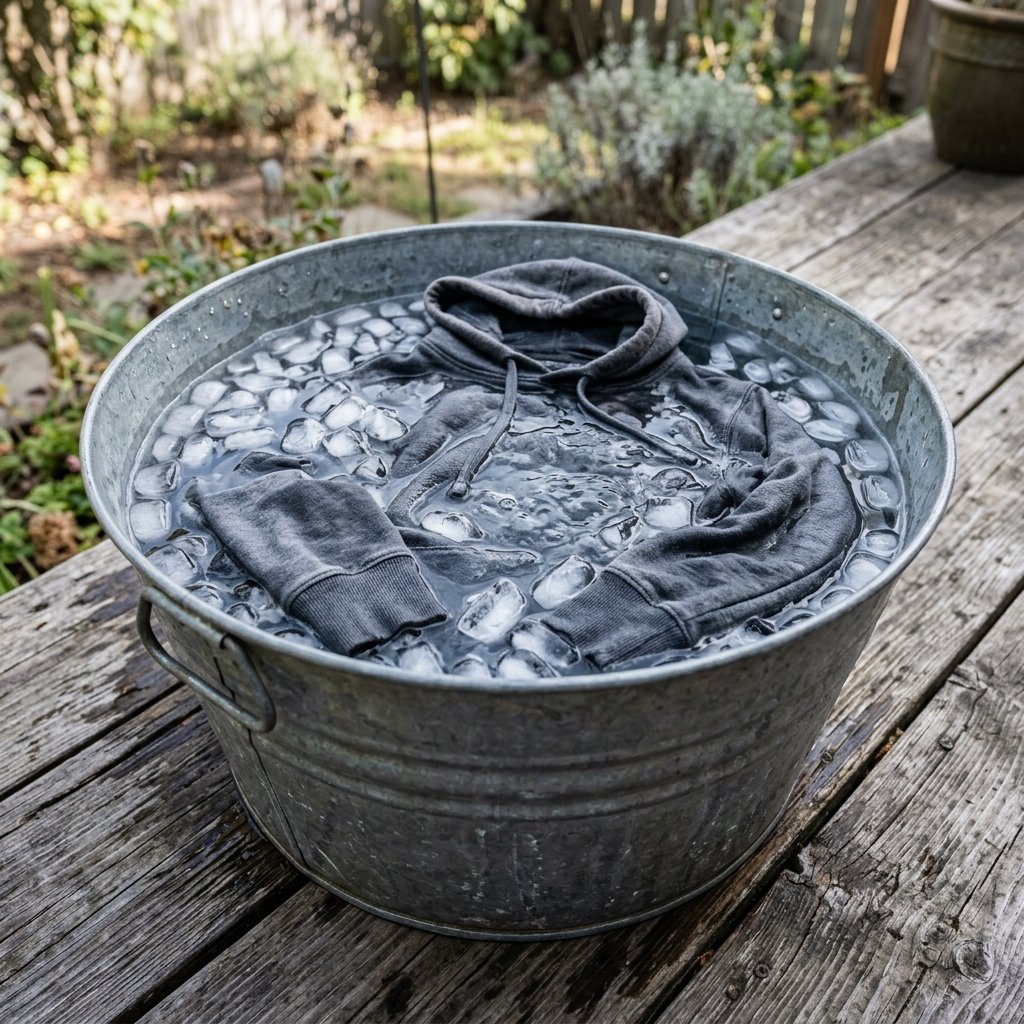
The Hot-to-Cold Plunge
If you want to tighten up not just the collar, but the cuffs and the overall fit of an old, baggy sweatshirt, the thermal shock method is your best bet. This rugged, practical approach uses the extreme contrast between boiling heat and freezing cold to aggressively contract natural fibers.
The Process
First, wash the sweatshirt in your washing machine on the absolute hottest setting available. Skip the detergent; we are just using the machine for its boiling water and severe agitation. As soon as the cycle finishes, immediately transfer the steaming hot sweatshirt into a bucket or tub filled with ice water. Let it submerge completely for 10 minutes.
The sudden drop in temperature causes the expanded, heated fibers to violently contract and lock into a tighter formation. After the ice bath, wring out the excess water (gently!) and throw the garment into the dryer on the highest heat setting until it is completely dry.
“Extreme temperatures are a fabric’s worst enemy, but a frugal DIYer’s best friend when used strategically.”
Method 4: Advanced Upcycling – Replacing the Ribbing
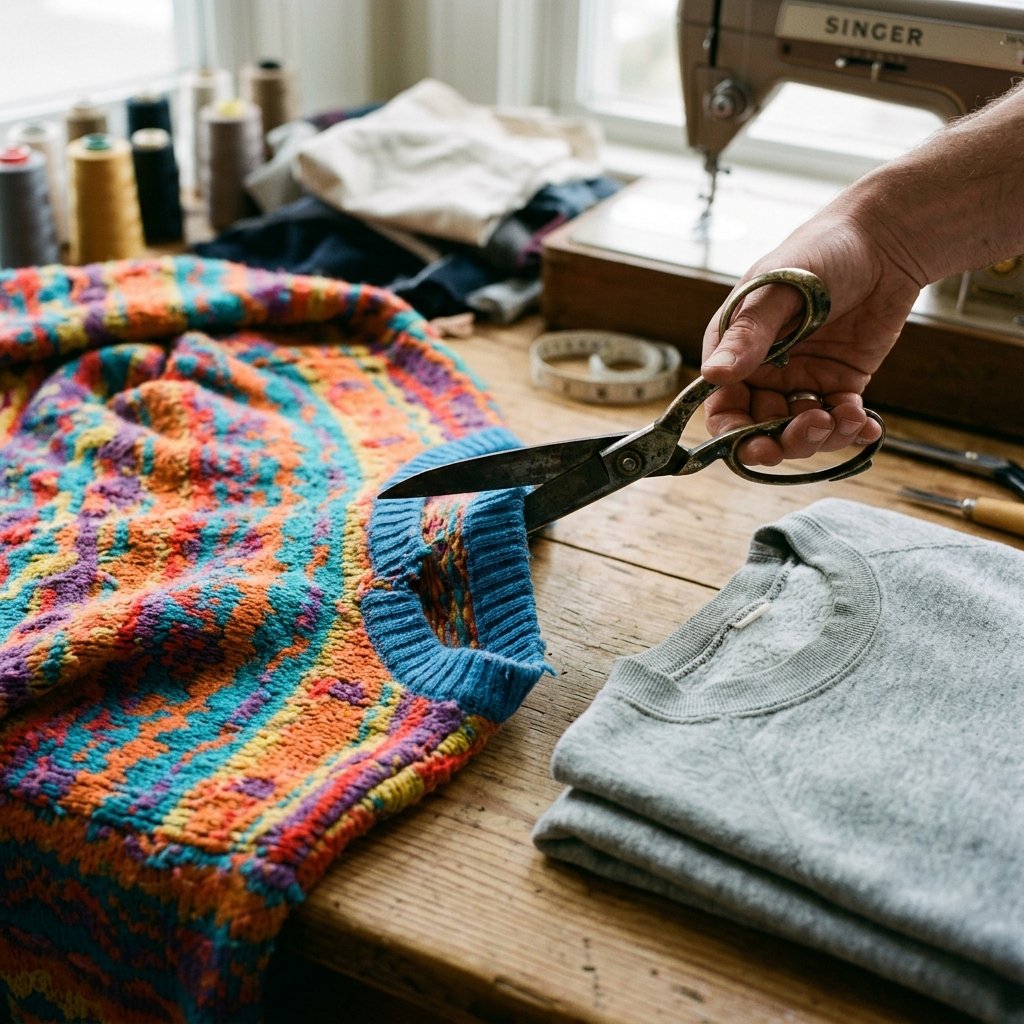
The Ultimate Trash-to-Treasure Fix
Sometimes, a collar is beyond saving. It’s torn, frayed, and hopelessly stretched. But the body of the sweatshirt is still perfectly good. This is where we elevate our skills from simple mending to full-blown upcycling. By harvesting a collar from a thrifted or ruined garment, we can create a custom, two-tone, masculine-elegant piece that looks like high-end streetwear.
Budget Breakdown: Replacement vs. Upcycling
| Method | Materials Needed | Estimated Cost | Time Required |
|---|---|---|---|
| Buy New Sweatshirt | Wallet, Car Keys | $40 – $80 | 1 Hour |
| Buy Store Ribbing | Fabric store rib knit, matching thread | $8 – $12 | 45 Minutes |
| Zero-Budget Upcycle | Donor sweater (thrifted/closet scrap), thread | $0 – $2 | 1 Hour |
How to Transplant a Collar
- Harvest the Donor: Find an old sweater or sweatshirt with a tight, intact collar. Using a seam ripper, carefully detach the ribbed collar from the donor garment.
- Remove the Old Collar: Take your seam ripper to your stretched-out sweatshirt and carefully remove the bacon neck.
- Pinning is Crucial: The new collar will be smaller in circumference than the neck hole of the sweatshirt. Divide both the collar and the neck hole into four equal quadrants (front, back, left shoulder, right shoulder) and mark them with pins. Match the pins up and secure the collar to the raw edge of the sweatshirt, right sides together.
- Stretch and Sew: Using a sewing machine with a zigzag stitch (or a hand-sewn backstitch if you are going fully off-grid), sew the collar to the shirt. Crucial step: Gently stretch the ribbed collar as you sew so it lays flat against the larger neck hole fabric. When you let go, the collar will snap back, pulling the neckline perfectly tight!
Conclusion
Wear Your Mends with Pride
There is a profound, rugged satisfaction in fixing something with your own two hands. By taking the time to repair a stretched-out collar, you are not just saving $40 on a replacement; you are actively fighting back against fast-fashion waste and preserving a garment that holds your personal history.
Whether you utilized the zero-budget boiling water shock, wove a secret elastic support system, or went full crafty-expert by upcycling a donor collar, you have breathed new life into your favorite gear. Next time you pull that perfectly snug sweatshirt over your head for a chilly morning project, you can take pride in knowing you outsmarted the bacon neck. Keep your needles sharp, your budget tight, and your creativity flowing!

Makenzie is the founder and lead writer at MoneyHackTips.com — a personal finance blog dedicated to delivering street-smart financial wisdom for real people on real budgets. With 300+ published articles covering everything from debt management to investing fundamentals, Makenzie’s mission is to make every dollar work harder. When not writing about money hacks, Makenzie is testing frugal living strategies, optimizing side hustles, and helping readers build financial freedom from scratch.