
The Warmth of a Legacy: Why Upcycle Flannel?
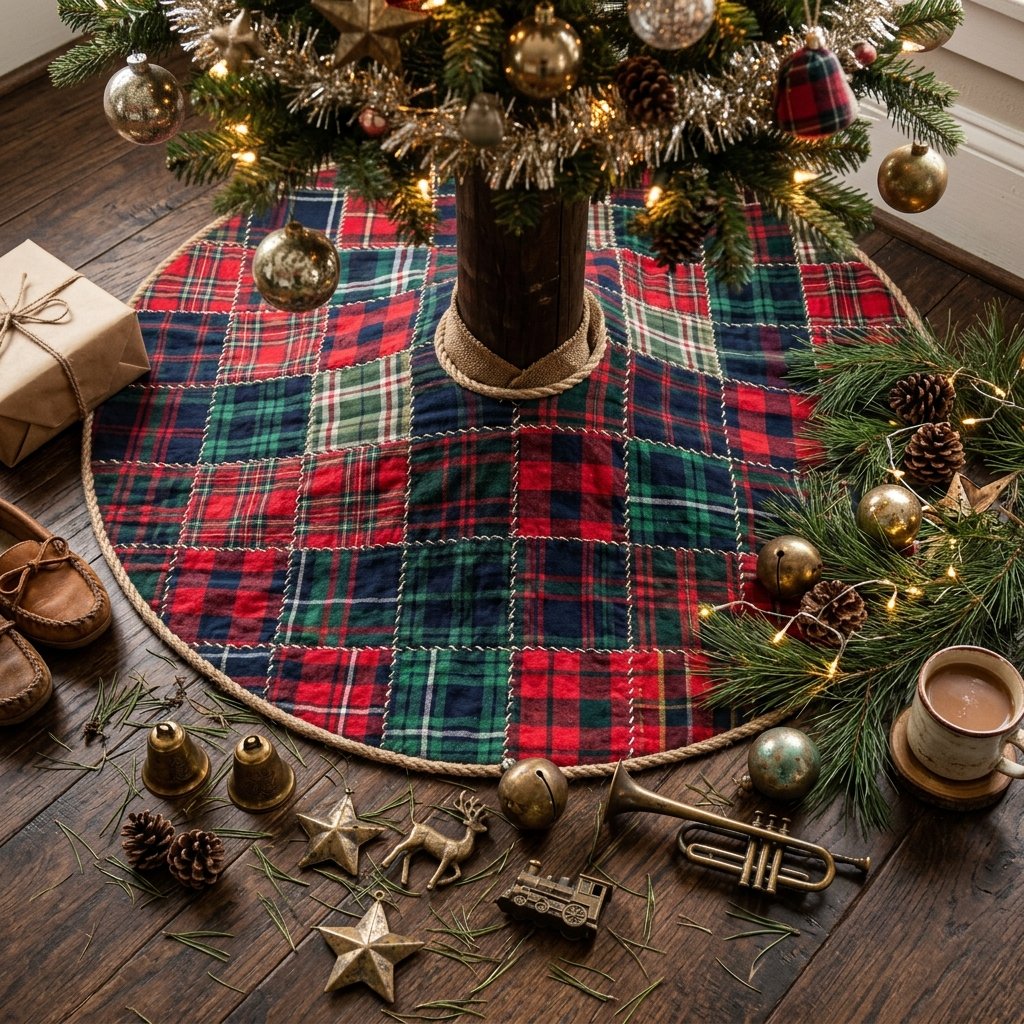
There is nothing quite like the rugged, timeless feel of a well-worn flannel shirt. It carries memories of crisp autumn mornings, wood-chopping sessions, and cozy evenings by the fire. But as the collars fray and the elbows thin, these beloved garments often end up forgotten in the back of a closet. As a resourceful DIYer, you know that ‘worn out’ is just another way of saying ‘perfectly seasoned.’ Today, we are going to channel our inner craft-expert to transform those sentimental scraps into a stunning, masculine-elegant Christmas tree skirt. This isn’t just a project; it is a way to wrap your holiday celebrations in the literal fabric of your family’s history while keeping your budget 100% under control.
By repurposing high-quality cotton or wool flannels, you are creating a durable heirloom that rivals high-end boutique decor costing $150 or more. Our goal? To achieve that high-end ‘Pottery Barn’ aesthetic for the cost of a few spools of thread and some clever ingenuity. Whether you are a master tailor or a crafty beginner, this guide will walk you through the process of turning ‘trash’ into a holiday treasure.
The Master Plan: Materials and Budget Breakdown
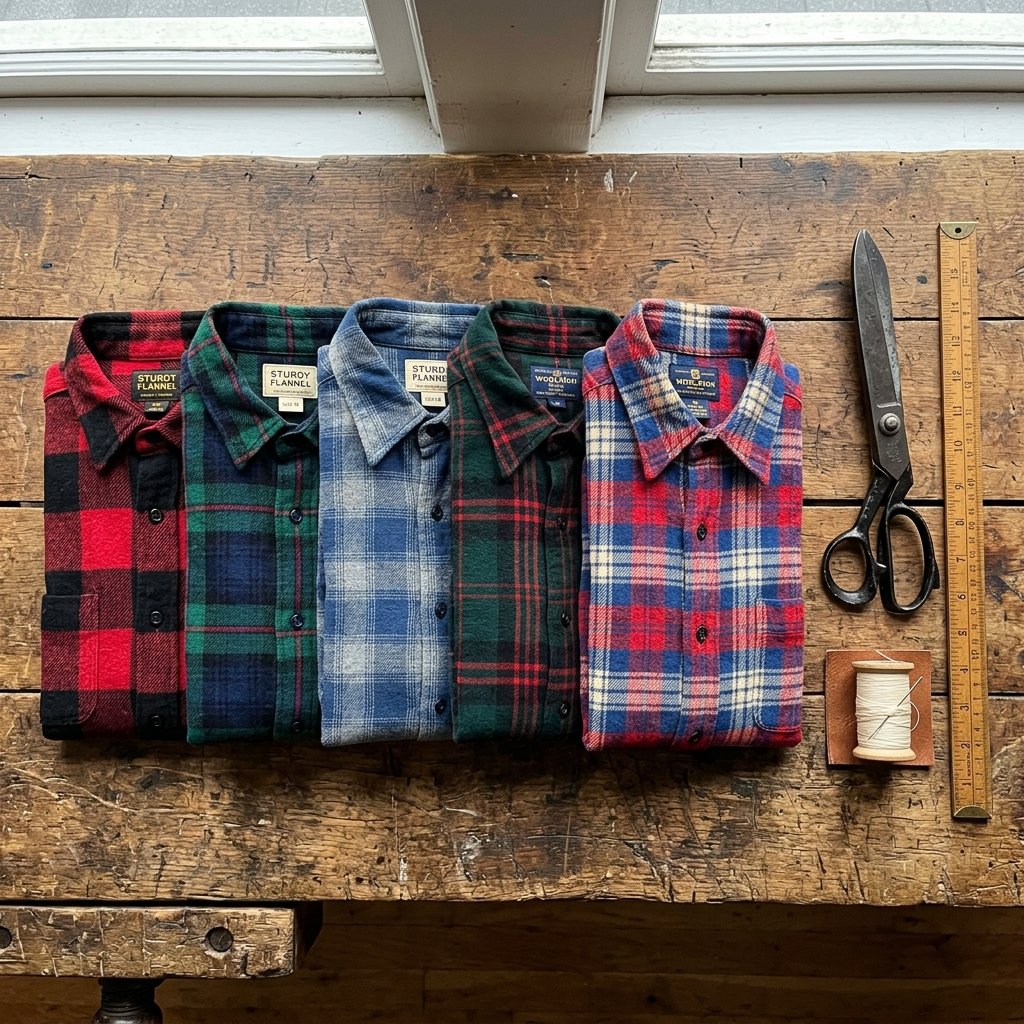
Gathering Your Gear
Before we make our first cut, we need to assess our inventory. The beauty of this project lies in its budget-savvy nature. Most of these items are likely already in your workshop or sewing kit. If not, a quick trip to a local thrift store can yield a bounty of flannels for just a few dollars each. Look for shirts with complementary patterns—think buffalo check, classic tartans, and solid forest greens or deep reds.
| Material Item | Estimated DIY Cost | Store-Bought Equivalent |
|---|---|---|
| 4-6 Old Flannel Shirts | $0.00 (from closet) | $45.00 – $60.00 |
| Backing Fabric (Old Flat Sheet) | $0.00 | $15.00 |
| Heavy Duty Thread | $3.50 | Included |
| Bias Tape or Burlap Trim | $5.00 | $20.00 |
| Total Estimated Cost | $8.50 | $80.00 – $120.00 |
Choosing the Right Fabrics
When selecting your shirts, pay attention to weight. Mixing a heavy wool flannel with a lightweight cotton flannel can be tricky for beginners. Try to keep the fabric weights similar to ensure the skirt lays flat. Pro-tip: Save the buttons! We will use them later as a clever closure system for the back of the skirt.
Drafting the Pattern: The Geometry of Coziness
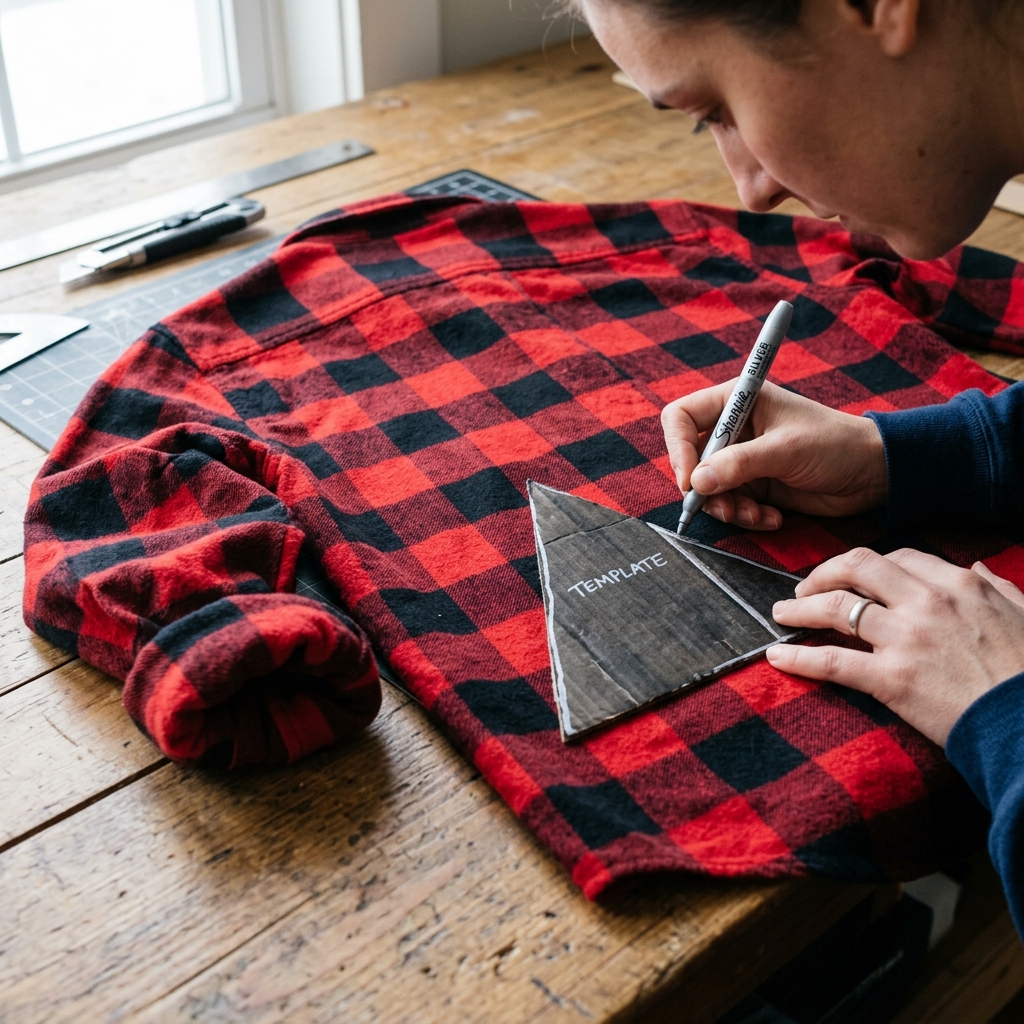
Creating Your Wedge Template
A standard tree skirt is essentially a large circle with a hole in the middle and a slit for the trunk. To get that beautiful patchwork look, we are going to create a ‘wedge’ or ‘pie slice’ pattern. This allows us to maximize the usable fabric from the back and front panels of the shirts.
“Measure twice, cut once, and always leave a 1/2 inch for the seam. Precision is the difference between a craft project and a custom heirloom.”
- Determine the Diameter: Measure the spread of your tree’s bottom branches. A standard skirt is usually 48 to 54 inches wide.
- The Paper Template: Use a large piece of cardboard or craft paper. Draw a wedge that is 24 inches long (for a 48-inch skirt), 2 inches wide at the top (the center hole), and 10 inches wide at the bottom.
- The Math: This template will create a 16-panel skirt. If you want fewer, wider panels, adjust the bottom width accordingly.
Maximizing Fabric Yield
Place your template on the back panel of the shirt first, as this is the largest uninterrupted piece of fabric. If you are using a smaller shirt, you can sew two smaller pieces together to create a ‘franken-wedge’—this actually adds to the rugged, upcycled charm of the piece.
Assembly: Stitching the Legacy Together
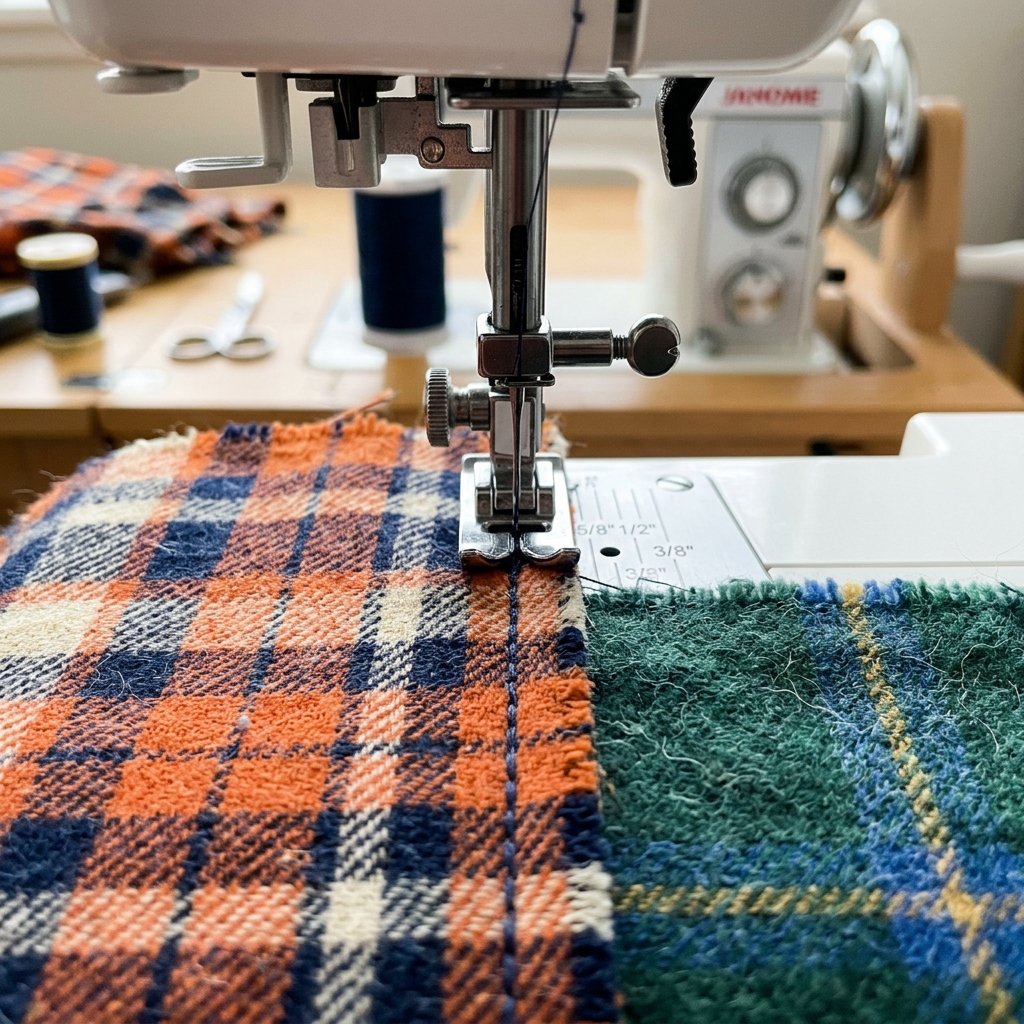
The Art of the Seam
Now we move into the construction phase. This is where your crafty-expert skills shine. We will be using a simple straight stitch to join our wedges. If you don’t have a sewing machine, don’t worry! This project is a perfect candidate for hand-sewing using a sturdy backstitch, which adds a beautiful, handmade masculine-elegant touch.
Step-by-Step Sewing Guide
- Pinning: Place two wedges ‘right sides’ together. Ensure the patterns (like stripes or checks) line up as closely as possible.
- The Radial Stitch: Sew along the long edge of the wedge. Repeat this until you have two halves of a circle.
- Pressing: This is a critical step. Use a hot iron to press your seams open. This ensures the skirt lies flat and doesn’t bunch up under the tree.
- The Final Join: Sew the two halves together, leaving one seam open. This open seam is where the skirt will wrap around the tree.
“The secret to a professional finish is in the iron. Never skip pressing your seams; it turns a floppy project into a structured piece of art.”
The Rugged Finish: Edging and Closures
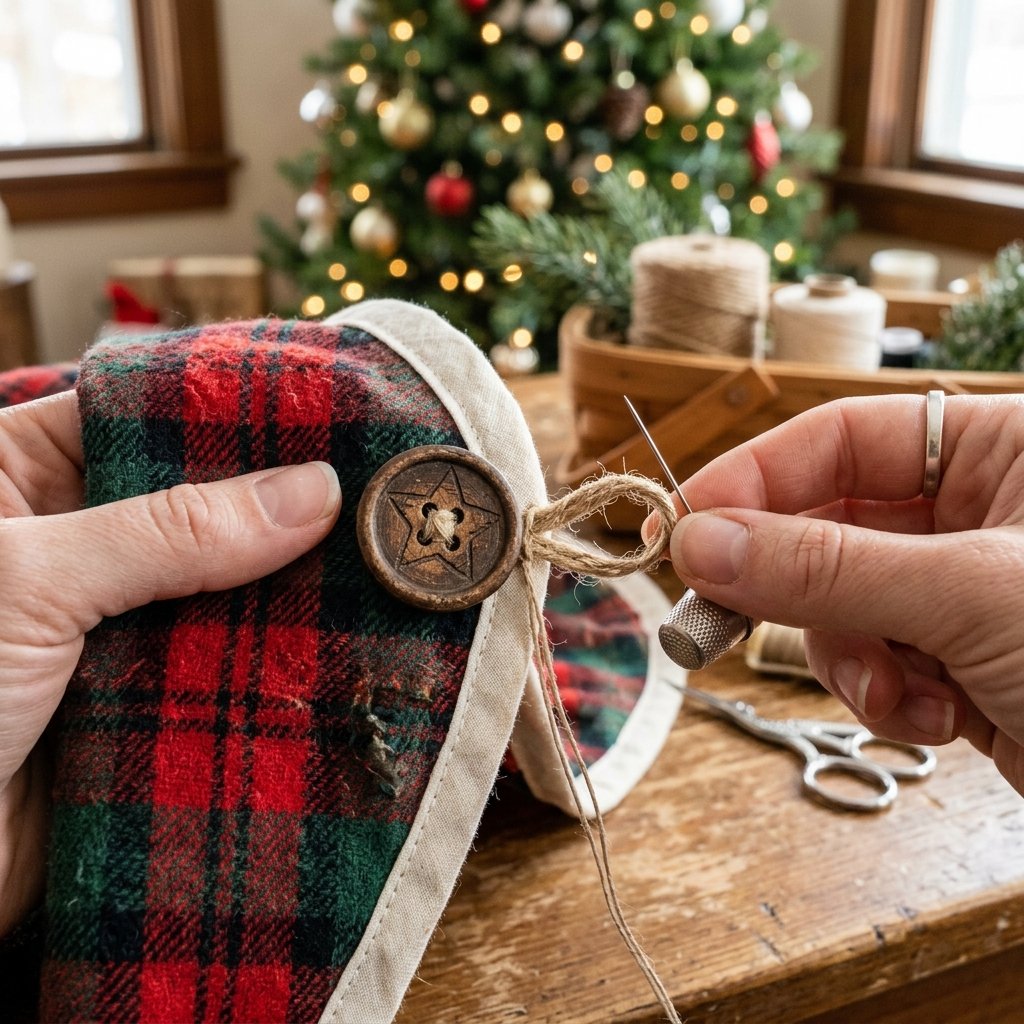
Adding Character with Trim
To give our skirt that high-end rustic look, we need to finish the edges. Raw flannel will fray over time, so we want to encase the perimeter. A budget-savvy option is to use strips of burlap or even the hemmed edges of the leftover shirt sleeves.
Finishing Techniques
| Trim Style | Vibe | Difficulty |
|---|---|---|
| Frayed Edge | Primitive/Rustic | Easy |
| Burlap Binding | Farmhouse Chic | Medium |
| Faux Fur | Luxury/Cozy | Hard |
The Button Closure
Remember those buttons we saved? Instead of using cheap Velcro, sew 3 or 4 of the original shirt buttons along the open seam. Create small loops using twine or elastic. This clever detail honors the original garment and provides a secure, sophisticated closure that looks intentional and practical.
Care and Longevity: Preserving the Memories
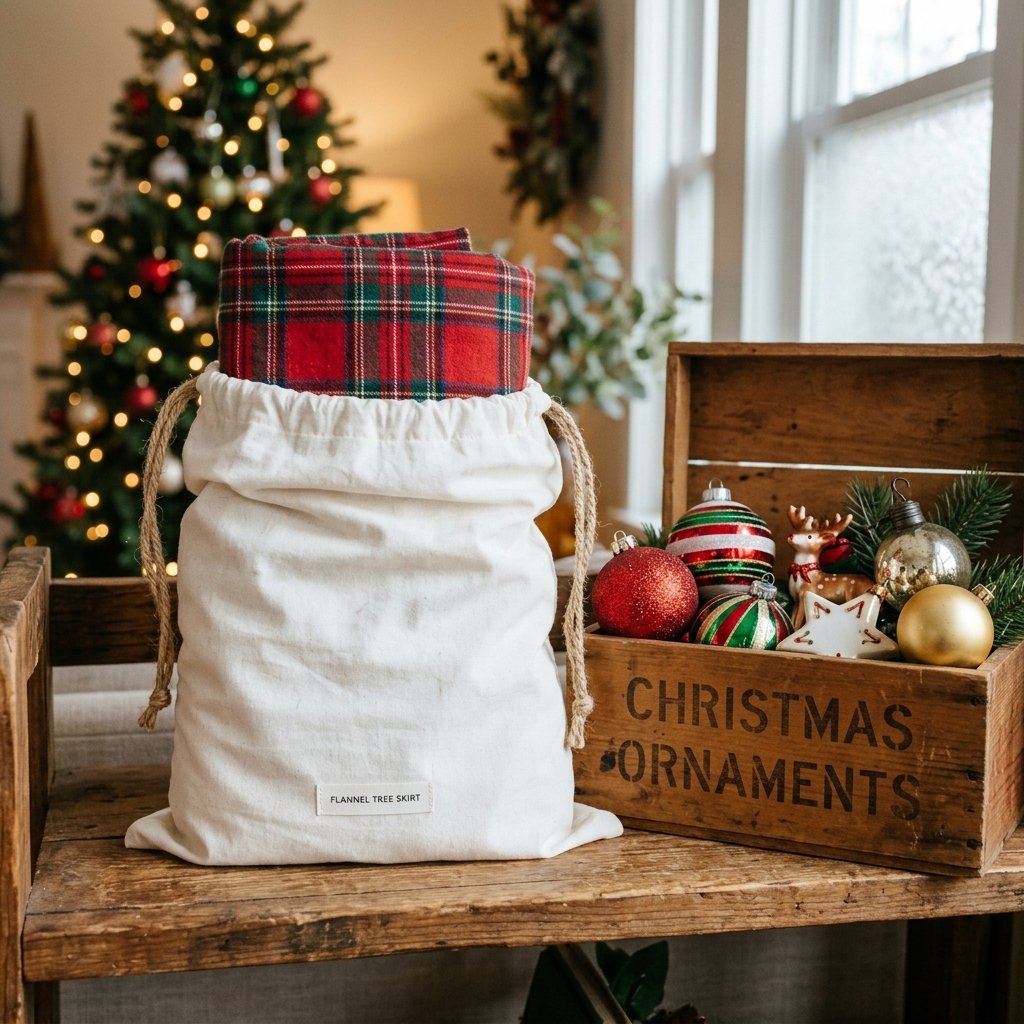
Maintenance for Your Heirloom
Because this skirt is made from high-quality flannel, it is surprisingly durable. However, to ensure it lasts for decades of Christmases, follow these practical care tips. Flannel can shrink, so if you haven’t pre-washed your shirts, stick to spot cleaning or a very cold, gentle cycle.
- Storage: Store the skirt in a breathable cotton bag (an old pillowcase works perfectly) rather than plastic. This prevents moisture buildup and keeps the fibers fresh.
- Cedar Blocks: Toss a few cedar blocks into the storage container to keep moths away from any wool-blend flannels.
- Wrinkle Release: In the morning of decorating day, give it a quick steam to fluff up the flannel fibers and make the colors pop.
Safety Note: If you are using vintage shirts, check for lead-based dyes if they are extremely old (pre-1970s). Most modern flannels are perfectly safe for household use. Always keep fabric away from direct contact with old, hot incandescent tree lights; LED lights are the safest choice for fabric decor.
Conclusion
A New Tradition Under the Tree
Congratulations! You have successfully turned a pile of discarded clothing into a sophisticated, rugged center-piece for your holiday home. This flannel tree skirt is more than just a floor covering; it’s a conversation starter and a testament to your resourceful creativity. Every time you crawl under the tree to place a gift, you’ll be reminded of the shirts Dad used to wear and the budget-savvy win of creating something beautiful for next to nothing. This year, your tree isn’t just decorated—it’s wrapped in a story. Happy crafting, and may your holidays be as cozy as your new favorite flannel skirt!

Makenzie is the founder and lead writer at MoneyHackTips.com — a personal finance blog dedicated to delivering street-smart financial wisdom for real people on real budgets. With 300+ published articles covering everything from debt management to investing fundamentals, Makenzie’s mission is to make every dollar work harder. When not writing about money hacks, Makenzie is testing frugal living strategies, optimizing side hustles, and helping readers build financial freedom from scratch.