
The High-End Look Without the High-End Debt
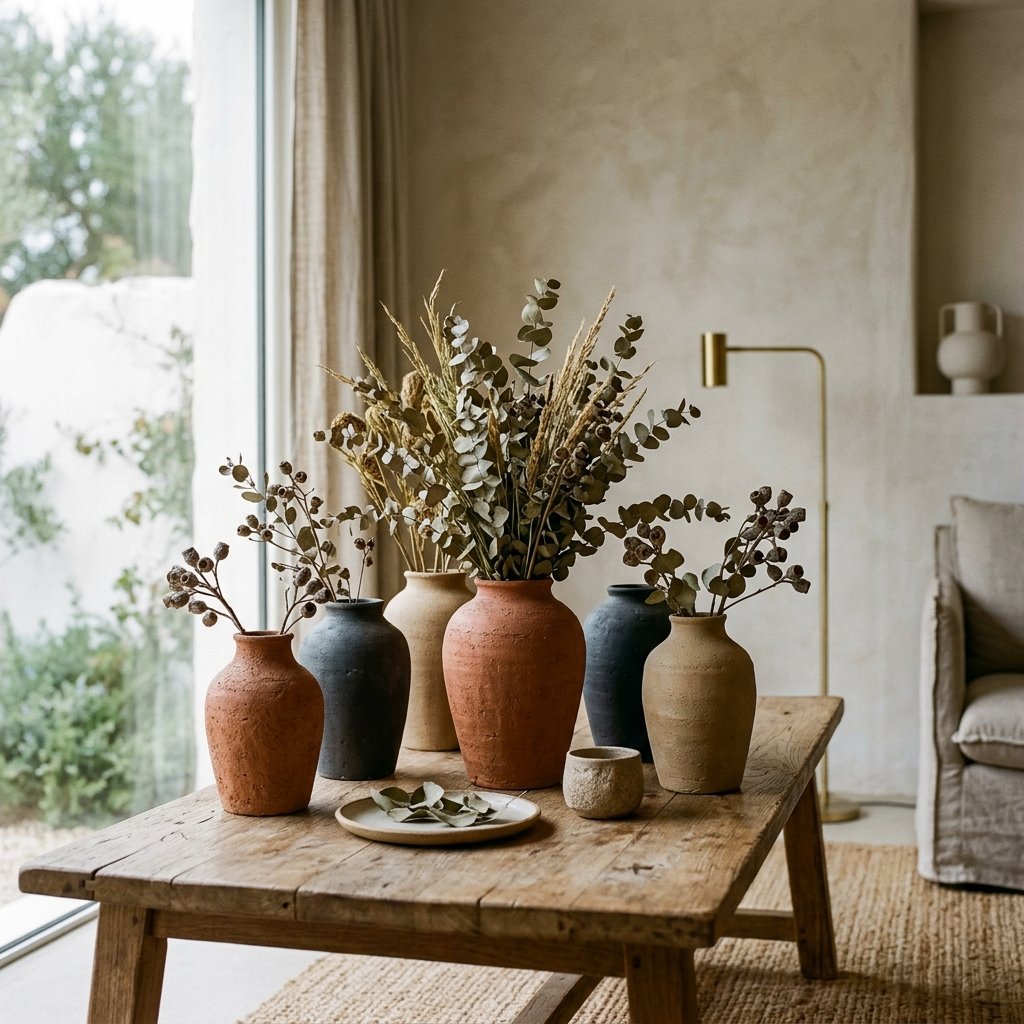
We’ve all been there: scrolling through an Anthropologie or Pottery Barn catalog, spotting a stunning, hand-thrown terracotta vase, and then seeing a price tag that looks more like a car payment than a piece of home decor. Why pay $120 or more for a vessel that’s essentially just dirt and pigment? As a resourceful crafter, you know better. You know that with a bit of grit, a few clever supplies from the dollar store, and the right technique, you can replicate that rugged, masculine-elegant aesthetic for less than the price of a fancy latte. This isn’t just a craft project; it’s a tactical strike on overpriced retail. We are going to take the cheapest, flimsiest plastic and glass vessels the dollar store has to offer and transform them into heavy, textured, ‘centuries-old’ pottery that will have your guests asking which boutique gallery you visited.
The Tactical Gear: Materials and Cost Breakdown
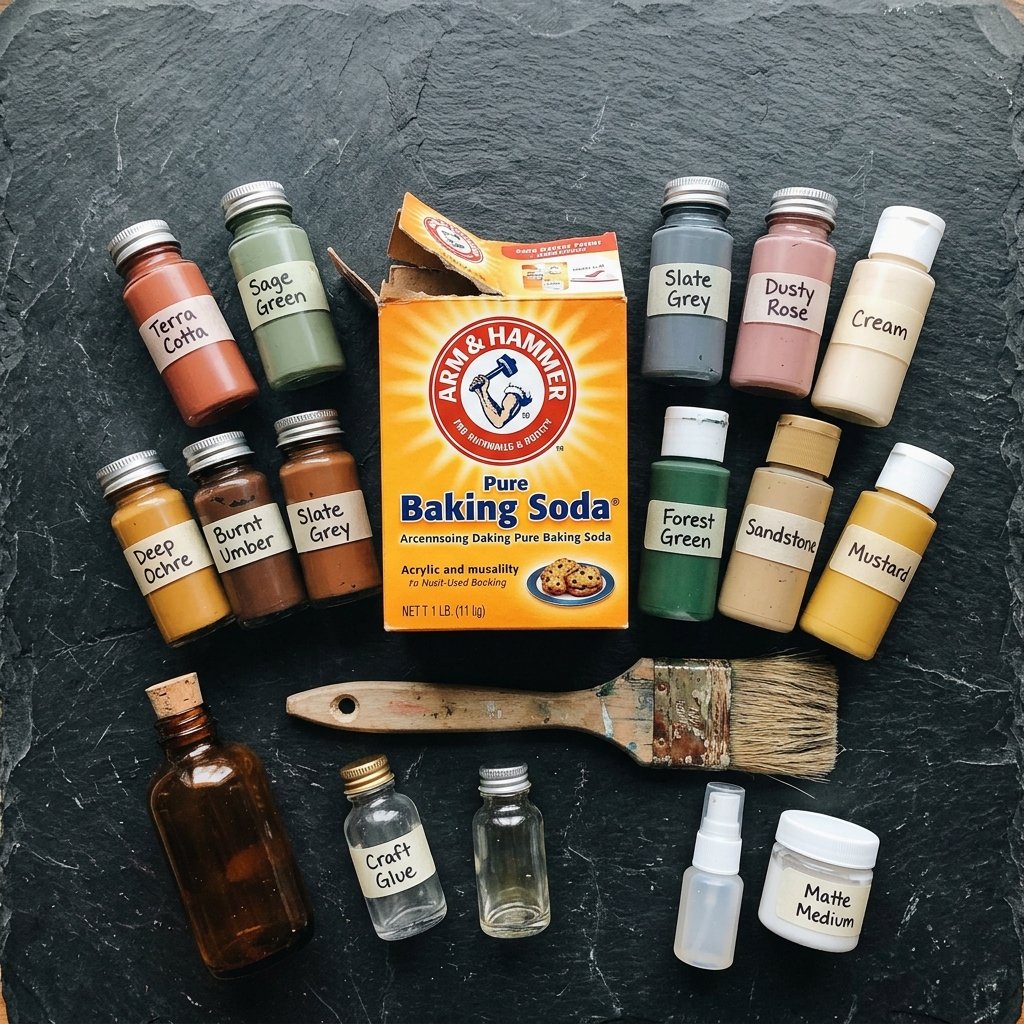
Success in any DIY operation starts with the right kit. We aren’t looking for expensive specialty mediums here. We are looking for everyday items that, when combined, create something extraordinary. The beauty of the faux clay hack is its accessibility. You likely have half of these items in your kitchen or garage already. If not, a quick $10 trip to the local dollar store will get you everything you need to make a whole collection of vases.
The Essential Supplies
- Base Vessels: Glass vases, plastic bowls, or even old spaghetti jars.
- Acrylic Paint: Matte finish works best. Think earthy tones: terracotta, sage, charcoal, or creamy beige.
- Baking Soda: This is the secret weapon that adds the ‘grit’ and ‘clay’ texture.
- Paint Brushes: Cheap chip brushes are actually better here because they leave more texture.
- Sandpaper: A medium 120-grit to prep smooth surfaces.
| Item | Retail Store Price (Approx.) | DIY Dollar Store Cost |
|---|---|---|
| Textured Clay Vase | $85.00 – $150.00 | $1.25 |
| Matte Acrylic Paint | $12.00 | $1.25 |
| Texturizing Medium | $15.00 | $0.50 (Baking Soda) |
| Total Investment | $112.00+ | $3.00 |
“The goal isn’t just to save money; it’s to prove that style is a result of creativity and effort, not a high credit limit.”
Phase One: Prepping the Surface for Maximum Adhesion
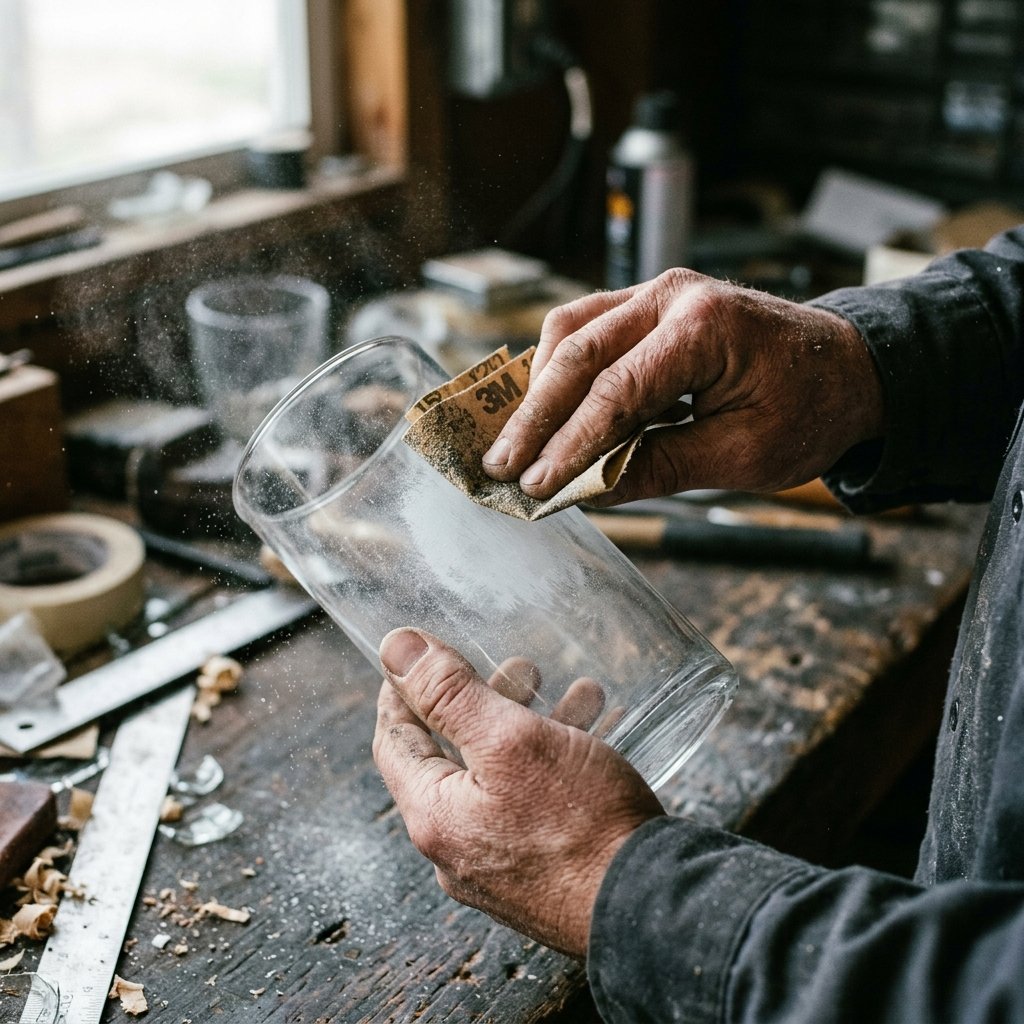
You can’t just slap paint on a glossy glass vase and expect it to stay. To achieve that rugged, professional finish, you need to prep your canvas. This is where many amateur crafters fail—they skip the prep. We are building something that looks like it was dug out of an archaeological site, not something that will peel in a week. If you are using plastic, this step is even more critical. Plastic is non-porous and ‘slick,’ meaning paint wants to slide right off. We need to create ‘tooth’ for the paint to grab onto.
Step-by-Step Surface Prep
- Clean Thoroughly: Use rubbing alcohol or hot soapy water to remove all oils, fingerprints, and price tag residue. Even a tiny bit of adhesive can ruin the final texture.
- De-Glossing: Take your 120-grit sandpaper and lightly scuff the entire surface of the vessel. You aren’t trying to sand it down; you just want to remove the shine.
- Dust Off: Wipe the piece down with a microfiber cloth or a tack cloth. Any remaining dust will create lumps in your finish that look like mistakes rather than intentional texture.
For glass items, a quick spray of a matte primer can also help, but if you’re on a strict zero-budget, the sanding method is perfectly sufficient. Pro Tip: If you’re working with a very lightweight plastic container, consider filling the bottom with a few stones or sand before you start. It gives the piece a ‘heft’ that mimics the weight of real ceramic.
The Secret Formula: Mixing the Faux Clay ‘Slurry’
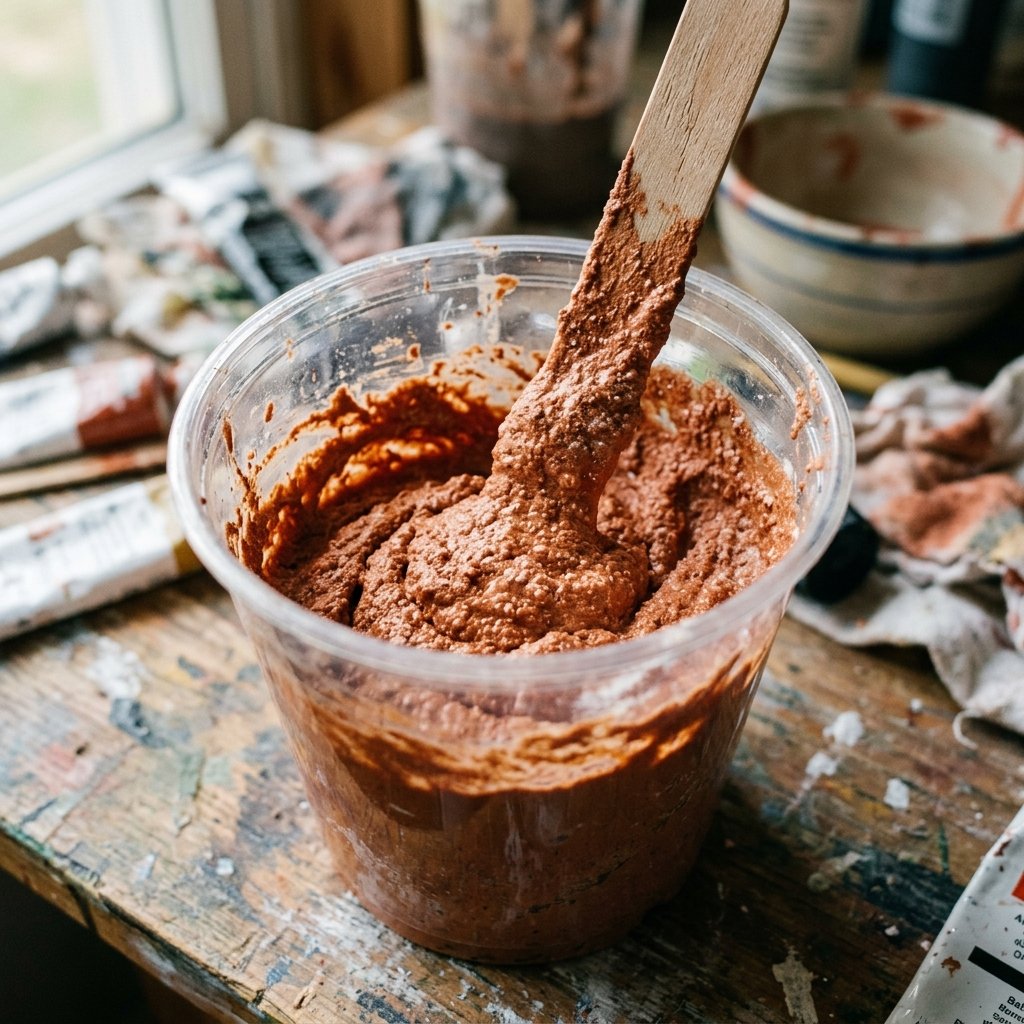
Now we get to the magic. The ‘Baking Soda Paint’ trick is a staple for a reason: it works. By mixing a leavening agent into the paint, you create a chemical reaction that thickens the medium and adds a stone-like grain. It transforms flat, cheap paint into a thick, spreadable slurry that mimics the look of unglazed stoneware. The ratio is key here. Too much soda and the paint will crack and flake off; too little and it will just look like thick paint.
The Master Ratio Table
| Desired Finish | Paint Amount | Baking Soda Amount |
|---|---|---|
| Smooth Ceramic | 1 Cup | 1 Tablespoon |
| Standard Terracotta | 1 Cup | 1/4 Cup |
| Rugged Stone / Heavy Clay | 1 Cup | 1/2 Cup |
Mix your ingredients in a small bowl until the consistency resembles thick cake frosting. You want it to be ‘peaky’—meaning when you lift the brush, the paint stays in a little mountain rather than slumping back down. Safety Note: While these ingredients are non-toxic, it’s always best to work in a ventilated area and keep the paint away from food-contact surfaces.
Application Mastery: Creating the Hand-Thrown Look
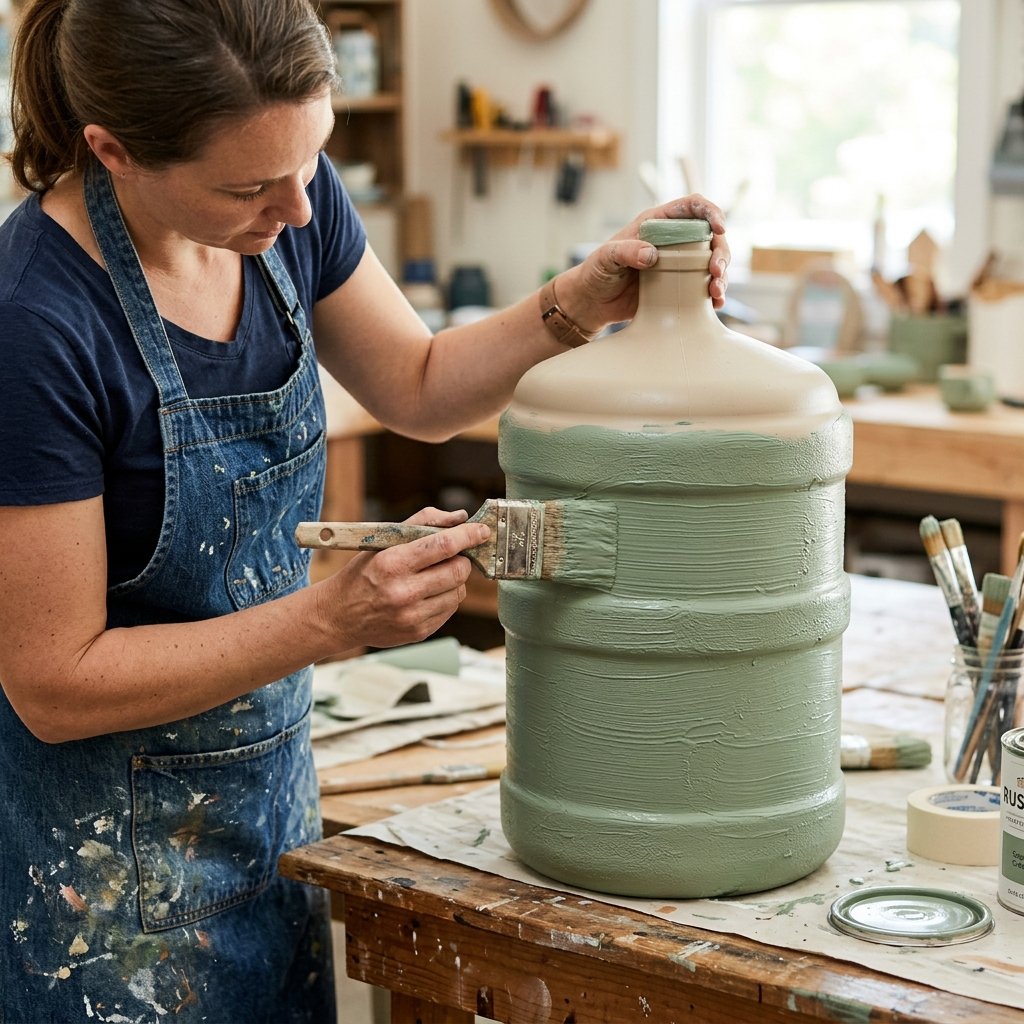
How you apply the paint is just as important as the mixture itself. To truly dupe a $100 vase, you need to mimic the way a potter’s hands move. Real pottery has character—slight ridges, horizontal lines from the wheel, or stippled textures from the firing process. We are going to replicate these purposefully. Don’t aim for perfection; aim for ‘organic.’ Perfection looks like plastic; imperfection looks like art.
Technique Options
- The Potter’s Wheel Sweep: Brush the paint on in long, horizontal strokes encircling the vase. This mimics the ‘throwing’ lines of a manual pottery wheel.
- The Stipple Strike: Use the tip of the brush to ‘pounce’ the paint onto the surface. This creates a heavy, pitted texture similar to cast concrete or ancient stone.
- The Cross-Hatch: Apply strokes in a ‘V’ or ‘X’ pattern. This is excellent for larger floor vases as it hides the seams of the vessel and adds visual depth.
“Apply the first coat thinly to establish the base. Let it dry for 30 minutes, then go in heavy with the second coat to build your ‘clay’ ridges.”
The Finishing Touch: Aging and Curing
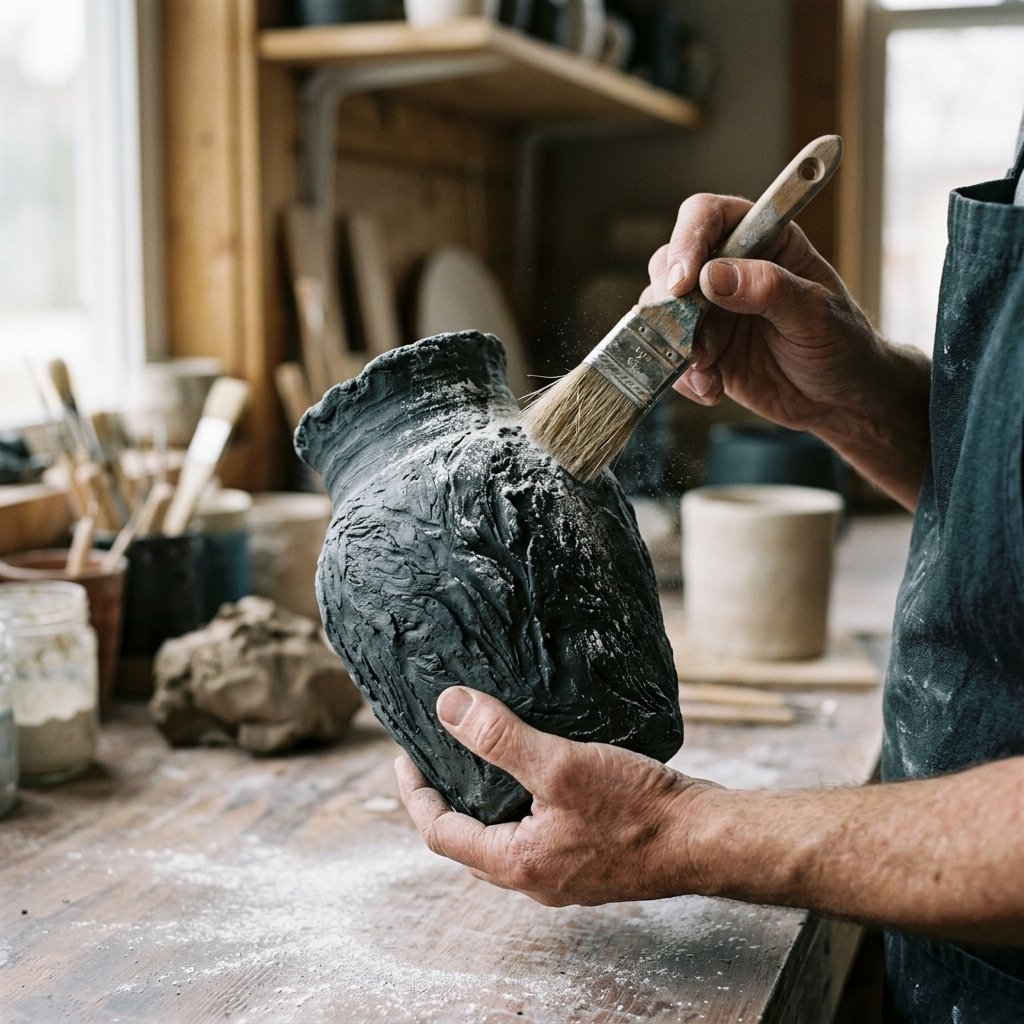
Once your paint is dry, you’ll have a beautiful matte vessel. But if you want that true ‘found object’ look, you need to add a layer of age. Real clay isn’t perfectly monochromatic; it has mineral deposits, shadows, and highlights. This is the stage that separates the amateurs from the experts. We are going to use a simple ‘dry brush’ or ‘wash’ technique to give the piece a 100-year-old patina.
Patina Techniques
- The Mud Wash: Mix a tiny drop of dark brown or black paint with 90% water. Brush it over the vase, then immediately wipe most of it off with a rag. The dark pigment will stay in the low points of the texture, highlighting the ‘clay’ ridges.
- The Flour Dusting: While the final coat of paint is still slightly tacky (not wet, but ‘grabby’), lightly dust the piece with a handful of flour or cornstarch. Buff it off with a dry cloth. This leaves a white, chalky residue in the crevices that mimics the salt deposits found on old Mediterranean pottery.
- The Final Seal: If you plan on putting real water in these, you must seal them. Use a matte clear spray sealer. Avoid gloss at all costs, as it will instantly ruin the ‘clay’ illusion.
Conclusion
Your High-End Home Awaits
By following this tactical upcycling guide, you’ve successfully bypassed the massive markups of high-end retailers. You’ve taken a $1.25 piece of ‘trash’ and turned it into a sophisticated, masculine-elegant decor staple. This process isn’t just about the vase; it’s about the mindset. Once you realize that texture, color, and weight can be manipulated with simple household items, the entire dollar store becomes a warehouse of potential. Whether you’re styling a bookshelf, creating a centerpiece for a budget-friendly wedding, or crafting a rugged gift for a friend, the faux clay hack is a tool you’ll use again and again. Now, go forth and create—your wallet (and your interior designer) will thank you.

Makenzie is the founder and lead writer at MoneyHackTips.com — a personal finance blog dedicated to delivering street-smart financial wisdom for real people on real budgets. With 300+ published articles covering everything from debt management to investing fundamentals, Makenzie’s mission is to make every dollar work harder. When not writing about money hacks, Makenzie is testing frugal living strategies, optimizing side hustles, and helping readers build financial freedom from scratch.