
Turning Trash into a Childhood Legacy
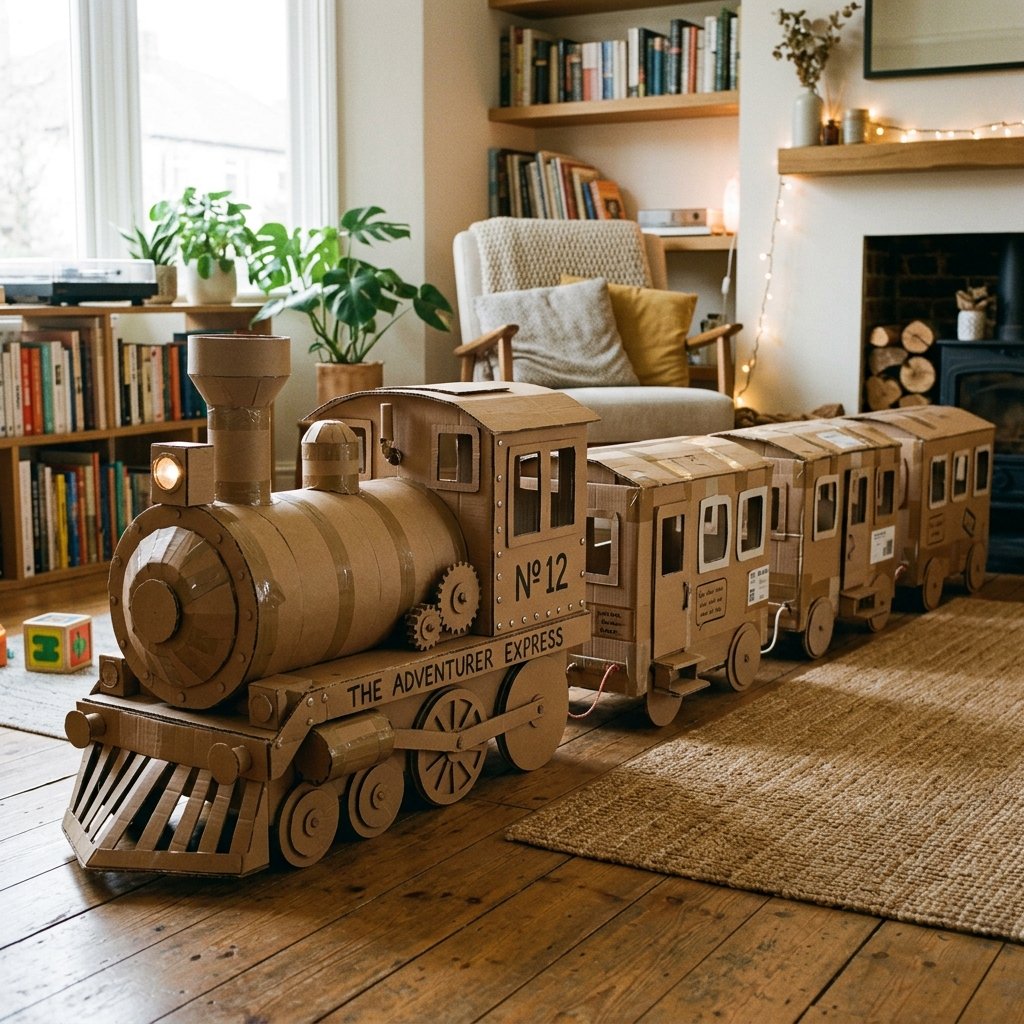
When the rain starts pouring and the kids start climbing the walls, the resourceful DIYer doesn’t reach for a credit card; they reach for the recycling bin. There is something inherently rugged and satisfying about taking a stack of discarded shipping containers and engineering them into a massive, interactive plaything. This isn’t just a craft; it’s an afternoon of industrial design on a zero-dollar budget. We are going to build a bespoke, giant cardboard train that looks sophisticated, feels sturdy, and provides hours of imaginative play. Forget the flimsy plastic sets that cost a fortune—today, we are building a locomotive that would make any master craftsman proud.
Scavenging the Yard: Sourcing High-Quality Materials
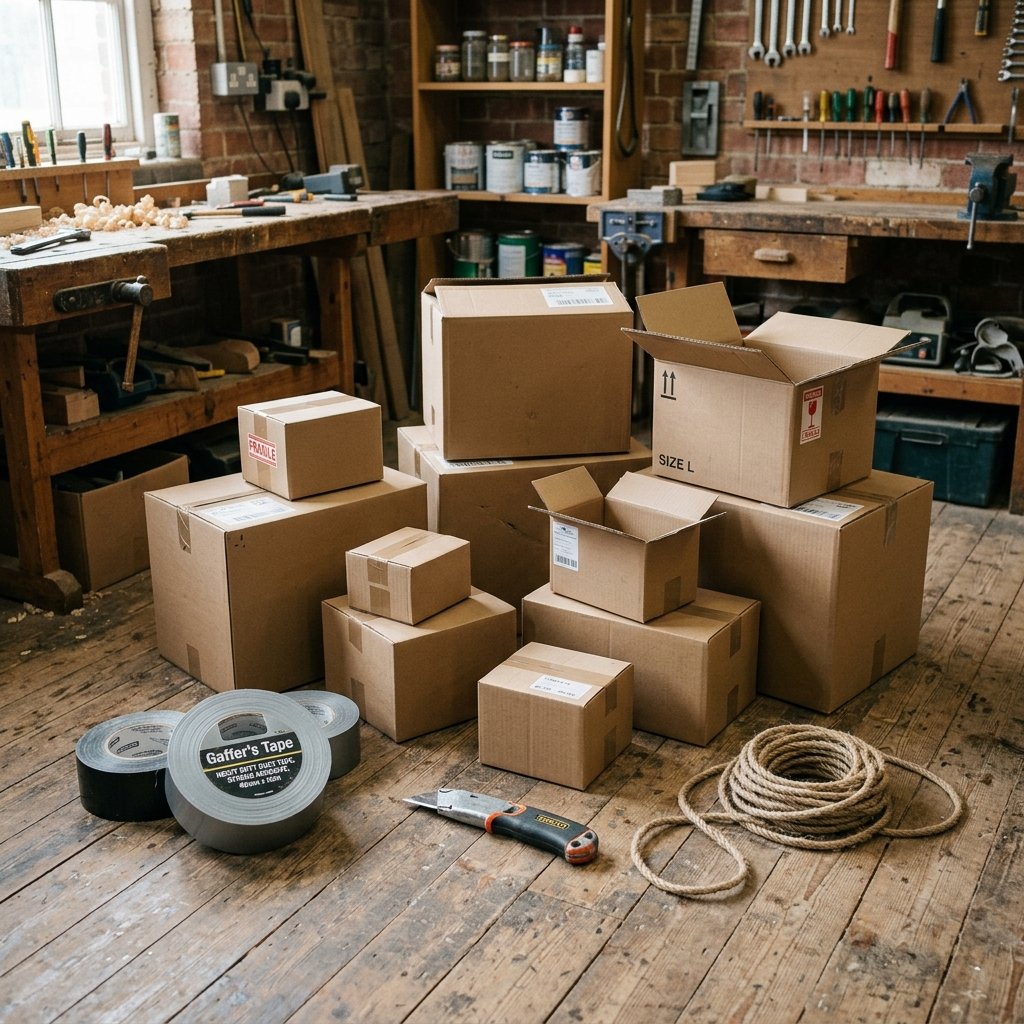
Every great build starts with high-quality raw materials. For this project, we aren’t looking for thin cereal boxes; we need the heavy-duty stuff. To build a train that can withstand a crew of energetic toddlers, you need double-walled corrugated cardboard. Check your garage, ask at the local appliance store, or scavenge behind a furniture warehouse. You are looking for a variety of shapes: one large ‘refrigerator’ style box for the engine, and several medium ‘moving’ boxes for the carriages.
The Material Breakdown
| Item | Purpose | Estimated Cost |
|---|---|---|
| Large Appliance Box | Locomotive Body | $0.00 |
| 4-6 Medium Boxes | Passenger & Coal Cars | $0.00 |
| Duct Tape or Packing Tape | Structural Assembly | $3.00 |
| Paper Towel Rolls | Steam Pipes & Details | $0.00 |
| Hemp Rope or Zip Ties | Couplings | $2.00 |
| Total Project Cost | Professional Play Set | $5.00 |
“The secret to a sturdy build is the ‘grain’ of the cardboard. Always ensure the internal fluting runs vertically for any pieces that need to support weight.”
Engineering the Locomotive: Building the Heart of the Train

The engine is the centerpiece of your fleet. It requires a bit of clever geometry to get that iconic steam-engine silhouette. We will use a large rectangular base for the chassis and a cylindrical shape for the boiler. If you don’t have a pre-made tube, you can score a flat piece of cardboard every 1 inch and roll it into a curve.
Step-by-Step Engine Assembly
- The Chassis: Use your largest box. Keep it closed and tape all seams securely. This is the foundation.
- The Boiler: Take a long rectangular piece of cardboard. Use a straight edge to ‘score’ (cut halfway through) vertical lines. Bend it into a cylinder and tape it to the front half of the chassis.
- The Cab: Cut a second box to be slightly taller than the boiler. Cut out windows using a sharp utility knife. Attach this to the rear of the chassis.
- The Smokestack: Use a shipping tube or a rolled-up piece of cardboard. Cut a circular hole in the top of the boiler and friction-fit the stack inside.
Safety Note: Always use a fresh, sharp blade for cutting cardboard. A dull blade requires more force and is more likely to slip. Adults should handle all heavy cutting.
The Rolling Stock: Crafting Passenger Cars and Coal Tenders
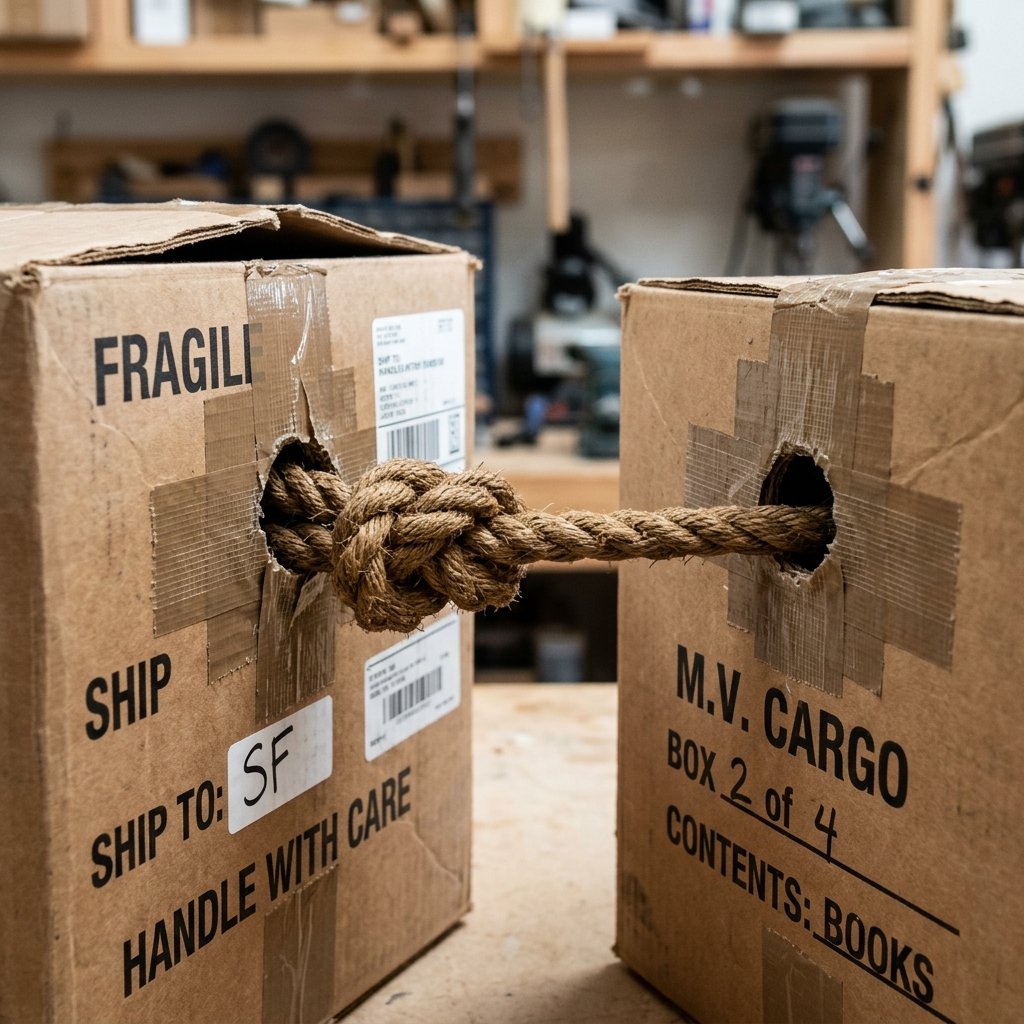
A train isn’t a train without a line of cars following behind. This is where you can get creative with the ‘cargo.’ We want a uniform look, so try to use boxes of similar dimensions for your passenger cars. To make the train functional, we need a ‘coupling’ system that allows the train to turn corners without ripping the cardboard.
Creating the Couplings
- Punch a hole near the bottom center of the front and back of every car using a screwdriver or awl.
- Reinforce the hole with a ‘donut’ of duct tape on both sides to prevent tearing.
- Thread a 12-inch piece of hemp rope through the holes and tie a sturdy knot, leaving about 4 inches of slack between the cars.
For the coal tender (the car directly behind the engine), cut the top flaps off completely. This allows the kids to fill it with ‘fuel’—which could be black balloons, crumpled construction paper, or even their stuffed animals.
Custom Finishes: Adding Rugged Details and Functional Controls
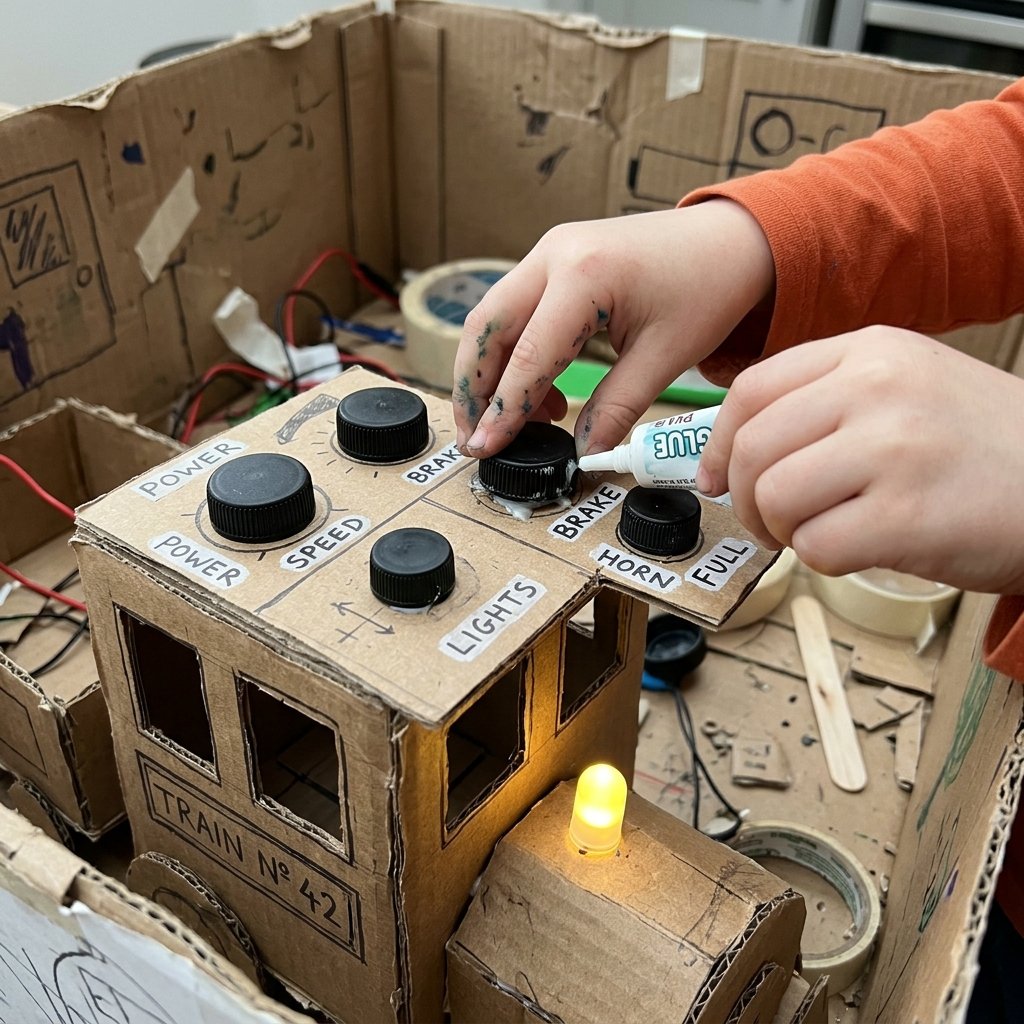
To elevate this from a ‘box’ to a ‘machine,’ we need details. This is where the masculine-elegant aesthetic comes in. Instead of bright, primary colors, consider a ‘steampunk’ or ‘industrial’ palette: deep blacks, metallic silvers, and raw cardboard brown.
The Detail Checklist
- The Wheels: Cut 8-inch circles from scrap cardboard. For a pro look, glue two circles together for thickness. Paint them black and bolt them to the sides (non-functional) or use a dowel for a rolling axle.
- The Headlight: Take a cheap LED tap-light ($1.25 at the dollar store) and tape it to the front of the boiler. It actually works for ‘night’ missions!
- The Controls: Inside the cab, glue bottle caps and old jar lids to the ‘dashboard.’ Use a paper towel roll as a throttle lever.
- Steam: Stuff the top of the smokestack with white polyester fiberfill or cotton balls to simulate billowing steam.
| Feature | DIY Material | Visual Impact |
|---|---|---|
| Pistons | PVC pipe or Paper rolls | High Realism |
| Rivets | Googly eyes or Glue dots | Industrial Texture |
| Gauges | Printed paper or Jar lids | Interactive Play |
The Conductor’s Guide: Durability and Storage Hacks
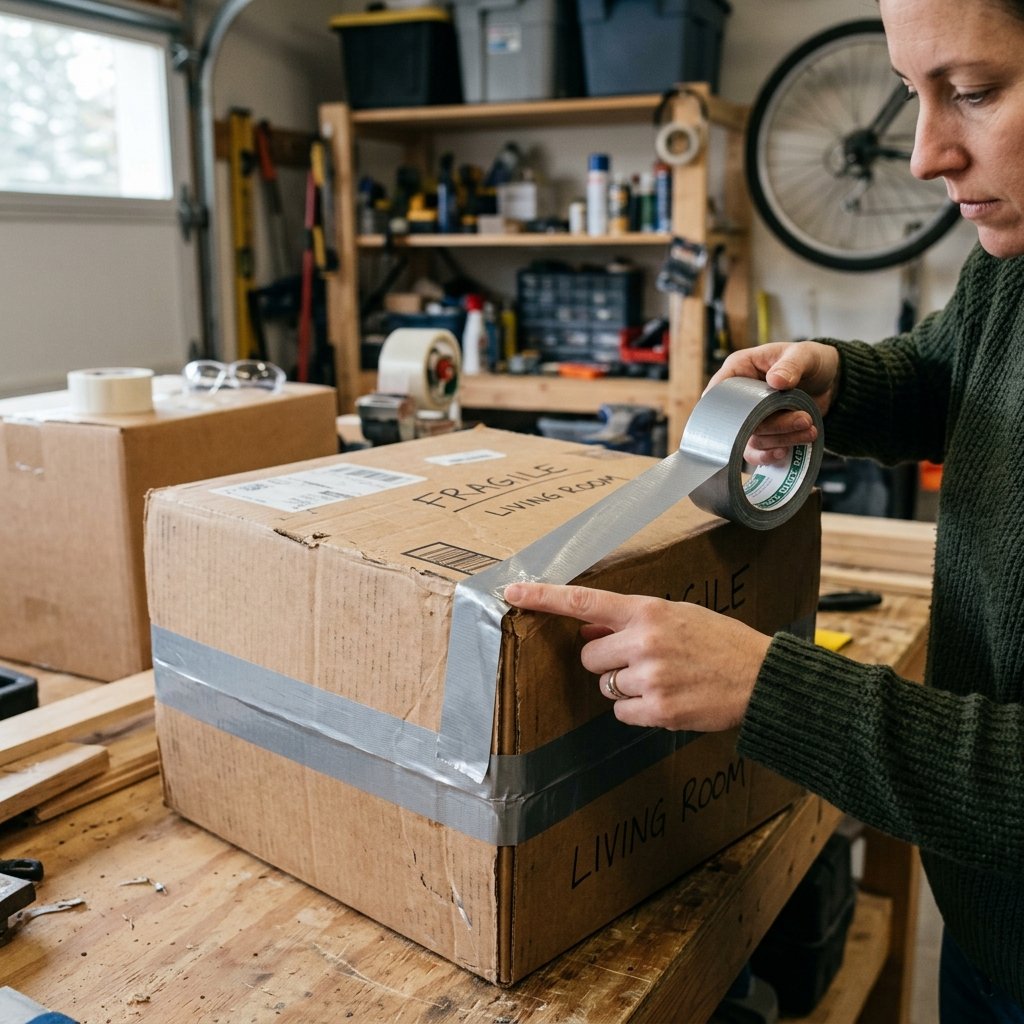
Cardboard is surprisingly resilient, but a crew of wild toddlers can be tough on equipment. To ensure your train lasts longer than a single afternoon, you need to reinforce the high-stress areas. The corners of the ‘chassis’ and the ‘couplings’ are the first to go.
Pro-Tips for Longevity
- Reinforce the Bottoms: Apply a layer of clear packing tape or duct tape to the bottom edges of the boxes. This reduces friction and prevents the cardboard from fraying as it slides across the carpet.
- The Fold-Down Trick: If you don’t have a massive playroom, don’t tape the bottoms of the passenger cars shut. Instead, use ‘tab-and-slot’ joins so you can flatten the boxes and slide them under a bed when the sun comes out.
- Weighting the Engine: If the locomotive is too light and tips over, place a few heavy books in the bottom of the chassis to lower the center of gravity.
“A true craftsman knows that the build is only half the fun; the maintenance and ‘upgrades’ are what keep the project alive for weeks.”
Conclusion
All Aboard the Budget Express
Building a giant DIY cardboard train is a masterclass in resourceful creativity. For the cost of a roll of tape and some scavenged boxes, you’ve engineered a massive, interactive world that beats any store-bought toy in both scale and sentiment. You’ve taught your kids that ‘boredom’ is just an opportunity for ‘innovation.’ This rainy day, you didn’t just survive the weather; you built a legend. So, grab your conductor’s hat, blow the whistle, and enjoy the ride—you earned it. Total savings: approximately $200 compared to a high-end plastic play set, and the memories are, quite literally, priceless.

Makenzie is the founder and lead writer at MoneyHackTips.com — a personal finance blog dedicated to delivering street-smart financial wisdom for real people on real budgets. With 300+ published articles covering everything from debt management to investing fundamentals, Makenzie’s mission is to make every dollar work harder. When not writing about money hacks, Makenzie is testing frugal living strategies, optimizing side hustles, and helping readers build financial freedom from scratch.