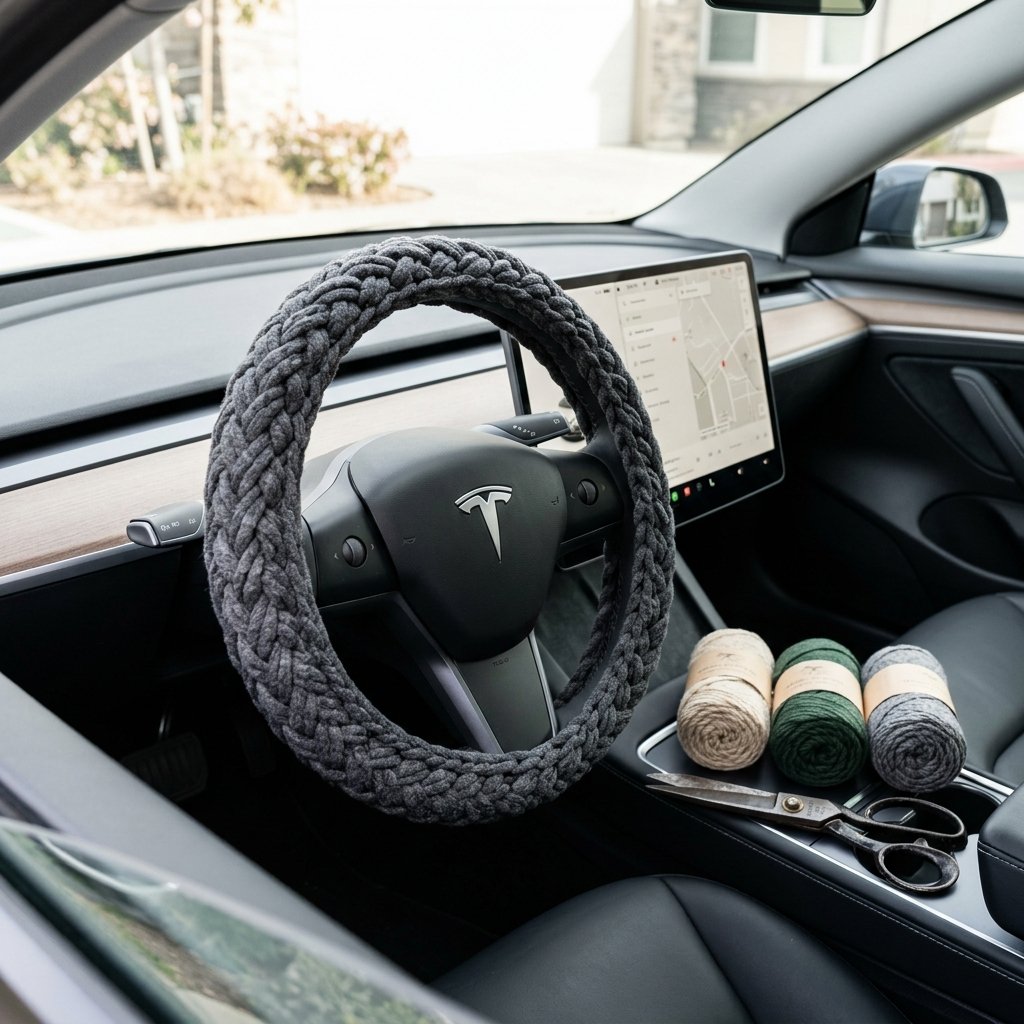

The Ultimate Trash-to-Treasure Automotive Upgrade
Let’s be honest: most store-bought steering wheel covers are either incredibly tacky or unnecessarily expensive. Whether you’re trying to hide a peeling wheel, protect your hands from the blistering summer heat, or simply add a touch of masculine elegance to your daily driver, the solution is likely sitting in your donation bin right now. Welcome to the world of ‘Tarn’—T-shirt yarn. This resourceful project isn’t just about saving $20 to $40 at a big-box retailer; it’s about taking a rugged, hands-on approach to your environment. In just 15 minutes, you can convert a retired 100% cotton tee into a tactile, chic accessory that feels as good as it looks. This is frugal DIY at its finest—clever, sustainable, and undeniably stylish.
The Alchemy of Old Cotton: Why T-Shirt Yarn is a Driver’s Best Friend
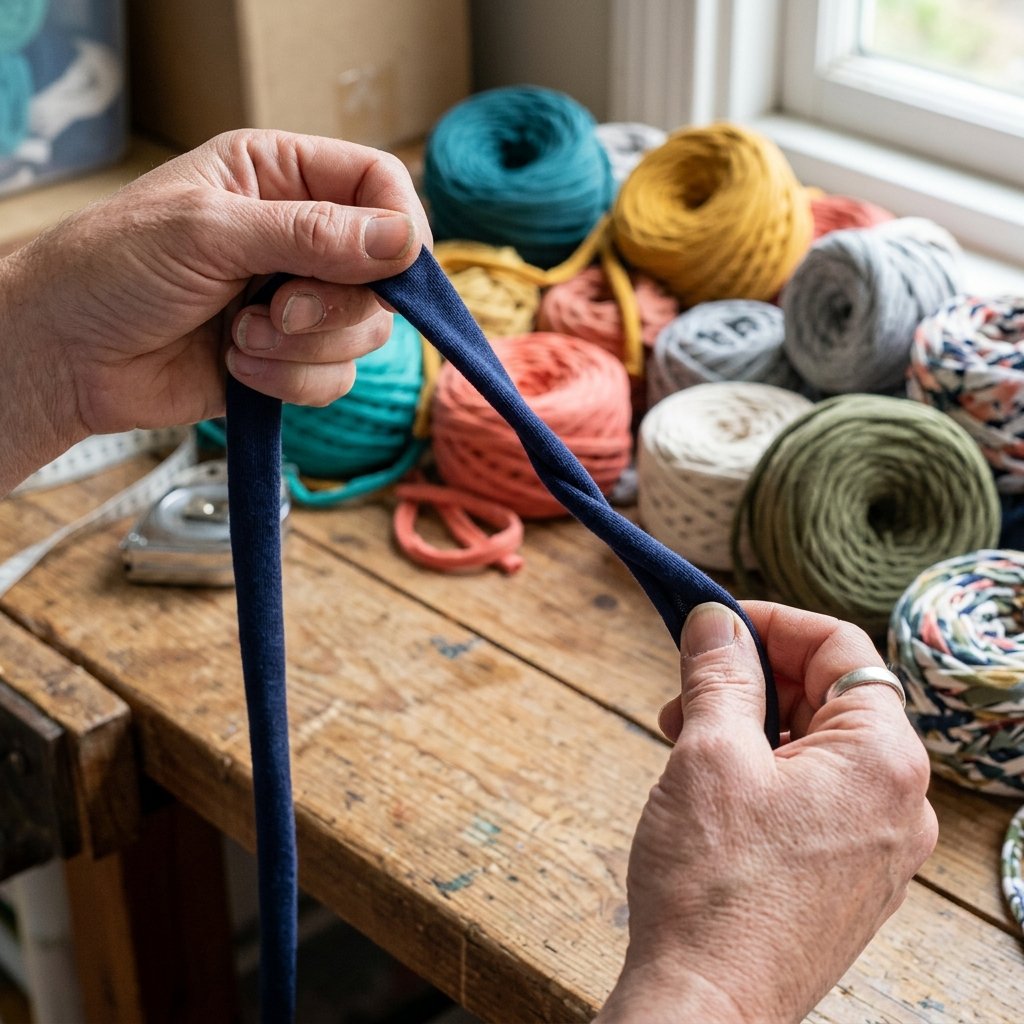
Before we dive into the construction, we need to understand our medium. T-shirt yarn, or ‘Tarn,’ is created by cutting continuous strips from jersey-knit fabric. When pulled taut, the edges of the jersey curl inward, creating a durable, tubular cord that is perfect for heavy-use items like steering wheel covers. Unlike synthetic covers that can get slippery or crack over time, cotton Tarn offers a superior grip and natural breathability.
| Feature | Store-Bought Synthetic | DIY T-Shirt Yarn |
|---|---|---|
| Cost | $15 – $35 | $0 (Upcycled) |
| Breathability | Low (Sweaty hands) | High (Natural cotton) |
| Installation Time | 2 Minutes | 15 Minutes |
| Customization | Limited | Infinite (Any color/pattern) |
“The secret to great Tarn is the ‘stretch test.’ Always use 100% cotton or a cotton-spandex blend. If the fabric doesn’t curl when pulled, it won’t give you that professional, rounded cord look.”
The Zero-Dollar Inventory: Gathering Your Scraps
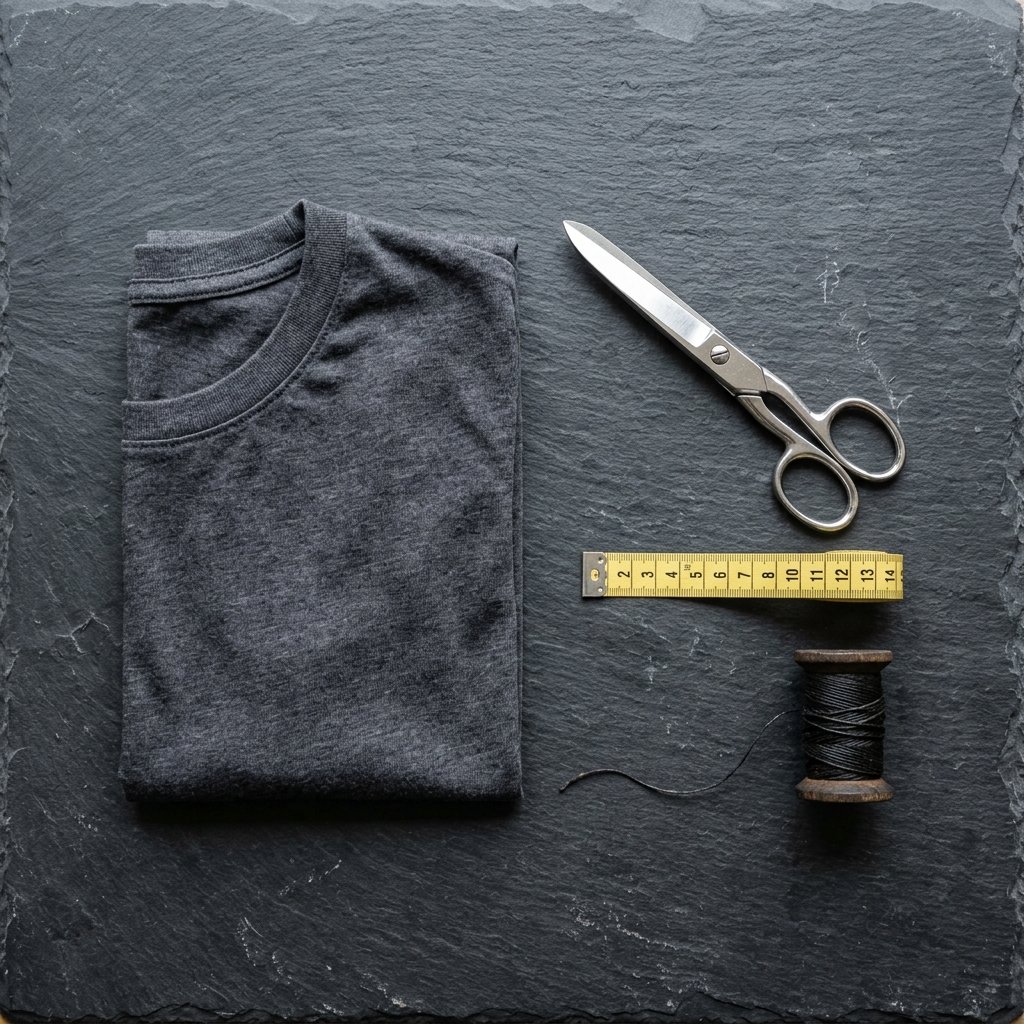
You don’t need a fancy craft room for this. You need a sharp pair of fabric shears and a couple of old shirts. For a standard steering wheel, one large or XL men’s T-shirt is usually enough, but having a second shirt in a contrasting color allows for a more sophisticated, multi-tonal braid. Look for shirts without side seams for the smoothest possible yarn.
Required Materials:
- 1-2 Old T-Shirts (Jersey knit, no side seams preferred).
- Fabric Shears (Must be sharp to prevent fraying).
- Measuring Tape (To check your wheel’s circumference).
- A Large Safety Pin or Upholstery Needle (For securing the ends).
- Strong Twine or Waxed Thread (For the final ‘lock’ stitch).
When selecting your shirts, think about the interior of your car. A rugged charcoal, deep navy, or even a forest green can provide a masculine-elegant vibe that mimics high-end textile interiors found in luxury vehicles.
The 15-Minute Blueprint: Braiding Your Way to a Chic Interior
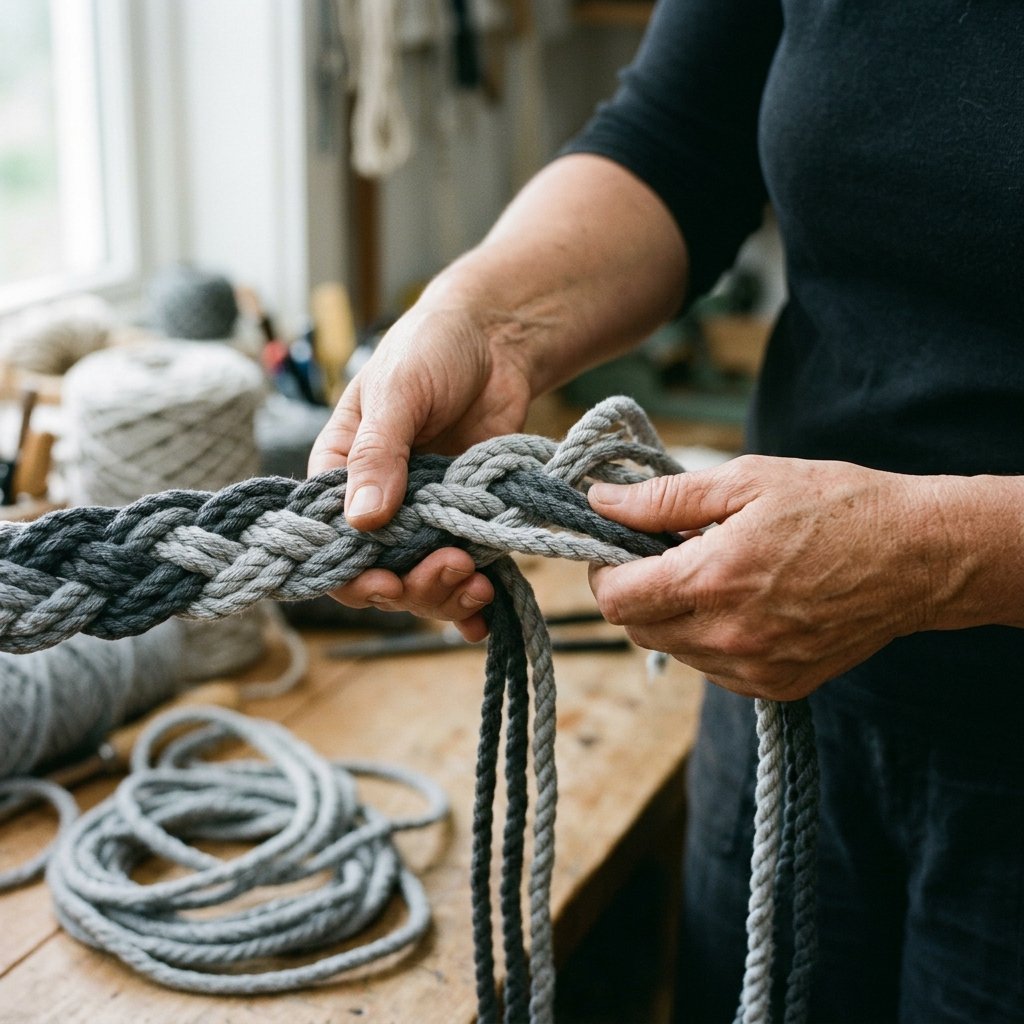
We are going to use a modified ‘Flat Braid’ technique. This provides a wide, comfortable surface area for your palms while maintaining enough flexibility to wrap tightly around the wheel. Follow these steps for a perfect fit:
- Create the Yarn: Cut your T-shirt into 1-inch wide strips. Pull each strip firmly until it curls into a cord. Tie three long strands together at the top.
- The Braid: Perform a tight, consistent three-strand braid. Ensure the tension is even; a loose braid will slip on the wheel, which is a safety hazard.
- The Measurement: Most steering wheels are 14.5 to 15.5 inches in diameter. You will need a braid that is roughly 45-47 inches long to cover the outer circumference.
- The Wrap: Starting at the 6 o’clock position on your wheel, begin wrapping the braid around the rim. You can either spiral wrap it or use the braid as a single ‘hoop’ that you stitch closed.
“To ensure a ‘no-slip’ grip, wrap the braid while the car is warm. The fabric will have a slight bit more give, allowing you to pull it tighter for a vacuum-fit finish.”
The ‘No-Slip’ Secret: Secure Installation for Rugged Reliability
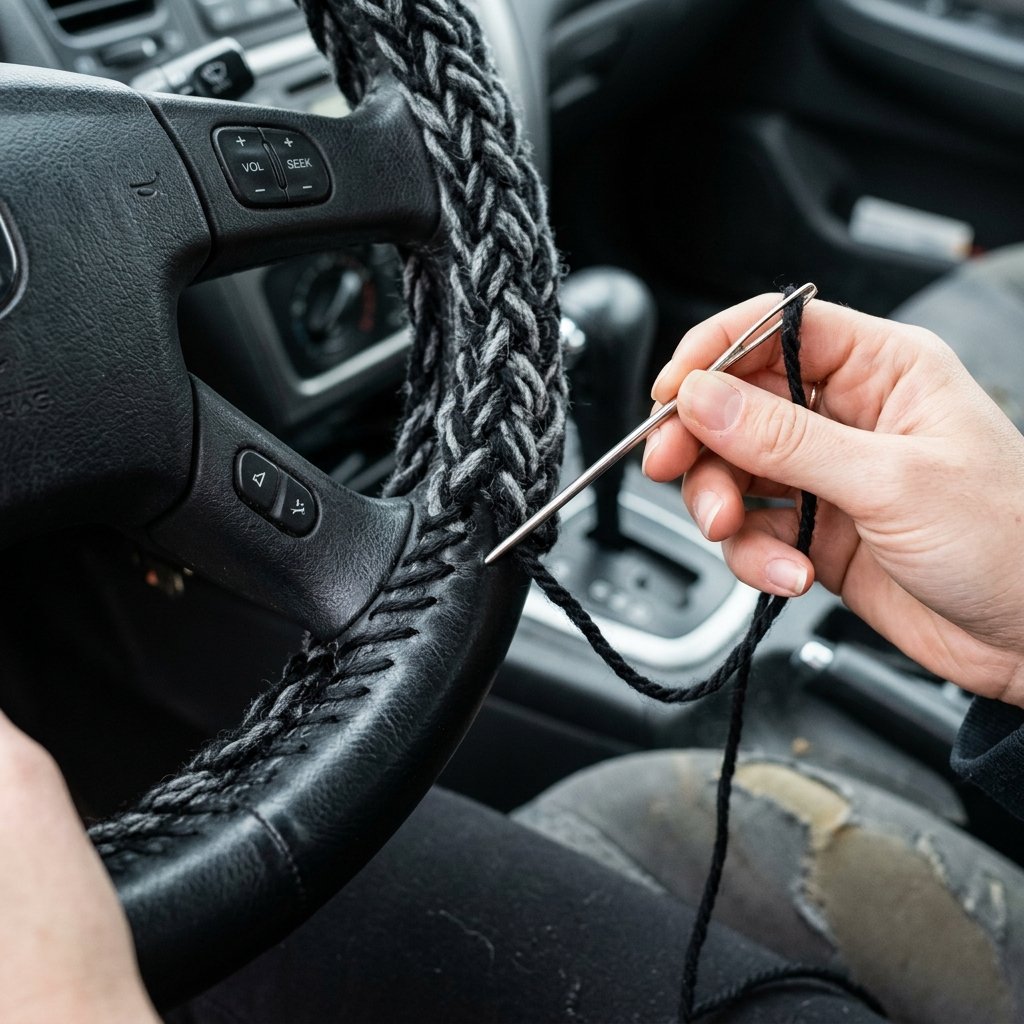
Safety is paramount when modifying anything related to vehicle control. A loose steering wheel cover is dangerous. To ensure your DIY masterpiece stays put, we use the ‘Inner-Rim Lock’ method. This involves using a secondary piece of yarn or waxed thread to whip-stitch the cover to the wheel itself.
The Safety Checklist:
- Tension Check: Once the cover is on, try to rotate it with your hand. If it moves more than a quarter-inch, it needs to be tighter.
- Obstruction Check: Ensure the yarn does not interfere with the horn, airbag deployment zones, or steering wheel buttons.
- Material Integrity: Check for any loose threads that could snag on your fingers or jewelry while turning.
| Stitch Type | Best For | Difficulty |
|---|---|---|
| Whip Stitch | Maximum Security | Easy |
| Cross-Stitch | Aesthetic Detail | Medium |
| Invisible Ladder | Seamless Look | Hard |
“Safety Note: Never use adhesives like hot glue or super glue on your steering wheel. The heat from the sun will melt the glue, creating a sticky mess and potentially causing the cover to slide during a turn.”
Maintenance & Longevity: Keeping Your T-Shirt Yarn Fresh
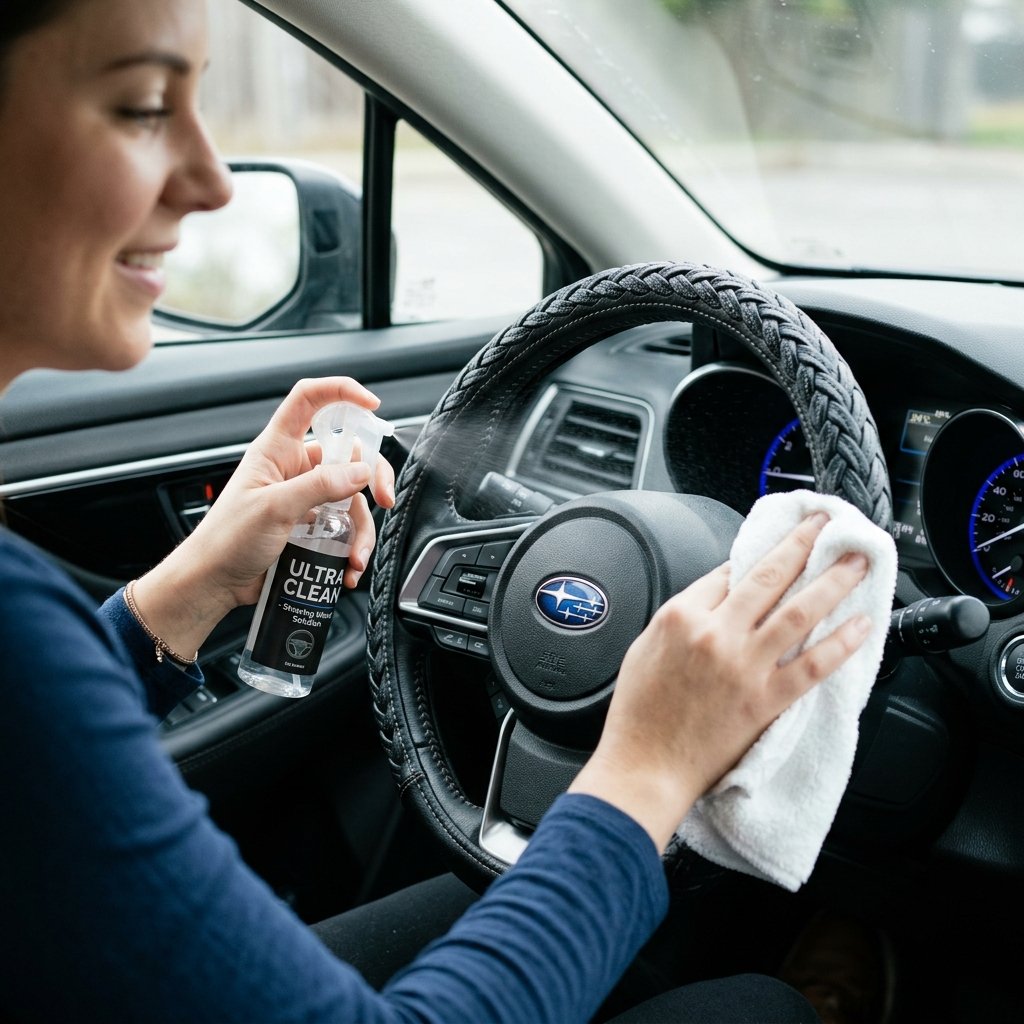
One of the greatest advantages of a DIY cotton cover is that it is 100% washable. Over time, oils from your hands will accumulate on the fabric. Unlike leather which requires expensive conditioners, your Tarn cover just needs a quick refresh.
Care Instructions:
- Spot Cleaning: Use a damp cloth with a drop of mild dish soap for minor stains.
- Deep Cleaning: Since it’s stitched on, you can use a portable upholstery cleaner or a simple spray of 50/50 water and white vinegar to deodorize.
- Replacement: Because this project is virtually free, don’t be afraid to cut it off and make a new one every 6 months to change up the look of your car!
If you notice any pilling (small fuzz balls), simply use a fabric shaver or a disposable razor to gently shave the surface, restoring that crisp, chic look in seconds.
Conclusion
Drive in Style, Crafted by Your Own Hands
There is a unique satisfaction that comes from sitting in the driver’s seat and gripping something you built yourself. This 15-minute DIY T-shirt yarn steering wheel cover is more than just a budget-savvy hack; it’s a testament to the power of upcycling. You’ve taken a piece of clothing destined for the landfill and turned it into a functional, chic, and ruggedly elegant accessory. Your car now reflects your creativity and your commitment to resourceful living. So, the next time you look at an old T-shirt, don’t see a rag—see your next car upgrade. Happy crafting, and enjoy the road ahead!

Makenzie is the founder and lead writer at MoneyHackTips.com — a personal finance blog dedicated to delivering street-smart financial wisdom for real people on real budgets. With 300+ published articles covering everything from debt management to investing fundamentals, Makenzie’s mission is to make every dollar work harder. When not writing about money hacks, Makenzie is testing frugal living strategies, optimizing side hustles, and helping readers build financial freedom from scratch.