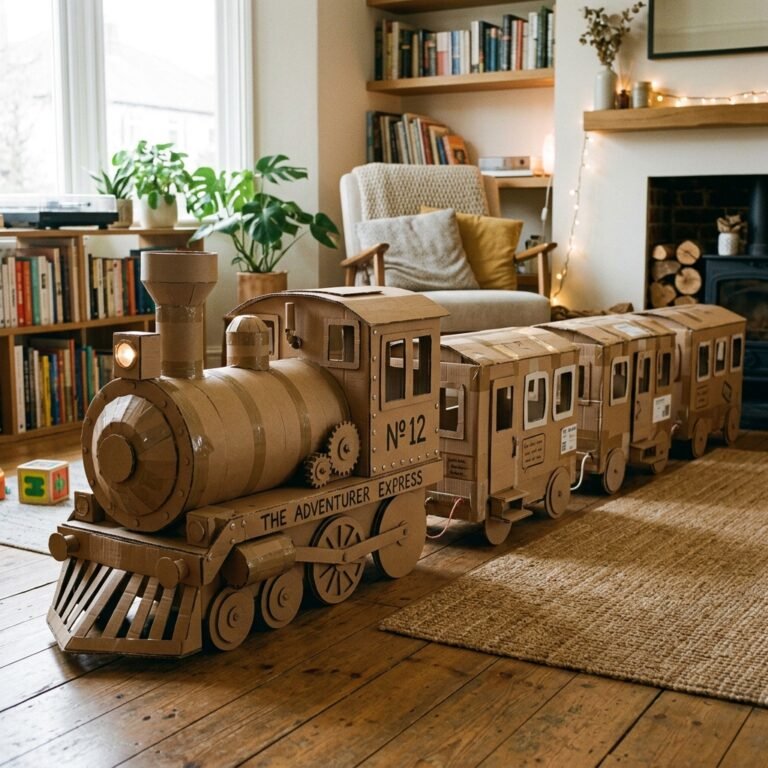
Welcome to the ultimate masterclass in trash-to-treasure engineering. If you are a frugal DIYer, a handy parent, or simply someone who hates seeing a perfectly good cardboard box go to waste, you are in the right place. Today, we aren’t just making a toy; we are building a miniature industrial marvel. We are going to take that sturdy shoebox sitting in the back of your closet and upcycle it into a Magic DIY Cardboard Car Wash that rivals any plastic, store-bought equivalent.
Why spend $30 to $50 on a mass-produced plastic set that will eventually end up in a landfill? As a budget-savvy crafter, you know that the best toys are the ones built with a bit of elbow grease and a lot of imagination. This project is rugged, practical, and designed to withstand the high-speed play of energetic kids. By the time we’re done, you’ll have a professional-grade play set for a total cost of $0. Let’s grab our utility knives and get to work.
The Blueprint: Gathering Your Zero-Budget Materials
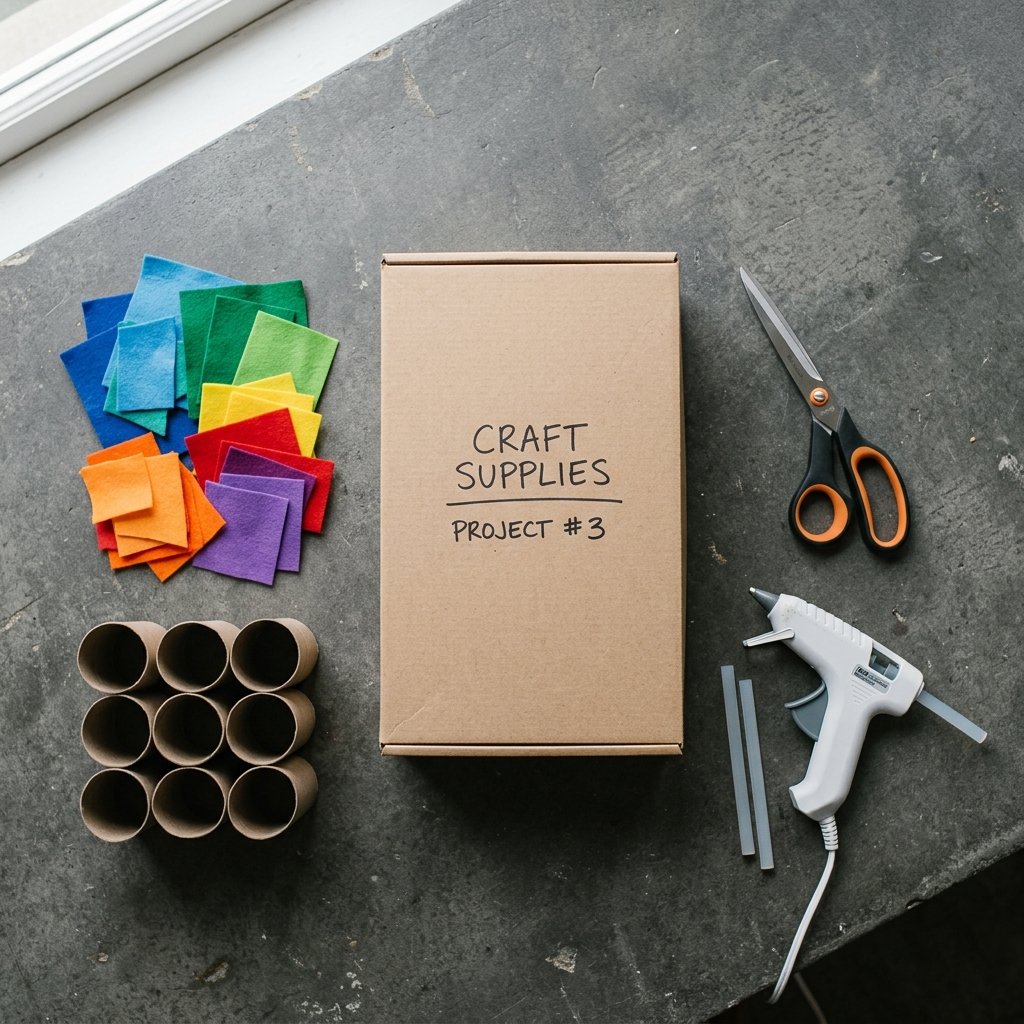
Every great build starts with a solid inventory. Before we make our first cut, we need to scavenge our home for the necessary components. The beauty of this project is its flexibility; if you don’t have felt, use an old t-shirt. If you don’t have a dowel, use a sturdy twig or a chopstick. This is resourceful crafting at its finest.
| Material | Upcycled Source | Estimated Cost |
|---|---|---|
| Shoebox | Closet / Recycling Bin | $0.00 |
| Scrubbers | Old Felt, Sponges, or Fabric Scraps | $0.00 |
| Structural Support | Toilet Paper Rolls / Extra Cardboard | $0.00 |
| Adhesive | Hot Glue or Masking Tape | $0.05 |
| Finish | Leftover House Paint or Markers | $0.00 |
As a crafty expert, I recommend choosing a shoebox with a detachable lid if possible, as it gives you extra material for ramps and signage. However, a hinged lid works perfectly fine for a ‘drive-thru’ style tunnel. Ensure your box is free of staples or sharp plastic edges before handing it over to the ‘mini-mechanics’ in your house.
Budget Mantra: The best materials aren’t bought; they are found. Look at every piece of ‘trash’ as a potential structural component.
Structural Engineering: Cutting the Entry and Exit Ports
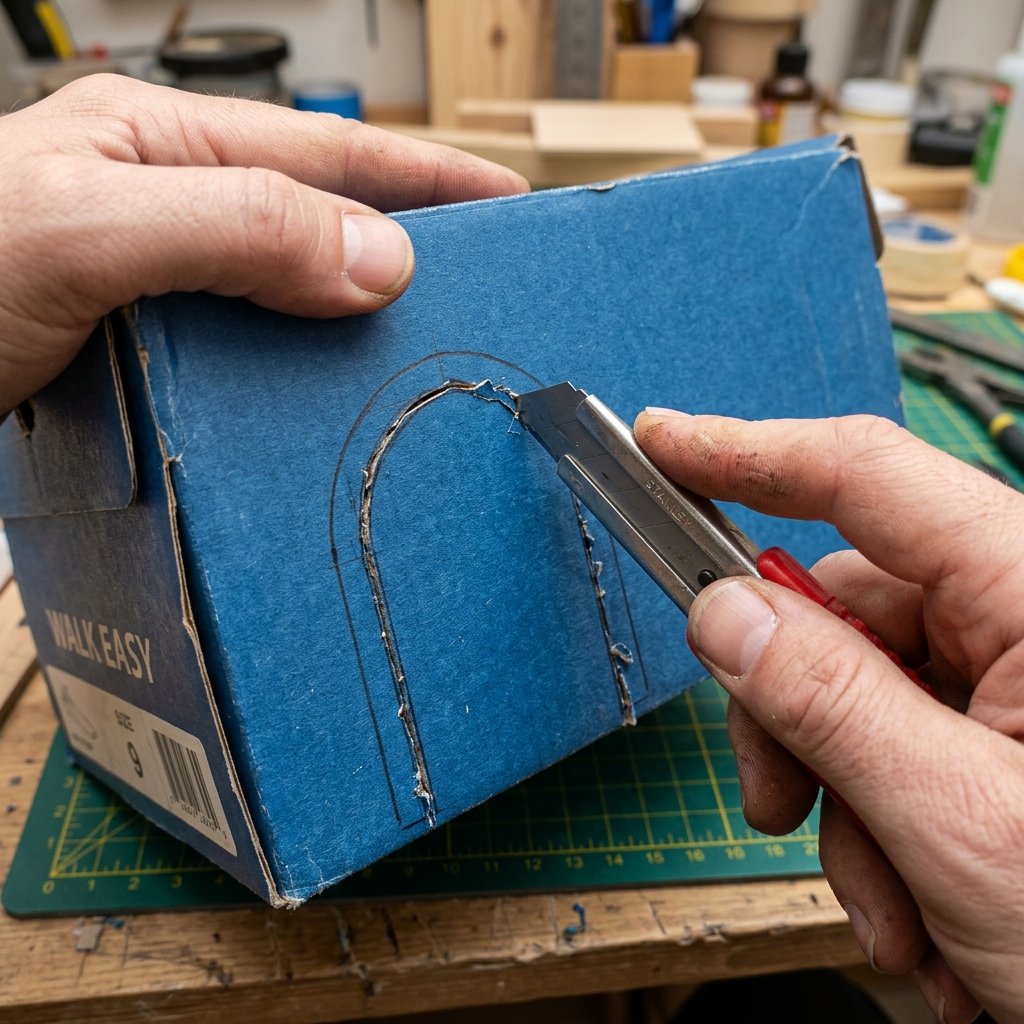
Now, we begin the transformation. To turn a box into a car wash, we need a clear flow of traffic. This requires precision and a steady hand. Using a utility knife (parents only!), we will create the ‘In’ and ‘Out’ portals.
- Measure the Fleet: Grab the largest toy car your child owns. Measure its width and height. Add 1 inch to each dimension to ensure no ‘traffic jams’ occur inside the wash.
- Mark the Portals: On the two shorter ends of the shoebox, trace your rectangles. For a more ‘masculine-elegant’ look, you can arch the tops of the entrances to mimic a real industrial car wash bay.
- The Precision Cut: Carefully cut out the openings. Pro-Tip: Don’t throw away the cardboard rectangles you just cut out! These will become the ‘Pay Here’ kiosks or the ‘Vacuum Station’ later.
- Reinforce the Edges: Use masking tape or duct tape around the cut edges. This prevents paper cuts and adds a rugged, finished look to the entryways.
This stage is where the ‘bones’ of the project come together. If your shoebox feels a bit flimsy, double up the floor by gluing the lid inside the base. This creates a heavy-duty chassis that can handle the weight of die-cast cars without buckling.
The Magic Mechanics: Installing the Scrubbers and Dryers
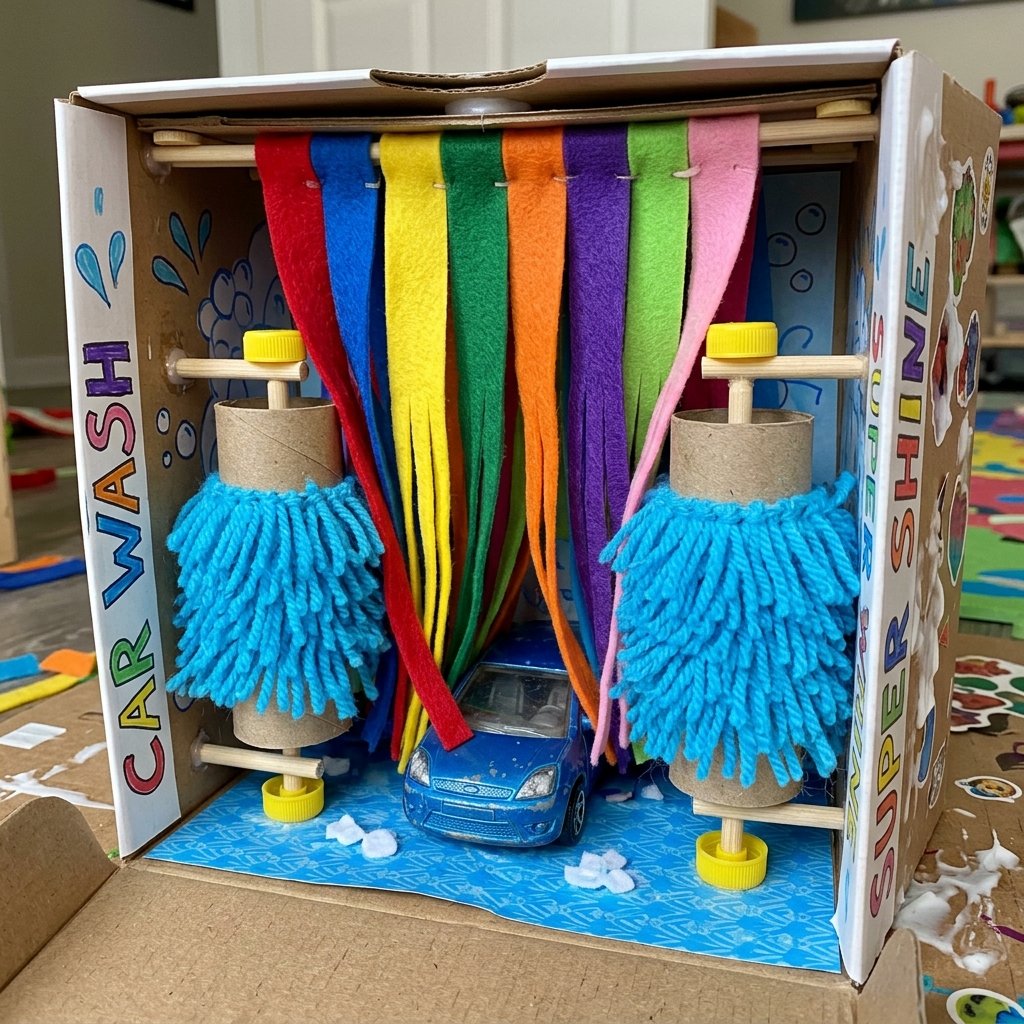
This is where the ‘magic’ happens. A car wash isn’t a car wash without the satisfying tactile experience of the scrubbers. We are going to create a multi-stage cleaning system that feels real to the touch.
Stage 1: The Hanging Felt Curtains
Cut strips of felt or old fabric about 0.5 inches wide. They should be long enough to touch the floor of the box. Glue these to the ceiling of the box just inside the entrance. As the car pushes through, the ‘curtains’ provide that classic car wash feel.
Stage 2: The Vertical Spinning Brushes
Take two toilet paper rolls. Wrap them in fringe-cut felt or pipe cleaners. To make them ‘spin,’ poke a hole through the top and bottom of the shoebox and thread a wooden skewer or straw through the roll. Now, the child can manually spin the brushes as the car passes through!
Stage 3: The ‘Air’ Dryer
At the exit, glue thin strips of blue or white tissue paper or light ribbon. These represent the high-powered fans drying the car before it hits the road. It adds a wonderful visual element of movement every time a car zips through.
Folding Step: When attaching the vertical brushes, ensure there is enough clearance for the car to pass between them. A gap of 2.5 inches is usually the sweet spot for standard 1:64 scale cars.
Aesthetic Detailing: Paint, Decals, and the ‘Grand Opening’
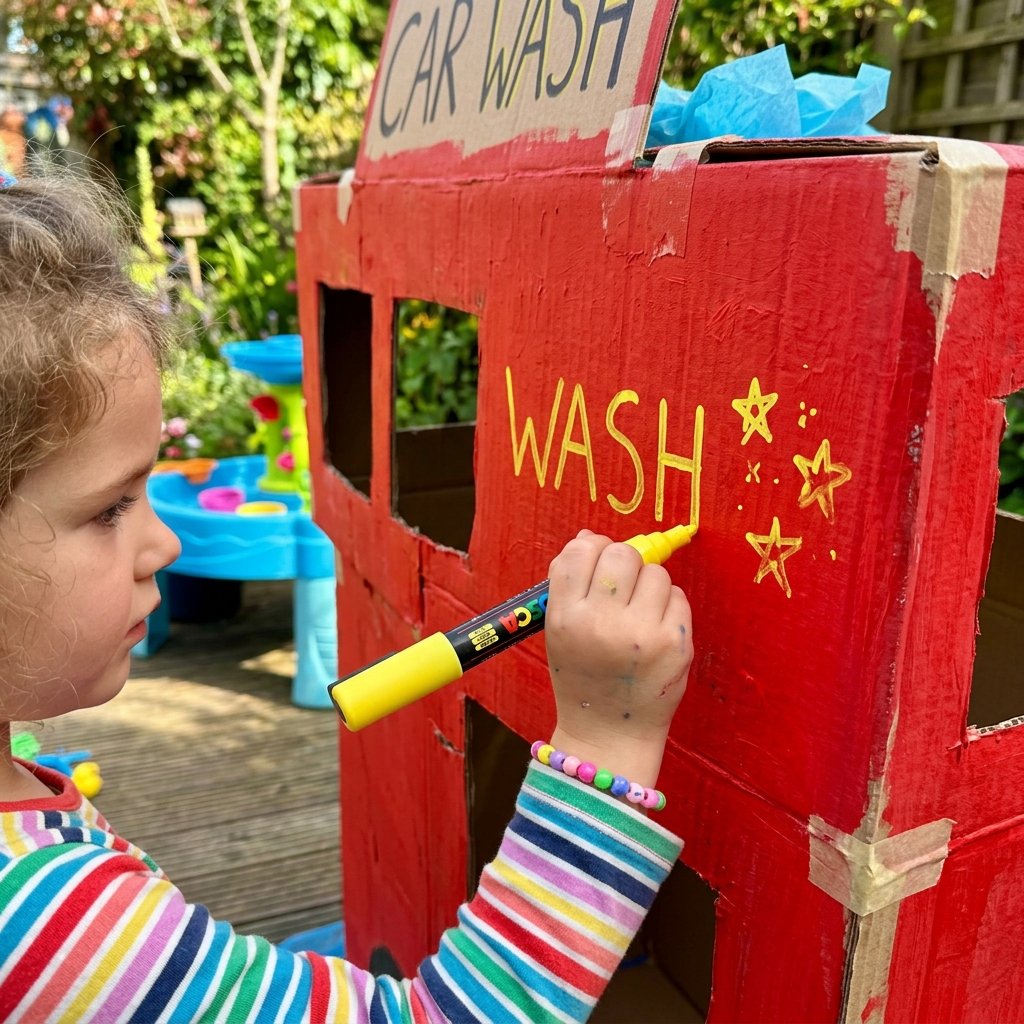
A rugged DIYer knows that the finish is just as important as the frame. We want this to look like a high-end boutique car wash, not just a box with holes in it. This is where you can involve the kids in the creative process.
- The Paint Job: Use leftover acrylic paint or even a large permanent marker to give the exterior a solid color. A deep navy, slate gray, or classic ‘racing red’ gives it a professional edge.
- Signage: Use your scrap cardboard to create a large sign for the top. Write ‘Sparkle & Shine Car Wash’ or ‘Dad’s Detail Shop’ in bold letters.
- The Control Panel: On the side of the box, draw buttons, gauges, and a ‘Start’ lever. You can even glue on old bottle caps to act as 3D knobs that kids can actually turn.
- The Lane Markers: Inside the box, use a white paint pen or strips of masking tape to create lane lines. This guides the little drivers through the ‘wash cycle.’
By adding these small details, you elevate the project from a simple craft to a prized possession. You are teaching your children that with a bit of creativity, they don’t need a trip to the toy store to have something spectacular.
Durability and Comparison: Why DIY Wins Every Time
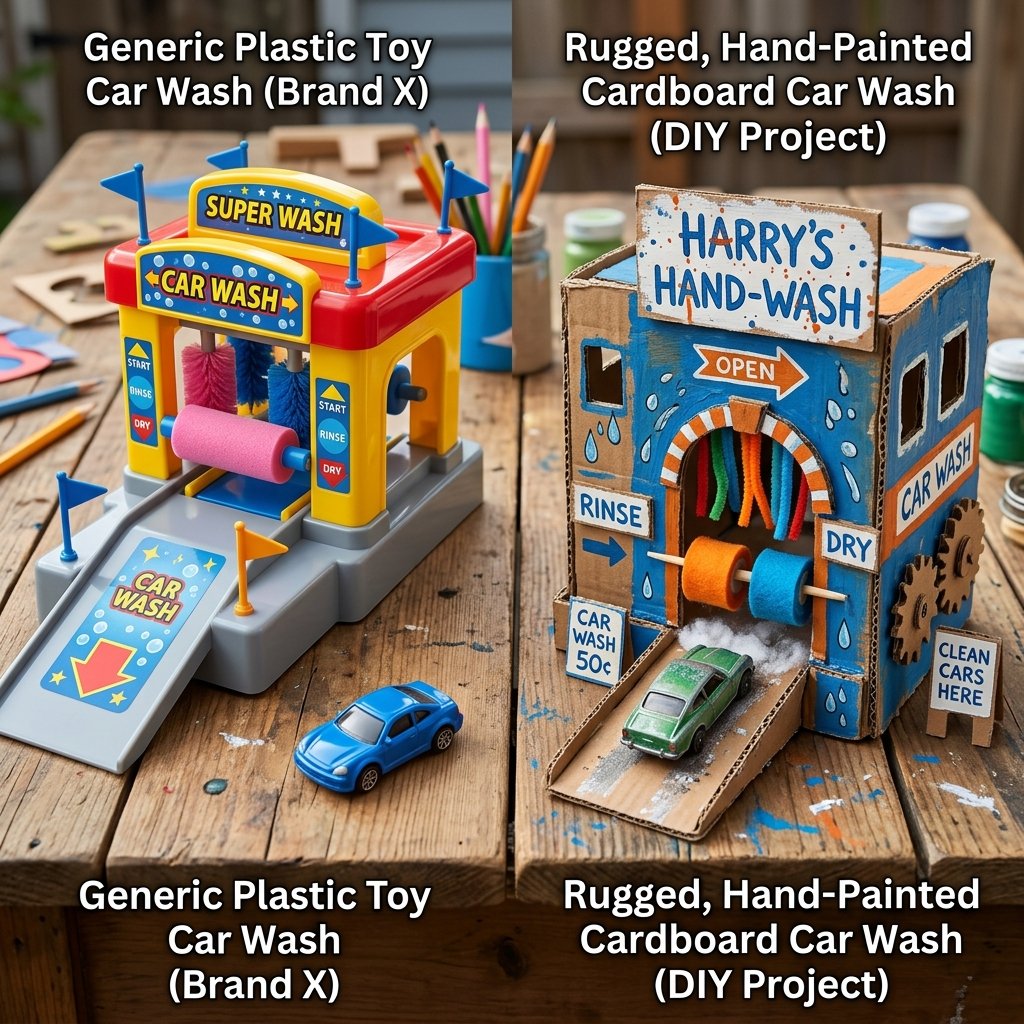
You might be wondering: ‘Is a cardboard box really going to last?’ The answer is yes, if you engineer it correctly. By reinforcing joints with extra glue and tape, this toy can survive months of heavy play. And the best part? When it finally does wear out, you can simply recycle it and build a 2.0 version with even better features.
| Feature | Store-Bought Plastic Wash | Our DIY Shoebox Wash |
|---|---|---|
| Cost | $25 – $45 | $0.00 |
| Customization | None (Fixed Design) | 100% Customizable |
| Environmental Impact | High (Plastic Waste) | Zero (Upcycled & Recyclable) |
| Assembly Time | 10 mins (Snap together) | 45 mins (Creative Bonding) |
| Repairability | Impossible if plastic snaps | Easy (Just add more tape!) |
This comparison shows that the value of a DIY project isn’t just in the money saved—it’s in the lessons learned. You are demonstrating resourcefulness, fine motor skills, and the joy of creating something from nothing. That is a gift that lasts much longer than a plastic toy.
Conclusion
There you have it—a high-functioning, interactive, and completely free Magic DIY Cardboard Car Wash. You’ve successfully turned a piece of recycling into a centerpiece of the playroom. This project proves that you don’t need a big budget to create big memories. Whether you’re a handy dad building this on a Saturday morning or a crafty grandparent looking for a unique gift, this shoebox hack is a guaranteed winner.
Remember, the ‘magic’ isn’t just in the felt scrubbers or the spinning brushes; it’s in the time spent building and the imaginative stories your kids will tell as they drive their favorite cars through their very own car wash. So, the next time you’re about to toss a shoebox, stop and think: What else could this become? Happy crafting!

Makenzie is the founder and lead writer at MoneyHackTips.com — a personal finance blog dedicated to delivering street-smart financial wisdom for real people on real budgets. With 300+ published articles covering everything from debt management to investing fundamentals, Makenzie’s mission is to make every dollar work harder. When not writing about money hacks, Makenzie is testing frugal living strategies, optimizing side hustles, and helping readers build financial freedom from scratch.