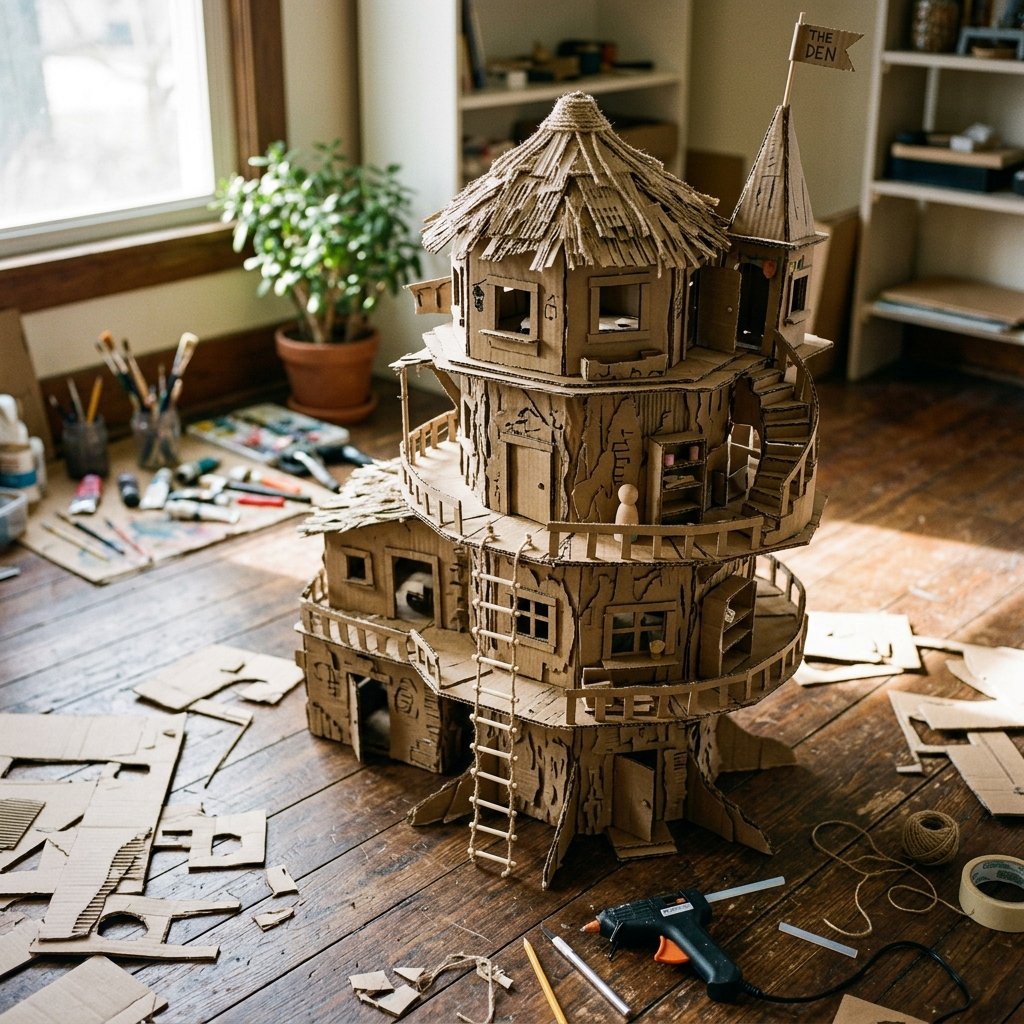

The Magic of the Humble Brown Box
In an age dominated by flashing plastic gadgets and expensive, short-lived toys, there is a rugged elegance in the simplicity of cardboard. For the frugal DIYer, a stack of shipping boxes isn’t just recycling—it is the raw material for architectural wonder. Today, we are going to engineer a Magical DIY Cardboard Treehouse Toy that rivals any store-bought wooden set. This isn’t just a craft; it’s a masterclass in structural integrity, upcycling, and creative play. By the time we’re done, you’ll have transformed 100% free materials into a multi-level forest fortress that sparks hours of imaginative adventure. Whether you are a handy parent looking to wow your kids or a crafter seeking a sophisticated upcycling challenge, this project is your blueprint for success. We aren’t just making a toy; we are building memories, one corrugated layer at a time.
Budget Mantra: The best toys aren’t bought with a credit card; they are built with a box cutter and a vision.
The Blueprint: Engineering Your Forest Fortress from the Recycling Bin
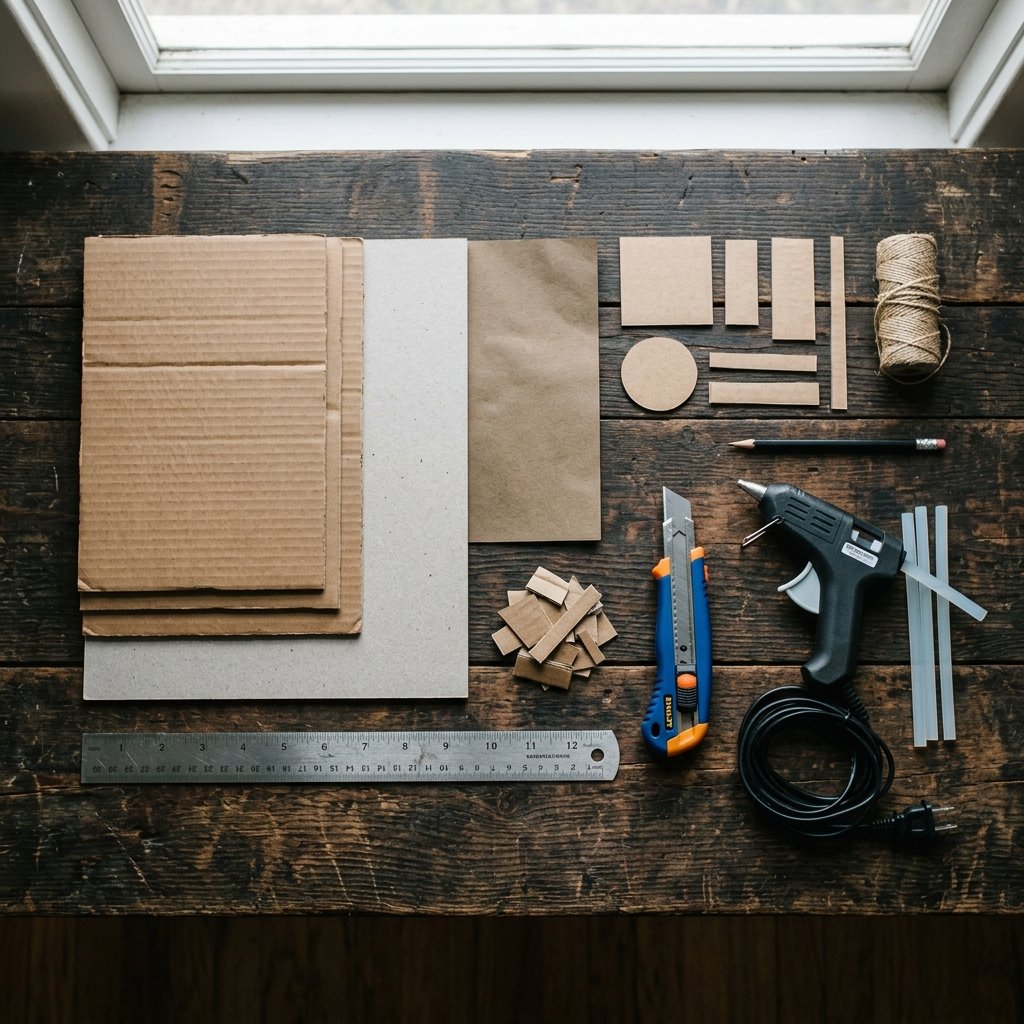
Success in cardboard engineering begins with the right raw materials. You don’t need a trip to the craft store; you need a trip to your garage or the local grocery store’s recycling pile. For a sturdy treehouse, we need double-walled corrugated cardboard for the base and trunk, and thinner single-wall cardboard for the platforms and detailing.
Essential Tool Kit
- Heavy-duty box cutter with fresh blades (Safety first!).
- High-temp hot glue gun and a bulk pack of glue sticks.
- Metal ruler for precise scoring and straight cuts.
- Twine or jute rope for tactical accents and ladders.
- Acrylic paint or the ‘baking soda paint’ trick for a rugged, matte finish.
Before you make your first cut, consider the scale. Are we building for 4-inch action figures or tiny peg dolls? Adjust your measurements accordingly. A standard treehouse stands about 18 to 24 inches tall, providing enough verticality for ‘magical’ play without becoming unstable.
| Material Item | Source | Estimated Cost |
|---|---|---|
| Corrugated Cardboard | Shipping Boxes / Grocery Store | $0.00 |
| Hot Glue Sticks | Existing Supplies / Dollar Store | $1.25 |
| Jute Twine | Pantry or Garden Shed | $0.00 |
| Acrylic Paint | Craft Stash | $0.00 |
| Total Project Cost | Upcycled | $1.25 |
The Core: Constructing a Rugged and Stable Tree Trunk
Structural Foundations
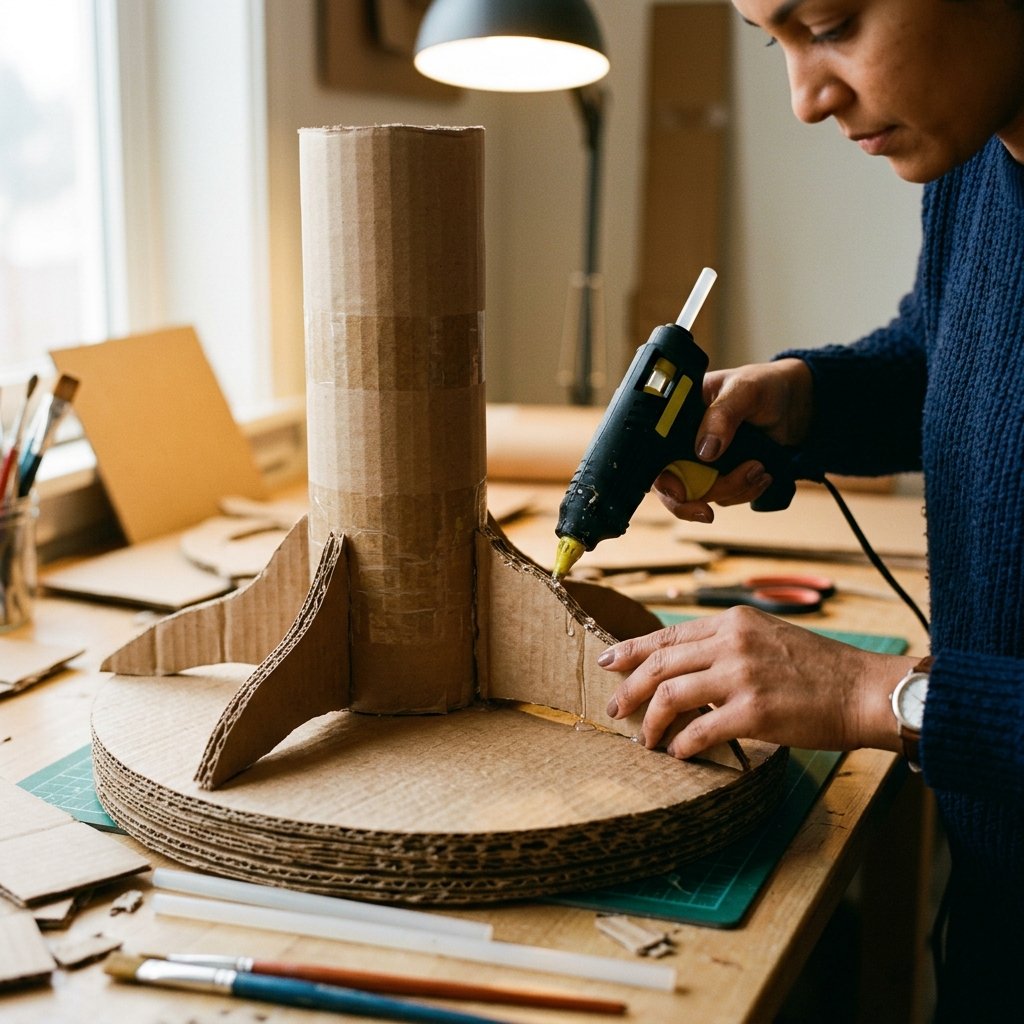
The trunk is the most critical element. It must support the weight of multiple platforms and the enthusiastic hands of a playing child. To achieve this, we will use the cylindrical reinforcement method. Instead of one thin tube, we will create a thick, multi-layered pillar.
- Measure and Score: Cut a large rectangular piece of cardboard, approximately 12 inches wide by 18 inches tall. Use your ruler to score vertical lines every 1 inch. This allows the cardboard to curve smoothly into a cylinder.
- The Internal Skeleton: To prevent the trunk from buckling, insert several ‘bulkheads’—circular cardboard discs glued horizontally inside the tube at the bottom, middle, and top.
- The Root System: Don’t just glue the trunk to the base. Cut 4-inch slits at the bottom of the trunk, fold them outward like ‘roots,’ and glue these tabs to a wide, double-layered cardboard base. This creates a rock-solid foundation.
Pro Tip: For a more organic, rugged look, glue scraps of torn cardboard to the outside of the trunk to simulate the texture of bark before painting.
High-Rise Living: Crafting Multi-Level Platforms and Leafy Canopies
Designing the Platforms
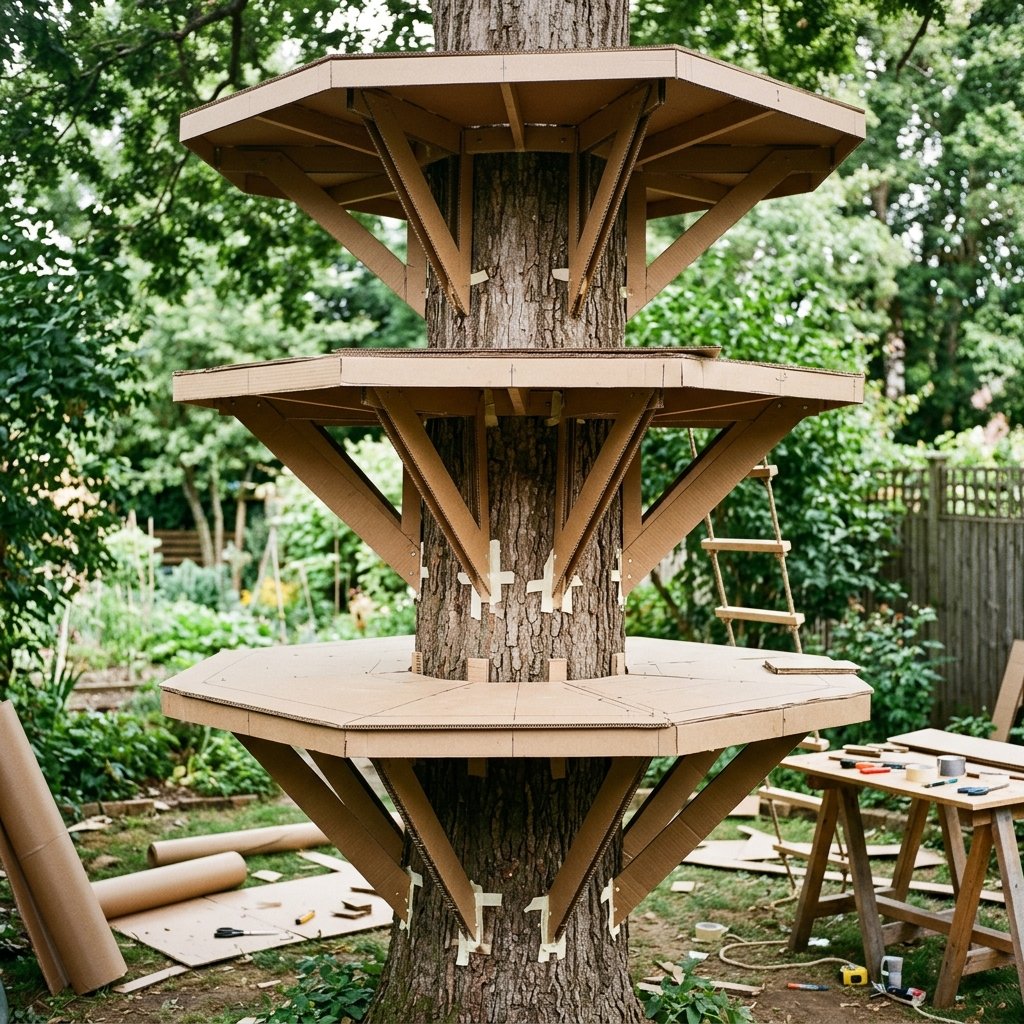
Now for the fun part: the levels! A great treehouse needs at least three distinct areas: a ground-level porch, a main living deck, and a high-altitude lookout. To make these platforms appear to ‘float,’ we use cantilevered supports.
Step-by-Step Platform Attachment
- Step 1: Cut irregular, organic shapes for your platforms. Avoid perfect circles; nature isn’t perfect!
- Step 2: Cut a slot halfway through the trunk and a corresponding slot in your platform. Slide them together for a mechanical lock.
- Step 3: Add ‘braces.’ Cut small right-angled triangles of cardboard and glue them underneath the platforms, connecting them back to the trunk. This increases the weight capacity by 200%.
For the ‘leaves,’ don’t bother with individual paper leaves. Instead, create large, cloud-like cardboard shapes that attach to the top of the trunk. This creates a masculine-elegant, minimalist silhouette that looks like a designer piece rather than a messy craft project.
The Crafty Details: Adding Rope Ladders, Tiny Windows, and Secret Hatches
Elevating the Design
The difference between a ‘box’ and a ‘treehouse’ is in the details. We want to add features that encourage interaction. This is where your crafty-expert skills shine.
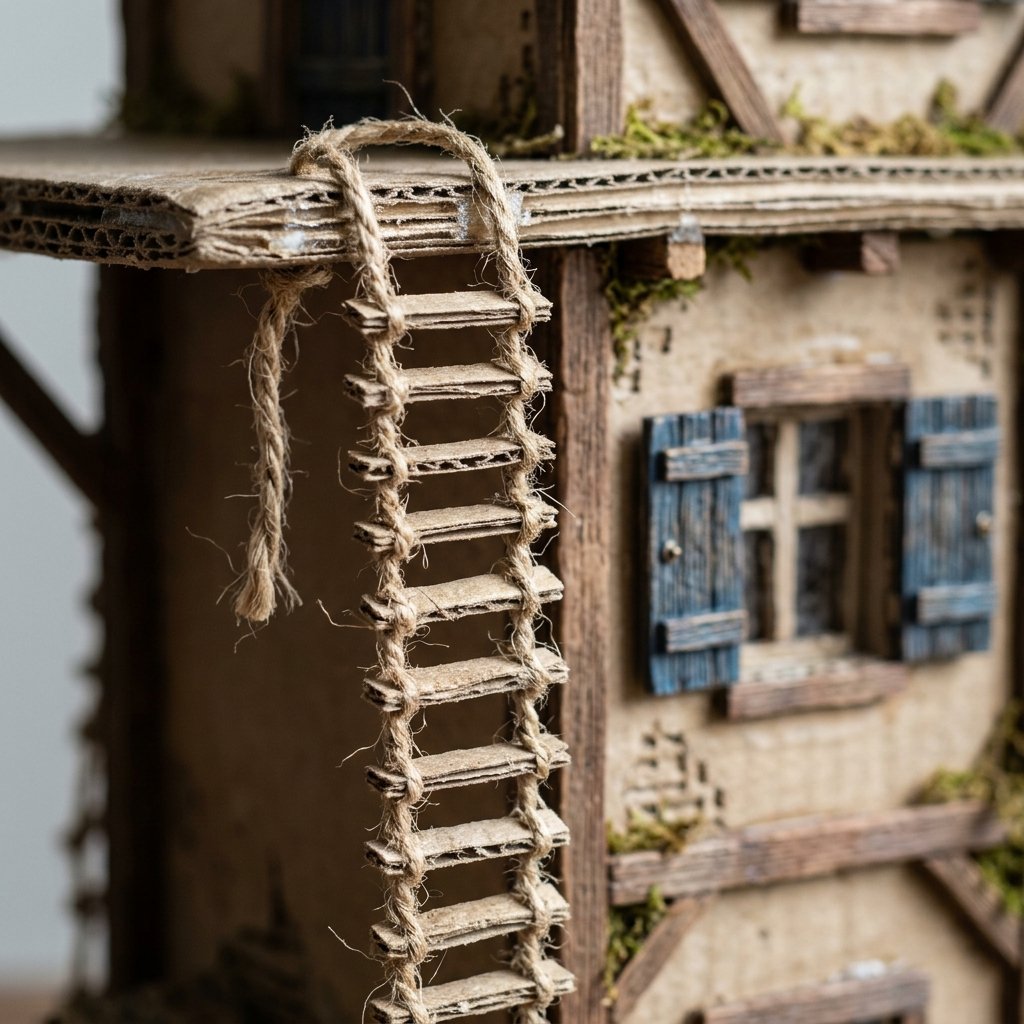
The Rope Ladder
Using your twine, we will create a functional ladder. This adds a tactile, rugged element to the toy.
1. Cut two long strands of twine (the rails).
2. Cut several 2-inch lengths of thick cardboard or twigs (the rungs).
3. Use a drop of hot glue to secure each rung to the twine, spaced 1 inch apart.
4. Tie the top of the ladder to a hole punched in the second-level platform.
Windows and Hatches
Use your box cutter to cut small square windows. Do not discard the cutouts! Re-attach them with a strip of duct tape or a fabric scrap on one side to create working shutters. For a secret hatch, cut a hole in the floor of the top level and create a ‘trap door’ that opens and closes.
The Finishing Touch: Textures, Faux Bark, and Whimsical Colors

The Professional Finish
To move this project from ‘trash’ to ‘treasure,’ we need a sophisticated paint job. We want a look that is rugged yet refined. Avoid bright, primary colors; instead, opt for deep forest greens, slate grays, and warm browns.
The Texture Hack
Mix 1 part baking soda with 2 parts acrylic paint. This creates a thick, gritty paste that, when applied with a sponge, looks exactly like stone or rough bark. It also hides any unsightly glue lines or cardboard seams.
| Feature | Technique | Visual Effect |
|---|---|---|
| Bark Texture | Baking Soda + Brown Paint | Rugged, 3D Organic Look |
| Mossy Areas | Dabbed Green Sponge | Whimsical, Aged Aesthetic |
| Window Frames | Black Sharpie / Thin Cardboard Strips | Clean, Architectural Contrast |
Safety Note: When using spray sealants or heavy paints, ensure you are in a well-ventilated area. Always supervise children if they are assisting with the painting phase.
Conclusion
A Masterpiece from Misfit Materials
Congratulations! You have successfully engineered a Magical DIY Cardboard Treehouse that is as sturdy as it is beautiful. By choosing to upcycle, you’ve saved over $50-$100 compared to store-bought alternatives, and you’ve created a bespoke toy that carries the soul of a handmade gift. This project proves that with a bit of resourceful creativity and some clever engineering, the most common household ‘trash’ can become a child’s most prized possession. Now, step back, admire your handiwork, and let the adventures begin. Remember: in the world of DIY, your only limit is the size of your imagination—and the number of boxes in your recycling bin!

Makenzie is the founder and lead writer at MoneyHackTips.com — a personal finance blog dedicated to delivering street-smart financial wisdom for real people on real budgets. With 300+ published articles covering everything from debt management to investing fundamentals, Makenzie’s mission is to make every dollar work harder. When not writing about money hacks, Makenzie is testing frugal living strategies, optimizing side hustles, and helping readers build financial freedom from scratch.