Rescuing Elegance from the Rag Bag
There is a unique kind of heartbreak that happens when you snag a beloved, expensive silk scarf on a rogue zipper or a sharp piece of jewelry. For a moment, it feels like that luxurious piece of fabric is destined for the trash bin or, at best, relegated to the bottom of your craft drawer. But hold on to your needles, frugal DIYers and resourceful upcyclers! Before you write off that gorgeous piece of wearable art, you need to know that repairing silk doesn’t require a master’s degree in textile engineering or a trip to an overpriced tailor. With a bit of rugged patience, some clever budget-savvy techniques, and the right tools, you can perform an invisible mend right at your kitchen table.
As handy parents and crafty gift-givers, we know the value of making things last. There is a deeply satisfying, almost masculine elegance in taking something broken and meticulously restoring it to its former glory. It’s the same resourceful spirit you use when woodworking, restoring an old tool, or upcycling thrifted furniture. Today, we are applying that exact same resourceful craftsmanship to the delicate world of silk. We are going to walk through the master tailor’s secret to making tears vanish, saving you upwards of $50 to $100 in professional alteration fees, all while preserving the drape, shine, and integrity of your favorite scarf.
Understanding Your Canvas: The Anatomy of a Silk Tear
Diagnosing the Damage
Before we thread a single needle, we need to assess the battlefield. Silk is a protein fiber, much like human hair, which gives it that incredible luster and strength. However, its woven structure can be incredibly unforgiving when subjected to sharp tension. Understanding the type of silk you are working with and the nature of the tear is the first step in our resourceful mending journey.
Types of Tears
- The Clean Slit: A straight tear along the grain of the fabric, usually caused by a sharp snag. This is the easiest to mend invisibly.
- The L-Shaped Tear: A snag that pulled in two directions, requiring a two-part mending strategy to stabilize the corner.
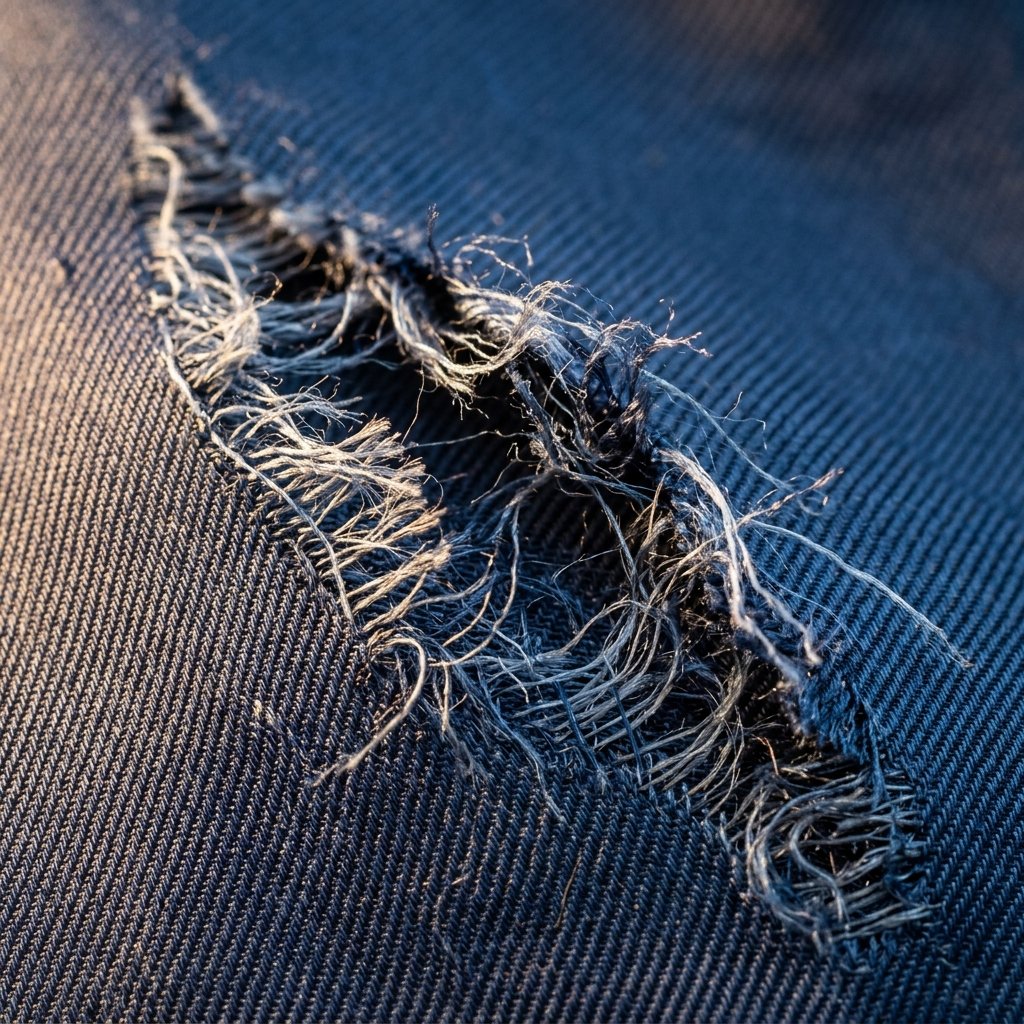
- The Frayed Hole: Often caused by friction or a burn, where fabric is actually missing. This requires a delicate micro-darning technique rather than a simple seam.
Silk Weave Identification & Mending Strategy
Not all silks are created equal. A rugged, textured raw silk will hide stitches much better than a liquid-like silk charmeuse. Here is a quick guide to understanding your fabric before you begin:
| Silk Weave Type | Characteristics | Mending Difficulty & Strategy |
|---|---|---|
| Charmeuse | High luster, slippery, satin finish. | High: Requires ultra-fine needles and exact color matching. Stitches must be microscopic. |
| Chiffon / Georgette | Sheer, lightweight, matte or slight crepe texture. | Medium: Use a matching hair or single-strand silk thread. Translucency makes hiding knots tricky. |
| Twill (Classic Hermès style) | Diagonal ribbing, sturdy, holds shape well. | Low/Medium: The ribbed texture perfectly hides a well-executed ladder stitch. |
| Habotai (China Silk) | Smooth, lightweight, plain weave. | Medium: Prone to puckering. Requires very low tension when pulling stitches tight. |
“A successful mend begins with the eyes, not the hands. Study the weave, respect the grain, and let the fabric dictate your approach.”
The Master Tailor’s Toolkit on a Dime

Gathering Your Arsenal
You don’t need to spend a fortune to achieve a high-end result. In fact, true crafty experts know that the best tools are often the simplest, and sometimes, they are completely free. Mending silk requires precision, so put away your heavy-duty denim needles and thick cotton threads. We are operating on a microscopic level here.
Essential Supplies
- Microtex or Sharps Needle (Size 10 or 12): A standard sewing needle will punch massive, visible holes in silk. You need the finest, sharpest needle you can find. Estimated Cost: $3
- The Thread Secret (Silk Thread or Human Hair): Here is the ultimate frugal tailor’s hack. If you cannot perfectly match the color and sheen of the scarf with a fine silk thread, use a strand of clean, long human hair! Hair is a protein fiber just like silk, it has natural elasticity, and it blends seamlessly into dark or patterned fabrics. Estimated Cost: $0 to $4
- Embroidery Hoop (Small): Essential for keeping the fabric taut and preventing puckering. Estimated Cost: $2
- Glass Head Pins or Silk Pins: Standard pins will snag the fabric. Estimated Cost: $3
- Fabric Stabilizer (Water Soluble): A tiny scrap of this helps hold frayed edges together while you stitch, and washes away completely. Estimated Cost: $5 per roll
| Mending Method | Estimated Cost | Time Investment |
|---|---|---|
| Professional Tailor / Reweaver | $65 – $150+ | 1 to 3 Weeks |
| Store-Bought Patch/Tape (Not Recommended) | $5 – $10 | 5 Minutes (Ruins drape) |
| DIY Invisible Hand-Mend | Under $10 (or $0 if using hair!) | 30 to 45 Minutes |
As you can see, the budget-savvy DIY approach not only saves you a significant amount of money but also grants you the pride of having rescued a beautiful item with your own hands.
Prepping the Silk: Stabilizing the Tear
Setting the Stage for Surgery
One of the biggest mistakes novice menders make is rushing straight into stitching. Silk is slippery and temperamental. If you try to hold a tear closed with just your fingers while sewing, the fabric will shift, resulting in a puckered, highly visible scar. Proper preparation is the hallmark of practical, masculine-elegant craftsmanship—measure twice, prep thoroughly, stitch once.
Step-by-Step Preparation
- Clean the Area: Ensure the scarf is clean. Oils from your hands or makeup residue can attract dirt during the mending process. If necessary, gently spot-clean the torn area with a mild baby shampoo and let it air dry.
- Iron the Canvas: Set your iron to the lowest “Silk” setting. Do not use steam, as water droplets can leave watermarks on silk. Gently press the torn area completely flat from the backside.
- Align the Grain: Look closely at the horizontal and vertical threads (the warp and weft). Using a pair of tweezers, gently coax any stray, frayed threads back into their original grid pattern.
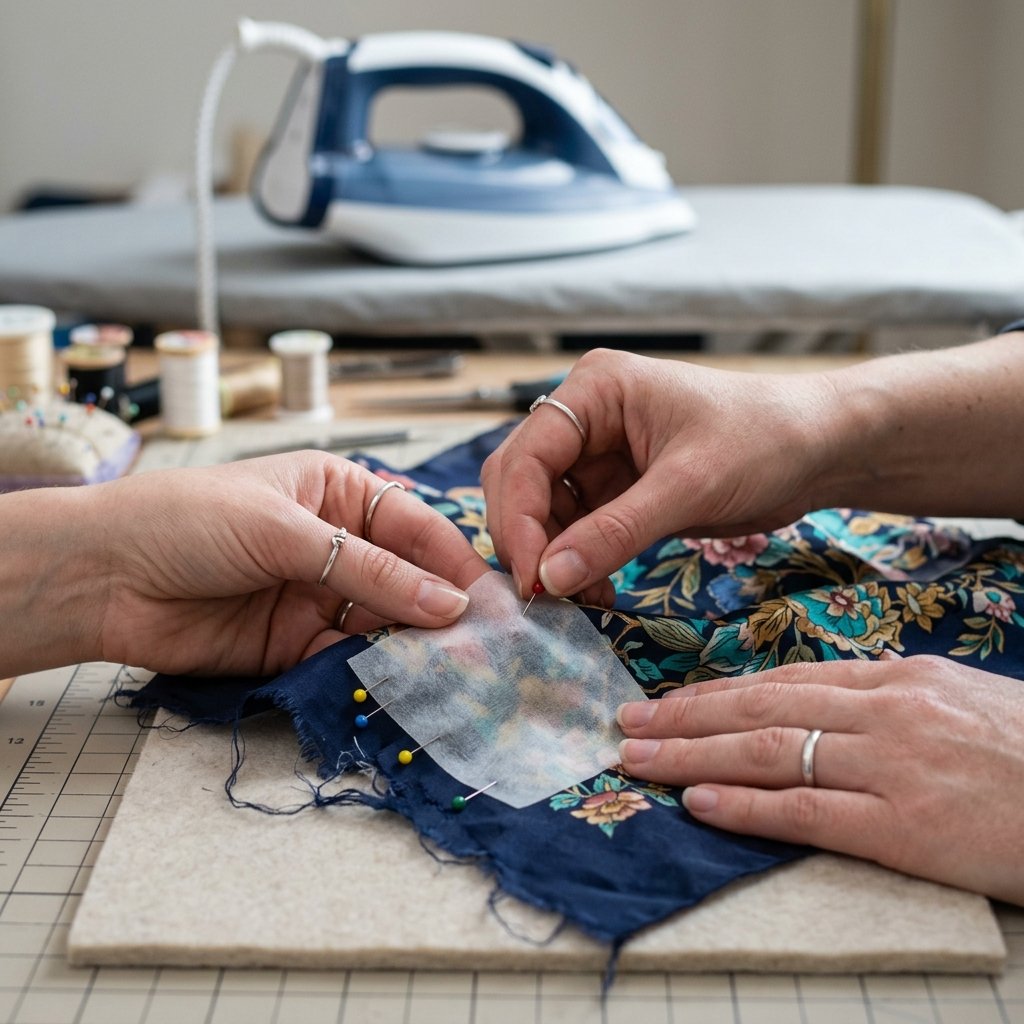
- Apply the Stabilizer: Cut a small piece of water-soluble stabilizer, just slightly larger than the tear. Pin it to the back of the scarf using your ultra-fine silk pins. This acts as a temporary scaffold, holding the delicate edges perfectly flush against each other so you can stitch without the fabric slipping.
Safety Note: Never leave pins in silk for extended periods, especially in humid environments, as they can rust and cause permanent staining. Always remove them immediately after the mend is complete.
The Secret Technique: Executing the Invisible Ladder Stitch
The Art of the Invisible Mend
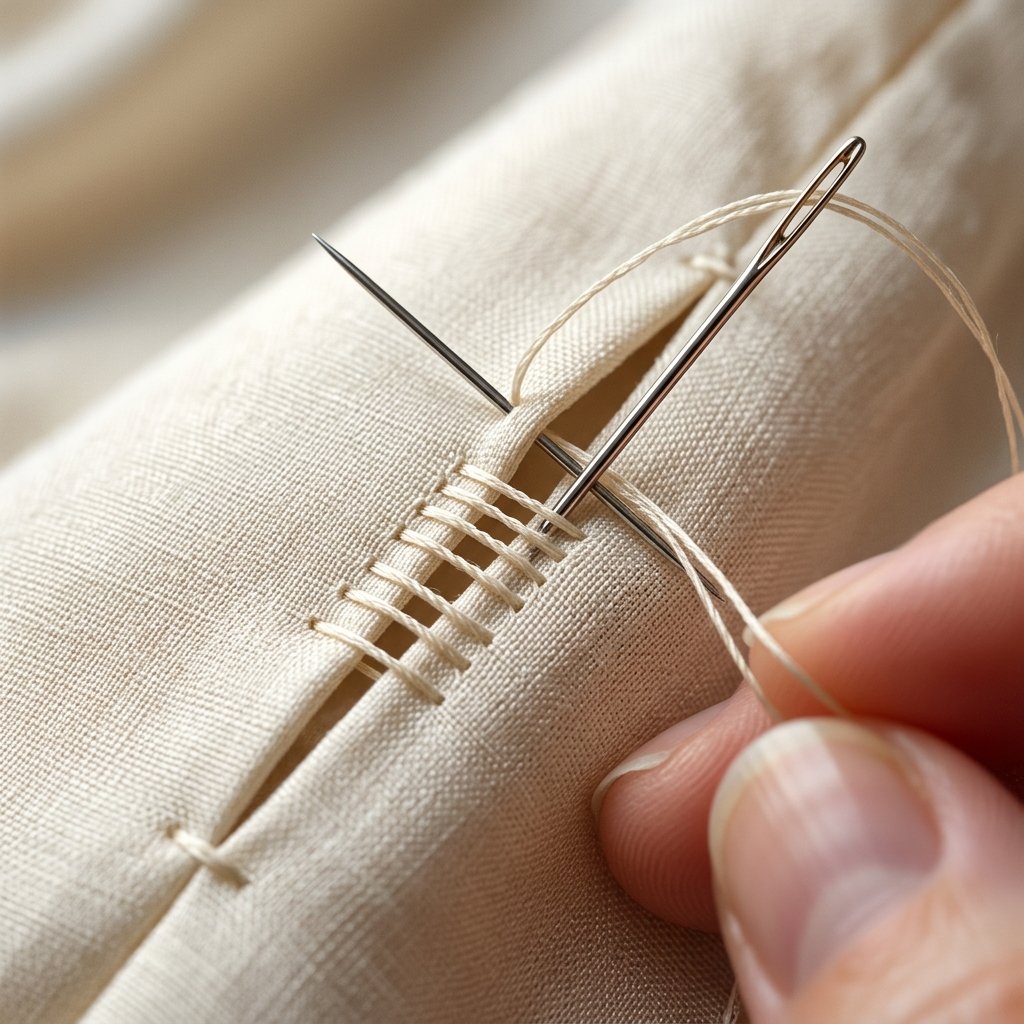
Now we arrive at the core of our crafty expert guide: the stitching technique itself. For a clean slit or tear, the Invisible Ladder Stitch (sometimes called a slip stitch) is your best friend. When executed on a microscopic scale with silk thread or hair, this stitch pulls the two edges of the fabric together so tightly and cleanly that the seam virtually disappears.
Executing the Micro-Ladder Stitch
- Thread the Needle: Cut a length of thread (or hair) no longer than your forearm to prevent tangling. Thread your fine needle and tie a microscopic knot at the very end.
- Anchor the Thread: Starting about 1/8 inch before the actual tear begins, insert your needle from the back of the fabric to the front. This anchors the thread in strong, undamaged fabric.
- The First Rung: Take your needle straight across the tear to the opposite side. Insert the needle into the very edge of the fold, slide it through the “tunnel” of the fabric for about 1/16 inch, and bring it back out.
- The Second Rung: Cross back over the tear to the starting side. Insert the needle exactly opposite where the thread just exited. Slide it through the fabric tunnel for another 1/16 inch, and bring it out.
- Pulling the Tension: After creating 4 or 5 “rungs” of this ladder, gently pull the thread. You will see the two edges of the silk magically kiss and close together. Crucial step: Do not pull too tight! Silk puckers easily. The tension should exactly match the natural drape of the scarf.
- Continue and Tie Off: Continue this process until you are 1/8 inch past the end of the tear. Bring the needle to the back of the fabric, catch a tiny thread of the silk, and tie a small, flat knot. Snip the thread close to the knot.
“The secret to an invisible ladder stitch on silk is treating the fabric like a delicate puzzle. You are not sewing two pieces together; you are convincing the broken threads to hold hands again.”
If you are using the hair-thread trick on a dark, patterned silk twill, you will be absolutely astounded by the results. The natural protein of the hair flexes with the silk, leaving a repair that is undetectable to the naked eye.
Alternative Method: The Micro-Darning Technique for Holes
Rebuilding Missing Fabric
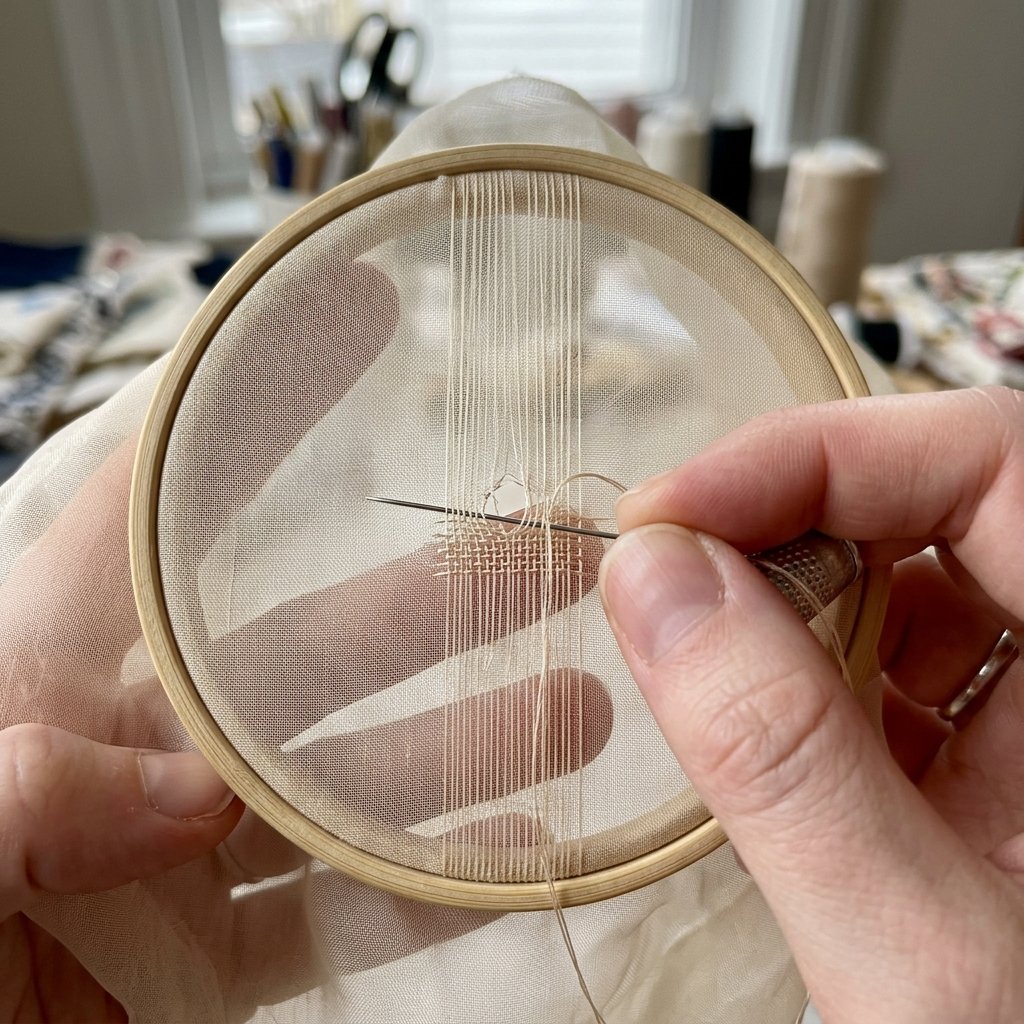
Sometimes, a snag results in a frayed hole where silk fibers are actually missing. A ladder stitch won’t work here, as pulling the edges together would warp the scarf and create a massive pucker. In this scenario, we must turn to the rugged, age-old technique of darning—but scaled down to a microscopic, elegant level.
The Silk Darning Process
Darning is essentially weaving new fabric directly over the hole. It requires patience and a steady hand, but it is the ultimate frugal DIY triumph.
- Hoop It Up: Place the damaged area in your small embroidery hoop. The silk must be taut like a drum, but not stretched out of shape.
- Create the Warp (Vertical Threads): Using your fine silk thread, anchor your stitch slightly outside the hole. Run long, straight stitches vertically across the hole, anchoring them in the solid fabric on the opposite side. Keep these threads as close together as the original weave of the silk.
- Weave the Weft (Horizontal Threads): Once the hole is covered in vertical threads, anchor your thread on the side. Now, weave your needle over and under the vertical threads, going horizontally across the hole.
- Pack the Weave: After each horizontal pass, use the tip of your needle to gently push (or “pack”) the thread tightly against the previous row. This recreates the dense structure of the silk.
- Blend the Edges: Extend your weaving slightly past the edges of the hole into the healthy fabric to ensure the new “patch” is securely integrated and won’t simply pop out.
| Darning Rule | Why It Matters for Silk |
|---|---|
| Match the Sheen | Using cotton thread on shiny silk will result in a matte, highly visible patch. Always use silk thread or hair. |
| Low Tension | Pulling warp threads too tight will cause the surrounding silk to ripple permanently. |
| Stagger the Edges | Don’t make your darned patch a perfect square. Staggering the stitches into the healthy fabric prevents a hard ridge from forming. |
While a darned hole will never be 100% invisible, matching the thread color perfectly and executing a tight, neat weave will turn a glaring hole into a subtle, textural detail that only you know is there.
Finishing, Pressing, and Long-Term Silk Care
The Final Polish
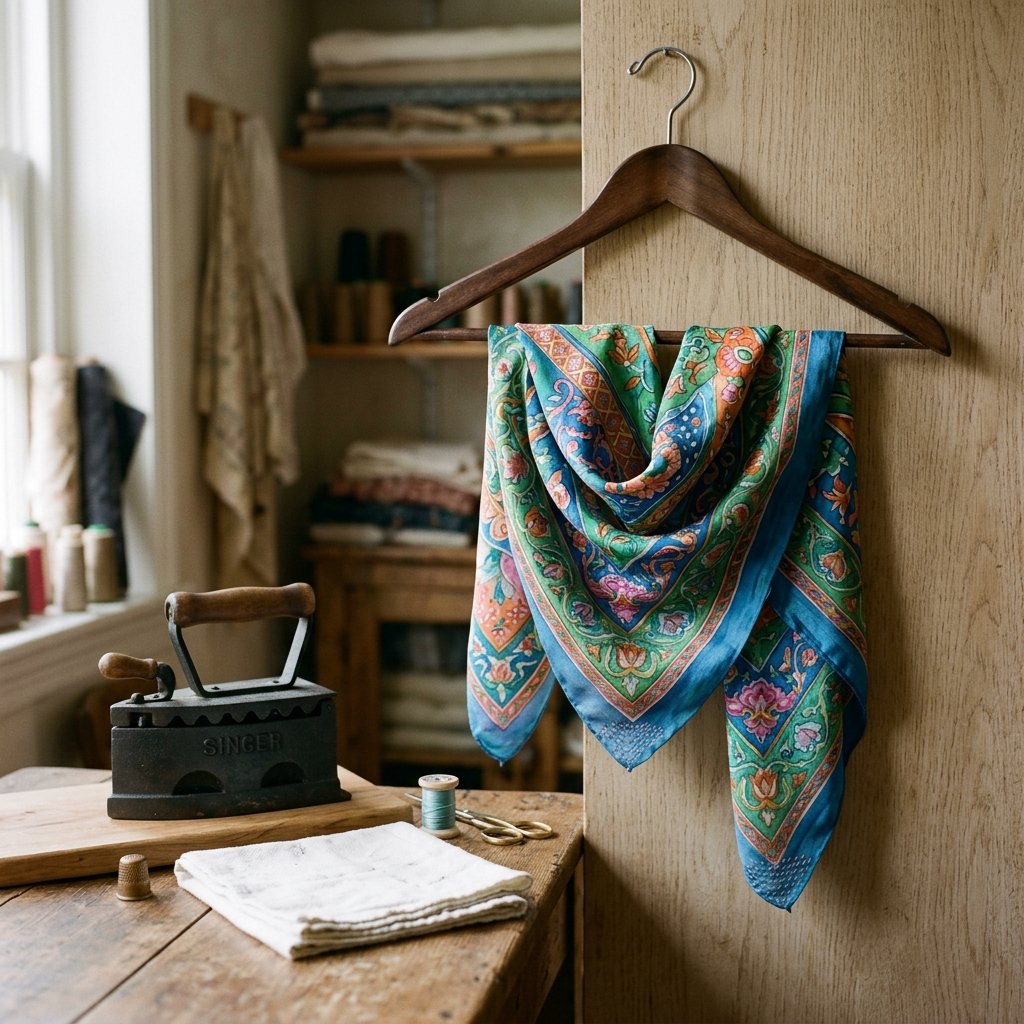
You’ve done the hard work. The tear is closed, the thread is tied off, and the scarf is whole again. But a master tailor knows that the job isn’t finished until the garment is properly pressed and set. This final step relaxes the stitches, blends the threads, and restores the luxurious drape of the silk.
Setting the Mend
- Remove the Stabilizer: If you used water-soluble stabilizer, take a Q-tip dipped in distilled water and gently dab the back of the mend. The stabilizer will dissolve instantly. Let the area air dry completely.
- The Pressing Cloth: Never iron directly over a fresh mend. Place the scarf face down on your ironing board. Cover the mended area with a clean, dry, white cotton pressing cloth (a piece of an old T-shirt or a flour sack towel works perfectly).
- Press, Don’t Push: Set your iron to the “Silk” setting (low heat, no steam). Press the iron straight down onto the pressing cloth, hold for 3 to 5 seconds, and lift straight up. Do not slide the iron back and forth, as this can distort your delicate stitches.
Budget-Savvy Silk Maintenance
To ensure your newly mended scarf lasts for decades, adopt these frugal, resourceful care habits:
- Ditch the Dry Cleaner: Dry cleaning chemicals can be harsh on vintage silks and weaken your mending threads. Hand wash your scarves in cold water with a few drops of mild baby shampoo or a dedicated delicate wash.
- The Towel Roll: Never wring out silk. Lay the wet scarf flat on a clean, dry bath towel, roll the towel up like a burrito, and gently press to extract the water.
- Store with Care: Avoid hanging silk scarves on wire hangers, which can cause creases and localized stress. Gently fold them and store them in a drawer away from direct sunlight, which degrades silk fibers over time.
By treating your mended scarf with respect, you honor the time and craftsmanship you poured into saving it. It transforms from a damaged accessory into a testament to your resourceful, crafty expertise.
Conclusion
Wear Your Craftsmanship with Pride
There is a profound sense of empowerment that comes from fixing something beautiful with your own two hands. By mastering the invisible ladder stitch, utilizing clever budget-savvy hacks like the hair-thread trick, and approaching the task with rugged patience, you have successfully saved a luxury item from the landfill. You didn’t just mend a torn silk scarf; you preserved a piece of art, saved yourself a hefty tailor’s fee, and leveled up your DIY upcycling skills.
The next time you or a friend snags a delicate garment, you won’t panic. You’ll simply smile, pull out your frugal mending toolkit, and get to work. Remember, a mend is not a scar to be ashamed of; it is a hidden signature of your resourceful, crafty expertise. So wrap that gorgeously restored silk scarf around your neck, step out with confidence, and revel in the secret knowledge that you possess the master tailor’s touch.

Makenzie is the founder and lead writer at MoneyHackTips.com — a personal finance blog dedicated to delivering street-smart financial wisdom for real people on real budgets. With 300+ published articles covering everything from debt management to investing fundamentals, Makenzie’s mission is to make every dollar work harder. When not writing about money hacks, Makenzie is testing frugal living strategies, optimizing side hustles, and helping readers build financial freedom from scratch.