
The High Cost of the ‘Chub Rub’ Crisis
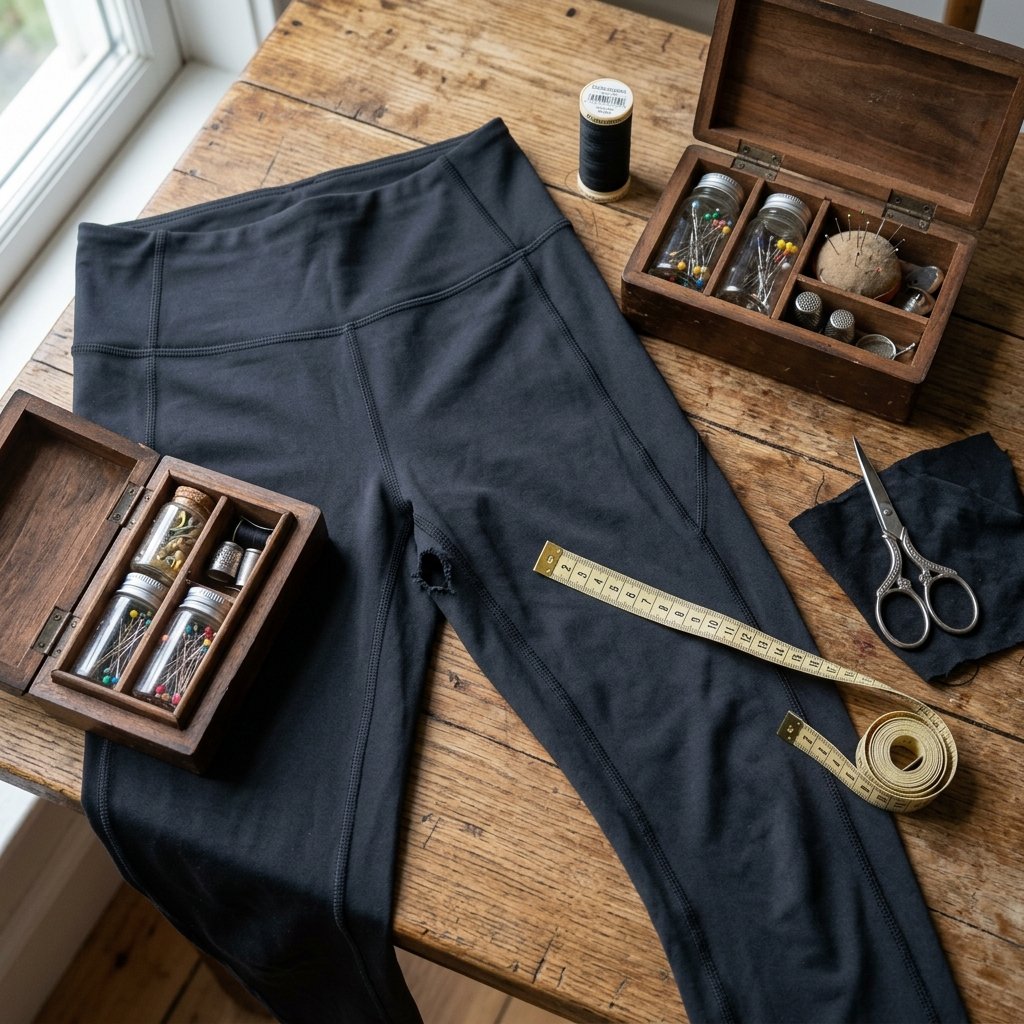
We have all been there. You find the perfect pair of leggings—the ones that make you feel like a superhero at the gym or a cozy goddess on the couch—only to realize that the dreaded inner thigh friction has claimed another victim. For the frugal DIYer, seeing that thinning fabric or gaping hole feels like watching $50 to $100 evaporate into thin air. But here is the clever truth: that hole isn’t a death sentence for your wardrobe. It is an opportunity to flex your resourceful muscles.
In this guide, we are moving past the ‘disposable fashion’ mindset. Whether you are a busy parent trying to save the family budget or a crafty minimalist who hates waste, I am going to show you how to execute a rugged, durable, and nearly invisible repair in exactly 5 minutes. No sewing machine required, no expensive tailoring fees, and absolutely no reason to hit ‘add to cart’ on a replacement pair just yet.
The Master Mender’s Toolkit: Minimalist & Budget-Friendly
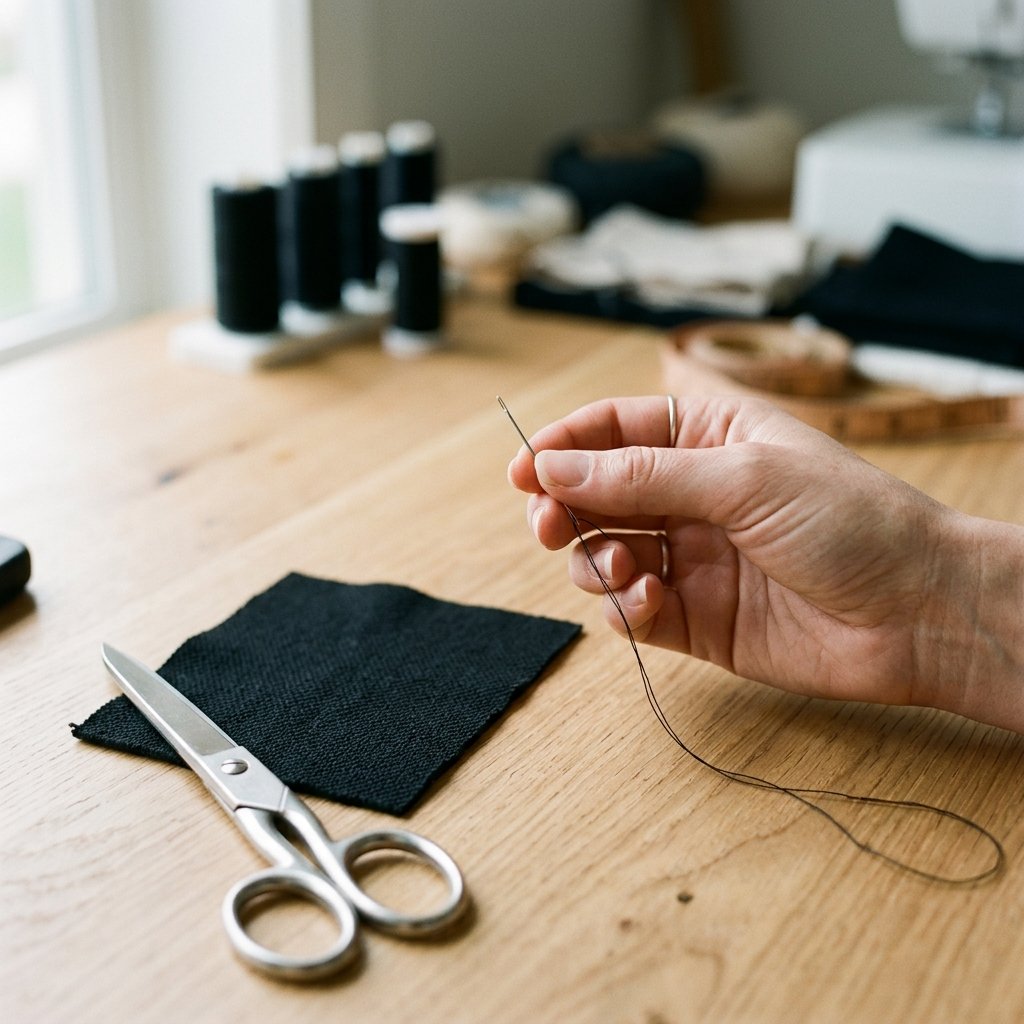
Before we dive into the repair, let’s look at the logistics. Most people assume they need a fancy sewing setup to fix performance fabrics like spandex or polyester. In reality, you only need a few rugged essentials that likely already exist in your junk drawer. If not, a quick trip to the local craft aisle will cost you less than a latte.
| Tool/Material | Purpose | Estimated Cost |
|---|---|---|
| Polyester Thread | Strength and slight stretch for activewear | $1.50 |
| Hand Sewing Needle | Fine point to avoid snagging Lycra | $0.10 |
| Stretch Iron-on Patch | Internal reinforcement for large holes | $3.00 (pack of 5) |
| Small Scissors | Sniping loose threads cleanly | $0.00 (Use what you have) |
| Total Investment | Professional-grade repair | $4.60 |
Pro-Tip: Always use 100% polyester thread for leggings. Cotton thread lacks the tensile strength to handle the constant stretching of athletic fabric and will snap the first time you do a squat.
Method 1: The 5-Minute ‘Invisible Ladder’ Stitch
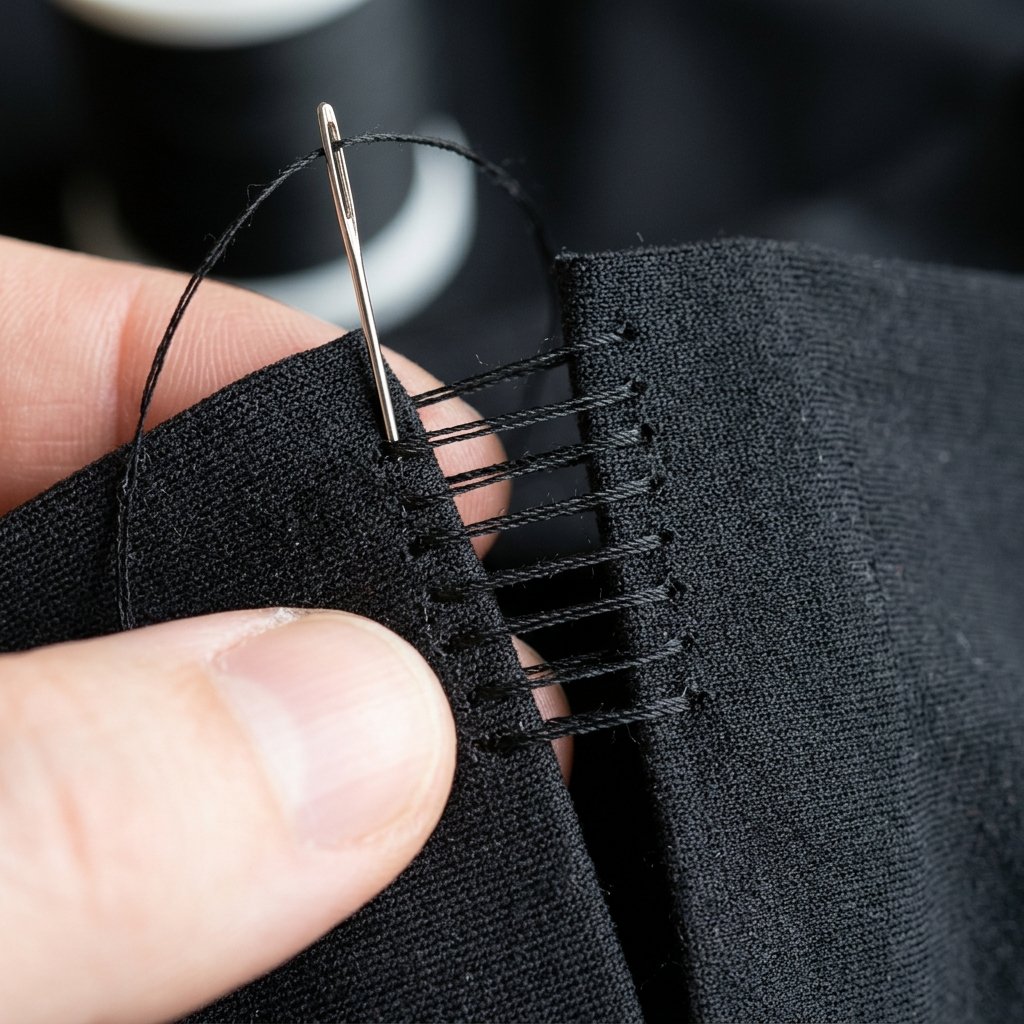
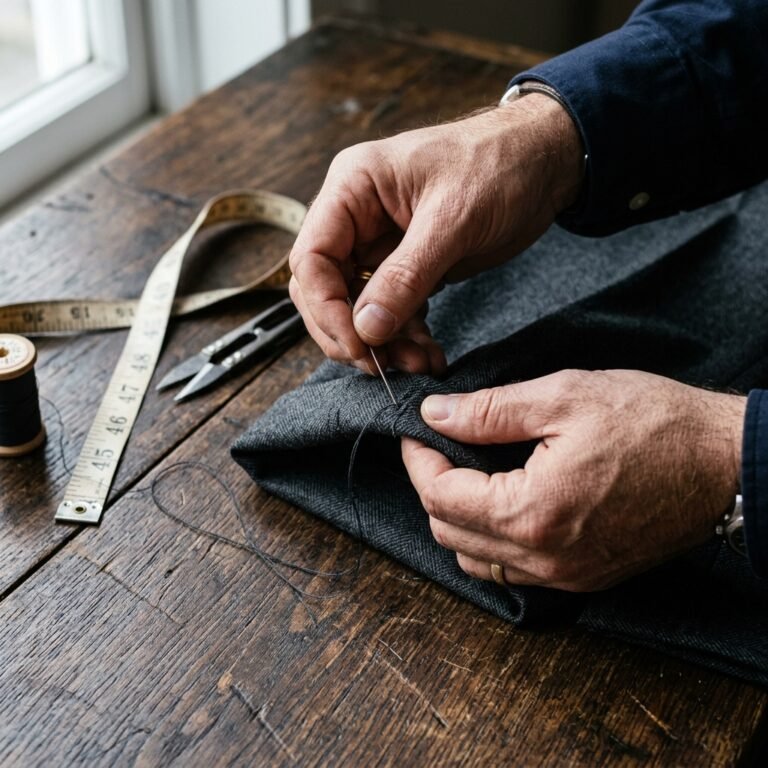
If the hole is a clean tear along the seam or a small puncture, the ladder stitch (also known as the invisible stitch) is your best friend. This technique is clever because it hides the thread inside the folds of the fabric, creating a rugged bond that looks factory-finished.
- Prep the Area: Turn the leggings inside out. Trim any frayed ‘pills’ or loose elastic fibers from the edges of the hole.
- The Anchor: Knot your thread and insert the needle from the inside of the fabric about 1/4 inch behind where the hole starts.
- The Ladder Step: Take a small horizontal stitch on one side of the tear, then move directly across and take a horizontal stitch on the other side.
- The Magic Pull: After 3 or 4 ‘rungs’ of your ladder, gently pull the thread taut. Watch as the edges of the fabric zip together seamlessly.
- Secure the End: Continue until the hole is closed, then backstitch twice and tie a secure knot.
This method takes exactly 3 to 5 minutes once you get the rhythm down, saving you the $20 a professional tailor would charge for a simple repair.
Method 2: The ‘No-Sew’ Iron-On Reinforcement
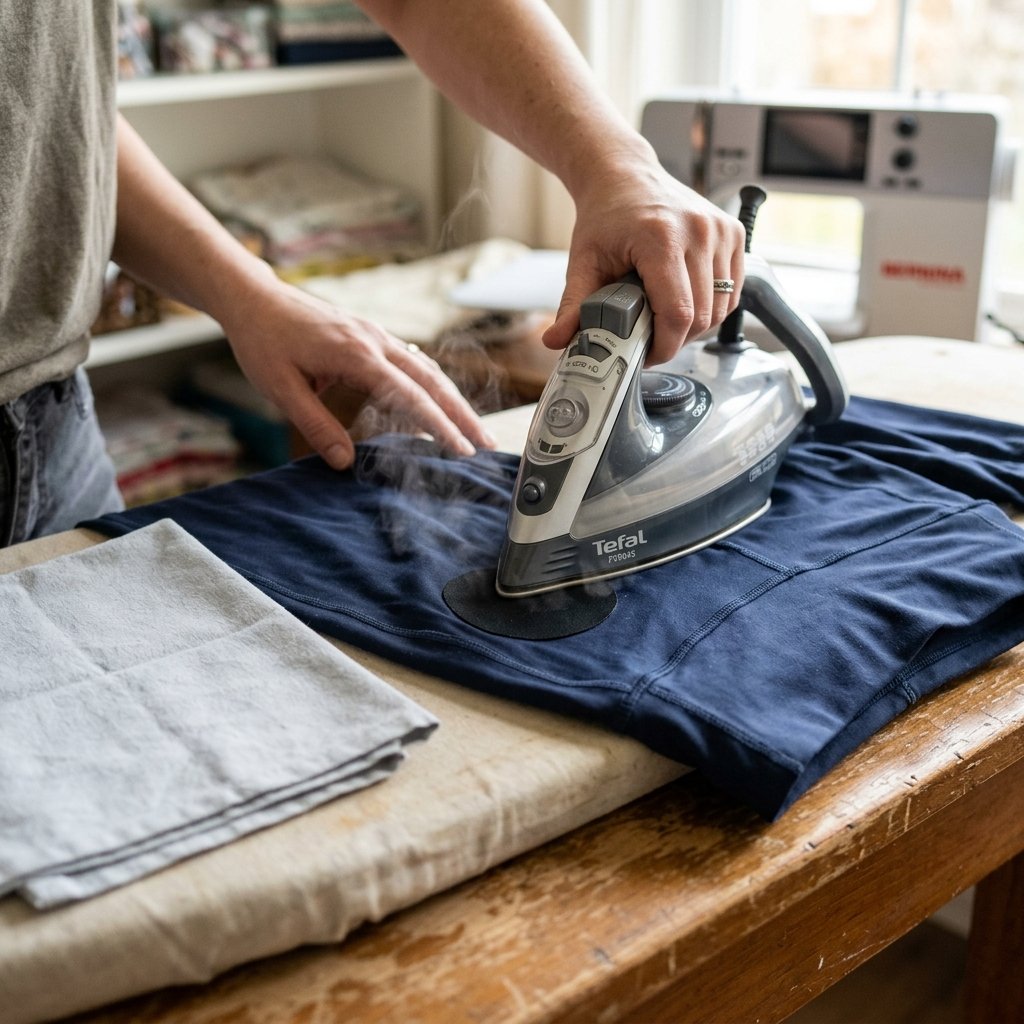
Sometimes the fabric isn’t just torn; it’s thinned out from friction. This is common for those of us with a ‘rugged’ stride. For this, we use the internal reinforcement hack. This is the ultimate budget-savvy move for those who claim they ‘can’t sew.’
| Repair Type | Best For | Durability Level |
|---|---|---|
| Ladder Stitch | Seam rips and small holes | High |
| Iron-on Stretch Patch | Thinning fabric/large holes | Extreme |
| Sashiko (Visible Mending) | Artistic/Reinforced look | Medium-High |
To execute the iron-on fix: Cut a piece of stretch mending tape into a circle (rounded edges prevent peeling). Turn the leggings inside out, place the patch over the thinned area, and apply a dry iron for 30 seconds. The heat activates the adhesive, bonding the patch to the fibers and creating a shield against future friction. It’s a 100% effective way to double the life of your leggings in under 2 minutes.
Safety Note: Always check the care label of your leggings. If they are high-compression or high-plasticity, use a pressing cloth (like an old pillowcase) between the iron and the leggings to prevent melting the synthetic fibers.
Rugged Maintenance: How to Prevent Future Blowouts

A true craftsperson knows that the best repair is the one you never have to make. To keep your patched (and new) leggings in top shape, you need a practical maintenance routine. Friction is the enemy, but heat is the silent killer of spandex.
- Cold Water Only: High temperatures break down the elastic fibers (elastane) that give leggings their shape. Wash on cold to keep the fabric dense and resistant to holes.
- Skip the Dryer: The tumble dryer is a friction chamber. Hang-drying your leggings can increase their lifespan by 200%.
- Anti-Chafe Balms: Using a glide stick on your inner thighs doesn’t just protect your skin; it reduces the ‘drag’ on the fabric fibers, significantly slowing down the thinning process.
- Inside-Out Washing: This prevents the outer surface from rubbing against zippers or buttons of other clothes in the wash.
By following these steps, you aren’t just saving a pair of pants; you are reclaiming your budget and reducing your environmental footprint. That is what I call a win-win.
Conclusion
Wear Your Repairs with Pride
Stop throwing out ‘ruined’ clothes. In a world of fast fashion, the act of spending 5 minutes to mend a pair of leggings is a radical act of resourcefulness. You’ve saved $50, kept textile waste out of the landfill, and mastered a skill that our grandparents considered essential. Whether you used the invisible ladder stitch or the quick iron-on patch, your leggings are now rugged, reinforced, and ready for another round at the gym or the grocery store. Keep being clever, keep being frugal, and never let a little friction stop your hustle.

Makenzie is the founder and lead writer at MoneyHackTips.com — a personal finance blog dedicated to delivering street-smart financial wisdom for real people on real budgets. With 300+ published articles covering everything from debt management to investing fundamentals, Makenzie’s mission is to make every dollar work harder. When not writing about money hacks, Makenzie is testing frugal living strategies, optimizing side hustles, and helping readers build financial freedom from scratch.