
The Art of the High-Impact Cash Gift
Let’s be honest: every graduate, whether they are finishing high school or crossing the stage for a doctorate, wants one thing—cold, hard cash. But as a resourceful DIYer, you know that handing over a generic greeting card with a twenty-dollar bill tucked inside feels a bit… uninspired. It lacks the grit, the craft, and the personal touch that defines a truly memorable gift. You want to give them the capital they need for their next chapter, but you want to do it with the flair of a master craftsman and the savvy of a budget-conscious pro.
In this guide, we are going to dive deep into 15 geniously creative ways to present currency. We’re talking about upcycling household items, mastering high-precision money origami, and creating ‘wow-factor’ displays using items you likely already have in your junk drawer or can snag for $1.25 at the local dollar store. We aren’t just giving money; we are giving an experience that says, ‘I put thought, effort, and a little bit of engineering into this for you.’ From the ‘Money Pizza’ to the ‘Emergency Break Glass’ frame, get ready to make that graduate’s jaw drop without spending an extra dime on expensive gift wrap.
The Money Origami Masterclass: Precision Folds for the Modern Grad

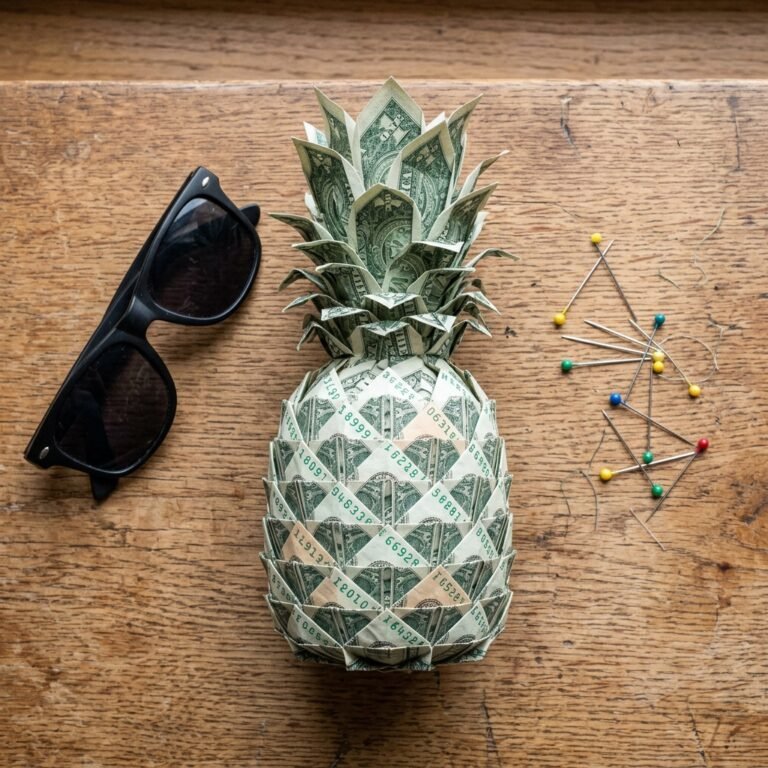
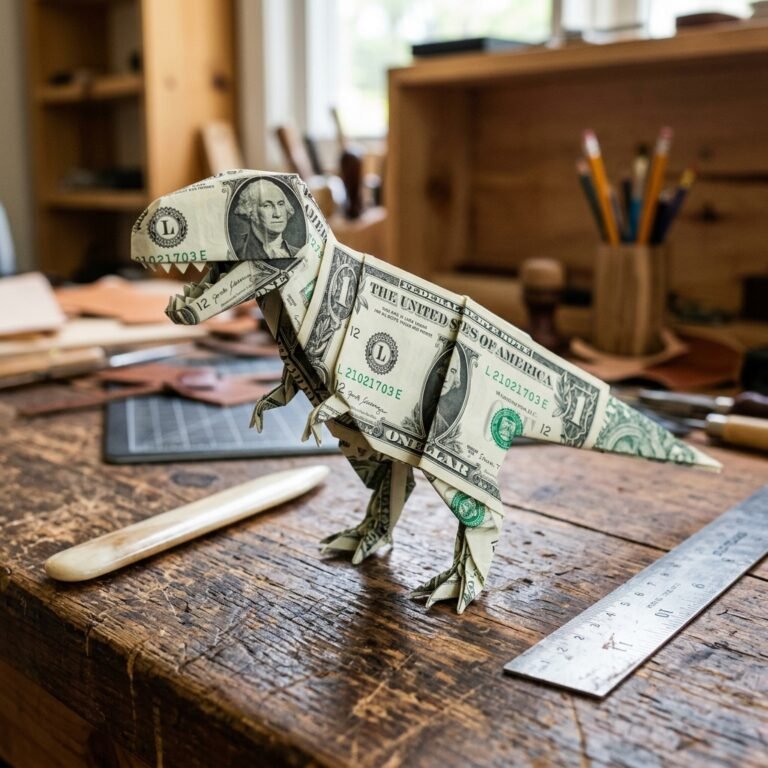
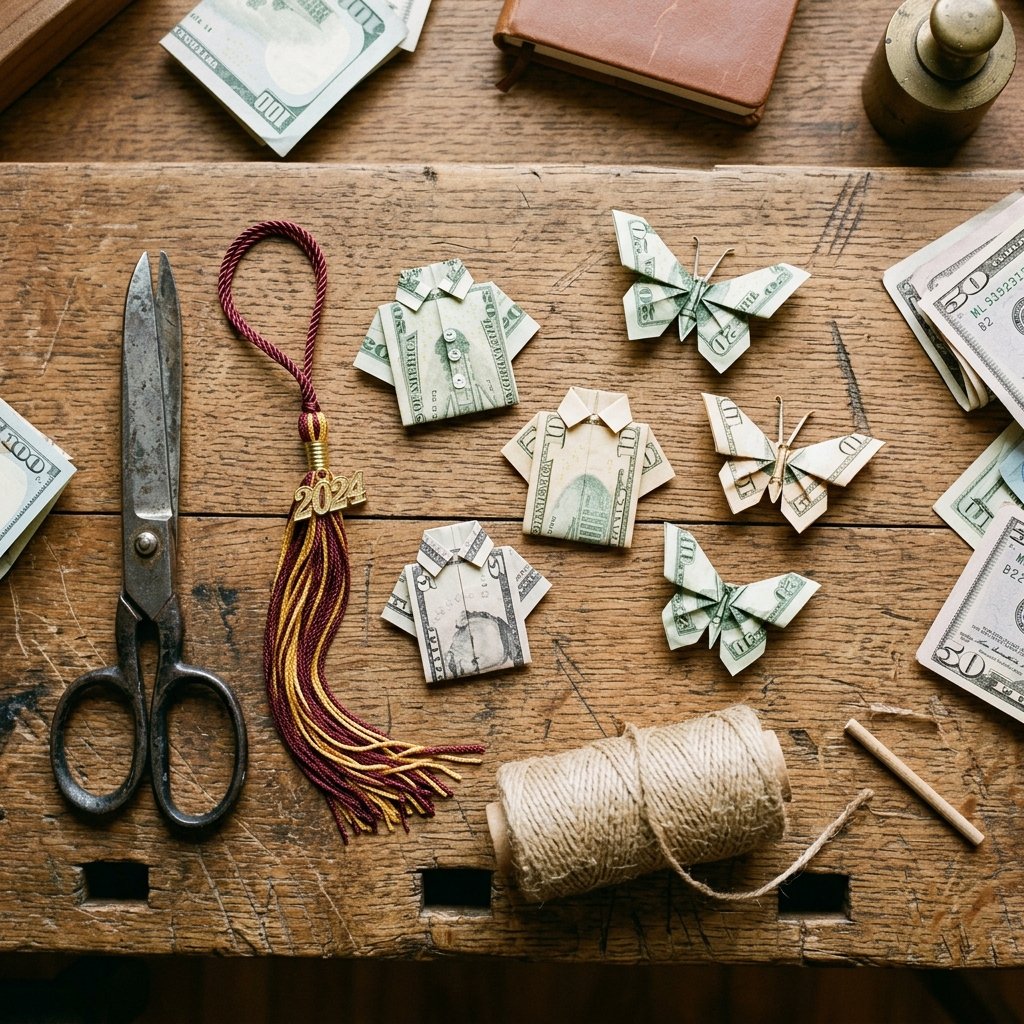
Origami isn’t just for paper cranes; it’s a sophisticated way to turn a $20 or $50 bill into a miniature sculpture. The key to a masculine-elegant money gift is precision. You want crisp edges and symmetrical folds that show you took the time to master the craft. The ‘Origami Shirt and Tie’ is a classic for a reason—it symbolizes the professional journey the graduate is about to embark upon.
How to Fold the Perfect Money Shirt
Follow these steps carefully. Use a flat surface and a bone folder (or the edge of a credit card) to ensure every crease is sharp.
- Lay the bill flat on a hard surface, face up.
- Fold the top 1/3 of the bill down towards the center.
- Fold the bottom 1/3 of the bill up, so it meets the top edge.
- Flip the bill over. Fold the right edge in about 1/2 inch. This will become the collar.
- Flip the bill back over. Fold the two corners of the right side inward at a 45-degree angle to form the collar points.
- On the left side, fold the corners outward to create the ‘sleeves.’
- Finally, tuck the left edge (the sleeves) under the collar points on the right side and press flat.
‘Precision is the difference between a crumpled bill and a work of art. Take your time with the collar; it defines the entire piece.’
| Denomination | Best Origami Shape | Visual Impact (1-10) |
|---|---|---|
| $1 Bills | Money Rosette / Flower | 7 |
| $5 Bills | Heart or Butterfly | 6 |
| $20 Bills | Shirt & Tie | 9 |
| $100 Bills | Geometric Star | 10 |
The ‘Real Dough’ Pizza Box: An Upcycled Culinary Surprise
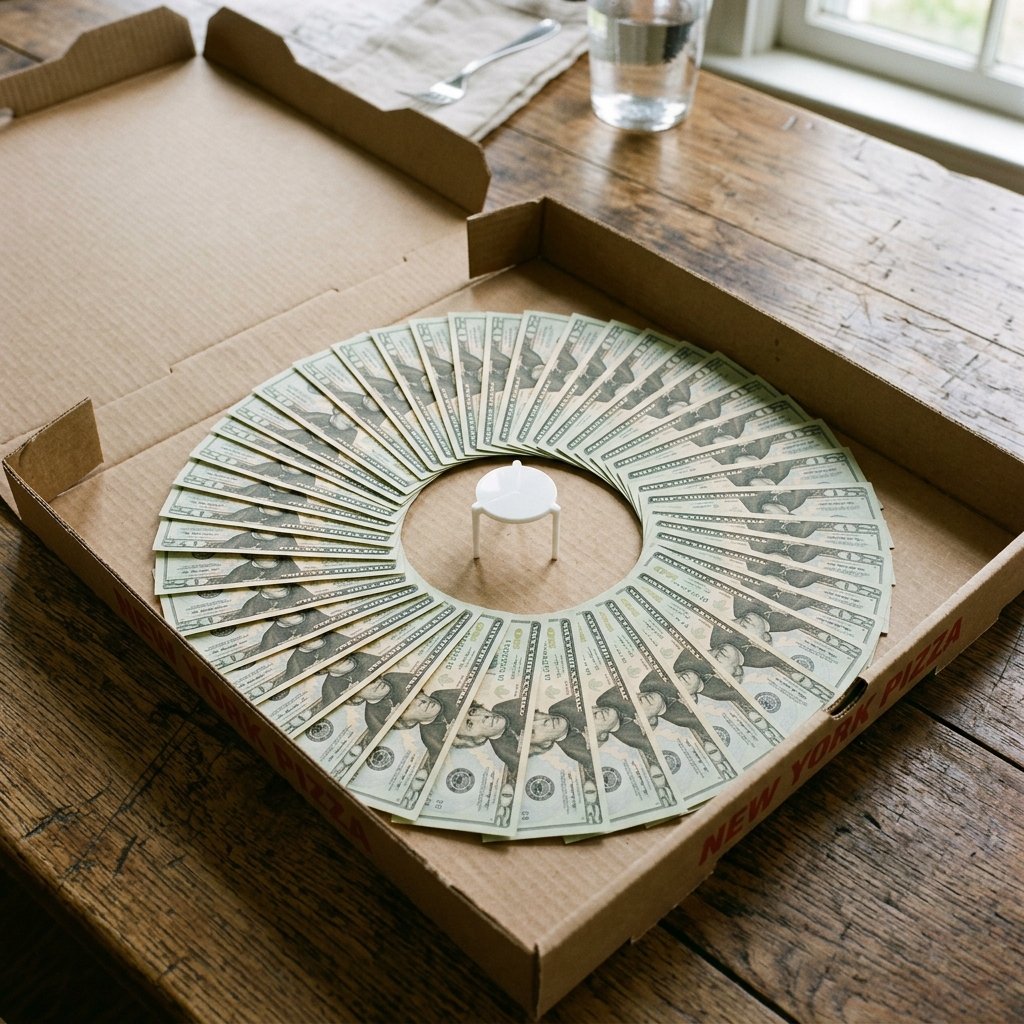
This is the ultimate ‘Trash-to-Treasure’ move. Grab a clean, unused pizza box from a local shop—most will give you one for free or for a $1 tip if you ask nicely. This gift is perfect for the college grad who has lived on a diet of pepperoni and late-night study sessions. Instead of a greasy pie, they’ll find a circular arrangement of bills that looks like the most valuable pizza they’ve ever seen.
Assembly Instructions
- Line the bottom of the pizza box with a piece of parchment paper for that authentic look.
- Arrange your bills in a circular ‘fan’ pattern to mimic the shape of a pizza.
- Use removable glue dots or small loops of painter’s tape to secure the bills without tearing them.
- In the center, place a small plastic ‘pizza saver’ (the little white tripod) to hold the lid up.
- On the inside of the lid, write a clever message like: ‘You can’t live on pizza alone, but this dough will help!’
This project costs almost $0 in materials but delivers a massive psychological payoff when they open the box expecting food and find a windfall instead.
The High-End ‘In Case of Emergency’ Shadow Box

For the graduate heading off to their first apartment, a ‘break glass in case of emergency’ frame is both practical and stylish. This is where we channel our inner Dollar Tree Interior Designer. You can find simple black shadow boxes for under $5, or upcycle an old deep-set picture frame from a thrift store.
The Build Process
- Find a frame at least 1 inch deep.
- Print a high-quality backing paper—something with a rugged, industrial texture like faux concrete or dark linen.
- Mount a $50 or $100 bill (or a stack of smaller denominations) in the center using a small piece of clear tape.
- Using a white paint pen or vinyl decals, write ‘IN CASE OF EMERGENCY, BREAK GLASS’ on the outside of the glass.
- Attach a small, decorative hammer to the side of the frame with a piece of twine for a rugged, masculine-elegant touch.
‘A gift that is both a decoration and a safety net shows true foresight. It’s the ultimate frugal-elegant decor piece.’
| Material | Source | Estimated Cost |
|---|---|---|
| Shadow Box Frame | Thrift Store / Dollar Tree | $1.25 – $5.00 |
| Decorative Hammer | Toy Store / Craft Aisle | $2.00 |
| Mounting Tape | Existing Supplies | $0.00 |
| Total DIY Cost | – | $3.25 – $7.00 |
The ‘Bright Future’ Light Bulb: A Brilliant Upcycling Hack
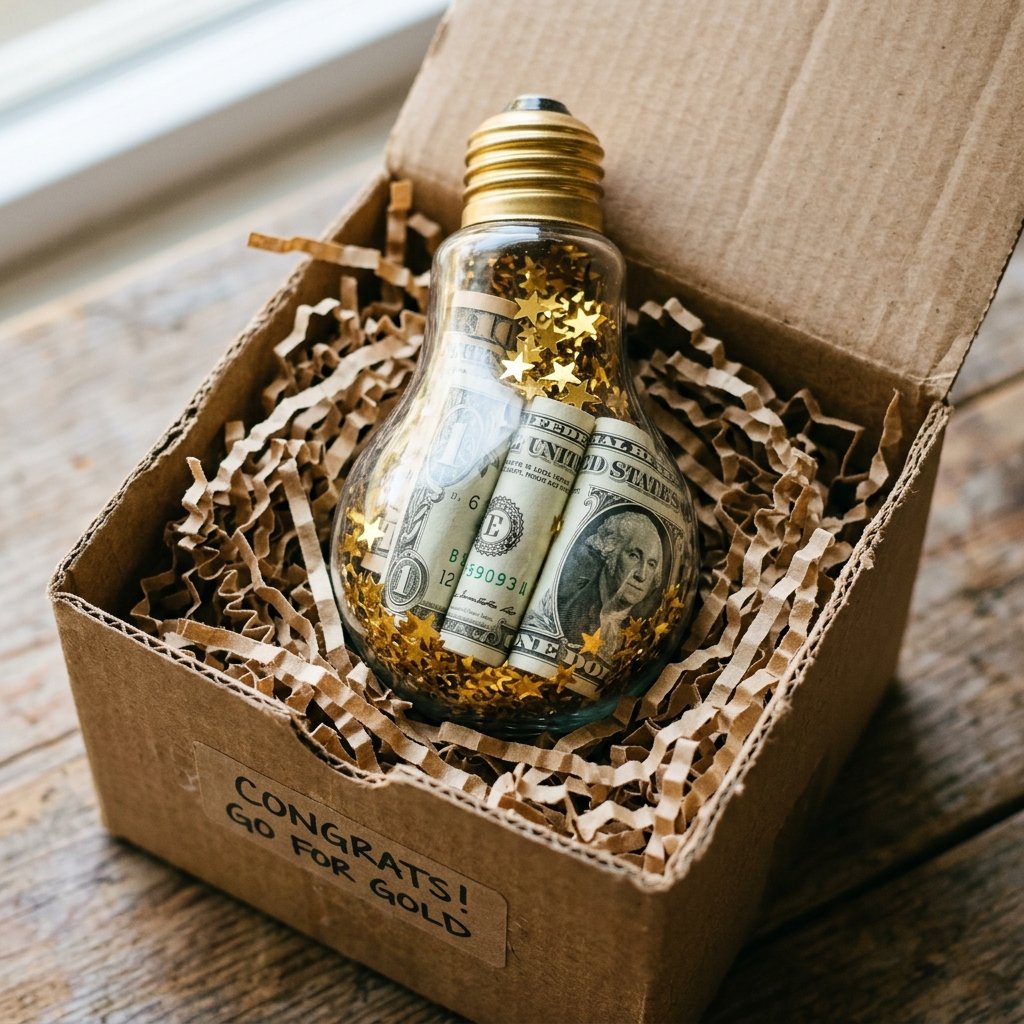
Nothing says ‘I have a bright idea’ like a literal light bulb. For this, we are going to upcycle a clear incandescent bulb or, for a safer and easier route, purchase a $1.50 ‘clear plastic bulb’ ornament from a craft store. This is a favorite for handy parents who want to symbolize the graduate’s intelligence and potential.
The Execution
- If using a real bulb, carefully hollow it out (wear eye protection!). If using a plastic craft bulb, simply unscrew the top.
- Roll your bills tightly around a pencil to create small ‘scrolls.’
- Slide the rolled bills into the bulb.
- Add a few pinches of gold glitter or small yellow stars for ‘sparks of genius.’
- Place the bulb in a small box filled with shredded yellow paper to keep the theme consistent.
‘Safety First: When hollowing out real glass bulbs, use pliers to remove the contact point and glass insulator. Always wear gloves and safety goggles.’
The Money Tissue Box: The Gift That Keeps on Giving
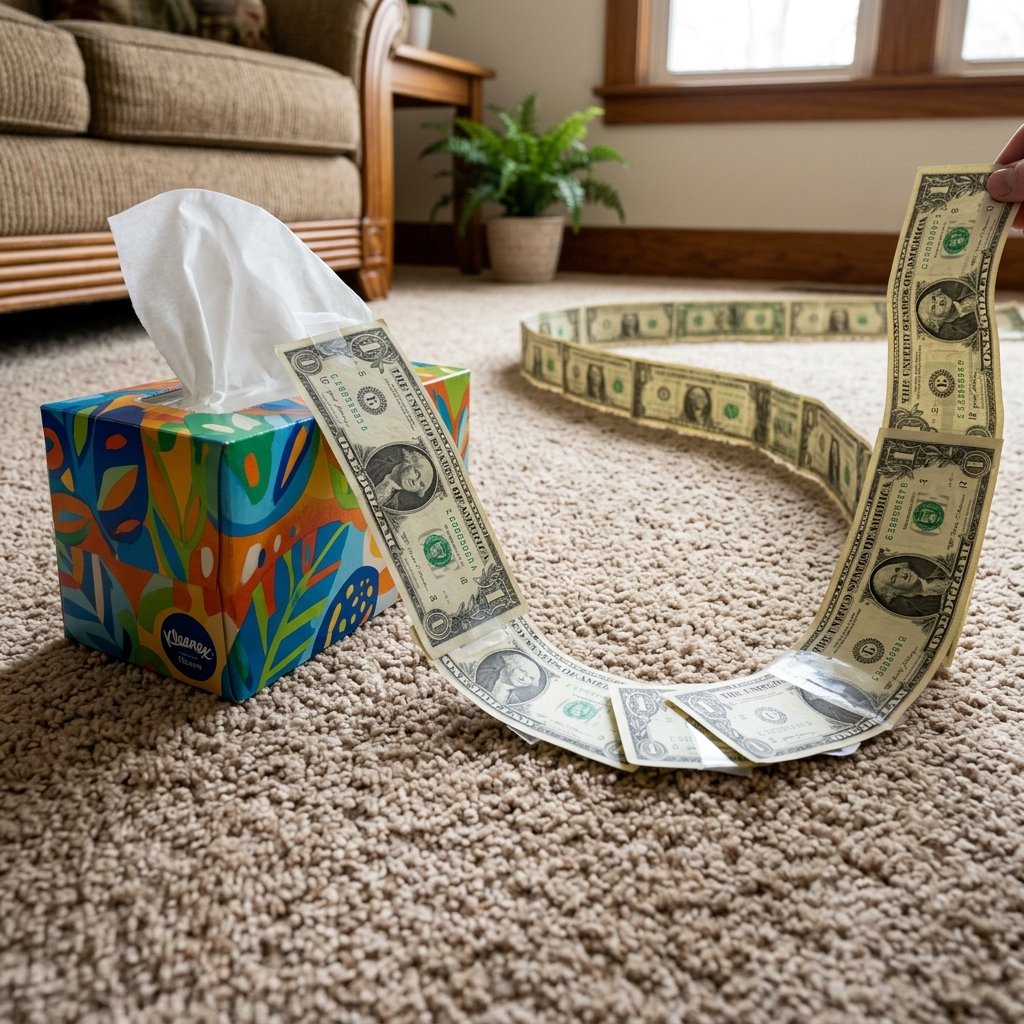
This is the ultimate ‘prank’ gift for the graduate who thinks they are just getting a boring box of tissues for their dorm room. It’s hilarious, interactive, and can be made for $0 using an empty tissue box and some Scotch tape.
Step-by-Step ‘Pull-String’ Assembly
- Gather 20 to 50 bills (singles work best for length, but mix in larger bills for surprises).
- Lay the bills end-to-end.
- Use a small piece of clear tape to connect the top of one bill to the bottom of the next. Pro Tip: Use tape that is easy to peel so the money doesn’t tear!
- Roll the long chain of bills into a tight cylinder.
- Place the roll inside an empty tissue box.
- Tape the first bill to a single tissue, leaving the tissue poking out of the top.
- When the grad pulls the tissue, a never-ending stream of cash follows!
This is a high-impact, low-cost way to turn a $50 gift into a 5-minute performance that the whole family will cheer for.
The Graduation ‘Lei’: A Tradition Reimagined on a Budget

In many cultures, a lei symbolizes honor and celebration. A money lei is a stunning visual way for a graduate to wear their ‘earnings’ during the post-ceremony party. While professional money leis can cost upwards of $150 (including the cash), you can make one yourself for the cost of the bills and a roll of ribbon.
Construction Tips
- Use the ‘Accordion Fold’ technique: Fold a bill back and forth like a fan.
- Pinch the center of the folded bill and tie it with a small piece of floral wire or thin ribbon.
- Fan out the edges to create a circular ‘flower.’
- String these money flowers onto a long piece of 1/2 inch satin ribbon, alternating with colorful beads or silk flowers from the dollar store.
- Aim for at least 20-30 flowers for a full, lush look.
| Material | DIY Cost | Store-Bought Price |
|---|---|---|
| Ribbon & Beads | $3.00 | Included |
| Labor (2 hours) | $0.00 | $40.00+ |
| Cash Value | User Choice | User Choice |
| Total Savings | – | $40.00+ |
Conclusion
The Value is in the Effort
Giving cash doesn’t have to be a cold transaction. By using these resourceful, budget-savvy techniques, you’ve turned a simple gift into a lasting memory. Whether you chose the precision of money origami, the cleverness of an upcycled pizza box, or the ‘wow’ factor of a money tissue box, you’ve demonstrated that you value the graduate’s achievement enough to invest your time and creativity. Remember, the goal of a ‘Trash-to-Treasure’ guru isn’t just to save money—it’s to create something priceless out of the everyday. Now, go grab those bills, start folding, and get ready to see that jaw-drop moment you worked so hard to create!

Makenzie is the founder and lead writer at MoneyHackTips.com — a personal finance blog dedicated to delivering street-smart financial wisdom for real people on real budgets. With 300+ published articles covering everything from debt management to investing fundamentals, Makenzie’s mission is to make every dollar work harder. When not writing about money hacks, Makenzie is testing frugal living strategies, optimizing side hustles, and helping readers build financial freedom from scratch.