
The Art of the Sartorial Rescue
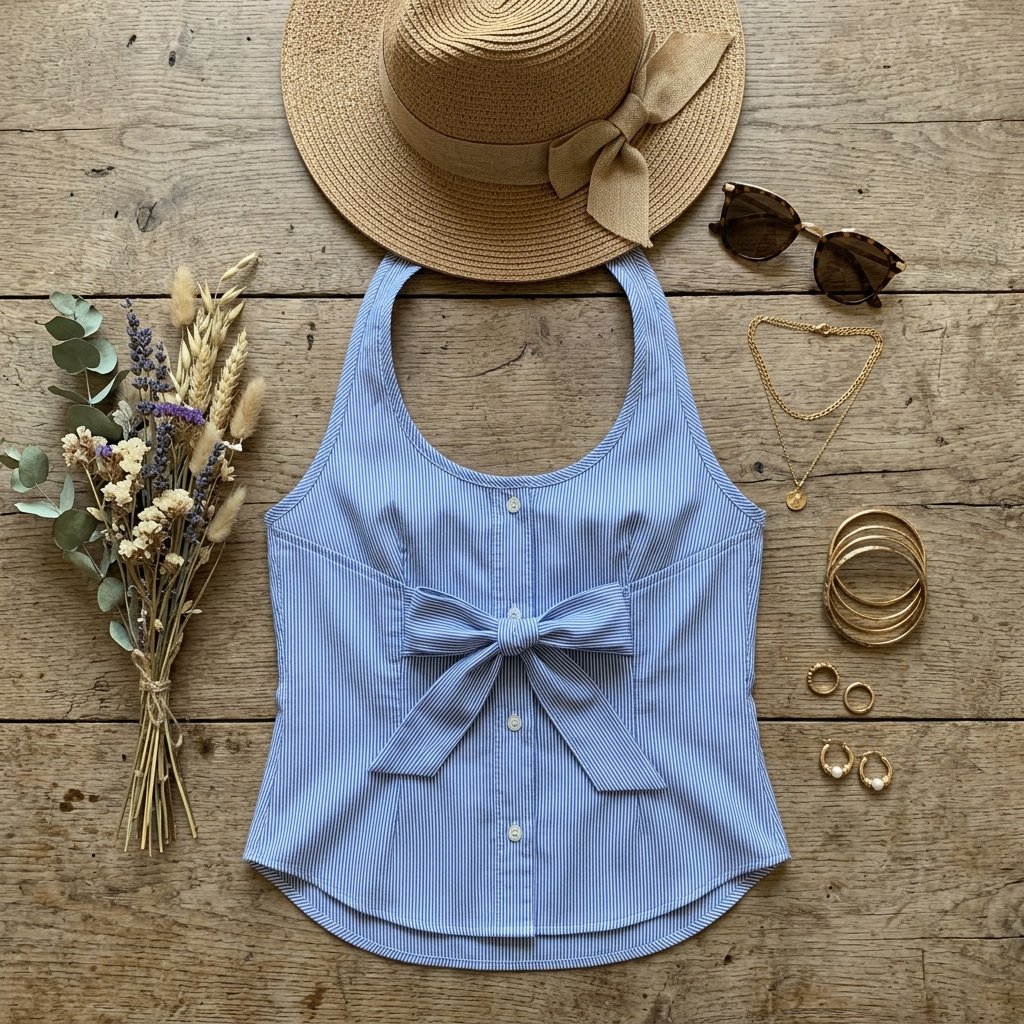
In an era of disposable fashion and cluttered closets, there is a certain rugged elegance in the act of reclamation. We have all been there: staring at a stack of high-quality cotton button-downs or oversized flannel shirts that no longer fit the vibe but feel too precious to toss. As a resourceful DIYer, you see more than just old fabric; you see the raw materials for a high-end, custom-tailored summer staple. Upcycling a shirt into a gorgeous summer halter top is not just a budget-savvy move—it is a statement of creative independence. By repurposing the existing hems, collars, and button plackets, we can bypass the most tedious parts of garment construction and jump straight to the rewarding part: creating a silhouette that is airy, flattering, and entirely unique. This guide is designed for the crafty expert and the frugal beginner alike, focusing on how to achieve a professional finish without the need for a $500 sewing machine or a degree in pattern making. We are going to strip back the excess and forge a piece of clothing that feels as good as it looks, all while keeping our carbon footprint—and our spending—at $0.
Budget Mantra: The best fabric you can buy is the fabric you already own.
The Selection: Scouring Your Stash for Gold
Choosing the Perfect Candidate
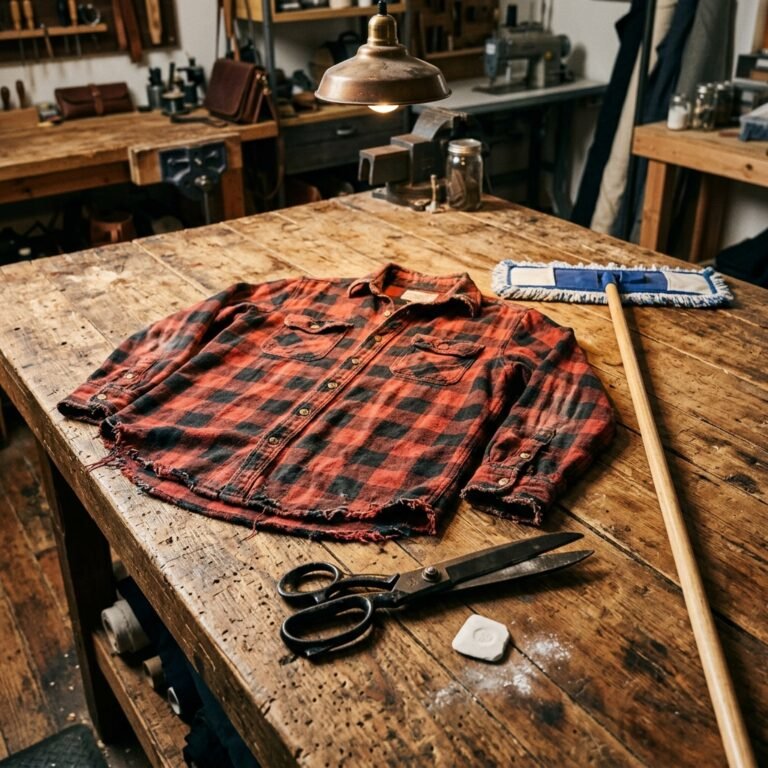
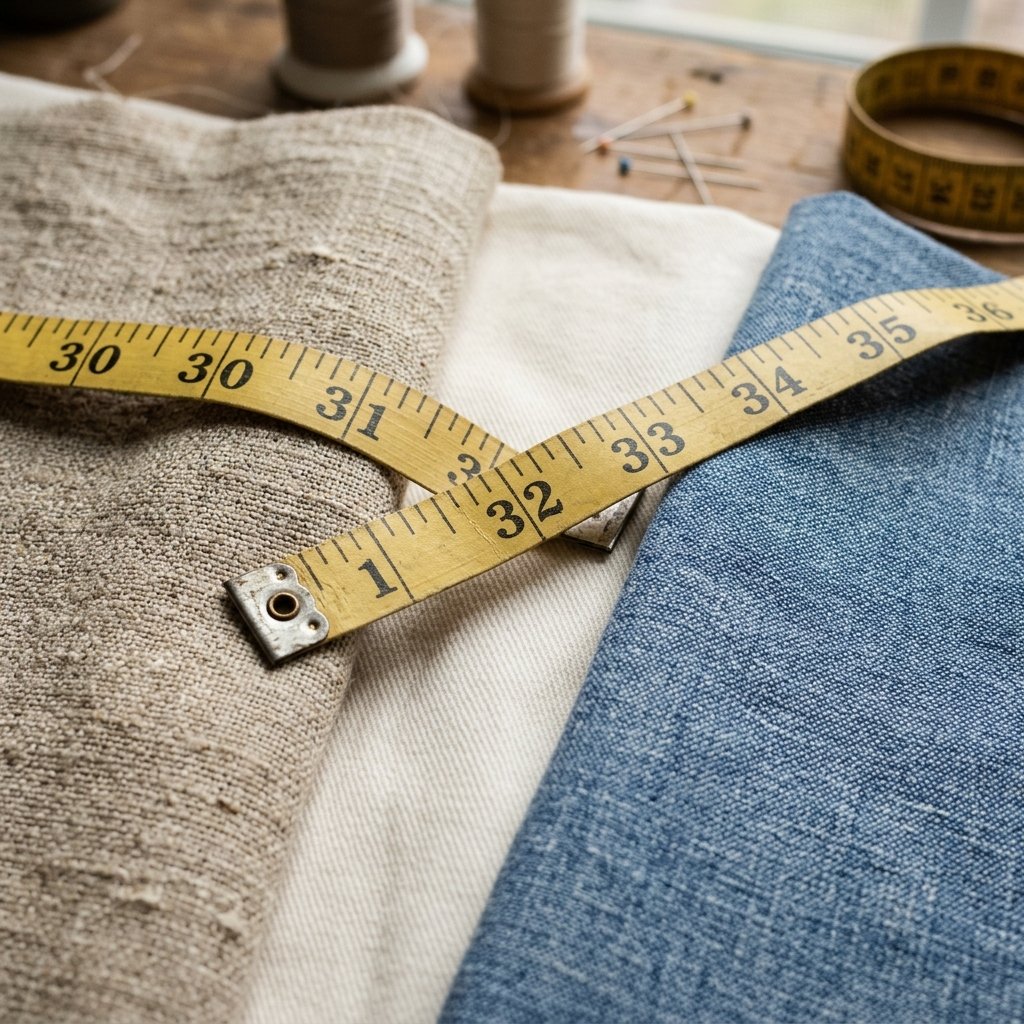
Not every shirt is destined for halter-top greatness. To ensure your finished product looks like it walked off a boutique rack rather than out of a rag bin, you need to evaluate the weight, weave, and wear of your fabric. For a summer halter, 100% cotton, linen blends, or lightweight chambray are the gold standards. These materials breathe, hold a crisp fold, and are incredibly forgiving under a needle. When hunting through your closet or the local thrift store, look for Men’s XL or XXL shirts. The extra yardage in the back panel and the long sleeves provides the ‘real estate’ we need for straps and ruffles. Avoid fabrics with too much spandex or elastic, as they tend to curl at the edges when cut, making them a nightmare for hand-mending enthusiasts. Check for ‘fabric fatigue’—areas under the arms or at the collar that might be thin or discolored. We want the strongest parts of the garment to form our new top.
Fabric Compatibility Guide
| Fabric Type | Suitability | Best Use Case |
|---|---|---|
| Oxford Cotton | Excellent | Structured, preppy halter tops with crisp bows. |
| Linen | Superior | Boho-chic, breathable tops for extreme heat. |
| Flannel | Moderate | Grunge-inspired cropped halters for festival season. |
| Silk/Rayon | Advanced | Elegant, flowy evening halters (requires pinning). |
The Essential Toolkit: Crafting with Precision
Gathering Your Arsenal
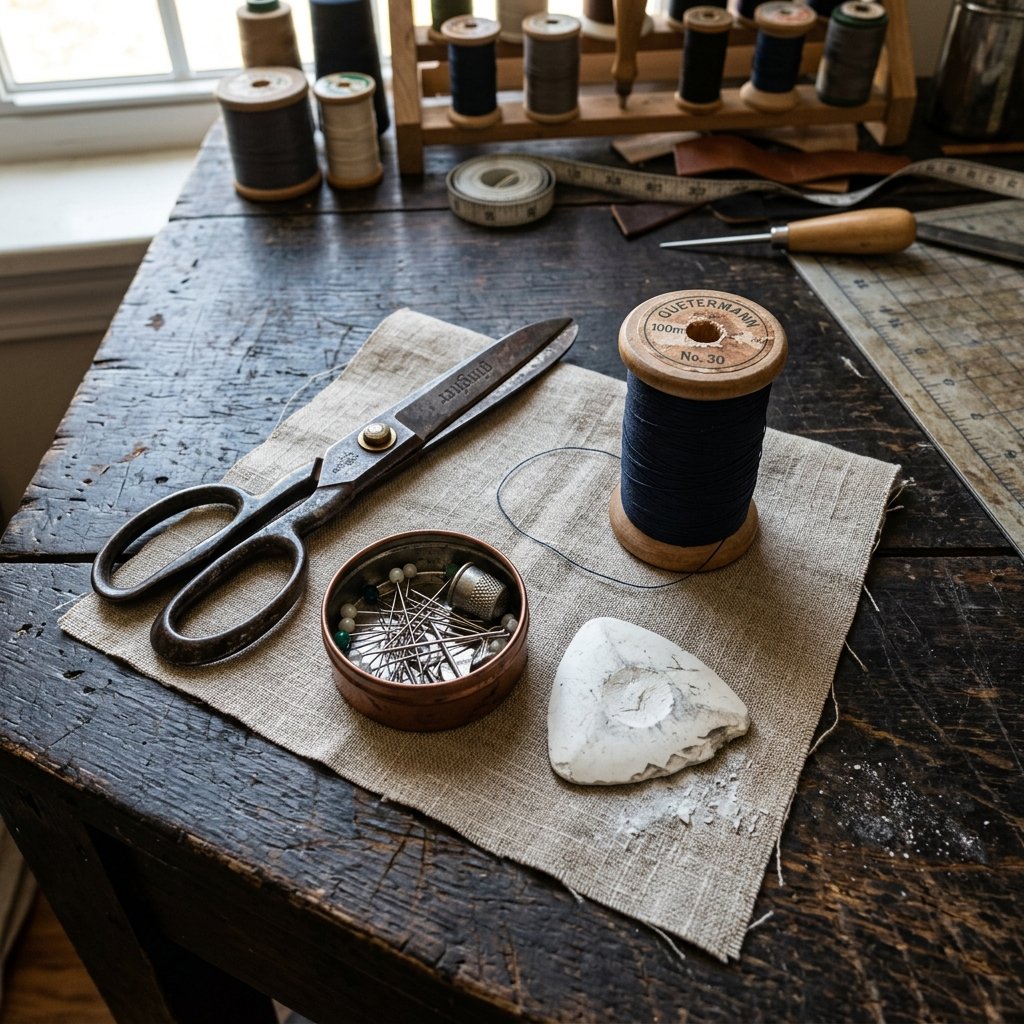
A true craftsman is only as good as their tools, but being resourceful means knowing when to substitute. You do not need a fully stocked atelier to pull this off. At a minimum, you need a pair of fabric shears—regular paper scissors will chew the fabric and leave jagged edges that fray easily. If you are working on a budget, a $1.25 pack of needles and a spool of polyester thread from the dollar store will suffice, provided you use the right technique. For marking your lines, a piece of dried-out soap works just as well as professional tailor’s chalk and washes out instantly. We will also be using the ‘pin and fit’ method, so a handful of straight pins (or even safety pins) will be vital for ensuring the halter sits correctly on your frame before you make the first cut.
Store-Bought vs. Zero-Budget DIY Tools
| Professional Tool | Frugal Alternative | Estimated Savings |
|---|---|---|
| Tailor’s Chalk | Dry Soap Sliver | $8.00 |
| Fabric Weights | Large Washers or Rocks | $15.00 |
| Seam Ripper | Small Embroidery Scissors | $5.00 |
| Pattern Paper | Old Newspaper or Grocery Bags | $12.00 |
Safety Note: Always cut away from your body and keep your fingers clear of the shears’ path. When hand-sewing, use a thimble to protect your fingertips from repetitive strain.
The Blueprint: Measuring and Marking the Cut
Drafting Without a Pattern
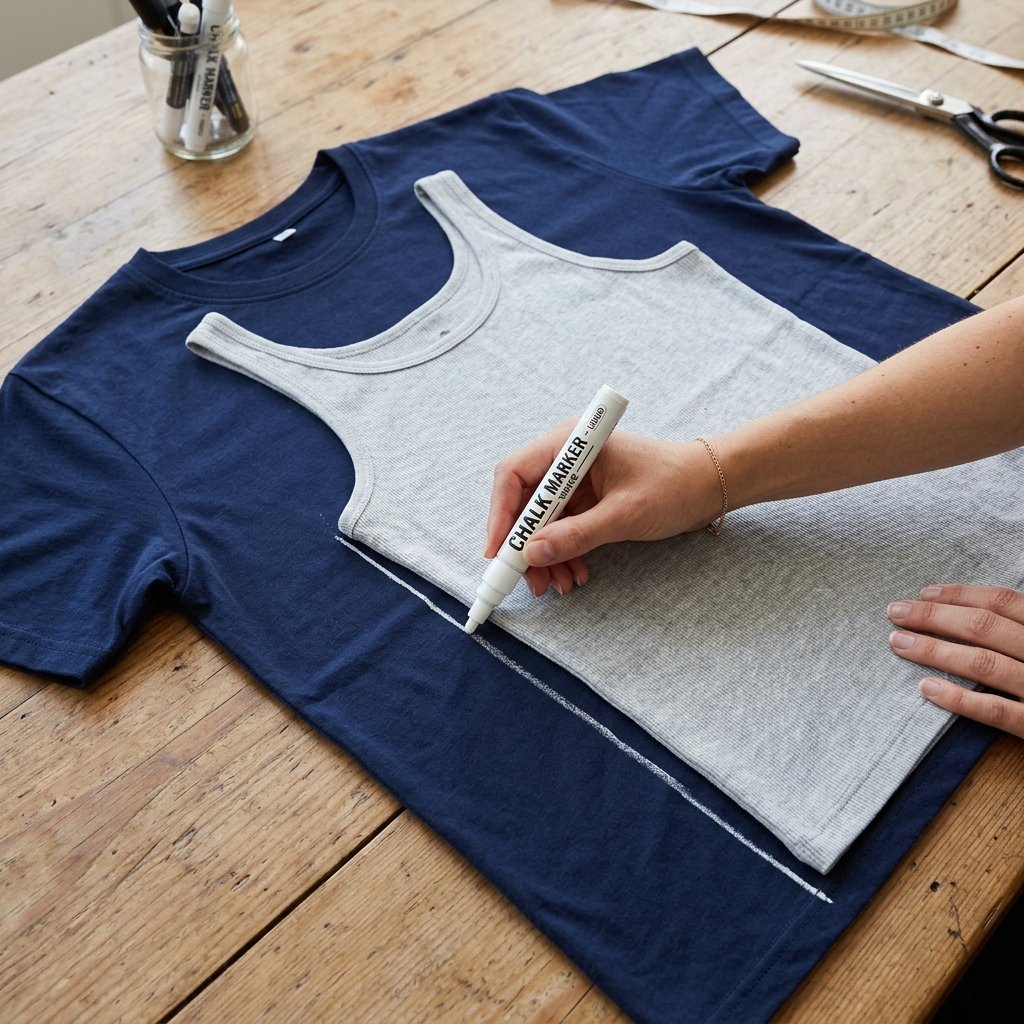
The beauty of the halter top lies in its simplicity. We are essentially creating a trapezoid for the front panel and using the sleeves of the original shirt to create the neck and back ties. Start by laying your shirt flat on a hard surface—carpets are too spongy for accurate cutting. Step 1: Cut off the sleeves and the collar, but do not discard them! The collar stand can often be repurposed into a sturdy neckband. Step 2: Lay a well-fitting tank top over the shirt to act as a guide for the armholes. Step 3: Mark a diagonal line from the mid-chest area up toward the shoulder seams. This creates the signature halter ‘V’ shape. Step 4: Ensure you leave at least 1/2 inch of extra fabric outside your lines for the seam allowance. If you cut exactly on your measurement, the top will end up too tight once sewn.
- Pro Tip: Use the existing bottom hem of the shirt as the bottom hem of your new top. This saves you 20 minutes of sewing and ensures a perfectly straight finish.
- Measurements: Measure your ‘high bust’ (just under the armpits) and add 2 inches for ease of movement.
- Symmetry Check: Fold the shirt in half vertically before cutting the armholes to ensure both sides are identical.
The Transformation: Stitching for Durability
Mastering the Hand-Stitch
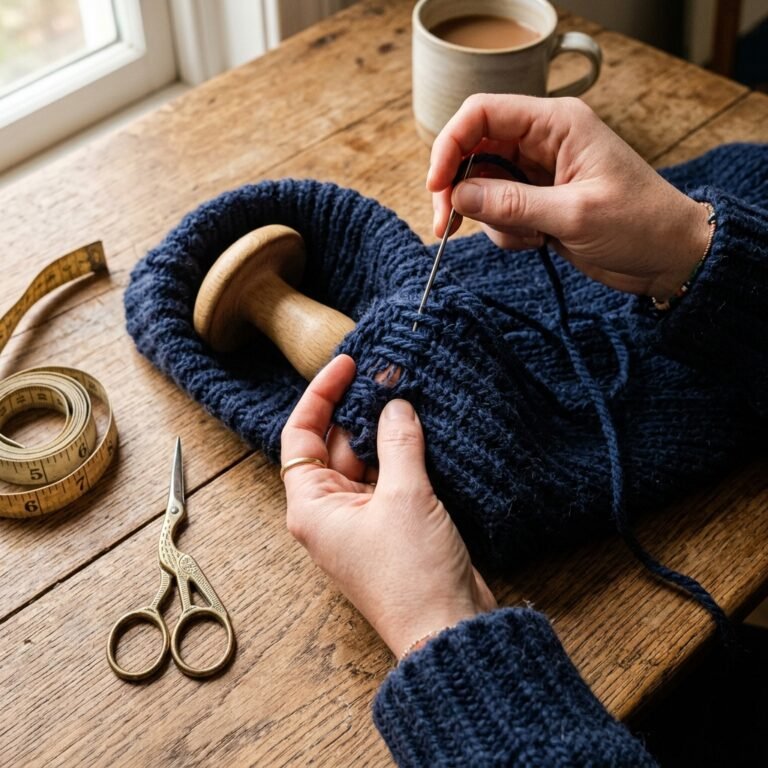
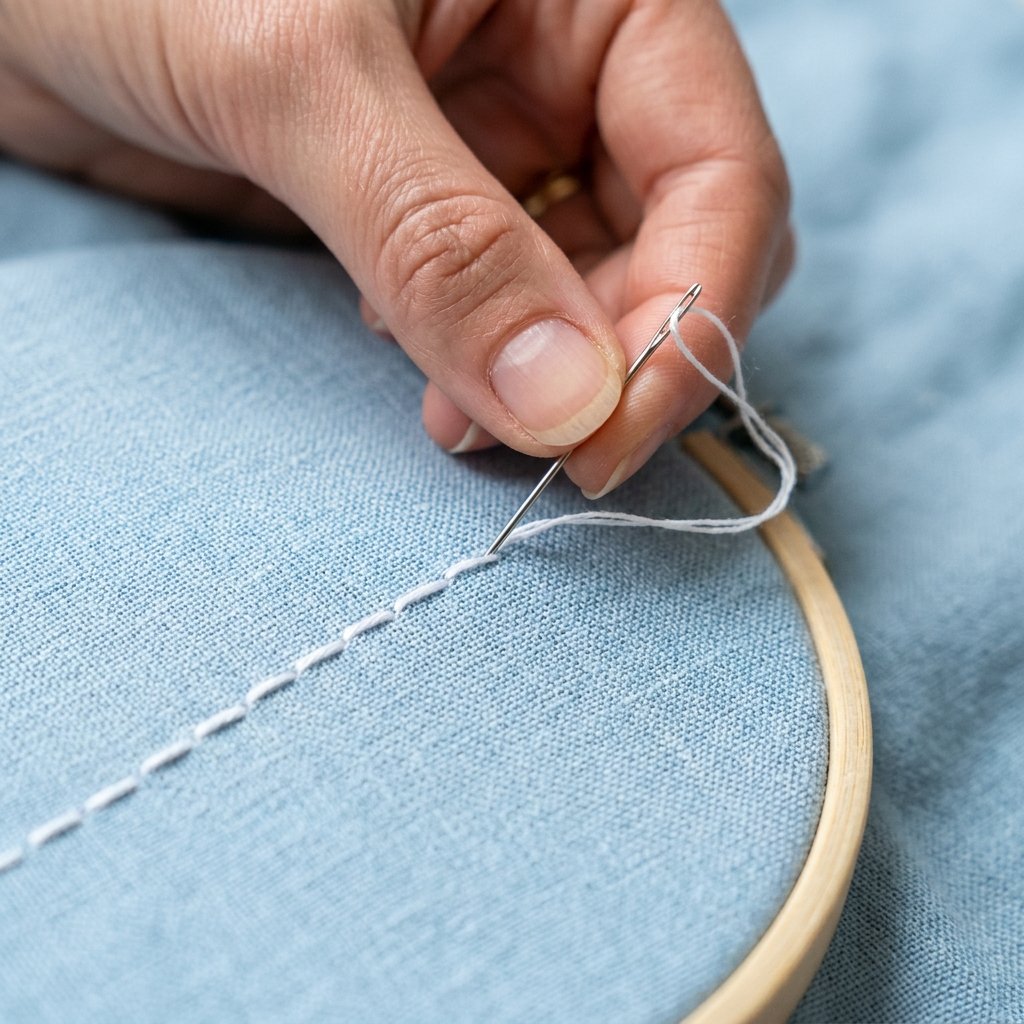
Whether you have a machine or are relying on the steady rhythm of hand-sewing, the goal is durability. For an upcycled halter, the neck ties take the most strain, so they require a Backstitch. This is the strongest hand stitch, mimicking the look and strength of a machine line. 1. Pass the needle through the fabric and bring it up a short distance ahead. 2. Go back and insert the needle at the end of the previous stitch. 3. Bring it up again a short distance in front of the current stitch. Repeat this process for the side seams and the casing where the neck ribbon will slide through. If you want a truly ‘invisible’ finish on your hems, use the Ladder Stitch. This allows you to join two pieces of fabric so that the thread remains hidden inside the folds, giving your DIY project a high-end, professional aesthetic.
Stitch Solution Matrix
| Area of Garment | Recommended Stitch | Why? |
|---|---|---|
| Side Seams | Backstitch | Maximum strength for tension points. |
| Neckline Hem | Running Stitch | Quick and decorative for low-stress areas. |
| Strap Attachment | Box Stitch (X inside a square) | Prevents the strap from ripping out. |
| Invisible Hems | Ladder/Slip Stitch | Clean, boutique-quality finish. |
Crafty Expert Advice: Always ‘anchor’ your thread at the beginning and end with a double knot to prevent the seams from unraveling during a wash cycle.
The Final Flourish: Styling and Customization
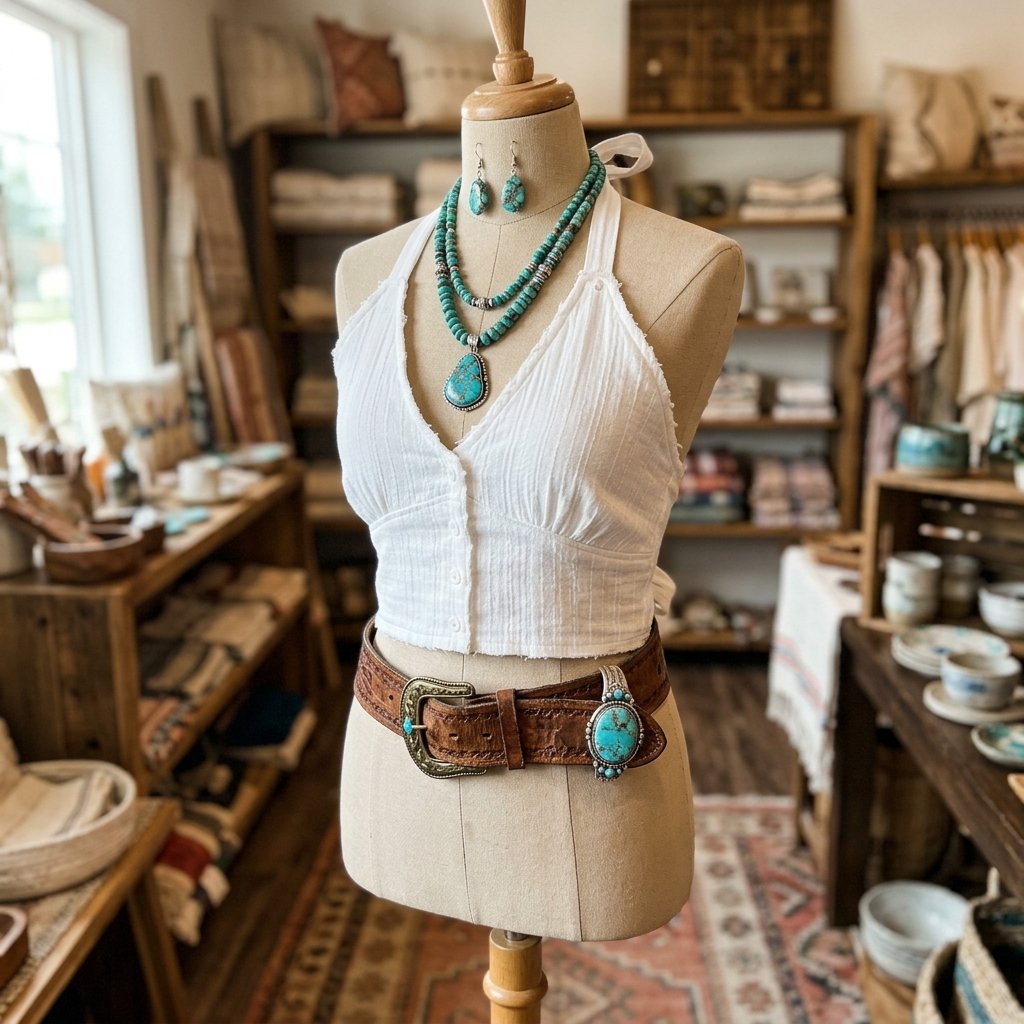
From Workshop to Wardrobe
Once the structural work is done, it is time to infuse the piece with personality. An upcycled shirt can be transformed into a boho masterpiece by adding a bit of cotton lace trim to the bottom hem or using the shirt’s original buttons as decorative accents along the neckline. If the shirt was a plain white button-down, consider a $2.00 packet of fabric dye to give it a vibrant summer hue like terracotta or sage green. For styling, pair your new halter with high-waisted linen trousers for a ‘Masculine-Elegant’ look, or denim cut-offs for a rugged, practical weekend outfit. The versatility of a halter top is unmatched; it transitions perfectly from a beach cover-up to a dinner date top just by changing your accessories.
- The Ribbon Hack: If you don’t want to sew fabric ties, use 1 yard of grosgrain ribbon or a braided leather cord for a rugged, textured look.
- The Cinch: Add a small piece of elastic to the back hem to give the top more shape and prevent it from billowing in the wind.
- Embroidery: A simple sprig of lavender or a geometric line stitched onto the corner adds a ‘designer’ touch for the cost of $0.50 in embroidery floss.
Maintenance: Keeping Your Upcycle Fresh
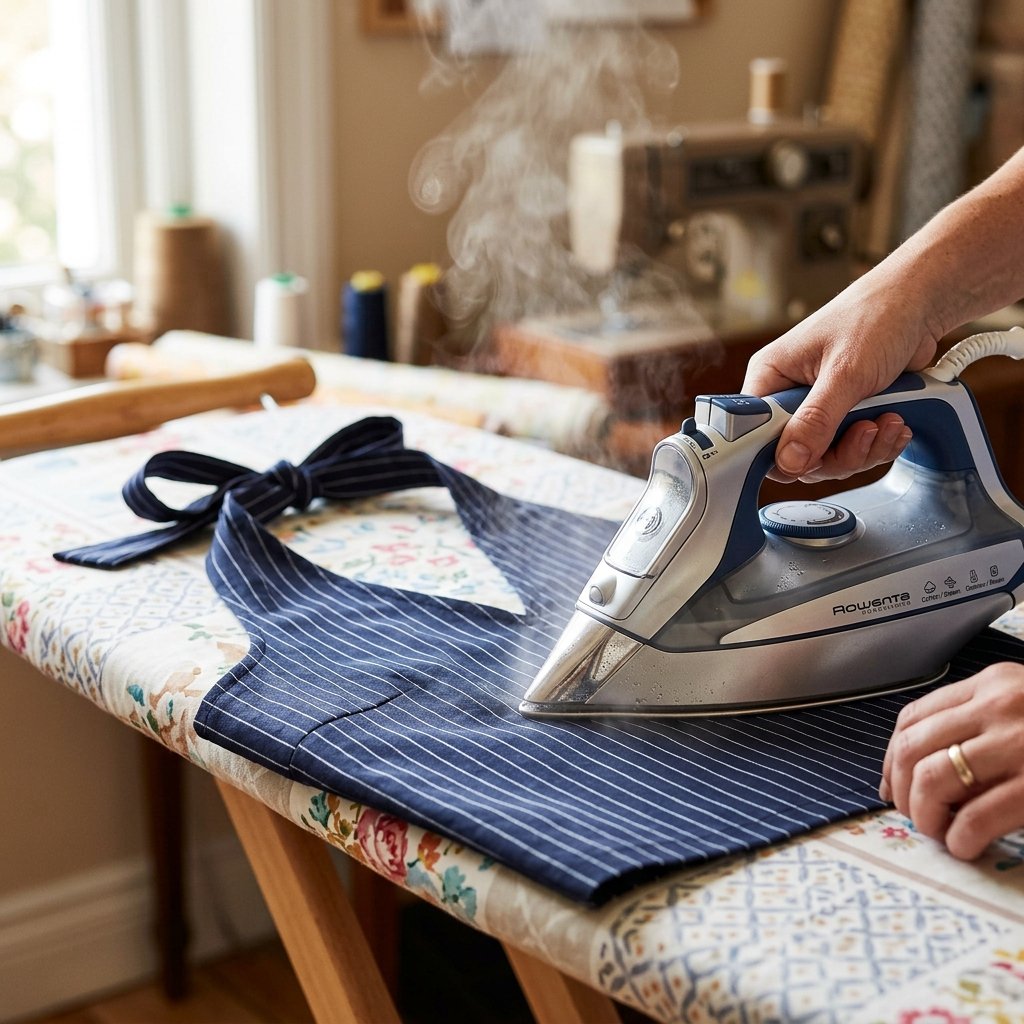
Care and Longevity
Your new top is a labor of love, and because it is handmade, it deserves a bit of extra care. Most upcycled shirts are made from pre-shrunk vintage fabrics, which is a huge advantage—they won’t surprise you by shrinking two sizes in the wash. However, to preserve the integrity of your hand-stitched seams, I recommend washing your halter in a mesh laundry bag on a delicate cycle. Hang it to dry rather than using a high-heat dryer, which can weaken the fibers over time. A quick pass with a steam iron will crisp up the edges and make your DIY creation look brand new every time you wear it. By treating your upcycled garments with respect, you ensure they stay in your rotation for years, proving that frugal fashion is the most sustainable fashion of all.
Mending Mantra: A stitch in time saves nine—check your seams after every few wears to catch loose threads early.
Conclusion
The Reward of Resourcefulness
By transforming a forgotten shirt into a stunning summer halter, you have done more than just save $40 or $60 at a retail store. You have exercised your creative muscles, reduced textile waste, and curated a wardrobe that tells a story of ingenuity. This project is the gateway to a lifetime of ‘Trash-to-Treasure’ thinking. Whether you are heading to a summer BBQ or a walk on the beach, you can wear your new top with the pride of a maker. Remember, fashion isn’t about what you buy; it’s about what you have the vision to create. Now, go forth and raid those closets—there is a gorgeous top waiting to be discovered in every old shirt!

Makenzie is the founder and lead writer at MoneyHackTips.com — a personal finance blog dedicated to delivering street-smart financial wisdom for real people on real budgets. With 300+ published articles covering everything from debt management to investing fundamentals, Makenzie’s mission is to make every dollar work harder. When not writing about money hacks, Makenzie is testing frugal living strategies, optimizing side hustles, and helping readers build financial freedom from scratch.