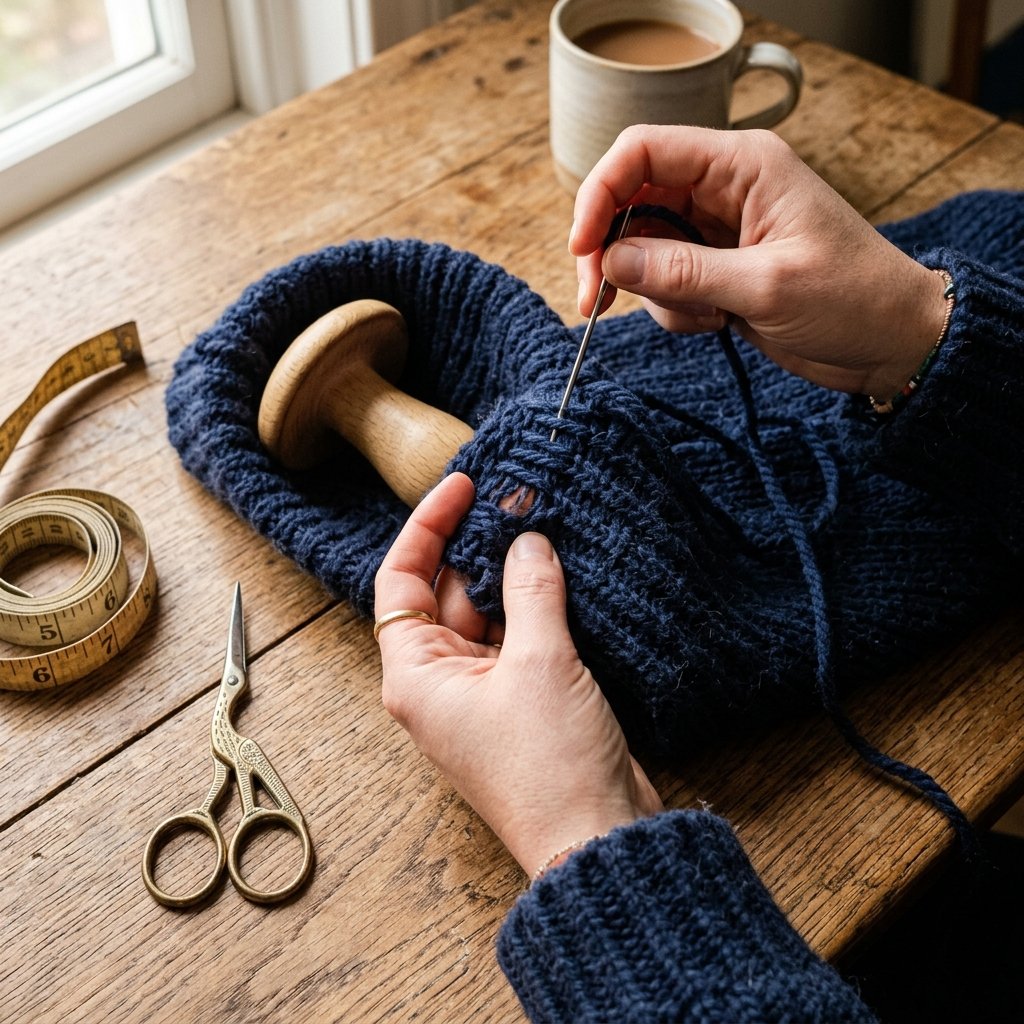

We have all been there: you find the perfect vintage wool fisherman’s sweater or a high-end cashmere piece at the thrift store for a mere $5, but there is one glaring issue—the sleeves are long enough to fit a giant. In the world of frugal fashion, an oversized fit can often look cozy, but sleeves that swallow your hands are neither practical nor elegant. Whether you are a handy parent trying to make a hand-me-down fit a growing child or a budget-savvy style enthusiast looking to sharpen your silhouette, mastering the art of shortening sweater sleeves is a vital skill.
As a seasoned mender and upcycler, I believe that high-quality knitwear is an investment in your wardrobe’s longevity. You do not need an expensive sewing machine or a professional tailor to fix this. In fact, using a machine on a delicate knit often leads to the dreaded ‘unraveling disaster.’ Instead, we are going to use resourceful, hand-sewing techniques that preserve the integrity of the knit while giving you a bespoke, tailored fit. This guide will walk you through the most effective, ‘invisible’ methods to reclaim your style without spending a dime at the tailor.
The Thrifter’s Arsenal: Essential Tools for Sweater Surgery
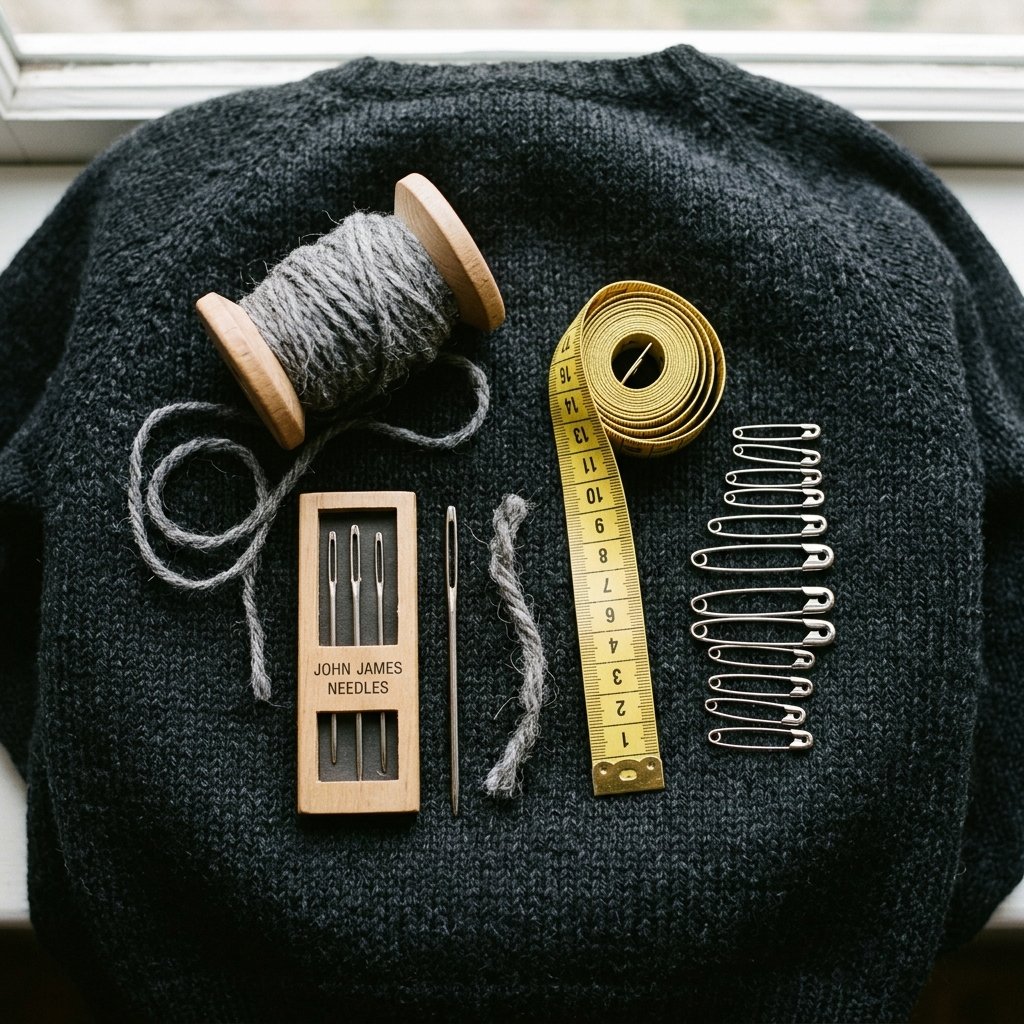
Before we perform ‘surgery’ on your favorite knit, we need to gather our tools. The beauty of this project is that you likely already have most of these items in your junk drawer or sewing kit. If not, a quick trip to a local craft shop or even a dollar store will provide everything you need for under $10.
| Tool Name | Purpose | Estimated Cost |
|---|---|---|
| Darning Needle | A blunt-tipped needle that slides between knit loops without piercing the yarn. | $2.00 |
| Matching Yarn or Embroidery Floss | To create invisible stitches that blend with the sweater texture. | $1.50 |
| Fabric Scissors | Sharp blades to trim excess ONLY if using the ‘cut’ method. | $5.00 |
| Measuring Tape | Ensuring both sleeves are shortened to the exact same length. | $1.00 |
| Safety Pins or Tailor’s Chalk | Marking your desired length while wearing the garment. | $1.00 |
The Mender’s Mantra: Measure twice, stitch once, and never cut until you have secured the ‘live’ loops. A sweater is just a long string of yarn; treat it with respect, and it will last a lifetime.
Knit Anatomy 101: Choosing Your Strategy
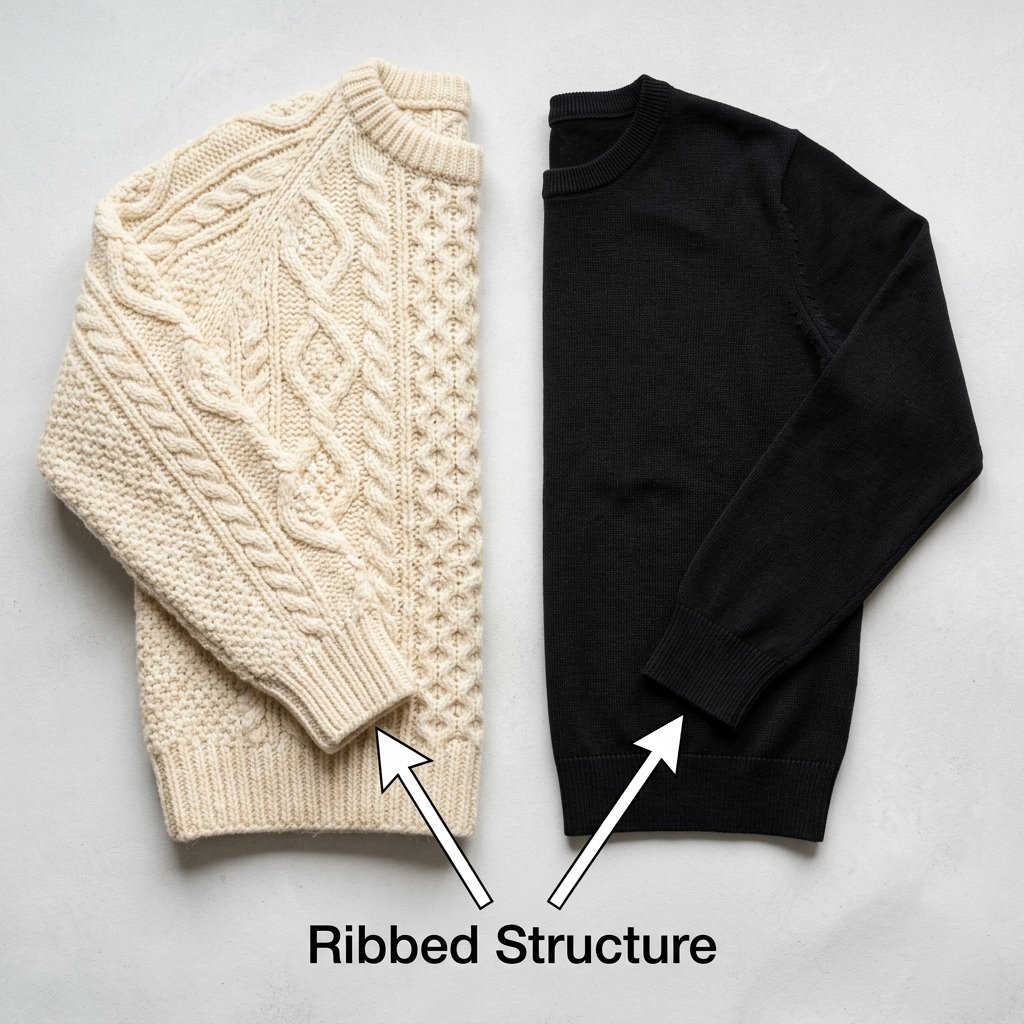
Not all sweaters are created equal. A chunky cable-knit wool sweater requires a different approach than a fine-gauge silk-blend cardigan. Before we start, you must identify the ‘ribbing’ at the cuff. The ribbing is the stretchy, textured part at the end of the sleeve. Our goal is to preserve this ribbing because it provides the structure that keeps the sleeve in place on your wrist.
Compatibility Guide
| Sweater Type | Recommended Hack | Difficulty Level |
|---|---|---|
| Chunky/Cable Knit | The Invisible Tuck (No-Cut) | Beginner |
| Fine/Thin Knit | The Cuff Re-attachment | Intermediate |
| Stretched/Old Knit | The Elastic Thread Cincher | Easy |
| High-End/Heirloom | Ladder Stitch Seam Shortening | Expert |
For most DIYers, I recommend the Invisible Tuck. It is completely reversible, meaning if you ever decide to sell the sweater or give it to someone with longer arms, you can simply snip your stitches and the sweater returns to its original state. This is the ultimate budget-savvy move for maintaining resale value!
The Invisible Tuck: The Step-by-Step No-Cut Method
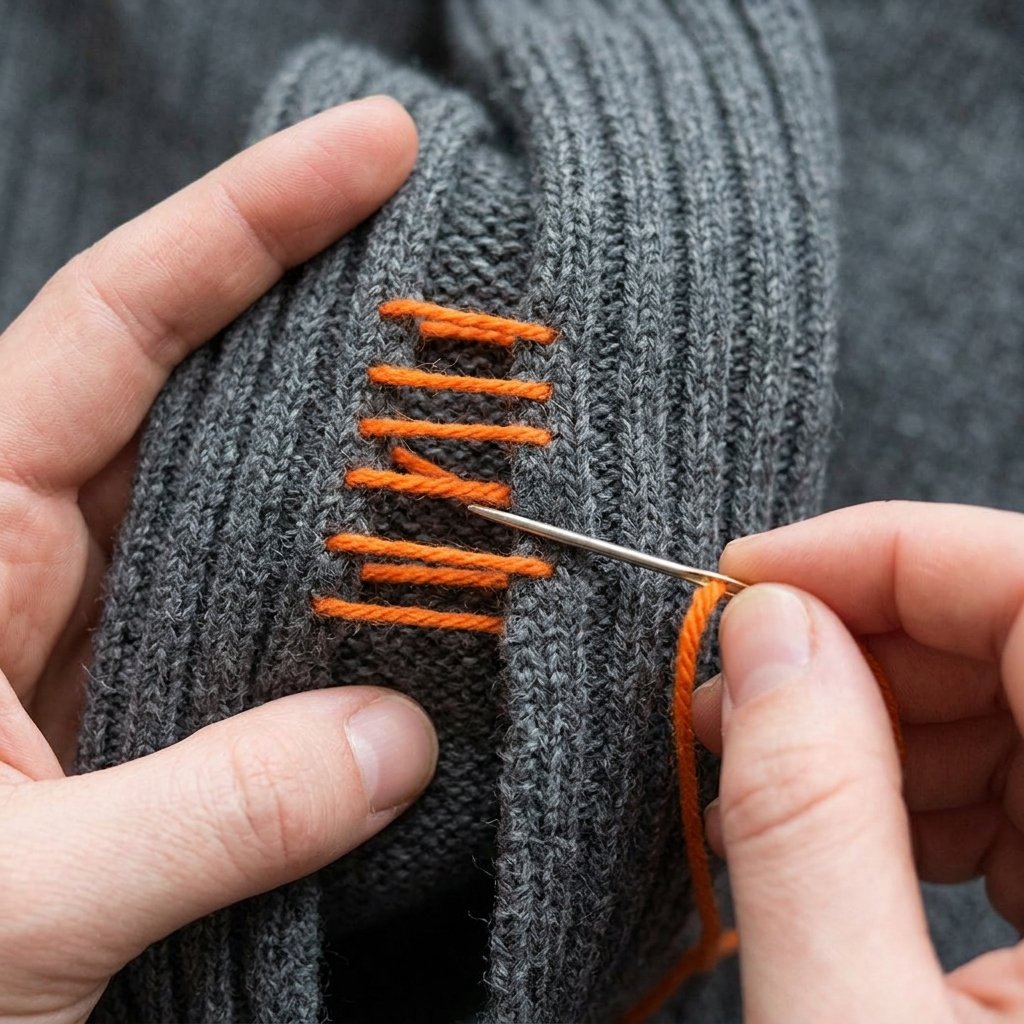
This is my favorite ‘rugged and practical’ hack. It involves folding the excess fabric inside the sleeve and securing it with a stitch that cannot be seen from the outside. It takes approximately 20 minutes per sleeve.
- Measure the Excess: Put the sweater on. Fold the cuff up until the sleeve is at your desired length. Use your measuring tape to see how many inches you are ‘losing’ (e.g., 2 inches).
- Create the Fold: Take the sweater off. Instead of folding the cuff *over* the sleeve, you are going to push the excess fabric *inside* the sleeve, just above the ribbed cuff. This creates an internal ‘donut’ of fabric.
- Pin for Precision: Pin the fold in place all the way around the circumference of the sleeve. Ensure the distance from the cuff edge to the fold is consistent (e.g., 1 inch all around).
- The Ladder Stitch: Thread your darning needle with matching yarn. Start at the seam of the sleeve. Pass the needle through a loop on the main sleeve body, then through a corresponding loop on the top of the folded cuff.
- Cinch and Hide: Continue this ‘bridge’ of stitches around the sleeve. Every 3 inches, pull the yarn tight. The two pieces of fabric will pull together, and the stitches will disappear into the knit.
Pro Tip: Do not pull too tight! You want the sleeve to remain stretchy enough to get your hand through. If it is too rigid, the yarn might snap when you pull the sweater on.
The Masculine-Elegant Cuff Re-attachment: For a Professional Finish
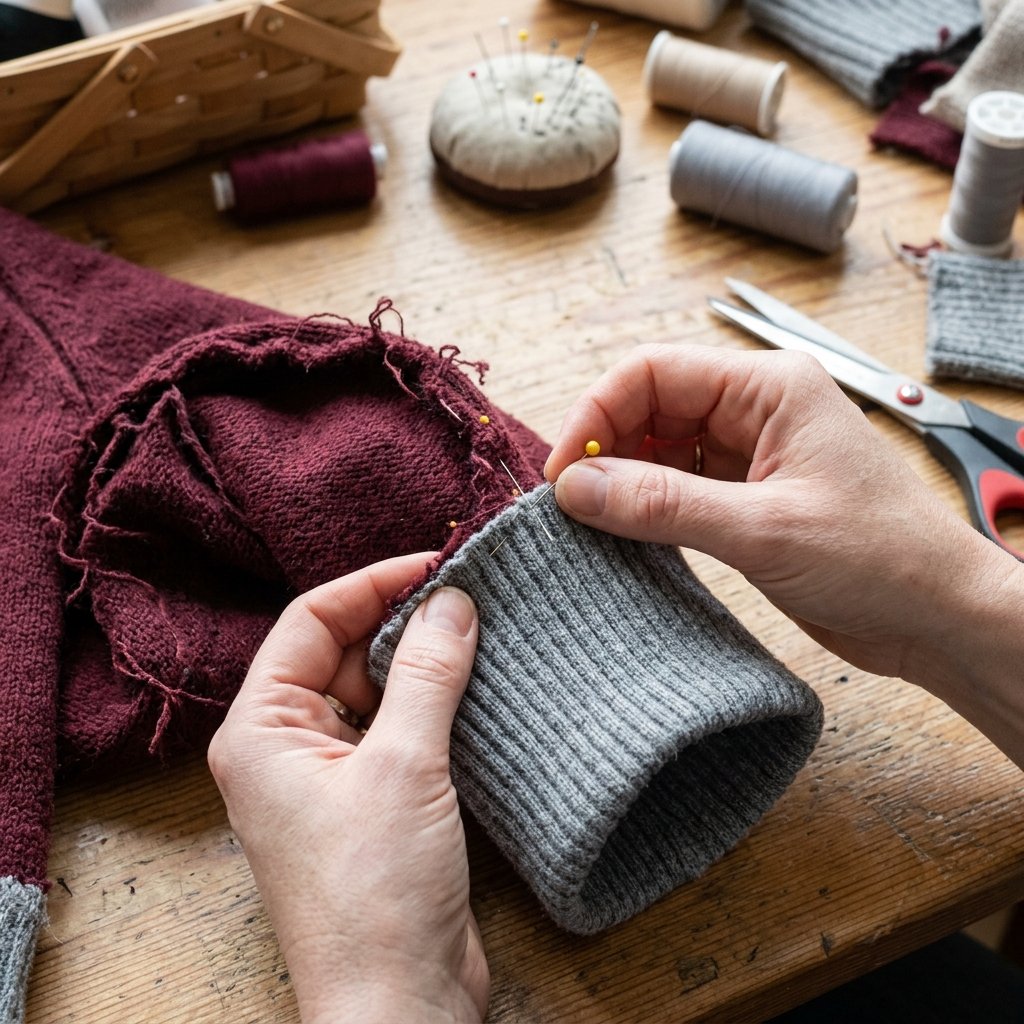
If you have a very expensive sweater and want it to look like it came from a bespoke tailor, you can actually remove the cuff and re-attach it higher up. This is a more ‘crafty-expert’ level task but yields the cleanest results. This method is perfect for those who want to remove 4 inches or more without the bulk of a fold.
- Mark the Cut Line: Determine where you want the new cuff to sit. Mark this line with tailor’s chalk.
- The Safety Line: Before cutting, sew a ‘running stitch’ 0.5 inches above your cut line. This acts as a barrier to prevent the knit from unraveling.
- Careful Decoupling: Carefully cut the original cuff off the bottom of the sleeve, leaving a 0.5 inch seam allowance on the cuff itself.
- The Sandwich Stitch: Turn the sleeve inside out. Insert the cuff into the sleeve so the ‘right sides’ are facing each other.
- Overcast Stitch: Using a heavy-duty thread, sew the cuff back onto the shortened sleeve using an overcast stitch (looping over the edge). This secures every ‘raw’ loop of the knit.
By using this method, you save the original factory-finished cuff, which is the hardest part of a sweater to replicate. You’ve essentially performed a high-end alteration for $0.
The Elastic Thread Cincher: The ‘Busy Parent’ Quick Fix

Sometimes you don’t have time for a full tailoring session. If you just need the sleeves to stay up while you’re working or playing with the kids, this 5-minute hack is a lifesaver. It uses elastic thread to create a ‘memory’ in the cuff.
- Material: A spool of clear or matching elastic thread (usually $2.00).
- Technique: Turn the sleeve inside out. Use a needle to weave the elastic thread through the existing loops of the ribbing on the *inside* of the cuff.
- The Result: Do this for 3 or 4 rows. Tie the elastic off with a secure knot. This doesn’t actually ‘shorten’ the fabric, but it makes the cuff tight enough to stay pushed up on your forearm without sliding down.
This is a favorite for ‘handy moms’ who need their oversized sweaters to be functional for dishwashing or crafting without permanently altering the garment.
Safety and Longevity: Preserving Your Work
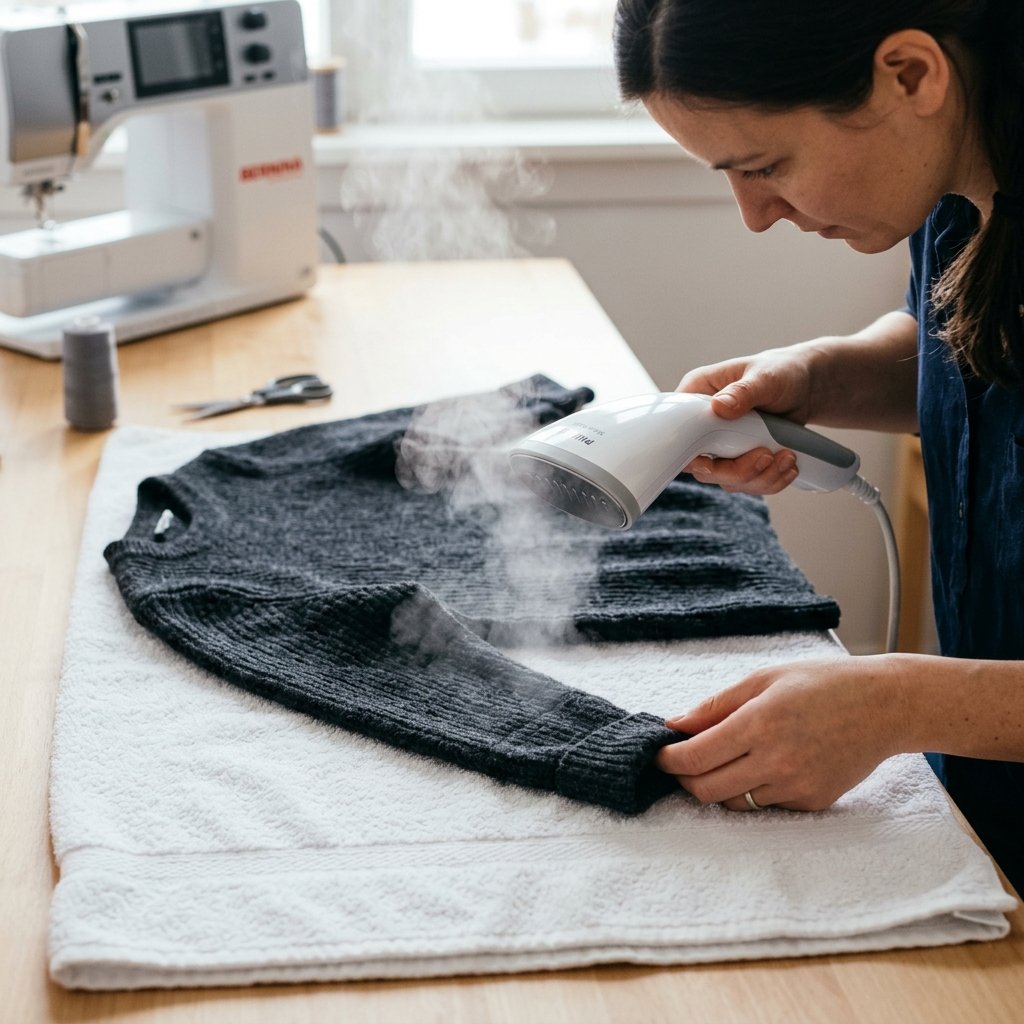
When working with wool and knits, there are a few ‘Golden Rules’ to ensure your hard work doesn’t go to waste after the first wash.
Safety Note: Always use a blunt darning needle. Sharp embroidery needles can split the yarn fibers, weakening the structural integrity of the sweater and causing ‘pills’ or holes over time.
To ensure your new hem stays put:
- Hand Wash Only: Mechanical agitation in a washing machine can pull at your hand-sewn stitches. Always hand wash and lay flat to dry.
- Steam, Don’t Iron: If your new seam looks a bit bulky, use a garment steamer or the steam setting on your iron (hovering, not touching) to ‘set’ the fibers into their new shape.
- Check for Tension: Periodically check your stitches. If you notice a gap forming, simply add a few reinforcing ‘tack’ stitches to the area.
Conclusion
Shortening a sweater sleeve is more than just a clothing hack; it is an act of resourcefulness that honors the craftsmanship of the original garment. By taking 30 minutes to tailor your own clothes, you are rejecting the ‘disposable fashion’ culture and embracing a more sustainable, budget-savvy lifestyle. Whether you used the invisible ladder stitch for a seamless look or the elastic thread trick for a quick fix, you have now mastered a skill that will save you hundreds of dollars in tailoring fees over your lifetime. Wear your ‘new’ sweater with pride, knowing it fits you perfectly—and that you did it all yourself for the price of a cup of coffee.

Makenzie is the founder and lead writer at MoneyHackTips.com — a personal finance blog dedicated to delivering street-smart financial wisdom for real people on real budgets. With 300+ published articles covering everything from debt management to investing fundamentals, Makenzie’s mission is to make every dollar work harder. When not writing about money hacks, Makenzie is testing frugal living strategies, optimizing side hustles, and helping readers build financial freedom from scratch.