
The Quest for the Perfect Desk Upgrade
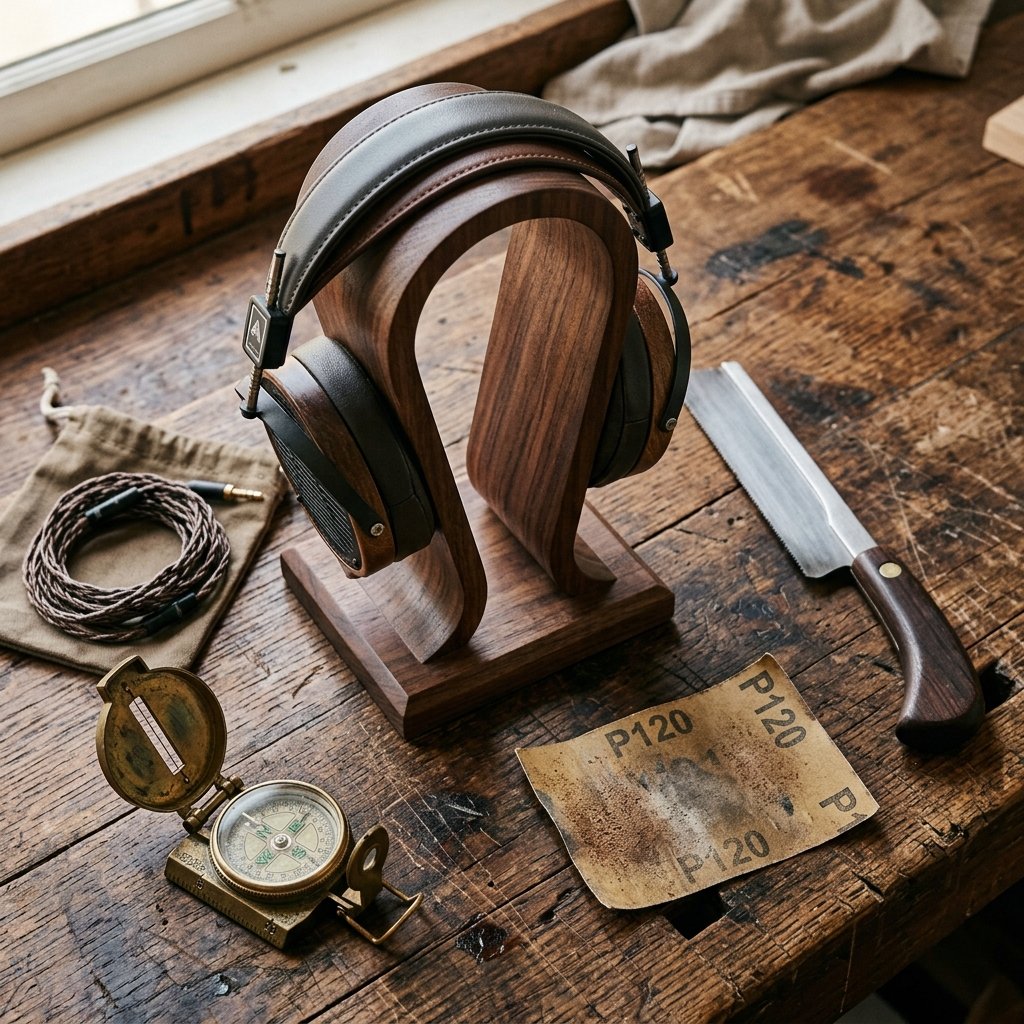
Let’s face it: most men’s desks are a chaotic battlefield of charging cables, coffee mugs, and those expensive headphones just lying haphazardly on a flat surface. As a frugal DIYer, you know that a high-end wooden headphone stand can retail for anywhere from $50 to $150 at boutique tech stores. But why spend a week’s grocery budget when you can scavenge the materials for nearly $0? We are going to build a piece that combines rugged practicality with masculine elegance—a stand that doesn’t just hold tech, but anchors the entire aesthetic of his workspace. Whether it’s for Father’s Day, a birthday, or just because his ‘man cave’ needs a literal lift, this project is the ultimate clever solution for the budget-savvy crafter.
Scavenging Your Lumber: The Art of the Free Find
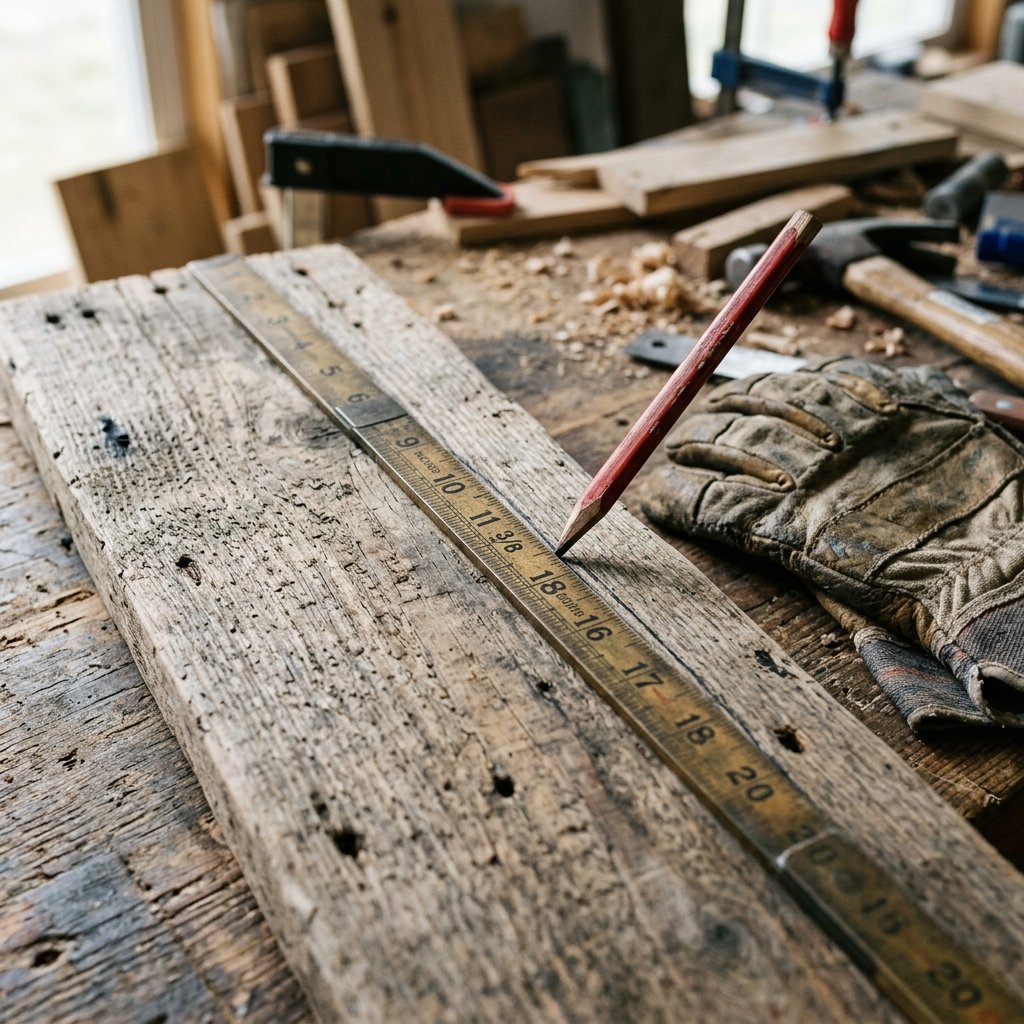
The secret to a $0 budget project is knowing where to look. We aren’t heading to the expensive hardwood aisle at the big-box store. Instead, we are looking for ‘character wood.’ Old pallets, cedar fence scraps, or even a discarded 2×4 can be transformed into a masterpiece with the right sanding technique. For this project, we need three primary pieces: the base, the pillar, and the cradle.
Wood Selection Compatibility Guide
| Wood Type | Pros | Estimated Cost |
|---|---|---|
| Pallet Oak | Incredibly durable, beautiful grain when sanded. | FREE |
| Pine 2×4 Scraps | Easy to cut, very common in garages. | FREE |
| Cedar Fence Pickets | Naturally rot-resistant and smells amazing. | $2.50 (new) |
| Walnut/Maple Offcuts | Premium look, very dense. | $5.00 (at lumber yards) |
“The beauty of upcycling is that the knots and imperfections in the wood aren’t flaws; they are the story of the piece. Embrace the ruggedness.”
The Minimalist Tool Kit: Crafting Without a Workshop
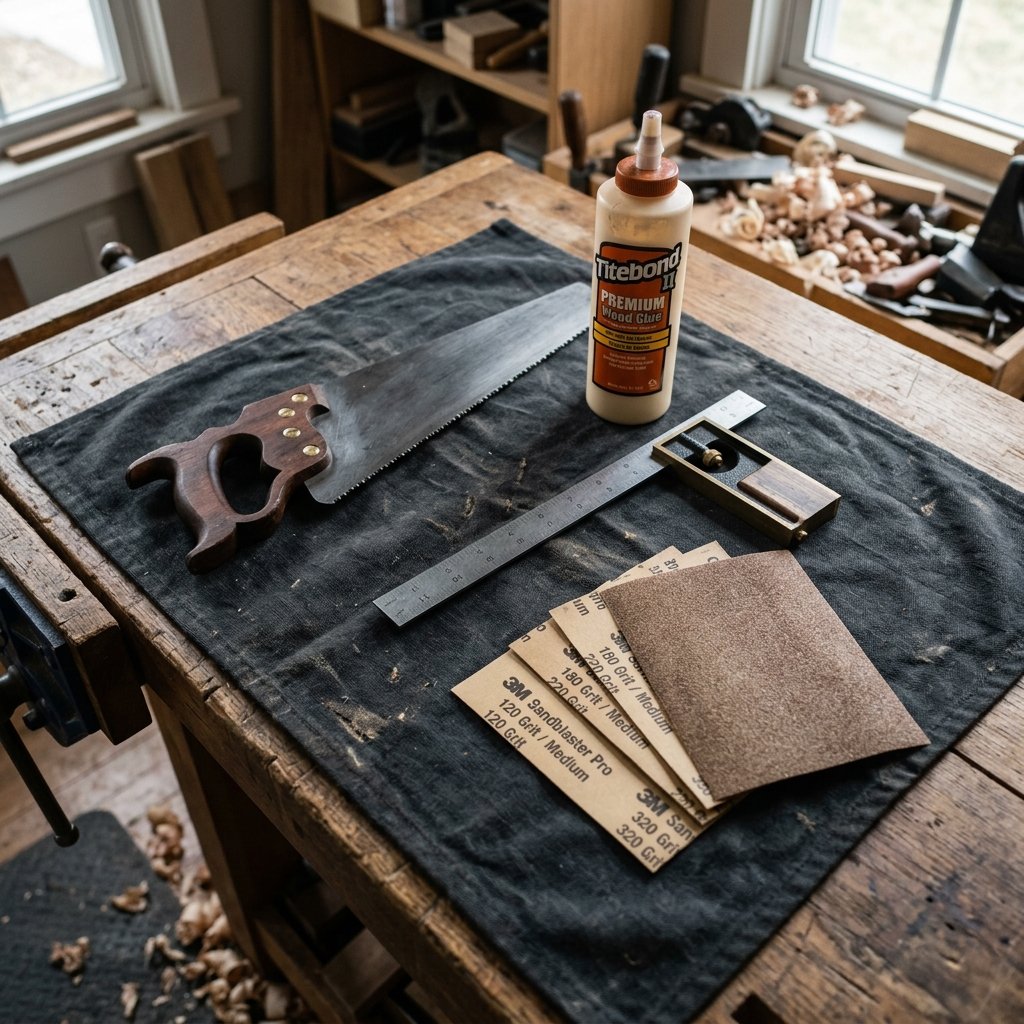
You don’t need a $2,000 table saw to create professional results. This project is designed for the handy parent or apartment dweller who only has a basic toolbox. We are going to rely on elbow grease and clever alignment to ensure a sturdy build. If you can use a hand saw and a bottle of glue, you are overqualified.
- Hand Saw: A simple cross-cut saw will do the trick.
- Wood Glue: Look for PVA glue (yellow glue) for the strongest bond.
- Sandpaper: You’ll need 80-grit, 120-grit, and 220-grit for that buttery-smooth finish.
- Clamps: If you don’t have clamps, a stack of heavy textbooks works as a budget-savvy alternative.
- Square: To ensure your stand isn’t leaning like the Tower of Pisa.
Safety Note: Always wear eye protection when sawing or sanding, even with hand tools. Wood dust is an irritant, and a stray splinter is the quickest way to ruin a crafty afternoon.
Step-by-Step Construction: The T-Frame Method
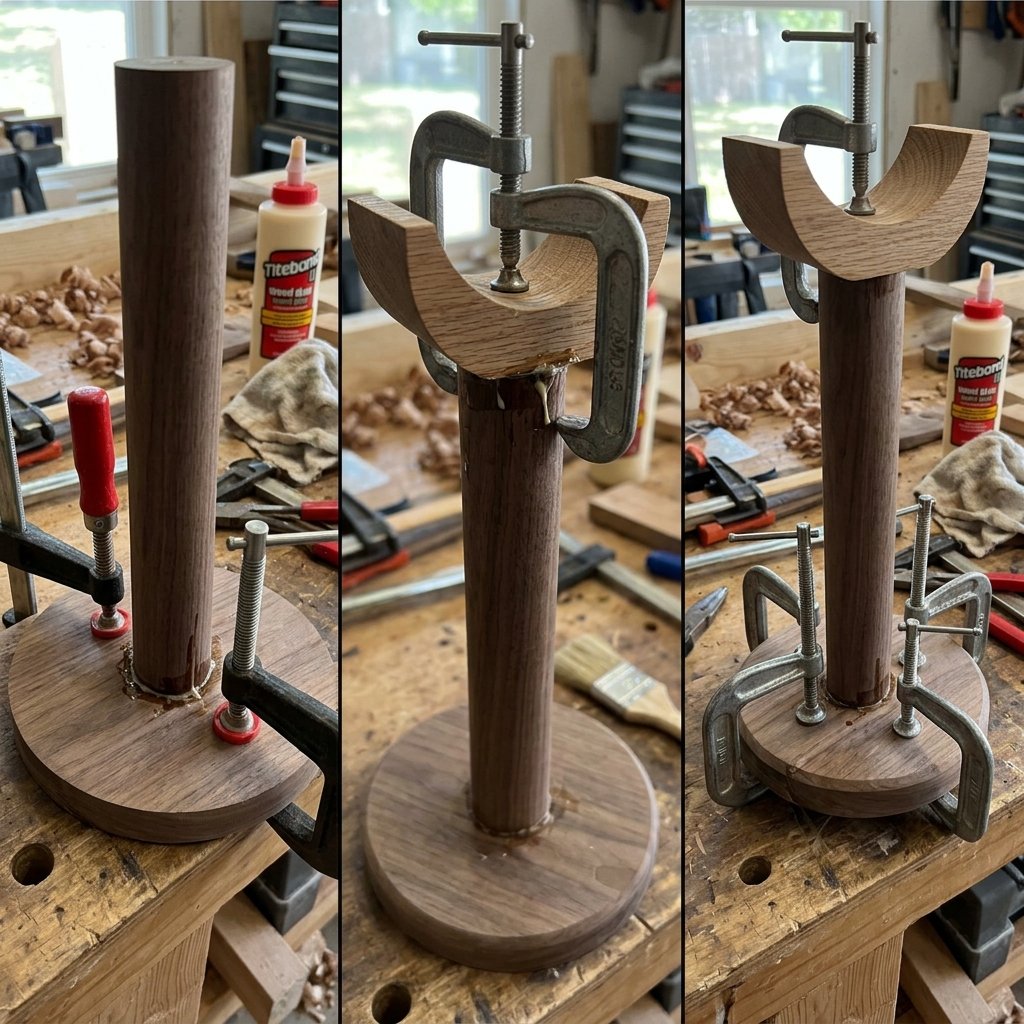
We are building the ‘Classic T-Frame’—a design that is stable, timeless, and incredibly easy to assemble. Follow these steps precisely to ensure the headphones sit perfectly balanced.
- Cut the Base: Measure and cut a square block of wood roughly 6 inches by 6 inches. This provides the weight needed to prevent tipping.
- Cut the Pillar: The vertical support should be 10 to 12 inches tall. This ensures even the largest gaming headsets have clearance.
- Cut the Cradle: This is the top piece where the headband rests. Cut a 4-inch piece and slightly round the top edges with your 80-grit sandpaper to prevent indentations on the headphone padding.
- The Dry Fit: Stack your pieces together without glue to ensure everything is level. Pro Tip: Use a pencil to mark exactly where the pillar meets the base.
- Gluing: Apply a thin, even layer of glue. Press firmly. If using the ‘book method,’ stack 10 lbs of books on top and let it cure for 24 hours.
“Patience is the best tool in your kit. Let the glue do the work so the joints never fail.”
The Rugged Finish: High-End Looks with Pantry Staples
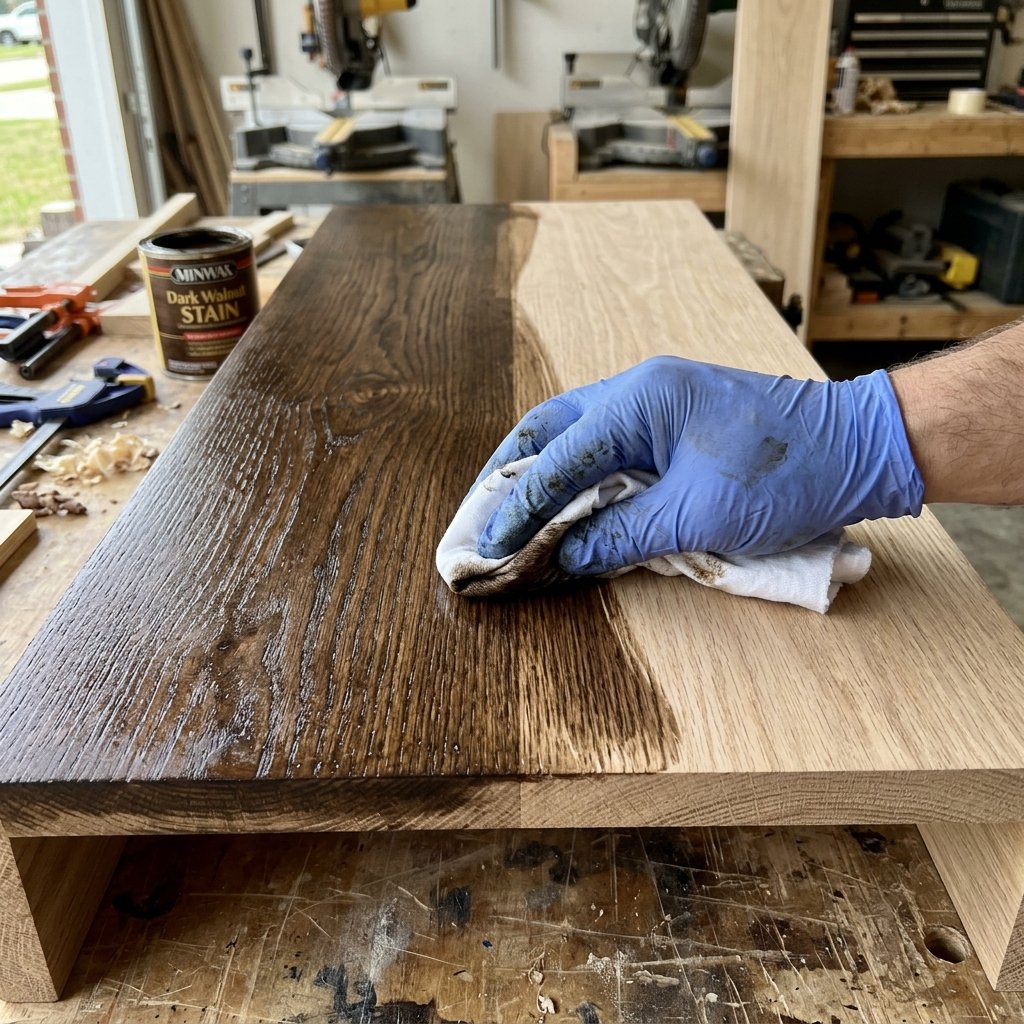
How do we make a piece of scrap pine look like a $100 heirloom? We use a custom-formulated natural stain. Commercial stains are expensive and full of chemicals; our method uses items you already have in your kitchen.
The ‘Steel & Vinegar’ Aging Recipe
| Ingredient | Amount | Purpose |
|---|---|---|
| Steel Wool (Grade 0000) | 1 Pad | Reacts with vinegar to create iron acetate. |
| White Vinegar | 2 Cups | The solvent that dissolves the steel. |
| Black Tea | 2 Bags (steeped) | Adds tannins to the wood for a darker reaction. |
| Time | 24 Hours | The ‘brewing’ period for the solution. |
Simply wipe the wood with strong black tea first, let it dry, then brush on the vinegar/steel wool solution. Watch as the wood magically transforms into a weathered, dark driftwood or ebony finish within minutes. Finish it off by rubbing in a little olive oil or beeswax for a masculine-elegant sheen.
Customization: Adding the Personal Touch
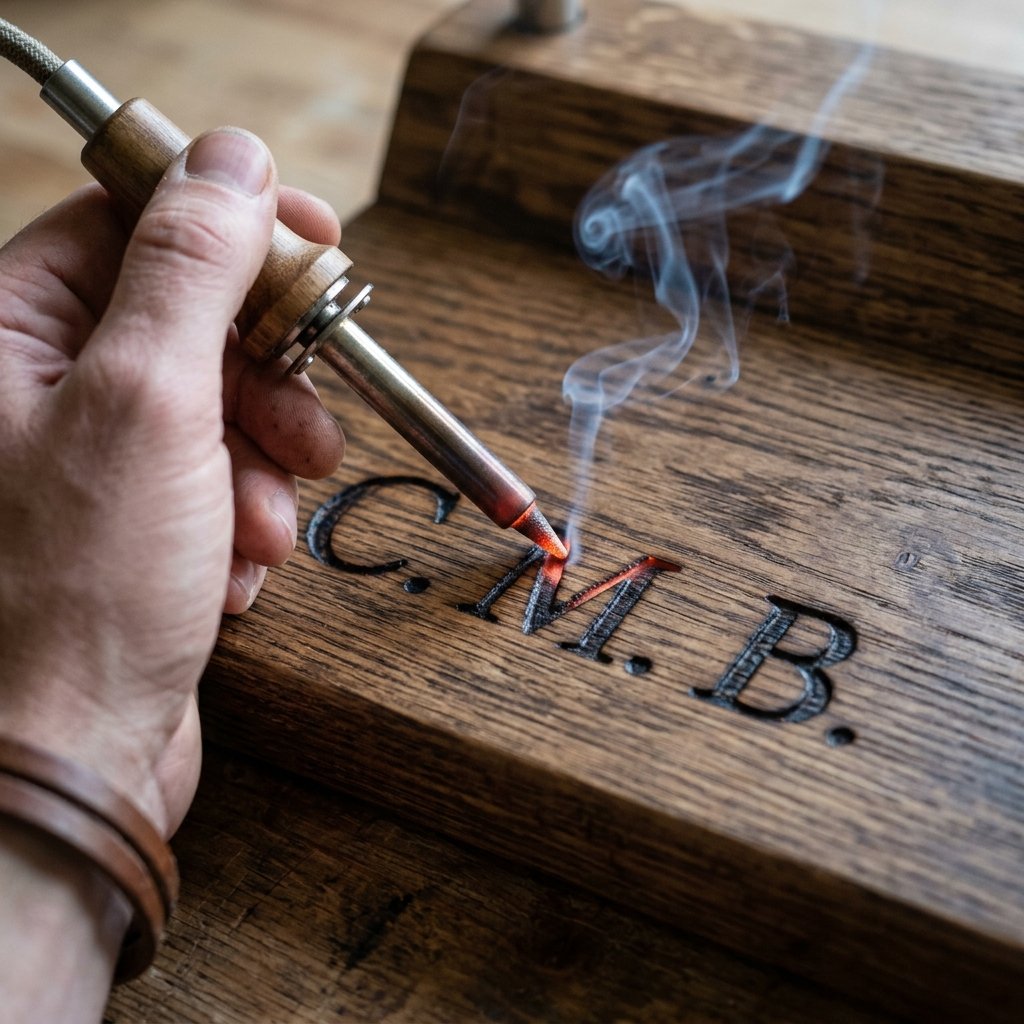
To make this a gift he will actually use and cherish, we need to add some clever functional upgrades. A plain stand is nice, but a customized ‘valet’ is better.
- Leather Padding: Glue a strip of scrap leather (from an old belt or thrifted jacket) to the cradle. This prevents the headphones from slipping and adds a premium tactile feel.
- The Cord Catch: Drill a small 1/2-inch hole near the back of the base or add a brass screw hook to keep the charging cable from falling behind the desk.
- Non-Slip Base: Glue small circles of craft felt or cork to the bottom of the base. This protects his desk surface and keeps the stand from sliding.
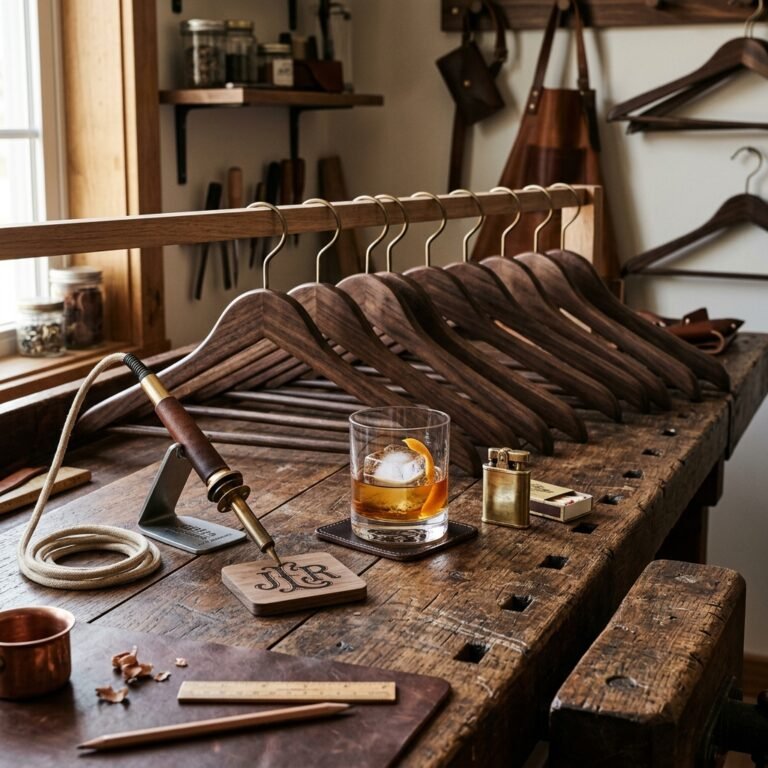
- Personalized Branding: Use a soldering iron to ‘burn’ his initials into the wood for a rugged, custom-engraved look.
Cost Analysis: DIY vs. Store-Bought
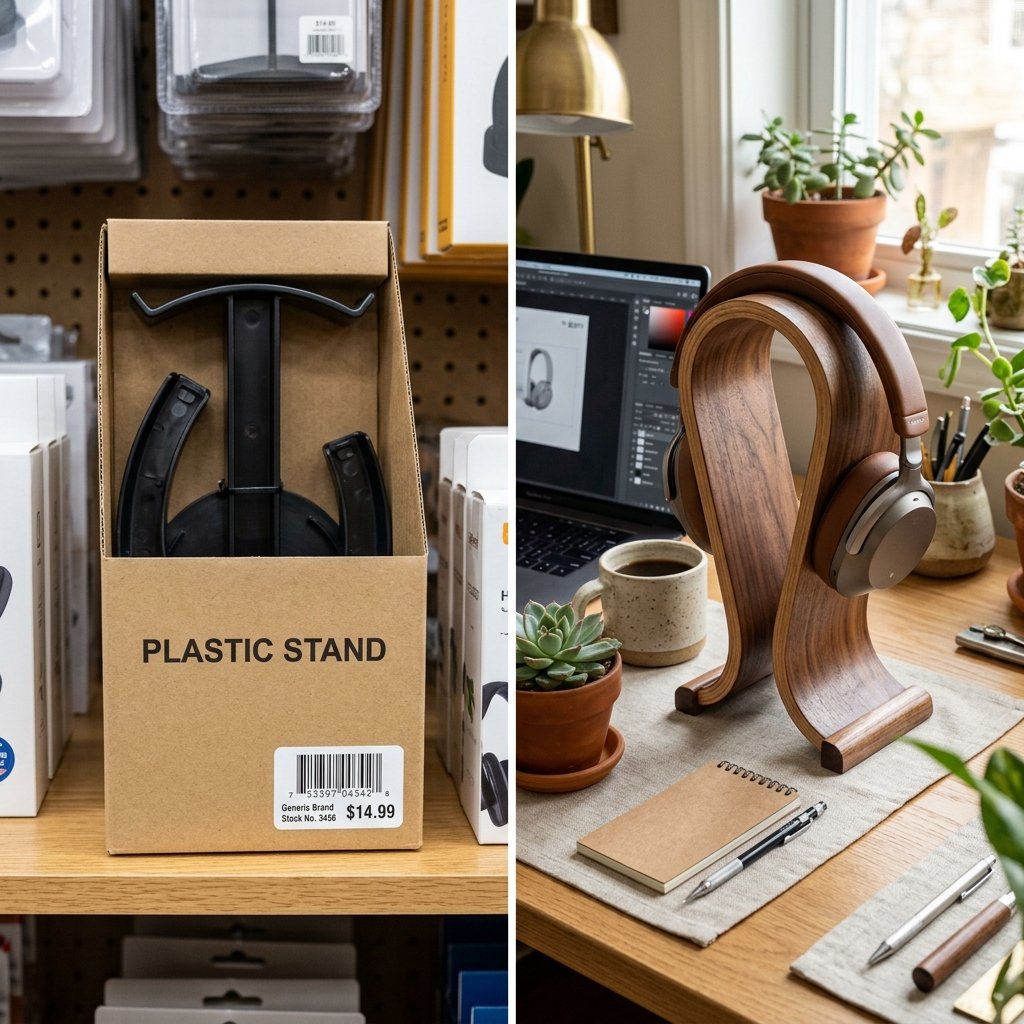
Let’s look at the numbers. As a resourceful maker, your goal is to maximize the ‘wow factor’ while minimizing the ‘wallet factor.’ Here is how your handmade project stacks up against the retail giants.
| Feature | Boutique Retailer | Our DIY Version |
|---|---|---|
| Material | Plastic or Thin Veneer | Solid Reclaimed Wood |
| Durability | Lightweight/Fragile | Heavy/Rugged |
| Customization | None | Tailored to his tech |
| Total Cost | $65.00+ | $4.50 (Glue & Sandpaper) |
By choosing the DIY route, you are saving over 90% of the retail cost, and you are gifting something with a soul. That is the clever, budget-savvy way to show you care.
Conclusion
A Desk Transformed
Building this wooden headphone stand is more than just a weekend project; it’s a masterclass in resourceful creativity. You’ve taken something destined for the scrap heap and turned it into a practical, masculine-elegant centerpiece for his desk. He gets a clutter-free workspace, and you get the satisfaction of knowing you crafted a high-end gift for the price of a cup of coffee. Remember, the best gifts aren’t bought—they are built with rugged intent and crafty expertise. Now, go find some wood and start building!

Makenzie is the founder and lead writer at MoneyHackTips.com — a personal finance blog dedicated to delivering street-smart financial wisdom for real people on real budgets. With 300+ published articles covering everything from debt management to investing fundamentals, Makenzie’s mission is to make every dollar work harder. When not writing about money hacks, Makenzie is testing frugal living strategies, optimizing side hustles, and helping readers build financial freedom from scratch.