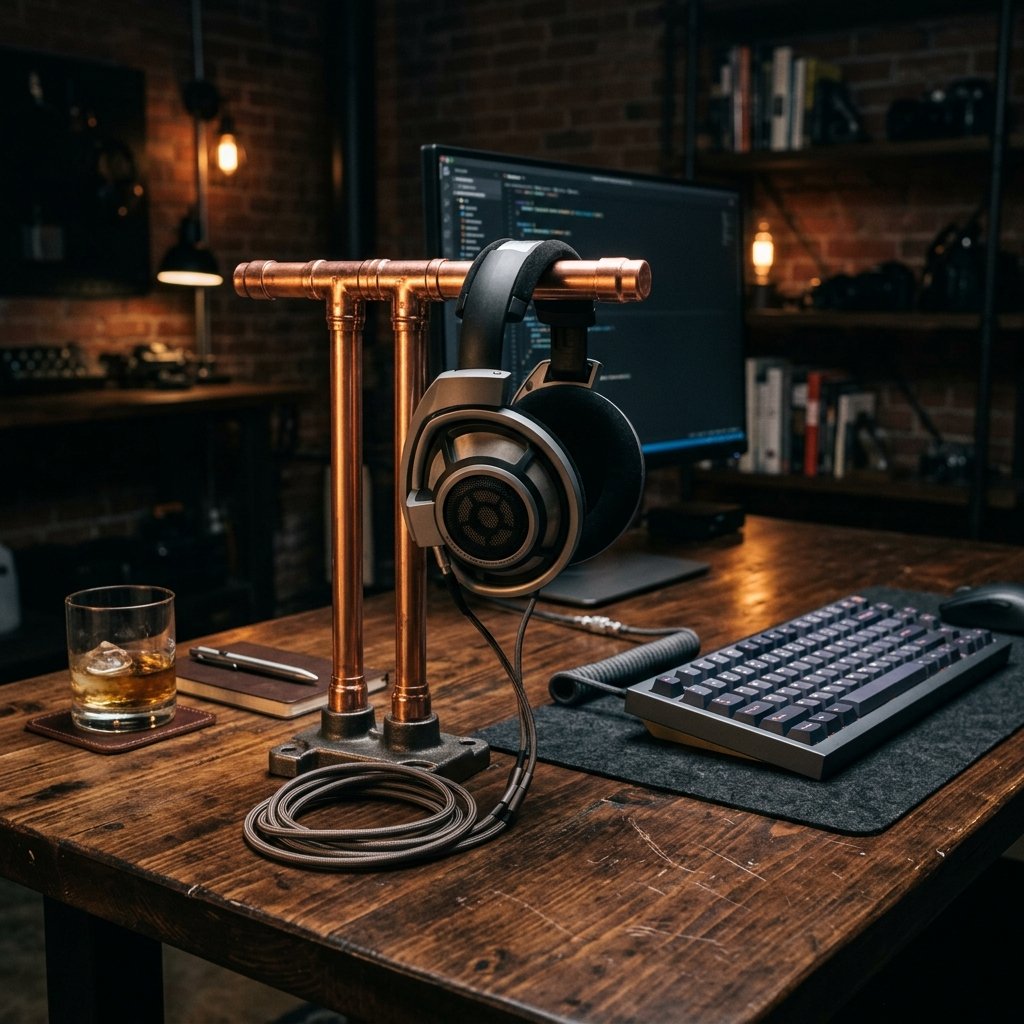

The Intersection of Industrial Grit and Tech Sophistication
In a world of mass-produced plastic, there is something undeniably soul-satisfying about a piece of hardware that feels substantial, purposeful, and hand-forged. For the tech lover who has everything, a generic headset hanger simply won’t do. They need a ‘battlestation’ centerpiece that mirrors the precision of their gear. Enter the copper pipe headphone stand: a project that combines the raw, rugged appeal of plumbing materials with the refined silhouette of high-end industrial design.
As a frugal DIYer, you know the secret: the difference between a $150 boutique store item and a $15 hardware store project is often just a bit of elbow grease and a clever eye for proportions. This guide will walk you through crafting a bespoke stand that looks like it belongs in a Soho loft, using only basic tools and readily available parts. Whether you are racing against a holiday deadline or looking to elevate your own desk setup, this copper stand is the ultimate ‘trash-to-treasure’ victory.
The Blueprint: Sizing Up Your Materials
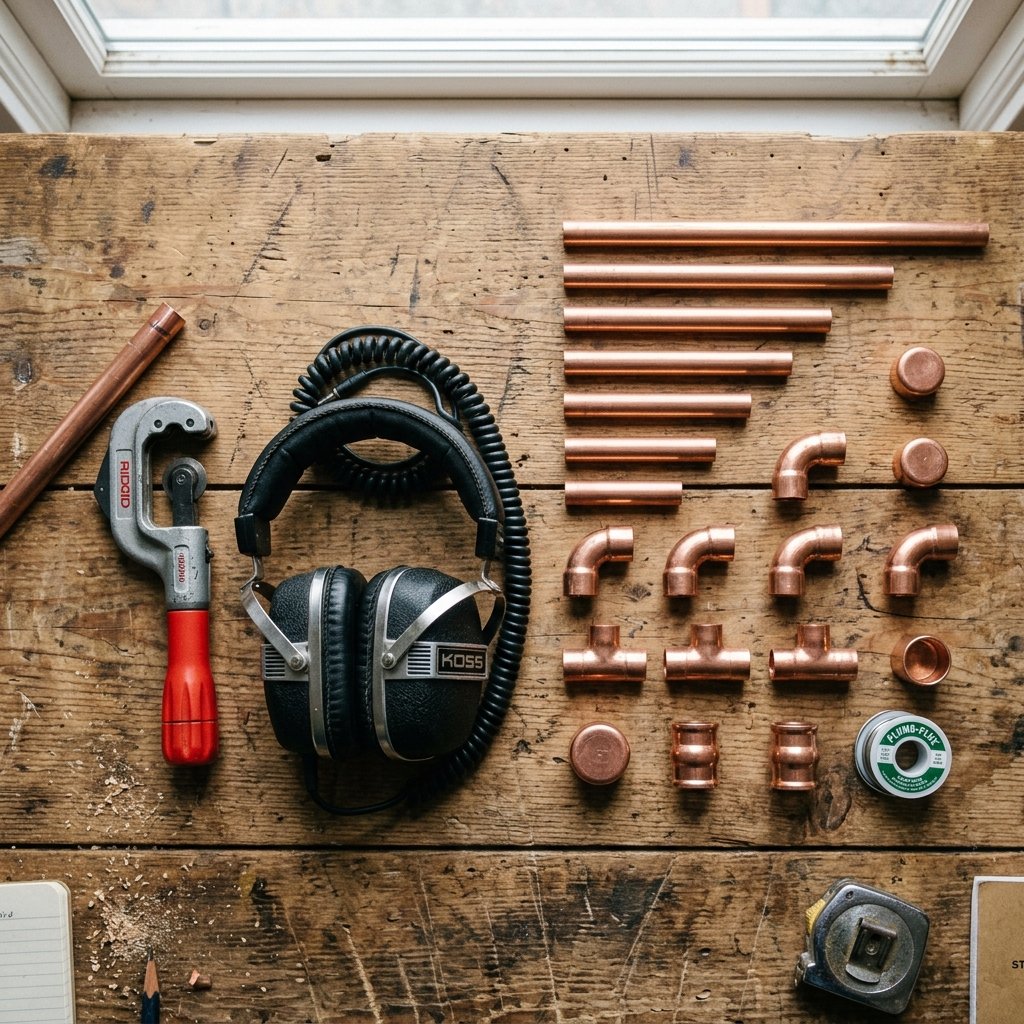
Before we head to the plumbing aisle, we need to understand our medium. Copper pipe comes in various ‘types’ (M, L, and K), but for our purposes, the thinner-walled Type M or even 1/2-inch copper tubing is perfect. It’s lightweight enough to be manageable but provides that unmistakable metallic weight that screams quality.
Essential Components & Budget Breakdown
The beauty of this project lies in its modularity. You aren’t just building a stand; you are engineering a custom solution. Here is what you will need for a standard 10-inch high stand:
| Item | Quantity | Estimated Cost |
|---|---|---|
| 1/2″ Copper Pipe (2ft length) | 1 | $8.00 |
| 1/2″ 90-Degree Copper Elbows | 2 | $1.50 |
| 1/2″ Copper Tee Fitting | 1 | $1.25 |
| 1/2″ Copper End Caps | 3 | $2.25 |
| Super Glue or Two-Part Epoxy | 1 | $2.00 |
| Total Project Cost | – | $15.00 |
“Budget Mantra: A craftsman doesn’t see a pipe; they see the skeleton of a masterpiece. Look past the grime of the hardware store to the glow of the finished gift.”
The Cut: Precision Engineering for the Home Maker
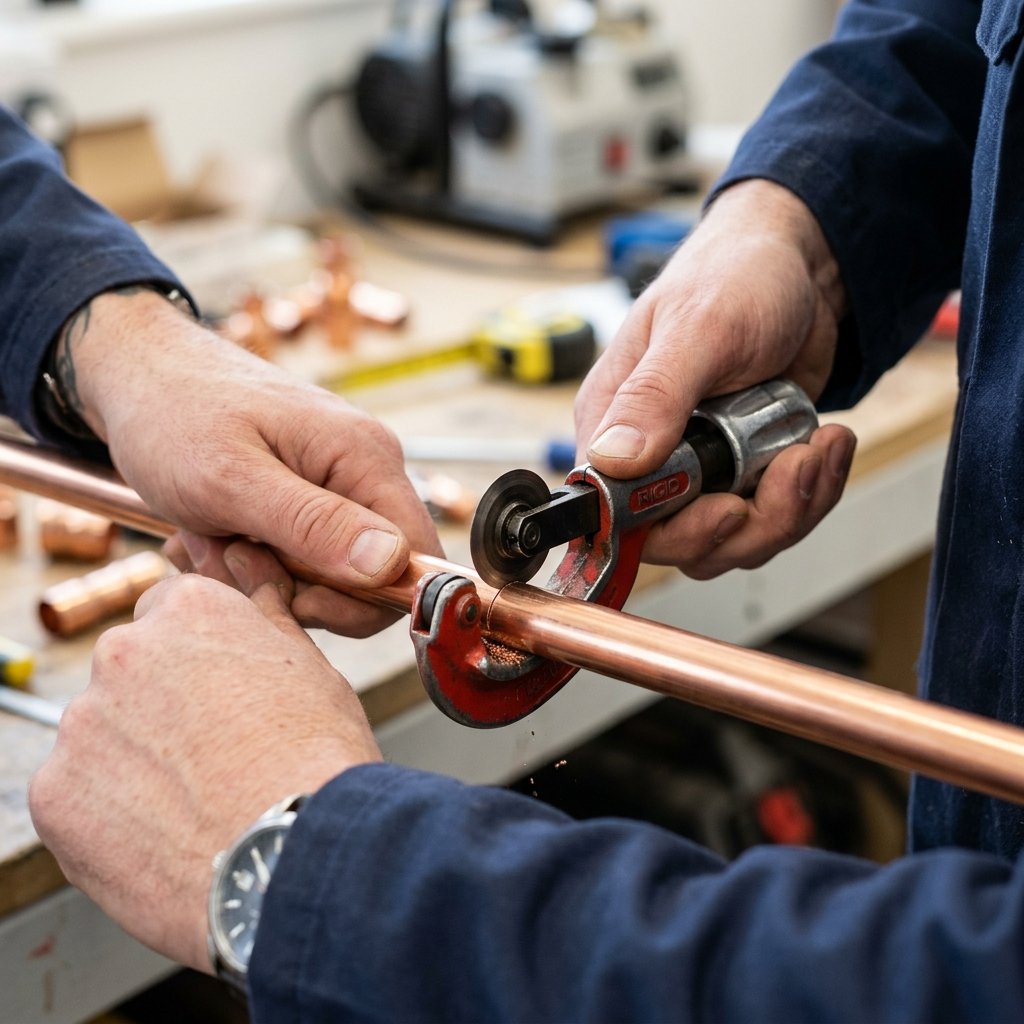
To achieve that ‘masculine-elegant’ look, your cuts must be clean. Forget the hacksaw—it’s messy and leaves burrs that will ruin the aesthetic. Instead, invest in a tubing cutter. It’s a small, inexpensive tool that provides a factory-perfect edge every time.
Step-by-Step Cutting Guide
- The Main Pillar: Cut one piece of pipe to 10 inches. This provides enough height for even the largest over-ear gaming headsets.
- The Support Arm: Cut one piece to 4 inches. This is where the headband will rest.
- The Base Stabilizers: Cut two pieces to 3 inches each. These will form the ‘feet’ of your stand when connected to the Tee fitting.
Once cut, use a bit of steel wool or fine-grit sandpaper to smooth the edges. This isn’t just for safety; it ensures the glue bonds perfectly to the metal surface. If you want a truly rugged look, don’t worry about minor scratches—they add character to the industrial vibe.
Assembly: Structural Integrity Without the Solder

While professional plumbers use a torch and solder, we are going for a ‘Sleek & Clean’ finish. Soldering can be messy and discolor the copper if you aren’t an expert. For a headphone stand, a high-strength cyanoacrylate (super glue) or a clear epoxy is more than sufficient.
The Build Process
- Step 1: The Base. Insert the two 3-inch pieces into the ends of the Tee fitting. Cap the ends with your copper caps. This creates a stable ‘T’ shape.
- Step 2: The Spine. Insert the 10-inch pillar into the top opening of the Tee fitting. Ensure it sits flush.
- Step 3: The Arm. Attach a 90-degree elbow to the top of the pillar, then attach the 4-inch arm. Finish the arm with a 90-degree elbow facing upward or a simple end cap to prevent the headphones from sliding off.
Pro Tip: Before applying glue, do a ‘dry fit’ of the entire stand. Place it on a flat surface to ensure it doesn’t wobble. If it does, rotate the fittings slightly until the base sits perfectly level.
The Finish: From Hardware Store to High-End Gallery

Raw copper will naturally oxidize and turn a dull brown (or even green) over time. Depending on your recipient’s style, you have two choices: The Polished Professional or The Rugged Patina.
Finishing Options Table
| Finish Style | Method | Result |
|---|---|---|
| High-Shine | Polishing compound + Clear Coat | Looks like rose gold; very modern. |
| Brushed Industrial | Scuff with green Scotch-Brite pad | Satin finish; hides fingerprints. |
| Weathered Antique | Vinegar and salt soak | Dark, aged look; very ‘Old World’. |
To keep that ‘brand new’ glow, I recommend a quick wipe with isopropyl alcohol to remove oils from your hands, followed by a light spray of clear lacquer. This seals the copper and prevents it from tarnishing, ensuring your gift looks pristine for years to come.
The Tech-Lover’s Upgrade: Adding Weighted Stability
High-end headphones like Audeze or Sennheiser can be heavy. To ensure your stand doesn’t tip over, we need to consider ballast. A clever, budget-savvy trick is to fill the bottom horizontal pipes with sand or small lead fishing weights before gluing the caps on.
Adding Non-Slip Details
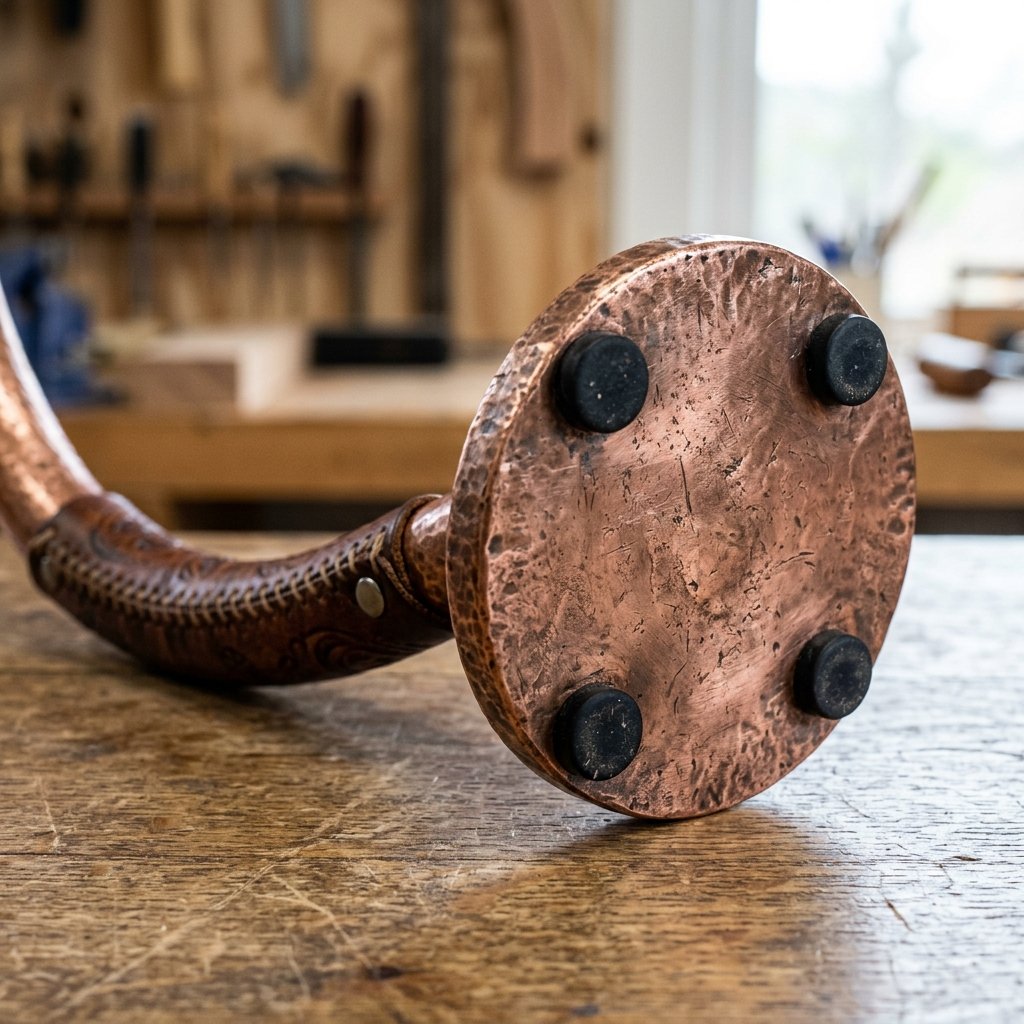
Copper on wood can be slippery. To protect the recipient’s desk and keep the stand in place, apply small adhesive felt pads or clear silicone bumpers to the bottom of the base caps. For a more ‘masculine-elegant’ touch, you can wrap the base feet in black leather cord or thin hemp twine. This adds a tactile, artisanal quality to the cold metal.
“Gifting Tip: If you have an extra 10 minutes, wrap the horizontal ‘arm’ where the headphones rest in a scrap of leather. It protects the headphone padding and looks incredibly bespoke.”
Conclusion
The Ultimate DIY Win
By choosing to build rather than buy, you’ve created a gift that is functional, durable, and aesthetically superior to almost anything found in a big-box store. You’ve taken $15 of plumbing supplies and transformed them into a piece of desk art that celebrates the recipient’s love for technology. This copper pipe headphone stand isn’t just a last-minute gift; it’s a testament to the power of resourceful creativity. Now, wrap it in some simple brown butcher paper, tie it with a bit of twine, and watch their face light up when they realize you made it by hand.

Makenzie is the founder and lead writer at MoneyHackTips.com — a personal finance blog dedicated to delivering street-smart financial wisdom for real people on real budgets. With 300+ published articles covering everything from debt management to investing fundamentals, Makenzie’s mission is to make every dollar work harder. When not writing about money hacks, Makenzie is testing frugal living strategies, optimizing side hustles, and helping readers build financial freedom from scratch.