
The War on Plastic: Why Cardboard is the King of the Playroom
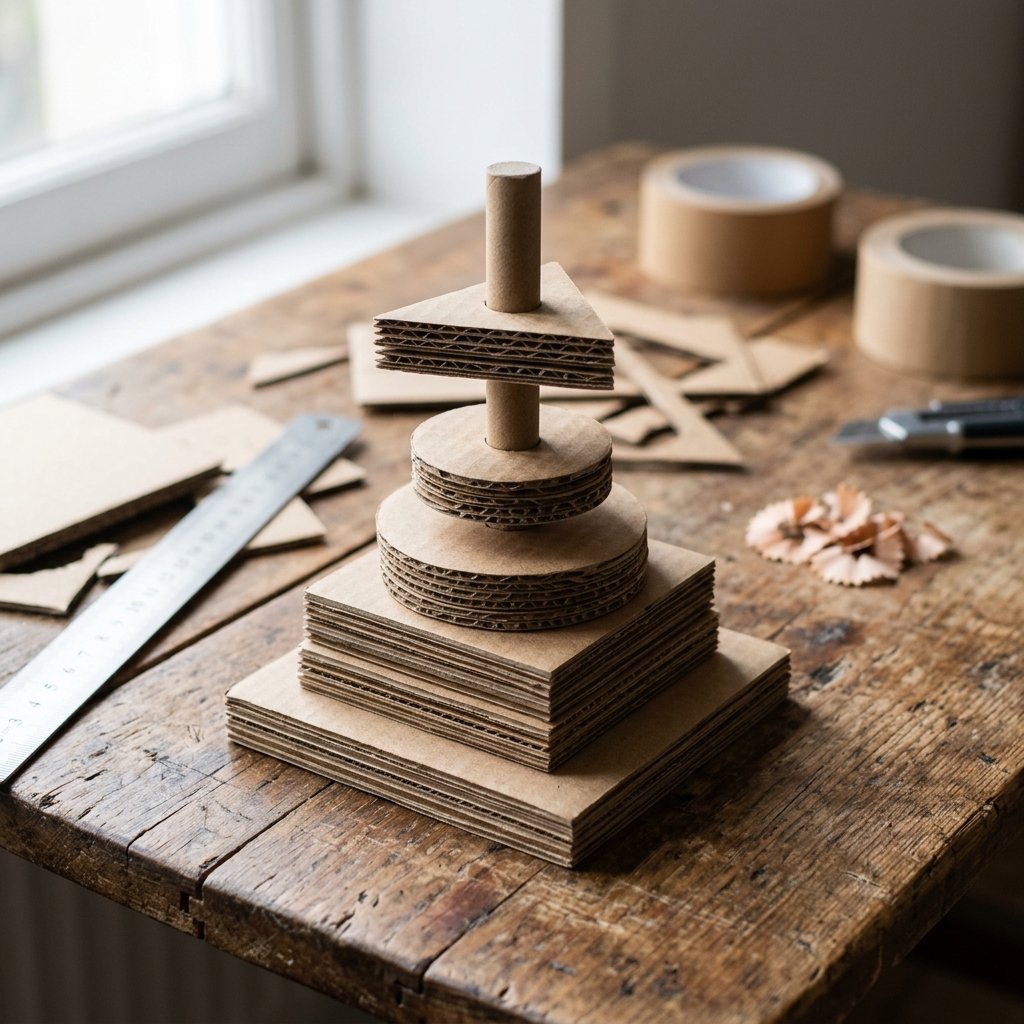
Let’s face it: the modern toy aisle is a neon-colored graveyard of overpriced plastic that breaks within a week and ends up in a landfill for a millennium. As a frugal DIYer, you know there’s a better way. Why spend $25 to $45 on a wooden Montessori stacker when you have a goldmine of raw materials sitting in your recycling bin? Today, we are reclaiming the shipping boxes from your latest online order and transforming them into a rugged, masculine-elegant, and highly educational Geometric Shape Stacker. This isn’t just a toy; it’s a feat of cardboard engineering. We’re going to use cross-corrugation techniques to ensure this piece is ‘toddler-tough,’ capable of withstanding the most enthusiastic play sessions while looking sharp on any nursery shelf. Best of all? The total cost is exactly $0.00.
The Blueprint: Materials and Cost Comparison
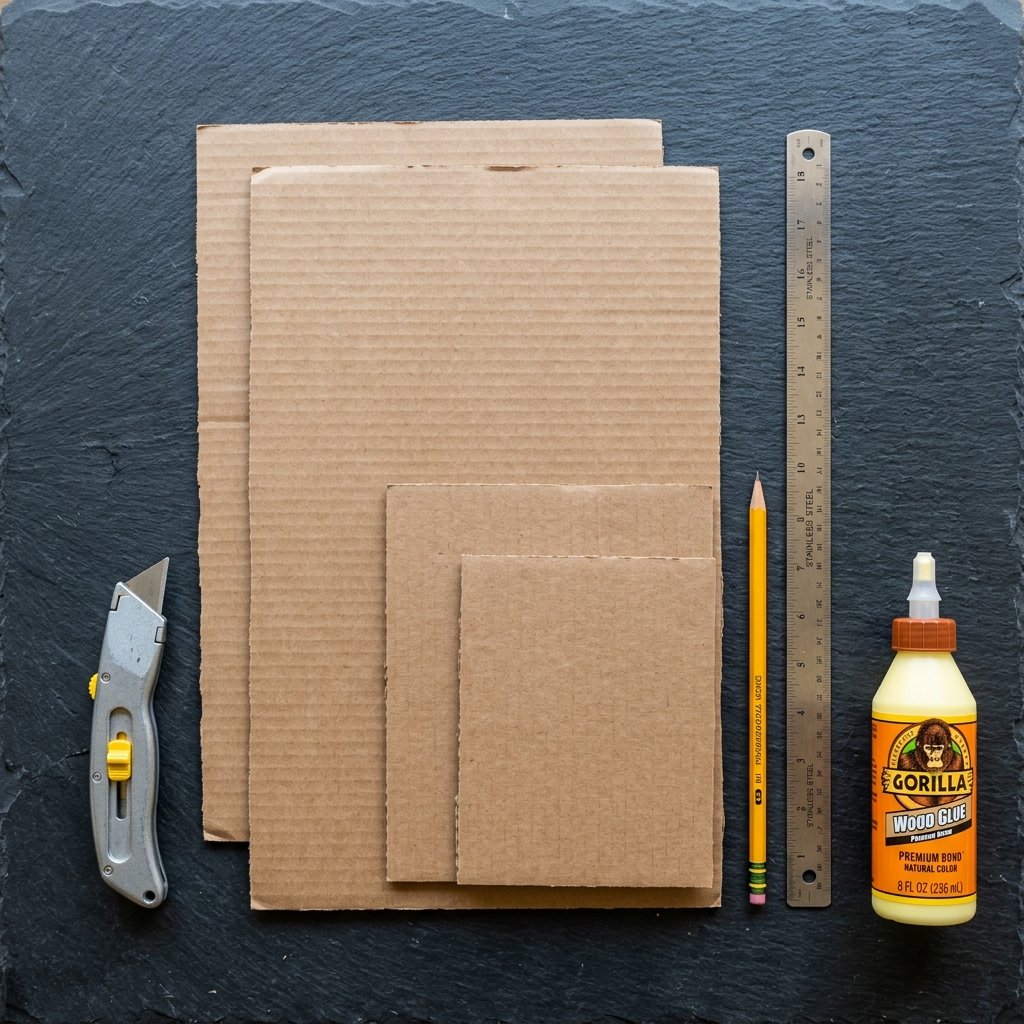
Before we start slicing and dicing, let’s look at the inventory. To build a stacker that rivals the high-end boutique brands, you need quality cardboard. Look for double-wall corrugated boxes if possible, but standard shipping boxes work perfectly when layered. We are aiming for a design that features three distinct pegs: a circle, a square, and a triangle. This teaches spatial awareness, fine motor skills, and shape recognition.
The DIY vs. Store-Bought Breakdown
| Feature | Store-Bought Plastic/Wood | Our DIY Cardboard Stacker |
|---|---|---|
| Material Cost | $15.00 – $45.00 | $0.00 |
| Durability | Brittle plastic or heavy wood | Reinforced, lightweight fiber |
| Customizability | Fixed colors/shapes | Infinite (Natural, Painted, Stamped) |
| Environmental Impact | High (Production & Waste) | Zero (Upcycled & Recyclable) |
| Build Time | 0 minutes | 45 – 60 minutes |
The secret to a high-end look with cardboard is precision. A sharp blade and a steady hand turn ‘trash’ into a ‘treasure’ that looks like it belongs in a Scandinavian design catalog.
Engineering the Foundation: The Heavy-Duty Base

A stacker is only as good as its base. If the base is flimsy, the whole project fails. We are going to create a ‘sandwich’ base that provides weight and stability. This prevents the stacker from tipping over when your toddler is aggressively practicing their hand-eye coordination.
Step-by-Step Base Construction
- Measure and Cut: Cut four identical rectangles measuring 10 inches by 4 inches.
- Cross-Corrugation: This is the pro-tip. When gluing the layers together, rotate the cardboard 90 degrees for each layer. This creates a plywood-like strength that makes the cardboard incredibly rigid.
- Glue and Clamp: Apply a thin, even layer of non-toxic white glue or wood glue between each layer. Place a heavy book on top and let it cure for 15 minutes.
- The Peg Holes: Once dry, mark three equidistant points along the center line. Using your utility knife, carefully cut out small circles (the diameter of your pegs) through the top two layers only. This creates a recessed socket for our vertical pegs to sit in.
“Measure twice, cut once, and always keep your blade at a 45-degree angle for the cleanest edge possible.”
The Vertical Pegs: Creating Structural Integrity
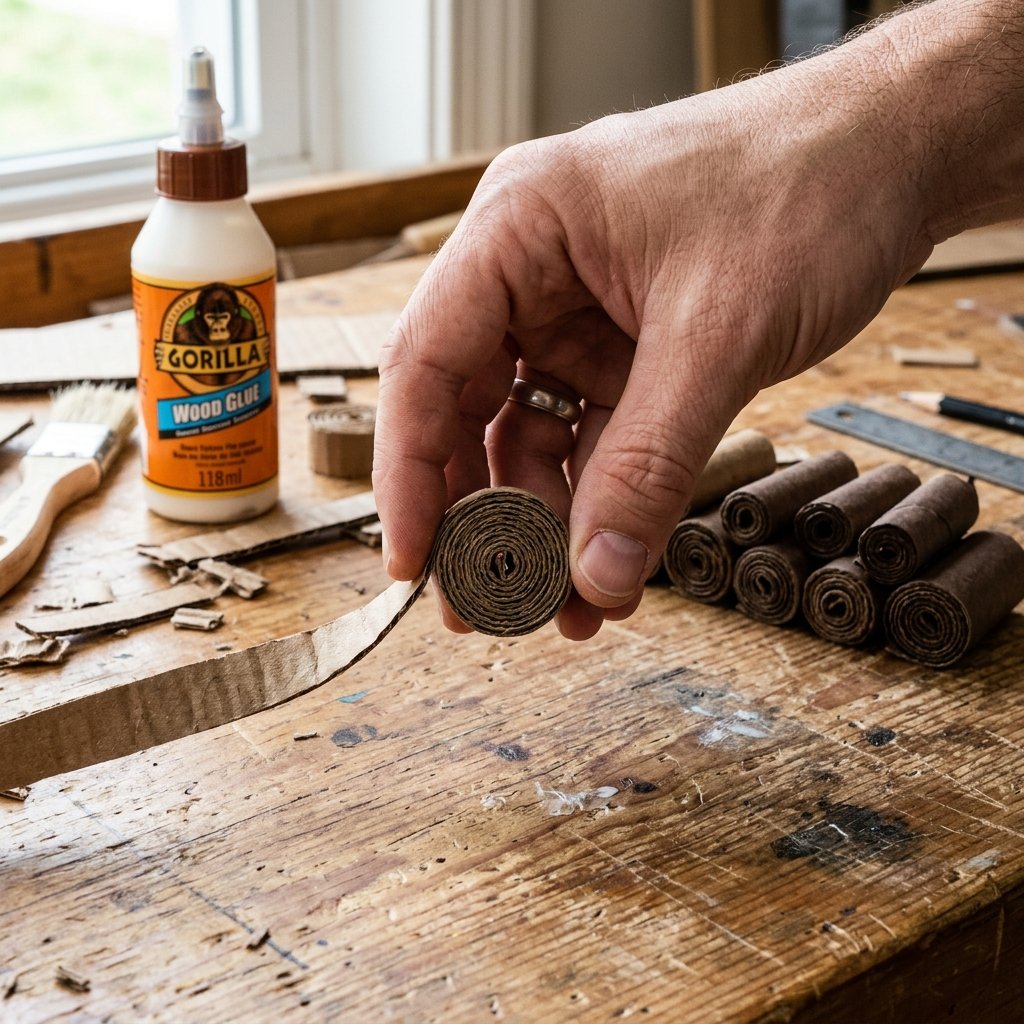
Most DIY cardboard toys fail at the joints. To create pegs that won’t snap, we aren’t just going to stick a tube on top. We are going to roll our own high-density cardboard dowels. This is a rugged, practical solution that ensures the pegs stay vertical forever.
How to Roll a Cardboard Dowel
- Cut strips of thin cardboard (cereal boxes work great here) about 6 inches wide.
- Moisten the cardboard slightly with a damp cloth to make it more pliable.
- Tightly roll the cardboard around a pencil or a small wooden dowel, applying glue as you go.
- Once you reach a diameter of about 0.75 inches, wrap it in a rubber band and let it dry.
- Trim the ends so they are perfectly flat. You now have a solid, dense peg that is stronger than most softwoods.
Once the pegs are dry, apply glue to the bottom and insert them into the recessed sockets we created in the base. For extra security, you can run a small screw up through the bottom of the base into the peg, but for a 100% cardboard build, glue is usually sufficient if the fit is snug.
Crafting the Geometric Shapes: Circles, Squares, and Triangles

Now for the fun part: the shapes themselves. To give the toy a premium feel, each shape should be about 0.5 inches thick. This means we need to laminate multiple layers of cardboard for every single piece.
The Shape Manifest
| Shape | Quantity | Dimensions | Center Hole |
|---|---|---|---|
| Circle | 4 Pieces | 3.5″ Diameter | 1″ Circular Cutout |
| Square | 4 Pieces | 3.5″ x 3.5″ | 1″ Square Cutout |
| Triangle | 4 Pieces | 4″ Equilateral | 1″ Triangular Cutout |
For the center holes, make sure they are slightly larger (about 1/8th of an inch) than the pegs themselves. This ensures the toddler doesn’t get frustrated trying to fit the shapes on. Pro-Tip: Use a spice jar or a large coin as a template for your circles to ensure they are perfectly round.
The Finishing Touches: Sanding and Sealing
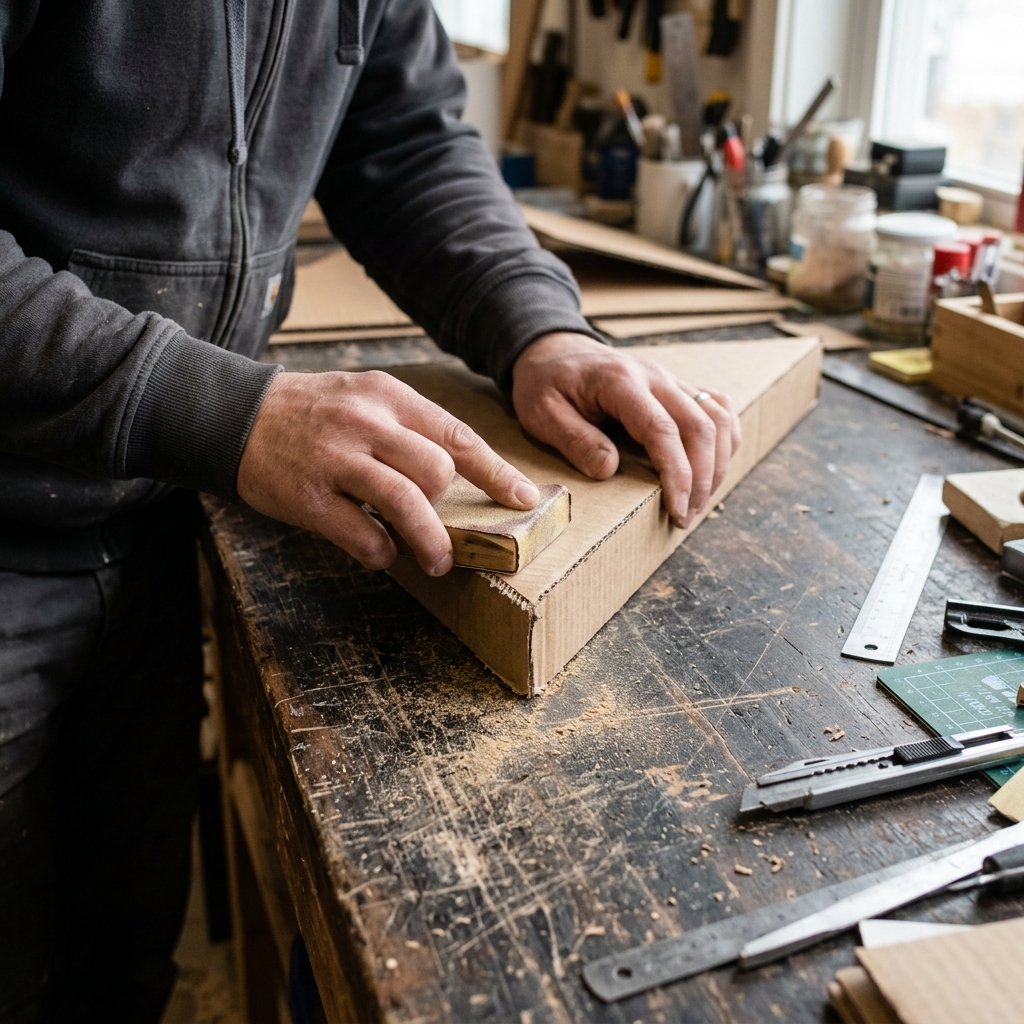
Just because it’s cardboard doesn’t mean it has to be rough. A clever crafter knows that cardboard can be sanded just like wood. This is the secret to getting that ‘masculine-elegant’ finish that looks like a designer piece.
Refining the Edges
- Sanding: Take a fine-grit sandpaper (220 grit) and lightly sand the edges of your shapes and the base. This removes any ‘fuzz’ from the knife cuts and rounds the corners for safety.
- Sealing: To protect the toy from sticky toddler hands, you can seal it with a 50/50 mix of water and white glue, or for a more natural approach, rub the cardboard with a bit of beeswax. This gives it a slight sheen and hardens the outer layer.
- Aesthetics: If you want to add color, use a dry-brush technique with acrylic paint so you don’t warp the cardboard with moisture. A deep navy, forest green, or simple black accents on the edges can make the natural kraft color of the cardboard pop.
Safety Note: Always ensure the glue you use is non-toxic (PVA glue is ideal) and that there are no small parts that could break off and become a choking hazard. Check the pegs weekly for stability.
Conclusion
A Masterpiece from the Recycling Bin
Congratulations! You’ve just successfully diverted waste from the landfill and created a high-quality educational tool for your child. This DIY Cardboard Geometric Shape Stacker is more than just a toy; it’s a testament to your resourcefulness and creativity. You’ve saved roughly $30 and provided your toddler with a tactile, organic experience that plastic simply can’t replicate. When the toy has finally lived its long life and your child has moved on to more complex puzzles, you can simply toss it back into the recycling bin, knowing you’ve left a smaller footprint on the planet. Now, go grab that utility knife and start building—your toddler (and your wallet) will thank you!

Makenzie is the founder and lead writer at MoneyHackTips.com — a personal finance blog dedicated to delivering street-smart financial wisdom for real people on real budgets. With 300+ published articles covering everything from debt management to investing fundamentals, Makenzie’s mission is to make every dollar work harder. When not writing about money hacks, Makenzie is testing frugal living strategies, optimizing side hustles, and helping readers build financial freedom from scratch.