
The High-End Look on a Thrift-Store Budget
We have all been there: staring at a tangled nest of necklaces, mismatched earrings, and buried bracelets at the bottom of a jewelry box. You browse the aisles of Anthropologie or West Elm and find beautiful wall-mounted organizers, only to see a price tag of $45 to $85. As a frugal DIYer, your heart sinks—but your creative brain starts ticking. Why pay for a brand name when you can manufacture elegance yourself for the price of a cup of coffee?
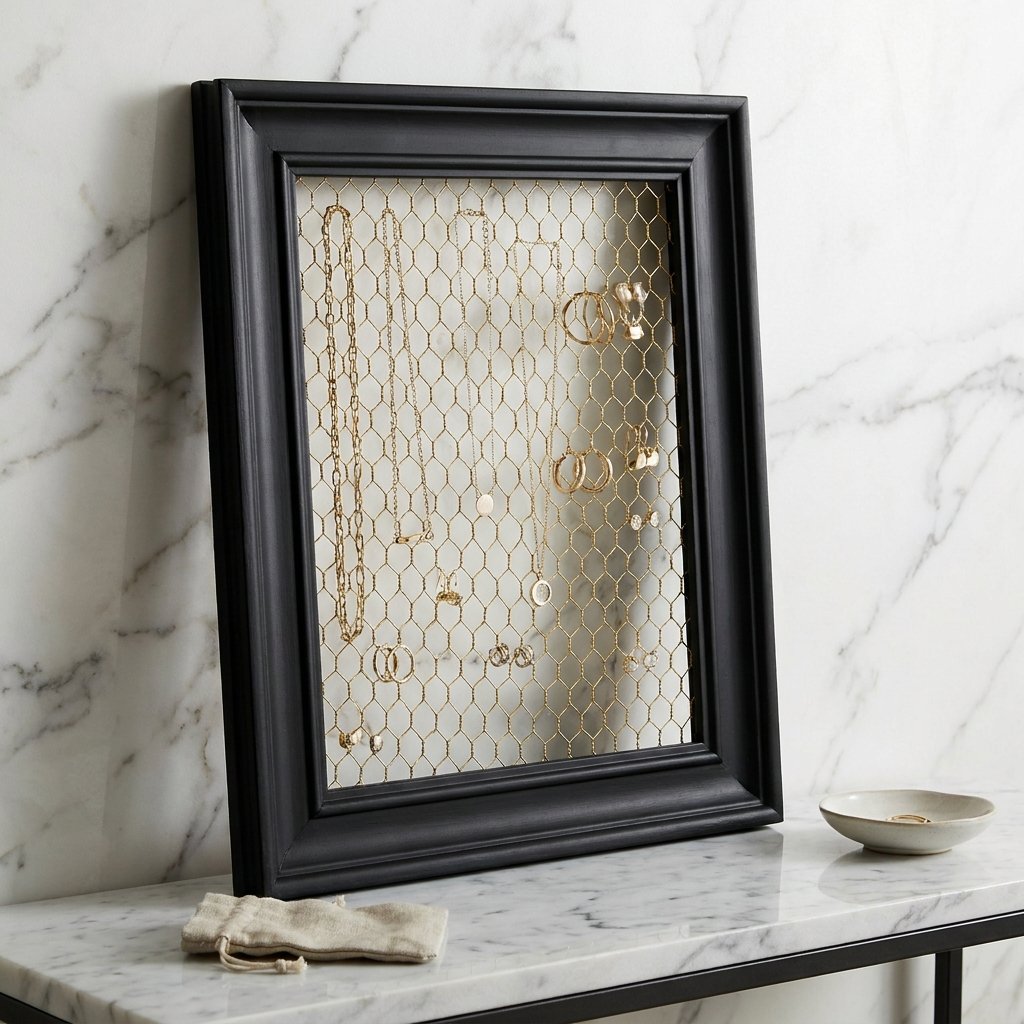
Today, we are diving deep into the world of ‘Trash-to-Treasure’ styling. We aren’t just making a jewelry holder; we are crafting a statement piece. By combining a simple $1.25 Dollar Tree picture frame with some rugged hardware cloth and the magic of the ‘baking soda paint’ technique, we will create a textured, stone-like finish that mimics expensive ceramic or wrought iron. This tutorial is designed for the crafty expert who loves a sophisticated, masculine-elegant aesthetic but refuses to overspend. Let’s get our hands dirty and our jewelry organized.
The Blueprint: Materials and Cost Comparison
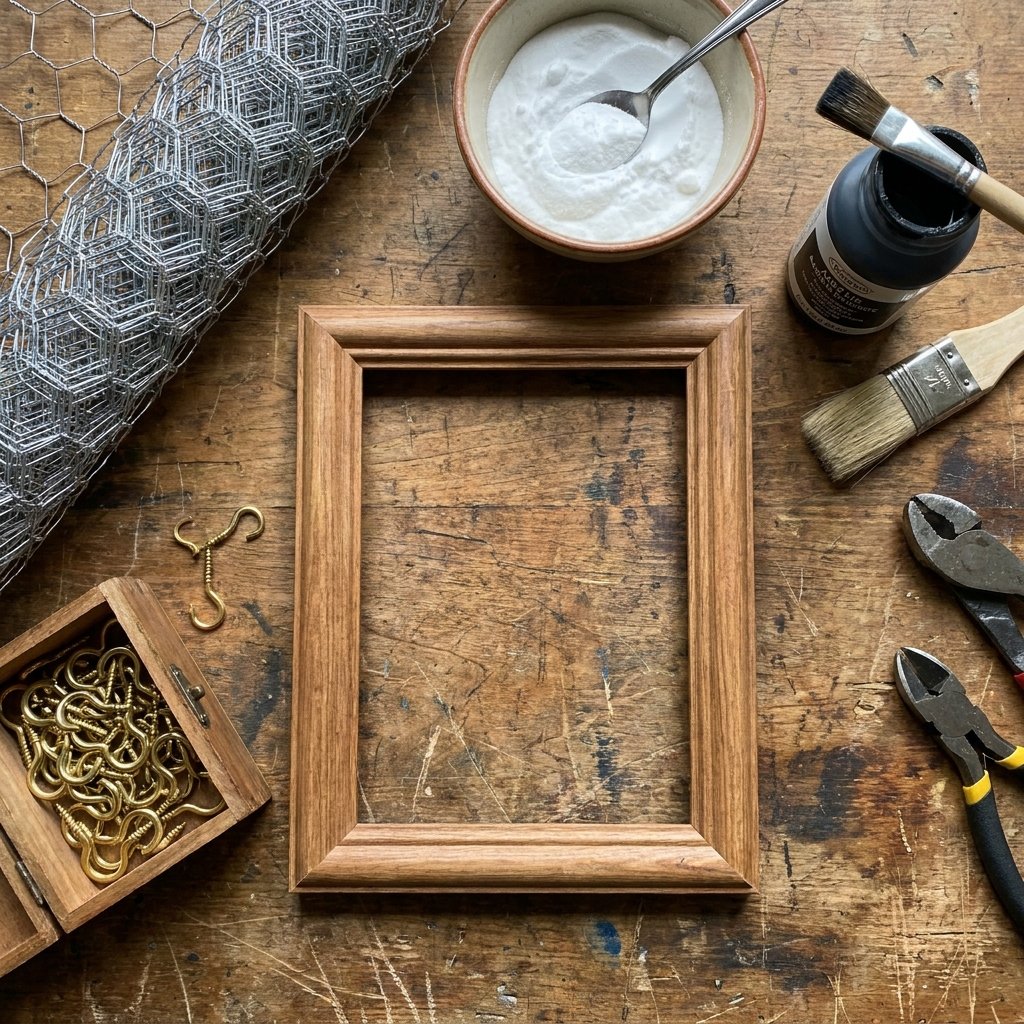
Before we head to the store, let’s look at the numbers. The goal of any successful upcycle is to maximize the visual ‘weight’ of an item while minimizing the financial investment. We are aiming for a total project cost of under $10, using mostly items you might already have in your garage or junk drawer.
| Item | Source | Estimated Cost |
|---|---|---|
| Large Picture Frame (8×10 or 11×14) | Dollar Tree | $1.25 |
| Decorative Mesh or Chicken Wire | Hardware Store/Scraps | $0.00 – $3.00 |
| Acrylic Paint & Baking Soda | Craft Stash | $0.50 |
| Small Screw Hooks | Hardware Store | $2.00 |
| Total Investment | DIY Route | $3.75 – $6.75 |
Compare this to a store-bought metal jewelry rack which typically retails for $35.00. You are looking at a 90% savings. That is the power of resourceful crafting. For the mesh, I recommend 1/4-inch hardware cloth for a rugged, industrial look, or a piece of decorative aluminum radiator mesh for a more delicate, feminine touch.
The Secret Sauce: The Baking Soda Paint Trick
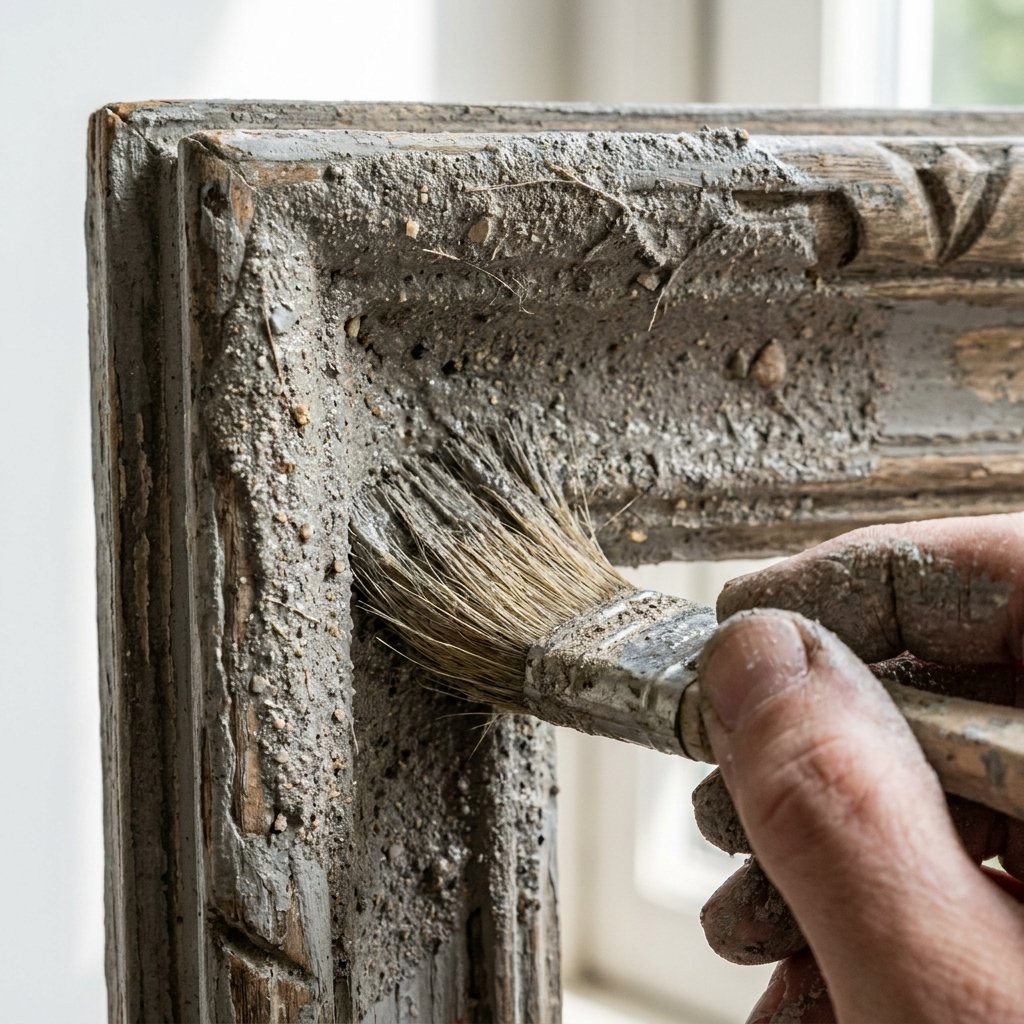
The biggest giveaway of a ‘cheap’ DIY is the finish. If you just spray-paint plastic or cheap wood, it looks like… well, painted plastic. To achieve an elegant, high-end look, we use the Baking Soda Paint Trick. This creates a thick, matte, stone-like texture that hides imperfections in the cheap Dollar Tree frame and gives it a heavy, expensive feel.
The Formula
Mix 1 part acrylic paint with 1/2 part baking soda. Stir until it reaches the consistency of thick cake batter.
Apply this mixture to your frame using a dabbing motion with a coarse brush rather than long strokes. This creates ‘peaks’ and ‘valleys’ in the texture that catch the light beautifully. If you want a more rugged, masculine-elegant vibe, choose colors like Charcoal Gray, Deep Forest Green, or Matte Black. For a classic look, a Creamy Alabaster works wonders.
- Drying Time: Allow at least 45 minutes for the first coat to set.
- Second Coat: Apply a second layer to ensure the original frame color is completely hidden.
- Pro Tip: While the paint is still slightly tacky, you can lightly dust it with a bit of actual dirt or cinnamon to create an ‘antique’ patina.
The Framework: Cutting and Securing the Mesh
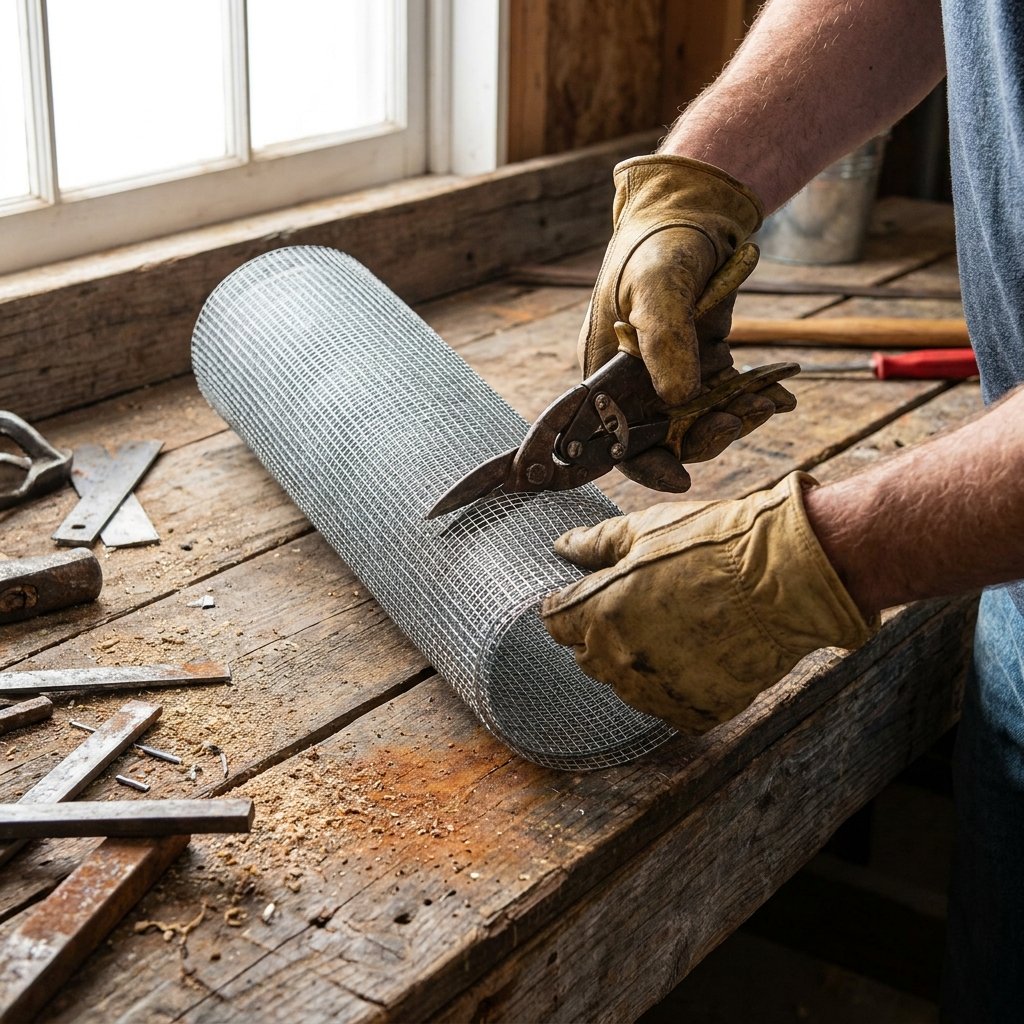
Once your frame is dry and looking like a piece of salvaged stone, it is time for the functional part. Remove the glass and the cardboard backing from the frame. We will be replacing them with our mesh. This is where the ‘handy’ part of being a handy parent or upcycler comes in.
Step-by-Step Assembly
- Measure the Opening: Measure the inside lip of the back of the frame where the glass used to sit.
- Cut the Mesh: Use wire snips to cut your hardware cloth or chicken wire 1/2 inch larger than the opening on all sides.
- Flatten: If your wire was on a roll, it will want to curl. Lay it flat and place a heavy book on it for 10 minutes to straighten it out.
- Secure: Place the mesh into the back of the frame. Use a heavy-duty staple gun or a high-temp hot glue gun to secure the edges to the wooden or plastic frame.
Safety Note: Wire edges are sharp! Always wear work gloves when cutting hardware cloth, and use needle-nose pliers to tuck any stray ‘pokes’ back toward the frame to avoid scratching your walls or fingers.
Customizing for Function: Hooks and Hanging
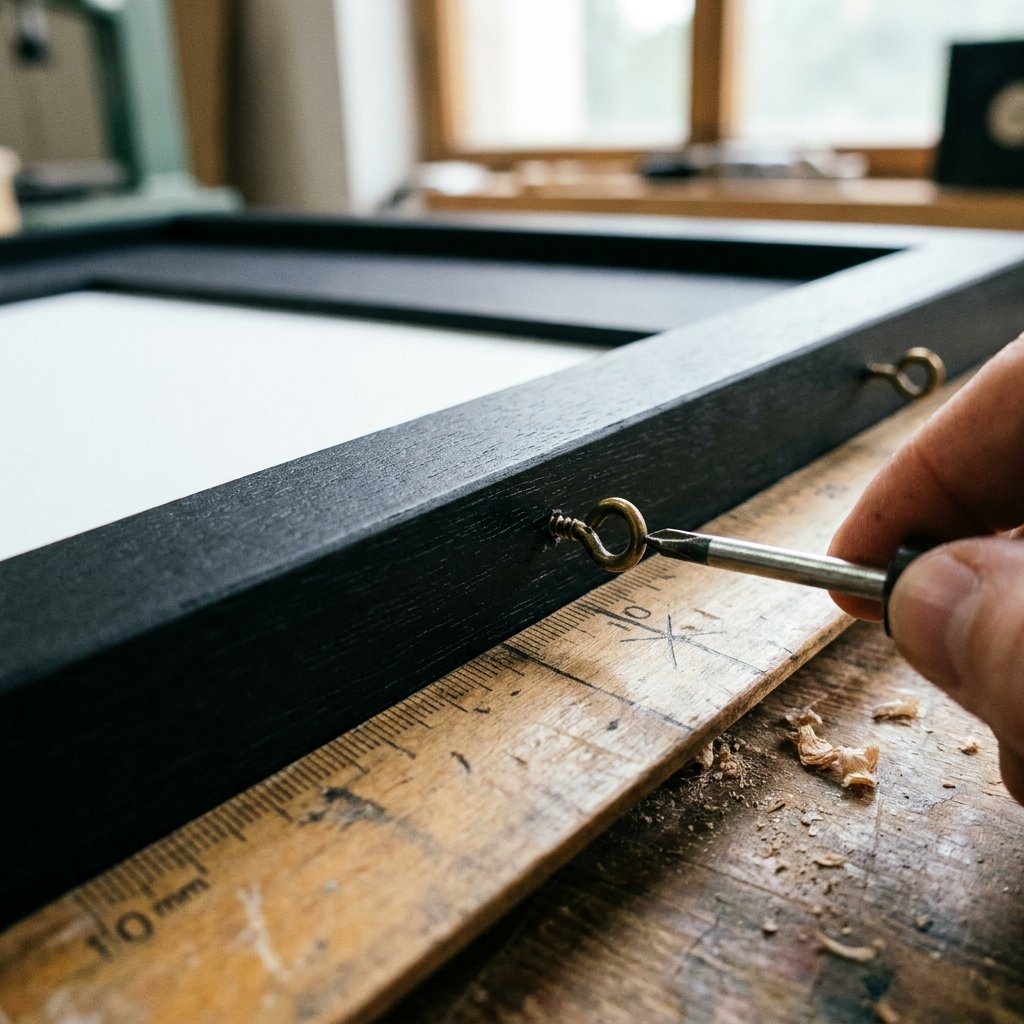
A mesh screen is perfect for earrings, but what about those chunky necklaces or rings? We need to add a ‘bottom rail’ of hooks. This elevates the project from a simple screen to a full-service jewelry station. If you are using a wider frame, you can even mount a small wooden strip across the bottom to hold larger items.
Installing the Hooks
Mark your spacing carefully. I recommend a 1-inch gap between hooks. If your frame is made of soft wood or plastic, you can usually screw the hooks in by hand. If it is a tougher material, use a small 1/16-inch drill bit to create pilot holes first. This prevents the frame from cracking—a common mistake that can ruin a $1.25 investment instantly.
| Jewelry Type | Attachment Method | Capacity Tip |
|---|---|---|
| Earrings | Hook through mesh | Space out to avoid tangling |
| Necklaces | Screw hooks at bottom | Vary heights for long chains |
| Bracelets | S-hooks on mesh | Use 2-inch S-hooks for bangles |
The Final Flourish: Styling Your Masterpiece
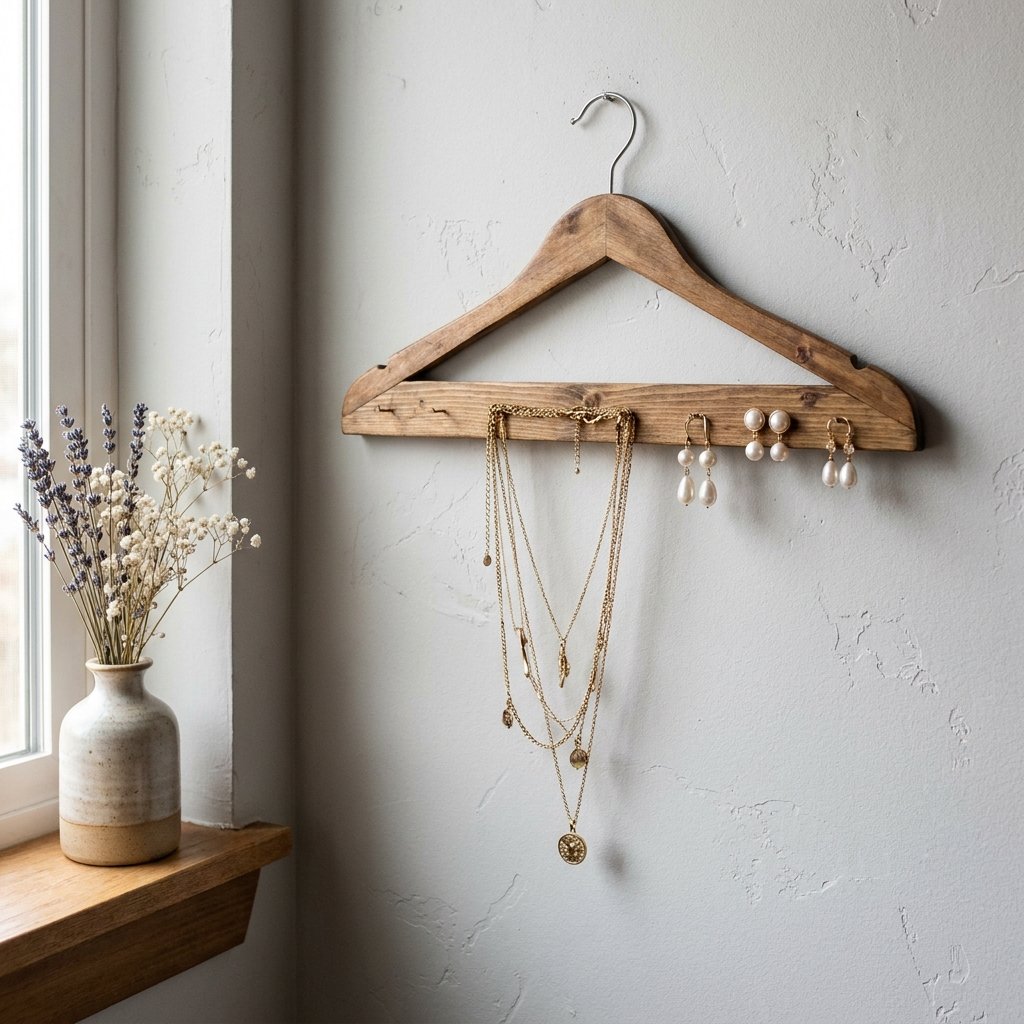
The project is built, but the ‘Art’ is in the styling. To truly make this look like a $60 boutique find, you need to consider the visual composition. Don’t just cram every piece of jewelry onto it. Treat it like a gallery display.
- Balance: Place your longest necklaces on the outer hooks to ‘frame’ the smaller earrings in the center.
- Color Story: If you have a lot of gold jewelry, the matte black or navy blue frame will make the metal pop. If you prefer silver, try a deep plum or charcoal finish.
- Mixed Media: Don’t be afraid to hang a small sprig of dried eucalyptus or a vintage key from the mesh to add character.
If you are giving this as a gift, this is the perfect ‘Creative Gift-Giver’ move. Hang a pair of $5 boutique earrings on the rack before wrapping it. It makes the gift feel substantial, thoughtful, and incredibly high-end without breaking your budget.
Conclusion
A Triumph of Frugal Creativity
By taking a few discarded or ultra-cheap components and applying a bit of ‘elbow grease’ and clever styling, you’ve created a piece of home decor that is both functional and beautiful. You didn’t just save $50; you gained the satisfaction of knowing that your home reflects your resourcefulness. Whether you are a budget bride looking for bridesmaid gifts or a handy parent organizing a cluttered bedroom, this Dollar Tree hack proves that elegance isn’t about how much you spend—it’s about how you see the potential in the everyday. Now, go hang your masterpiece and enjoy a tangle-free morning!

Makenzie is the founder and lead writer at MoneyHackTips.com — a personal finance blog dedicated to delivering street-smart financial wisdom for real people on real budgets. With 300+ published articles covering everything from debt management to investing fundamentals, Makenzie’s mission is to make every dollar work harder. When not writing about money hacks, Makenzie is testing frugal living strategies, optimizing side hustles, and helping readers build financial freedom from scratch.