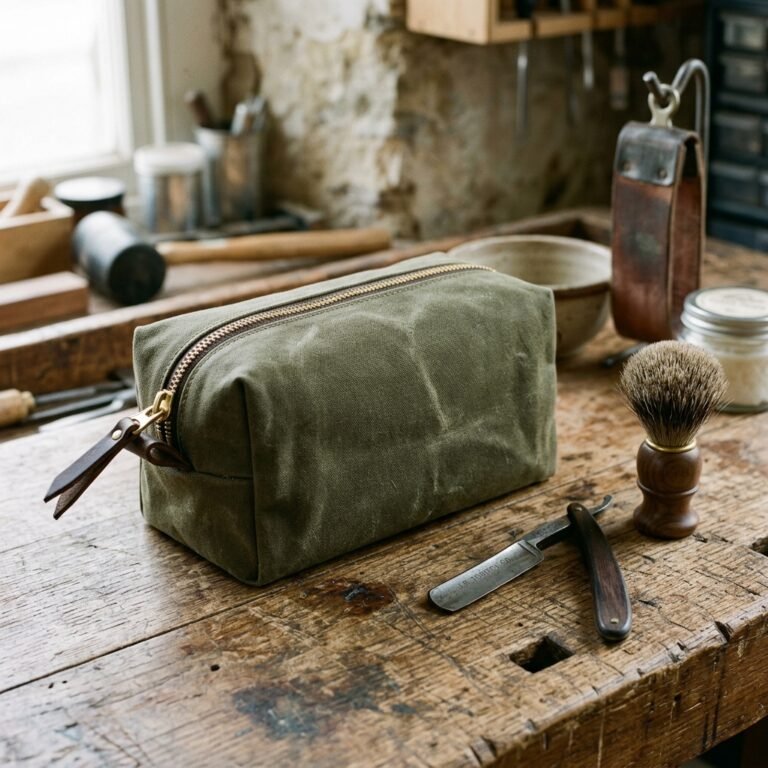
The Rugged Utility of a Bespoke Work Apron
In the world of the frugal DIYer, there is a distinct satisfaction that comes from wearing your own craftsmanship. A high-end canvas work apron from a boutique brand can easily set you back $80 to $150. But why pay a premium for a label when you can engineer a superior, custom-fitted version for under $15? Whether you are dodging sawdust in the woodshop, tilling soil in the garden, or firing up the forge, a heavy-duty apron is your first line of defense against grime and injury. This guide will show you how to take a humble painter’s drop cloth and transform it into a piece of heirloom-quality shop gear that looks as good as it performs. We are talking about rugged elegance combined with practical masculinity—a project that respects both your wallet and your craft.
The Blueprint: Why Custom Canvas Beats Store-Bought Every Time

When you buy an apron off the shelf, you are stuck with someone else’s idea of where your tools should live. By sewing your own, you become the architect of your efficiency. Do you need a dedicated slot for your 6-inch steel ruler? A reinforced loop for your 22oz framing hammer? Or perhaps a deep, gusseted pocket for your gardening shears? You can have it all.
Cost Comparison: DIY vs. Retail
Let’s look at the cold, hard numbers. A professional-grade 12oz duck canvas apron is a significant investment. Here is how the DIY approach saves you a fortune:
| Feature | Store-Bought Brand | DIY Upcycled Version |
|---|---|---|
| Material | 12oz Duck Canvas | 10oz-12oz Painter’s Drop Cloth |
| Reinforcements | Standard Stitching | Double-Stitched & Brass Riveted |
| Customization | None (One Size Fits All) | Bespoke Fit to Your Torso |
| Total Cost | $85.00 – $120.00 | $12.50 – $18.00 |
By choosing to build it yourself, you are looking at a savings of over 80%. That is money you can reinvest into better tools or more materials for your next project.
Sourcing the ‘Rough-and-Tumble’ Materials on a Budget
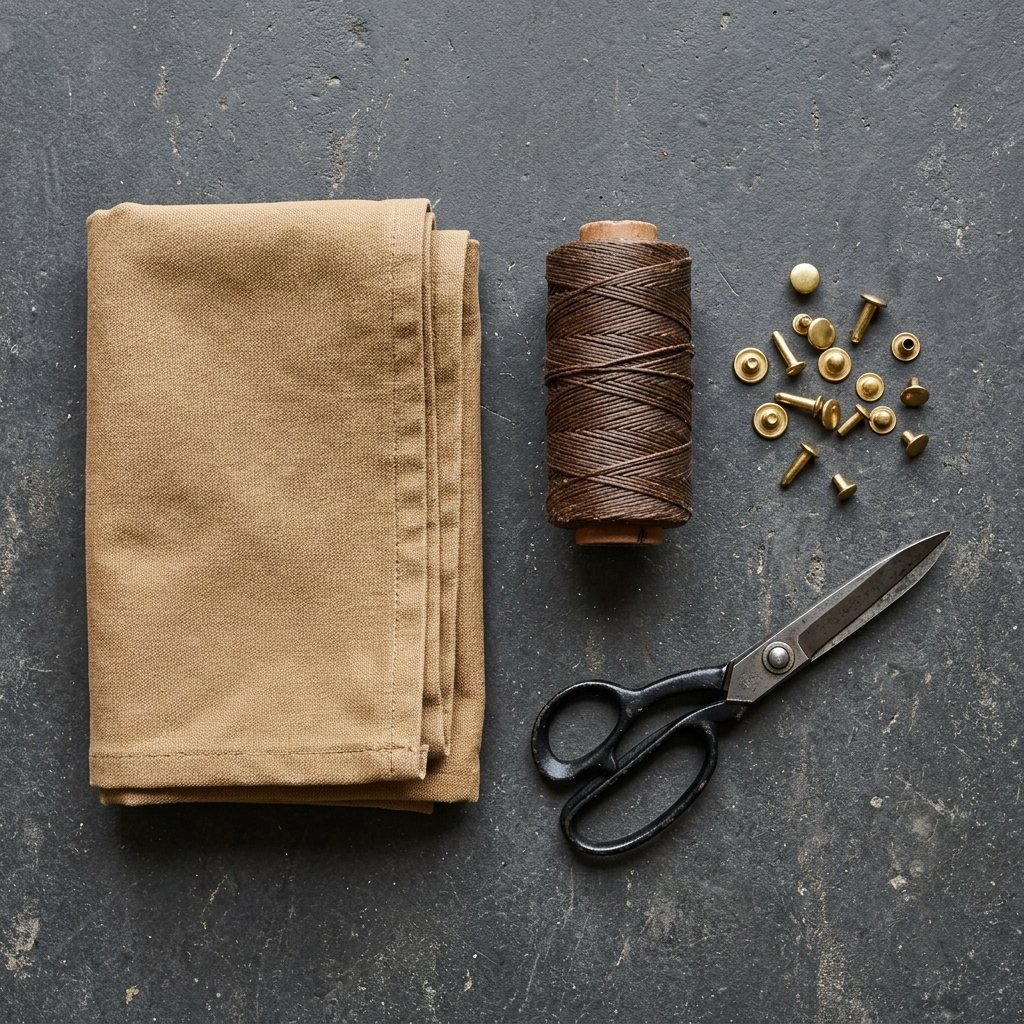
The secret to a budget-savvy apron that lasts a lifetime is the material choice. We aren’t looking for delicate fabrics; we want something that can survive a belt sander. The best source for heavy-duty canvas on a dime is your local hardware store’s canvas painter’s drop cloth. Look for the ‘Heavy Duty’ or ’10oz’ varieties.
The Essential Supply List
- 1 Canvas Drop Cloth (4′ x 5′): Approximately $10.00 at most discount hardware stores.
- Heavy-Duty Thread: Look for ‘Upholstery’ or ‘Outdoor’ polyester thread ($4.00).
- 100% Cotton Webbing (1 inch wide): 5 yards for straps ($5.00 or scavenged from old bags).
- Denim Sewing Machine Needles: Size 100/16 or 110/18 ($3.00).
- Optional: Copper or brass rivets for pocket corners ($5.00 for a bulk pack).
“The frugal crafter’s mantra: Never buy new fabric when a drop cloth or a pair of thrifted 100% cotton work pants can provide the same durability for a fraction of the price.”
Measuring for a Tailored Fit: The Rugged Silhouette
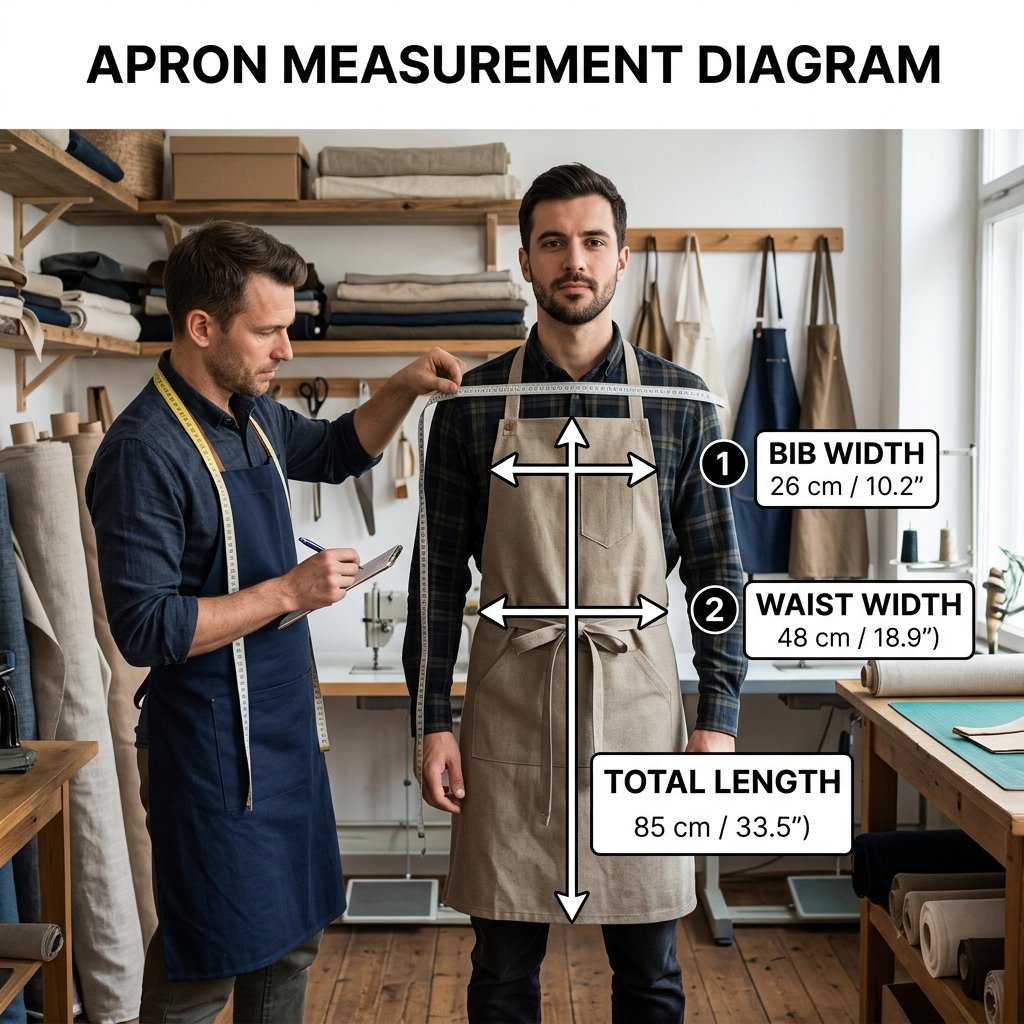
A work apron shouldn’t feel like a dress; it should feel like armor. To get the perfect fit, you need three key measurements. Use a soft measuring tape, or just a piece of string and a ruler if you’re being resourceful.
- The Bib Width: Measure across your chest from one armpit to the other. Typically 8 to 10 inches.
- The Total Length: Measure from the top of your sternum down to just above your knees. Usually 30 to 34 inches.
- The Waist Width: Measure from hip to hip. Usually 20 to 24 inches.
When cutting your canvas, always add 1 inch to every side for your hems. This ‘seam allowance’ ensures that your final apron isn’t smaller than intended after you’ve tucked away the raw edges.
The Build: Step-by-Step Heavy-Duty Assembly
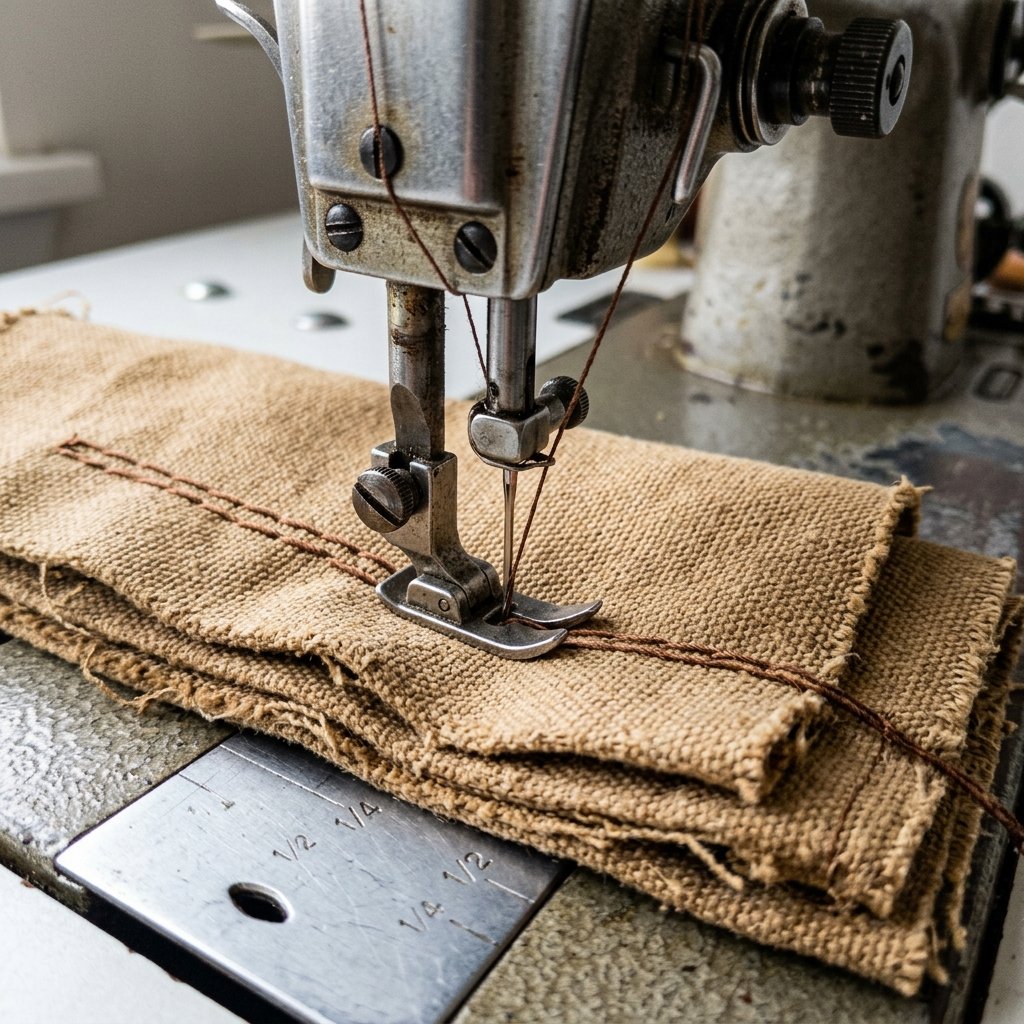
Now we get to the heart of the craft. Sewing heavy canvas requires a bit of patience and a ‘slow and steady’ approach with your machine. If your machine struggles with the thickness, use the handwheel to manually guide the needle through the toughest seams.
1. Cutting and Hemming
Cut your main apron body according to your measurements. To prevent fraying (the enemy of any handy parent), fold the edges over by 1/2 inch, press with a hot iron, then fold another 1/2 inch and pin. Stitch around the entire perimeter using a long stitch length (3.5mm to 4.0mm) for a professional, ‘rugged’ look.
2. Creating the ‘Utility’ Pockets
Use your scrap canvas to cut rectangles for pockets. A large ‘kangaroo’ pocket at the waist is essential. Pro-Tip: Fold and sew the top edge of the pocket before attaching it to the apron body. This ensures a clean, finished opening that won’t tear under the weight of heavy screws or tools.
3. The Cross-Back Strap System
Instead of a neck loop (which causes neck strain during long days), we are going for a masculine-elegant cross-back design. Attach your webbing to the top corners of the bib, cross them over the back, and run them through loops at the waist. This distributes the weight across your shoulders.
Reinforced Details: Pockets, Loops, and Rivets
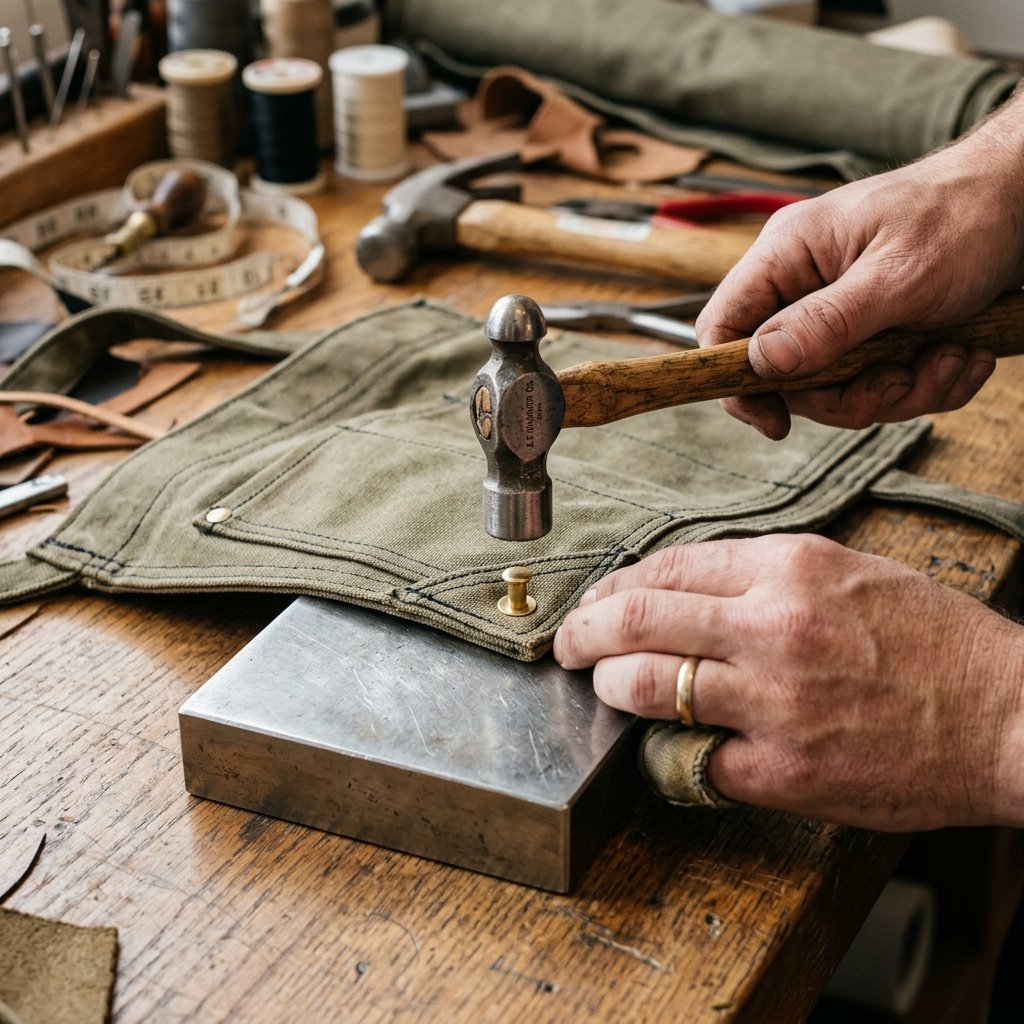
A true shop apron is only as strong as its weakest point—usually the pocket corners. This is where we transition from ‘sewing project’ to ‘heavy-duty gear’.
| Reinforcement Type | Tools Needed | Best For… |
|---|---|---|
| Backstitching | Sewing Machine | General seams and light pockets. |
| Bar Tacks | Zig-Zag Stitch | Tool loops and pencil slots. |
| Metal Rivets | Hammer & Setter | High-stress corners and leather attachments. |
To install a rivet, poke a small hole through the canvas layers, insert the rivet post, place the cap on top, and give it a firm strike with a hammer on a solid surface. This adds an industrial aesthetic and ensures your pockets will never rip, no matter how many wrenches you stuff into them.
“Don’t just sew it—engineer it. A double-row of stitching at the base of your pockets adds 5x the durability for only 2 minutes of extra work.”
Finishing Touches: Waxing for Weatherproofing
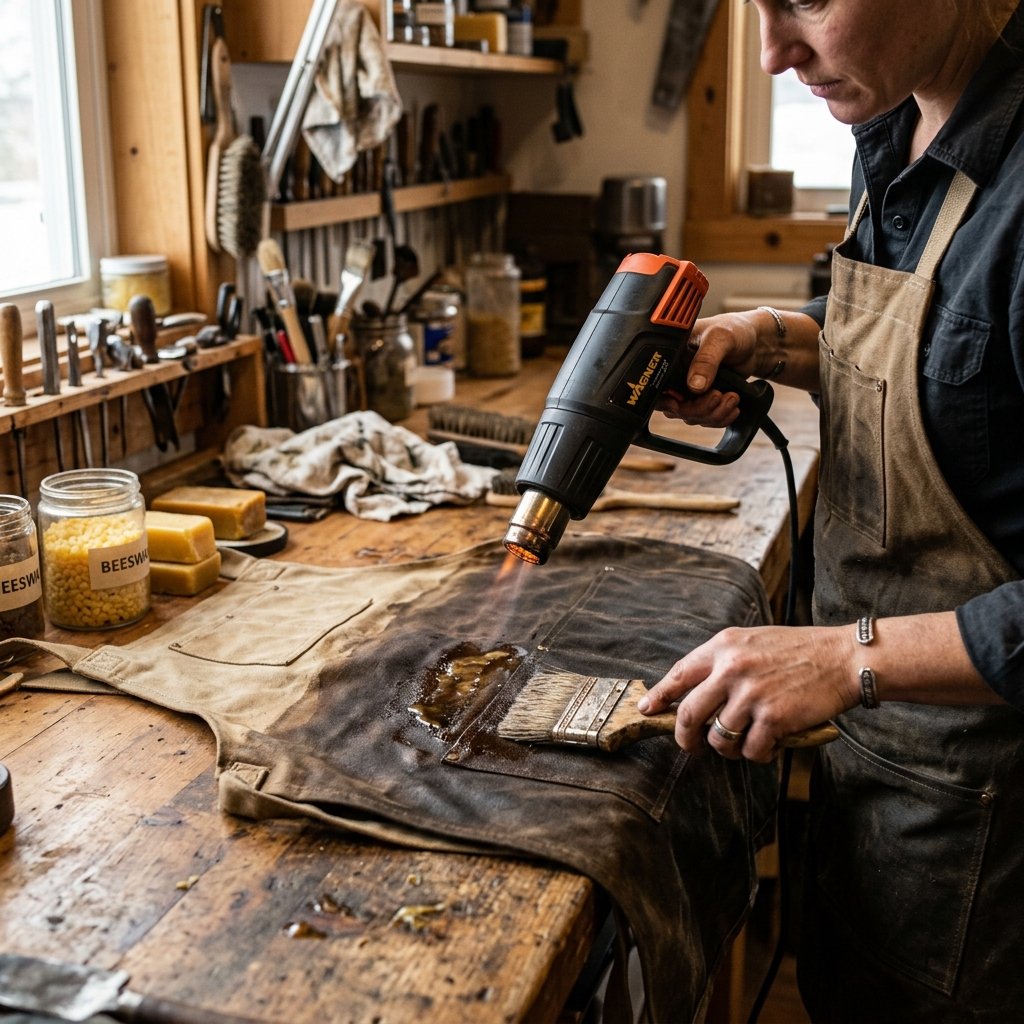
To truly elevate your DIY apron to ‘pro’ status, you need to wax it. Waxing makes the canvas water-resistant, stiffens it to deflect wood chips, and gives it a beautiful ‘patina’ that ages like a fine leather jacket.
The DIY Wax Recipe
You can buy expensive fabric wax, or you can make your own for a pittance:
- 1 part Beeswax: For grip and waterproofing.
- 1 part Paraffin Wax: For hardness and a smooth finish.
Melt them together in a double boiler (or a clean tin can in a pot of water). Brush the molten wax onto the apron, then use a hairdryer or heat gun to melt the wax into the fibers. The canvas will darken and become incredibly tough. This is the ultimate clever hack for a high-end finish on a budget.
Conclusion
Wear Your Work with Pride
By following this guide, you’ve done more than just save $100; you’ve built a tool that will protect you through years of creativity and hard labor. This custom canvas apron is a testament to the power of frugal DIYing and resourceful upcycling. It’s rugged, it’s practical, and it’s uniquely yours. Now, get into the shop, put on your new gear, and start your next masterpiece. You’ve earned it.

Makenzie is the founder and lead writer at MoneyHackTips.com — a personal finance blog dedicated to delivering street-smart financial wisdom for real people on real budgets. With 300+ published articles covering everything from debt management to investing fundamentals, Makenzie’s mission is to make every dollar work harder. When not writing about money hacks, Makenzie is testing frugal living strategies, optimizing side hustles, and helping readers build financial freedom from scratch.