
The most resourceful craftsman knows that true value isn’t bought at the store; it’s forged from what others discard.
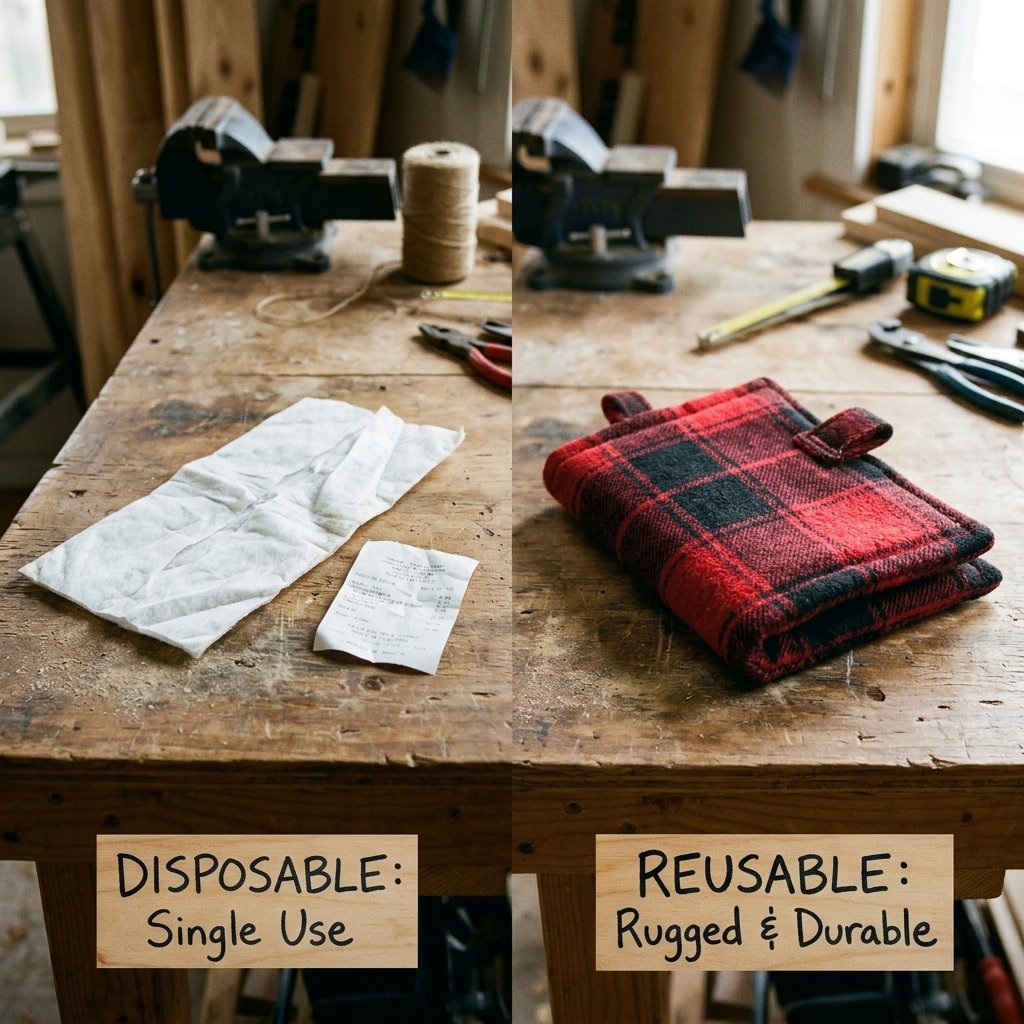
Are you tired of watching your hard-earned cash get tossed into the trash can every time you sweep your floors? Disposable floor duster pads are the ultimate modern convenience trap—they are expensive, flimsy, and terrible for the environment. But if you have an old, worn-out flannel shirt sitting in the back of your closet with frayed cuffs or a torn collar, you are sitting on a goldmine of cleaning potential. Flannel is a rugged, highly absorbent, and texturally superior fabric that acts as an absolute magnet for dust, pet hair, and dirt. In this comprehensive, frugal DIYer’s guide, we are going to dive deep into the ultimate trash-to-treasure upcycling project. We will show you exactly how to transform that beloved but battered lumberjack staple into a stack of heavy-duty, reusable, washable sweeper refills. Whether you are a handy parent trying to cut down on household expenses, a crafty upcycler looking for a zero-waste weekend project, or simply someone who appreciates the practical, masculine elegance of a well-worn plaid, this genius cleaning hack will save you hundreds of dollars over time while keeping your floors immaculately clean.
The Economics of Upcycling: Disposable Traps vs. Flannel Freedom
| Cleaning Method | Initial Investment | Annual Cost (using 2 pads/week) | Lifespan | Environmental Impact |
|---|---|---|---|---|
| Name-Brand Disposable Pads | $14.00 (Box of 32) | $45.50+ | Single Use (10 minutes) | High (Landfill Waste) |
| Generic Store-Bought Disposables | $9.00 (Box of 32) | $29.25+ | Single Use (10 minutes) | High (Landfill Waste) |
| Upcycled Flannel Shirt DIY | $0.00 (Using closet scraps) | $0.00 | 3 to 5 Years (Washable) | Zero Waste (Eco-Friendly) |
As the table illustrates, switching to upcycled flannel not only keeps discarded textiles out of the landfill but also keeps your hard-earned dollars right where they belong—in your wallet. A single large men’s flannel shirt can yield anywhere from 6 to 8 premium sweeper pads, equipping you with a full arsenal of cleaning power for years to come.
Gathering Your Gear: Selecting the Perfect Flannel and Tools
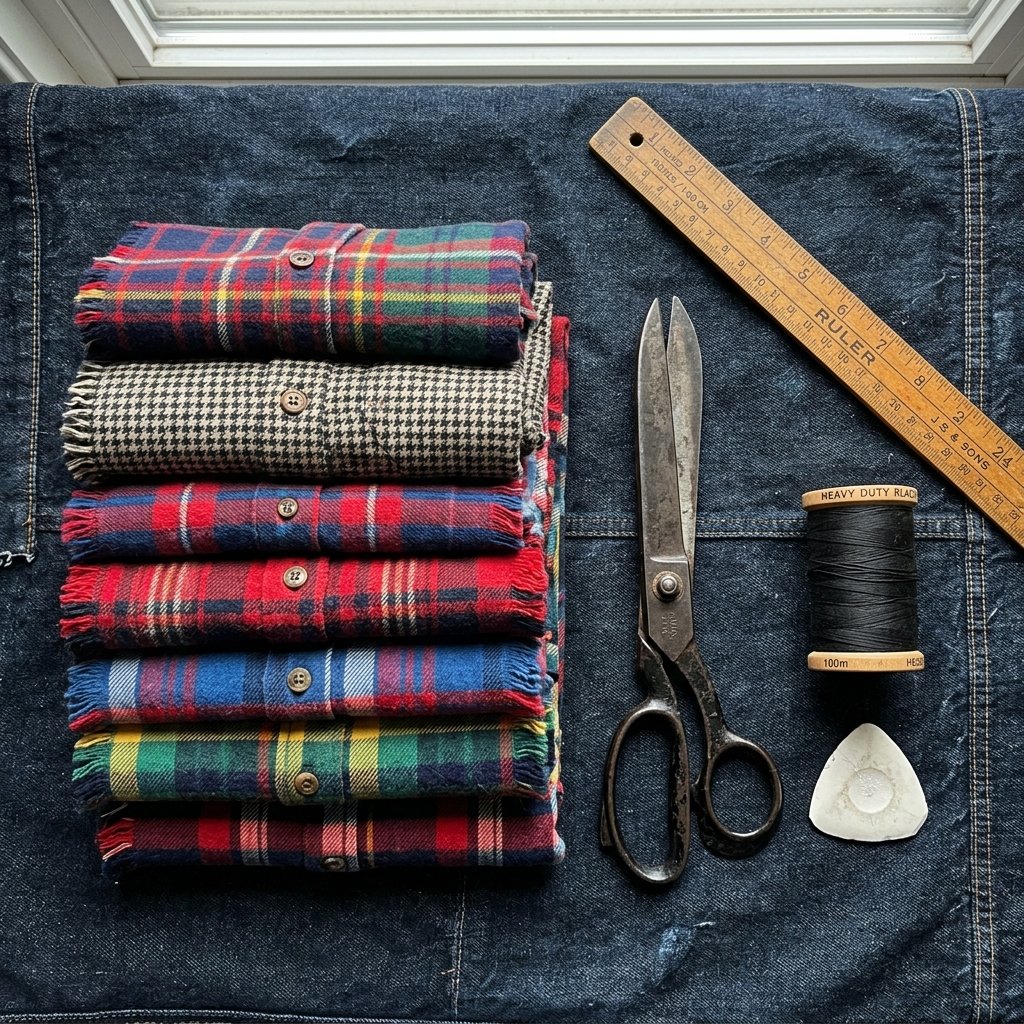
The Ideal Fabric Profile
- 100% Cotton Flannel: Always check the tag. Synthetic blends (like polyester) do not generate the same static charge needed to attract dust, nor are they as absorbent if you decide to use them wet.
- Heavyweight Winter Flannels: The thicker the shirt, the better the durability. Those thick, rugged lumberjack shirts are the holy grail of upcycled cleaning tools.
- Fleece Alternatives: If you do not have flannel, old polar fleece jackets work exceptionally well for dry dusting, though they are less effective for wet mopping.
Your Upcycling Toolkit
You do not need a professional tailor’s studio to pull this off. A few basic, practical tools will suffice:
- Fabric Shears: A sharp pair of scissors dedicated to fabric will prevent frayed edges and make cutting through thick flannel a breeze.
- Measuring Tape or Ruler: Precision is key for a snug fit on your sweeper head.
- Tailor’s Chalk or a Sharpie: For marking your cut lines.
- Sewing Machine OR Heavy-Duty Needle and Thread: We will cover both machine and hand-mending techniques.
- Optional: Pinking Shears: These zig-zag scissors are a crafty expert’s best friend for preventing fabric edges from unraveling without needing to sew a hem.
The Master Blueprint: Measuring and Cutting for a Precision Fit
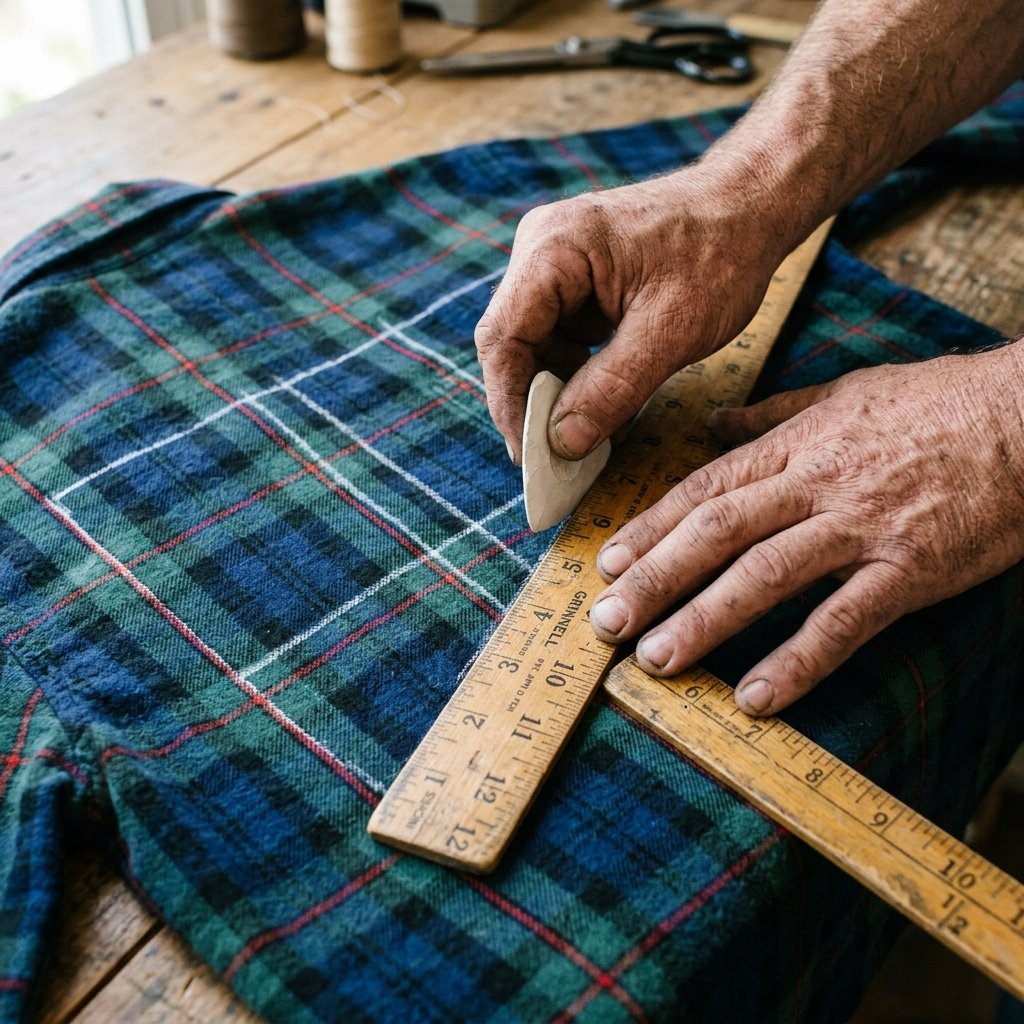
Pro Measurement Formula: Mop Head Width + 2 inches (for wrap) by Mop Head Length + 4 inches (for tucking).
Step-by-Step Cutting Protocol
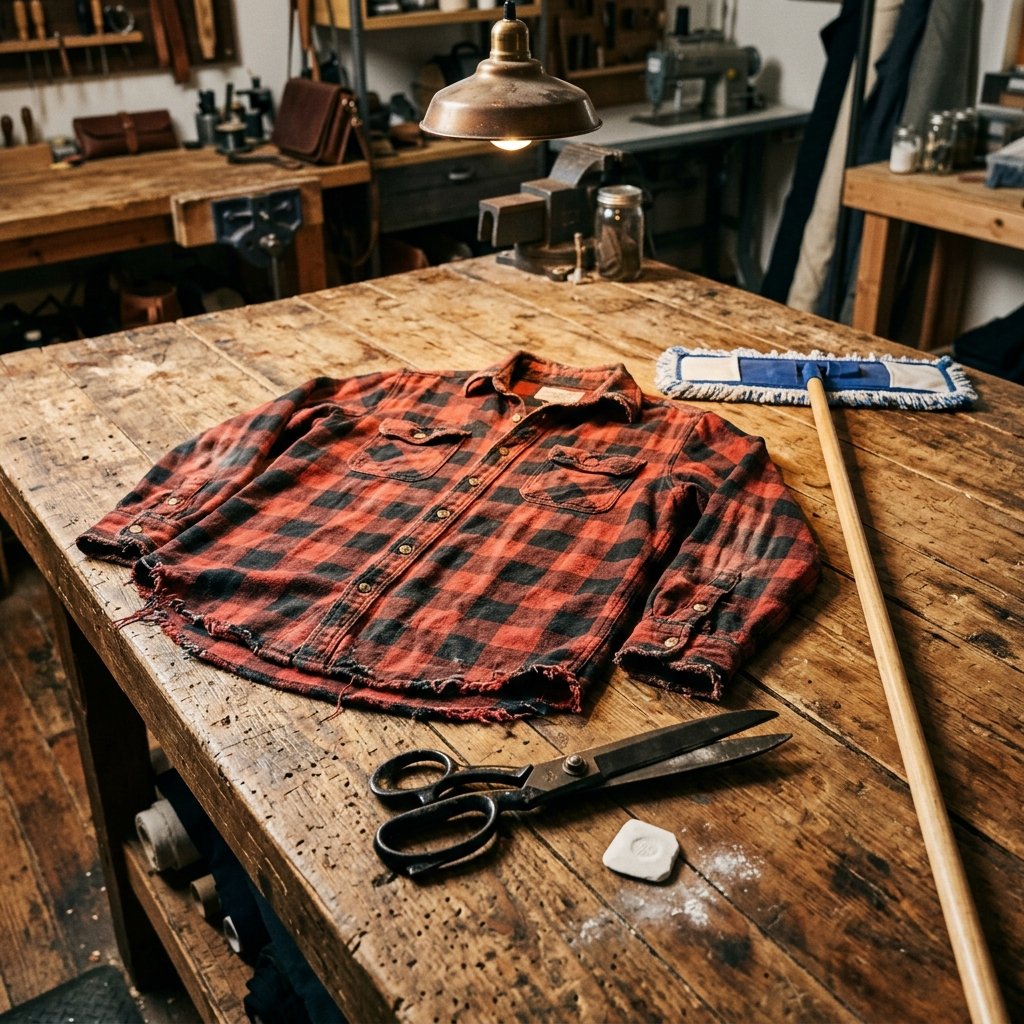
- Prep the Canvas: Button up your old flannel shirt and lay it completely flat on a large table or the floor. Smooth out any major wrinkles.
- Remove the Obstacles: Using your fabric shears, carefully cut away the collar, the cuffs, and the thick button placket down the front. Toss these into your scrap bin (they make great grease rags for the garage!).
- Drafting the Pattern: Using your ruler and chalk, mark out rectangles on the front and back panels of the shirt. For a standard sweeper, your rectangles should measure exactly 10 inches wide by 12 inches long.
- The Cut: Cut out your rectangles. If you are using pinking shears, cut exactly on the chalk line. The zig-zag edge will naturally stop the cotton from fraying in the washing machine. If you are using straight scissors and plan to hem the edges, add an extra 0.5 inch to all sides for a seam allowance.
Maximize your fabric yield by cutting smaller squares from the sleeves; these make excellent reusable dusting cloths for furniture and dashboards!
The Construction Phase: Sewing and No-Sew Assembly Methods
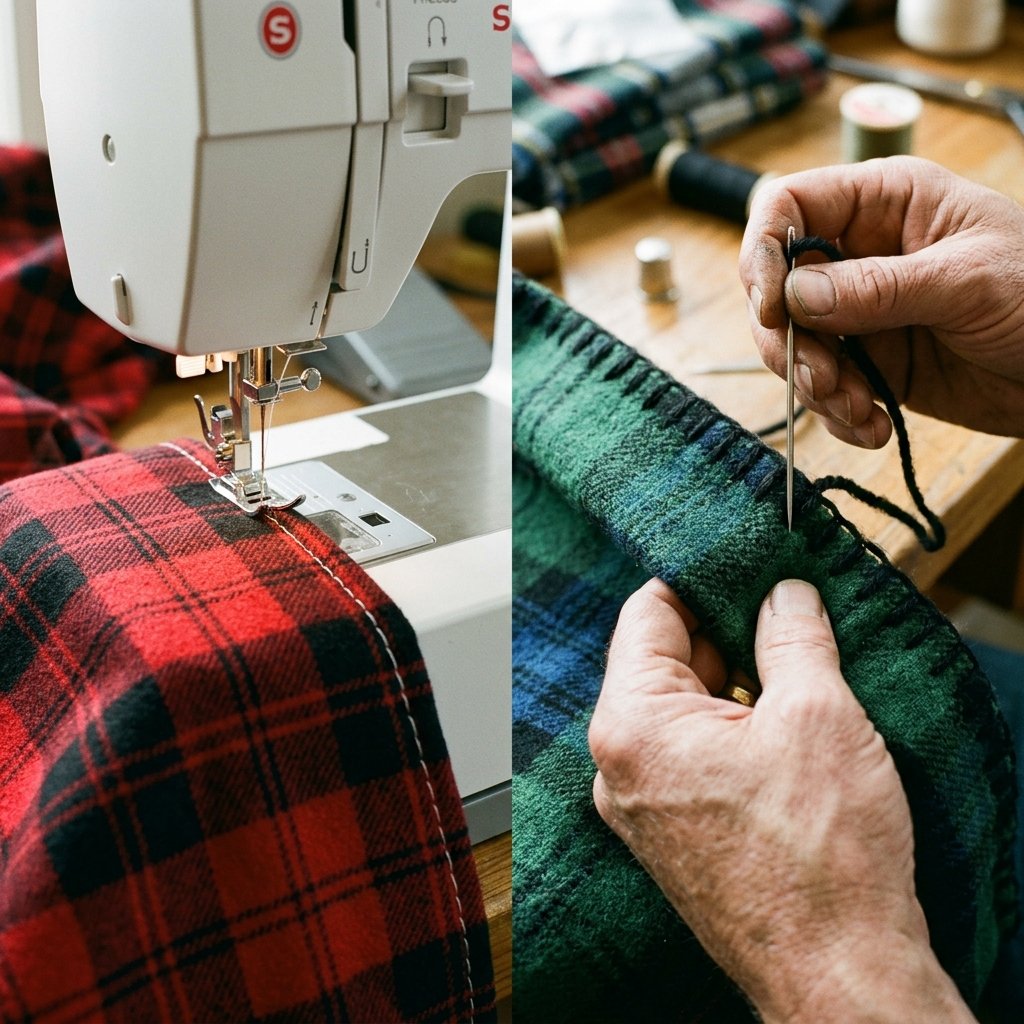
Method 1: The Craftsman’s Machine Hem (Most Durable)
If you want these pads to survive hundreds of heavy-duty wash cycles, a machine-finished edge is your best bet.
- Take your cut flannel rectangle and fold the edges inward by 0.25 inches, then fold them over one more time to hide the raw edge.
- Pin the edges in place.
- Using a standard straight stitch or a zig-zag stitch, sew all the way around the perimeter of the rectangle. Be sure to backstitch at the corners for reinforced strength.
Method 2: The Grandma’s Secret Hand-Stitch (No Machine Required)
Do not have a sewing machine? No problem. Hand-sewing is a practical, meditative skill.
- Thread a needle with heavy-duty upholstery thread or doubled-up standard thread.
- Fold the raw edges over once (about 0.5 inches).
- Use a classic whipstitch or a blanket stitch around the perimeter. The blanket stitch not only secures the edge but adds a fantastic, rustic, masculine-elegant look to your cleaning gear.
Method 3: The Ultimate Frugal No-Sew Hack
Short on time? The pinking shear method mentioned earlier is your fastest route. Simply cutting the flannel with pinking shears creates a zig-zag edge that resists fraying. Over time, the edges may soften and fray slightly, but they will not unravel completely. Alternatively, you can run a thin bead of washable fabric glue along the raw edge and let it dry overnight to seal the fibers completely.
Rugged Upgrades: Adding Scrubbing Strips for Heavy-Duty Messes
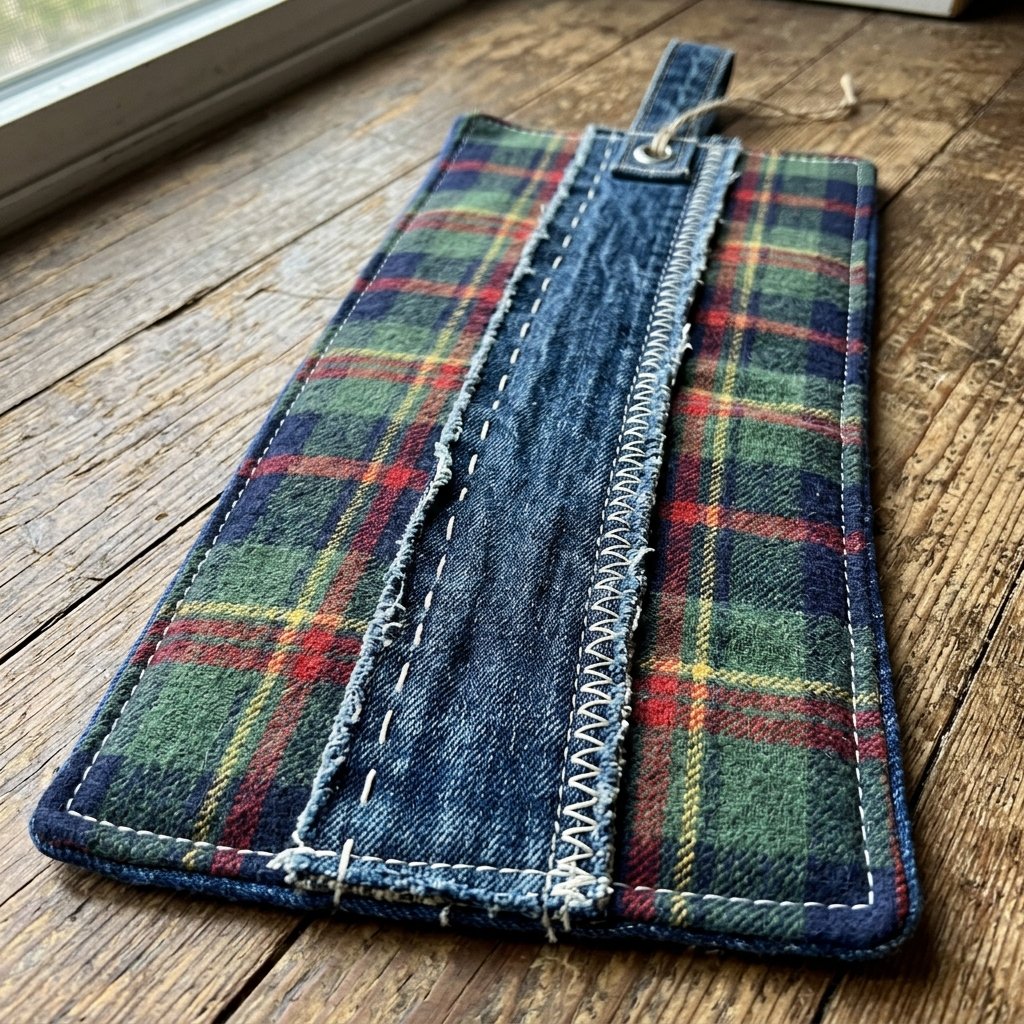
How to Add Denim Scrubbers
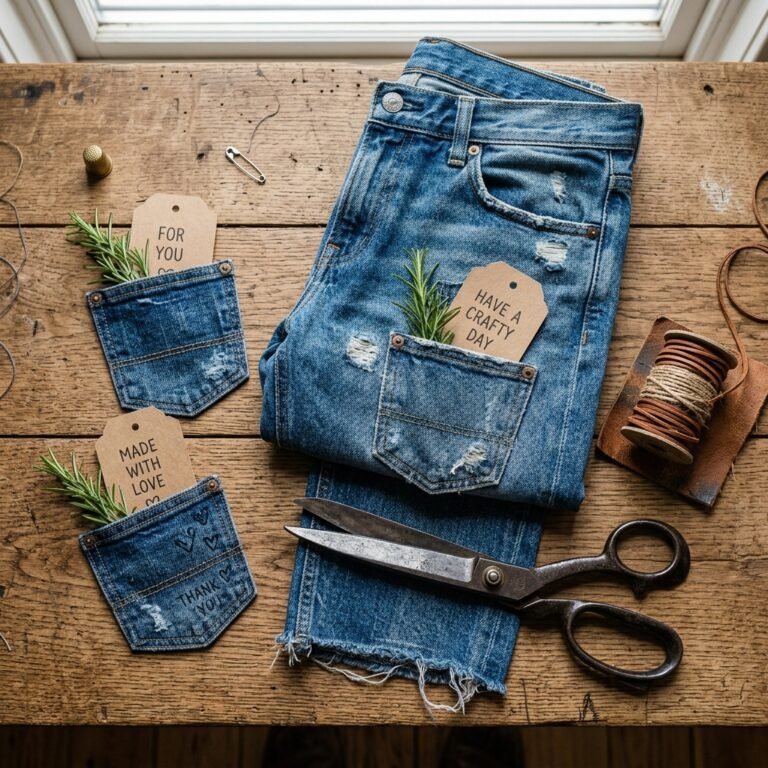
- Harvest the Denim: Cut a strip of thick denim from the hem or seam of an old pair of jeans. The strip should be 1 inch wide by 8 inches long.
- Positioning: Pin the denim strip horizontally across the center of your flannel pad (this is the area that will make direct contact with the floor).
- Securing the Scrubber: Sew the denim strip down securely, stitching around all four edges of the strip. For extra durability, sew an ‘X’ pattern through the center of the denim strip to anchor it flat against the flannel.
When you encounter a tough spot on the floor, the soft flannel will glide over it, while the raised, rugged denim strip will provide the necessary abrasive friction to lift the grime without scratching your hardwood. It is a resourcefully creative solution that rivals any commercial scrubbing pad on the market.
Maintenance Protocol: Washing and Caring for Your Upcycled Gear
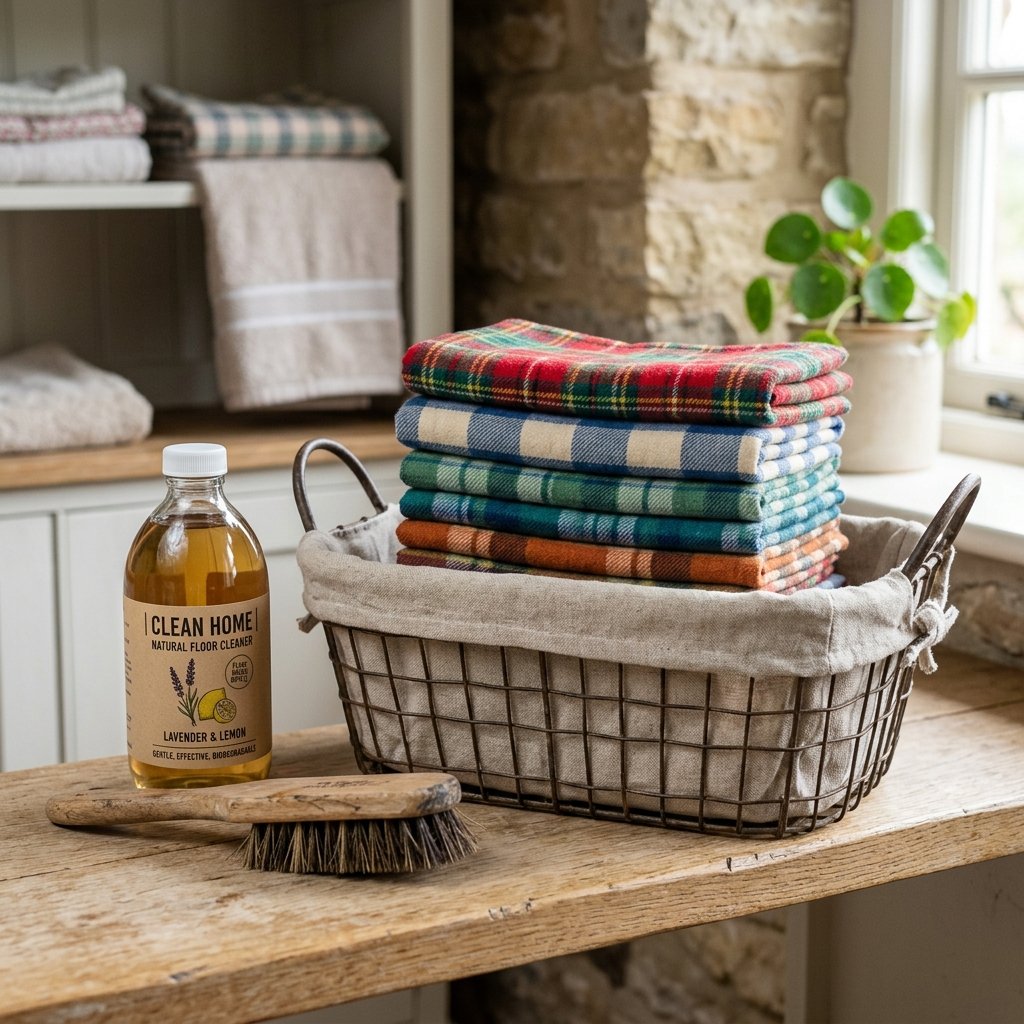
The Workshop Washing Guide
- Shake It Out: After sweeping, take the flannel pad outside and give it a vigorous shake to release loose dust, dirt, and pet hair. You can also use a stiff-bristled utility brush to scrape off stubborn debris into the trash.
- The Wash Cycle: Toss the dirty pads into the washing machine. Wash them in warm water with your regular laundry detergent.
Important Safety Note: NEVER use fabric softener or dryer sheets when laundering your reusable duster pads! Fabric softeners coat the cotton fibers in a waxy residue, completely destroying their ability to generate static electricity and absorb moisture.
- Drying: Tumble dry on low heat or, for maximum longevity, hang them on a clothesline to air dry. The sun acts as a natural antibacterial agent, keeping your cleaning gear smelling fresh.
By keeping a dedicated stack of 8 to 10 upcycled pads in a basket next to your broom closet, you will always have a fresh, clean sweeper ready for action, completely eliminating the panic of realizing you are out of expensive disposable refills.
Conclusion

Makenzie is the founder and lead writer at MoneyHackTips.com — a personal finance blog dedicated to delivering street-smart financial wisdom for real people on real budgets. With 300+ published articles covering everything from debt management to investing fundamentals, Makenzie’s mission is to make every dollar work harder. When not writing about money hacks, Makenzie is testing frugal living strategies, optimizing side hustles, and helping readers build financial freedom from scratch.