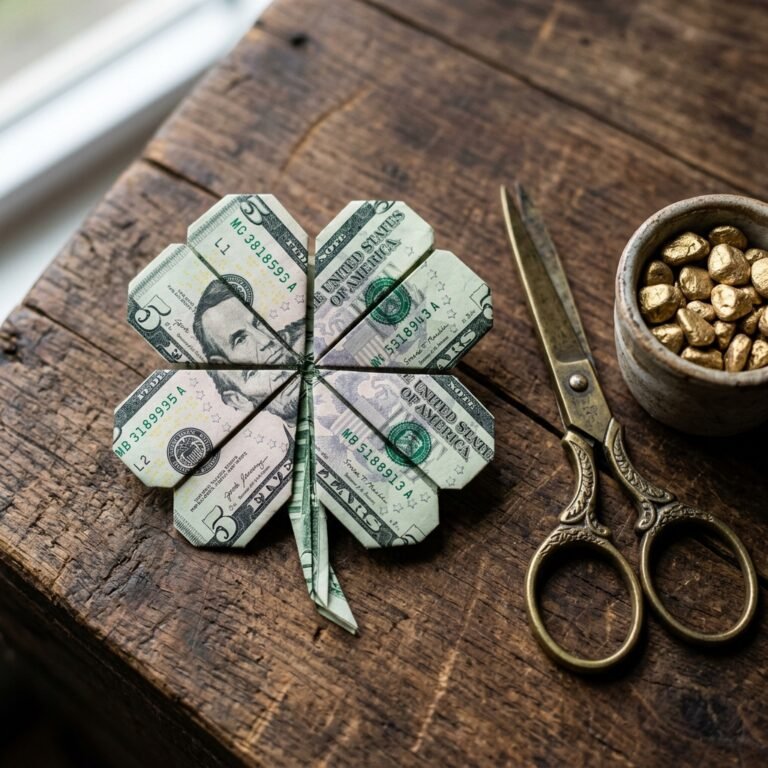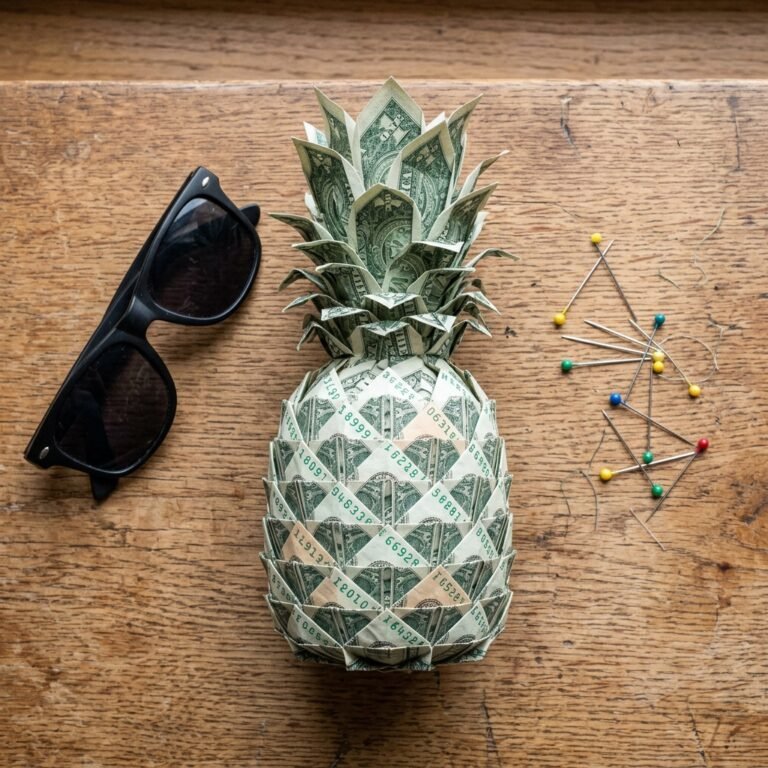

Let’s face a universal truth of gift-giving: cash is the ultimate king. Whether you are celebrating a recent high school graduate, honoring your dad on Father’s Day, or contributing to a budget-savvy bride’s honeymoon fund, cash is always the right size, the perfect color, and entirely immune to supply chain delays. However, as resourceful and practical as handing over a twenty-dollar bill might be, the execution often falls flat. Slipping a bill into a generic, store-bought greeting card feels impersonal, rushed, and frankly, a little boring.
But what if you could take that exact same monetary value and elevate it into a handcrafted masterpiece? Enter the world of money origami. As frugal DIYers and clever crafters, we know that presentation is everything. By investing just 5 minutes of your time and utilizing a zero-budget crafting technique, you can transform a flat piece of currency into a ruggedly elegant, three-dimensional work of art.
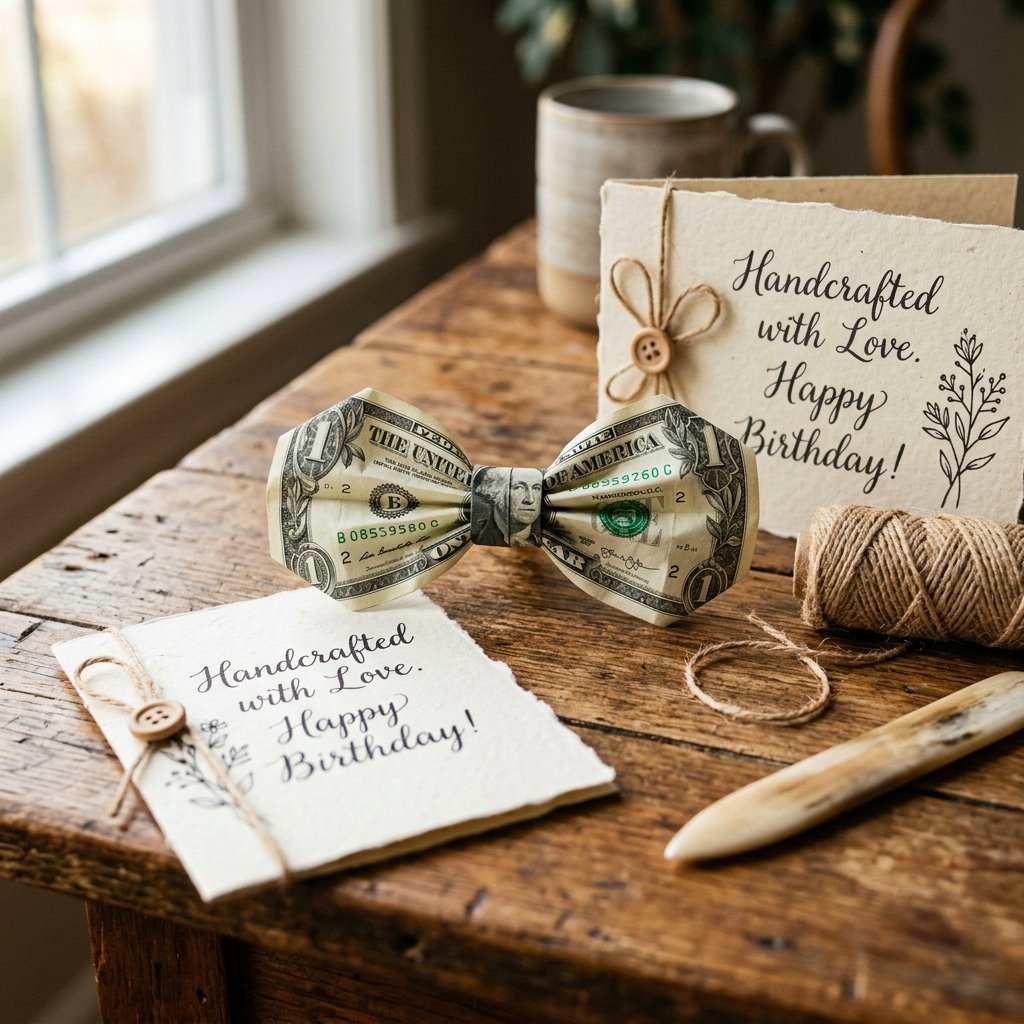
Today, we are diving deep into the art of the Money Origami Bow Tie. This masculine-elegant, highly versatile fold is the perfect way to say “I care about you enough to craft something special, but I also know you just want cash.” It is a resourceful, zero-waste gift that guarantees a smile, a chuckle, and a genuine moment of appreciation. Whether you are a master upcycler or someone who claims they cannot fold a paper airplane to save their life, I promise you can master this. Grab a crisp bill, clear off a spot on your crafting table, and let’s turn that cash into a dapper treasure!
Setting the Stage: Preparing Your Canvas and Choosing the Right Bill

Before we make our first fold, we need to talk about our materials. In traditional origami, you would use perfectly square, thin paper. With money origami, our canvas is a rectangular piece of cotton-linen blend fabric (yes, US currency is actually 75% cotton and 25% linen!). This rugged material holds creases beautifully, but it also means that the condition of your bill dictates the crispness of your final bow tie.
The Quest for the Crisp Bill
For the best, most professional-looking results, you want an uncirculated or lightly circulated bill. A crumpled, soft, well-loved dollar bill from the bottom of your purse will result in a floppy, sad-looking bow tie. Here is how a crafty expert secures the best materials:
- The Bank Teller Trick: Frugal gift-givers know that a quick trip inside the bank (skip the ATM) is worth the effort. Politely ask the teller for “crisp, newly minted bills.” They are usually more than happy to oblige, especially around graduation and holiday seasons.
- The Ironing Hack: If you only have slightly wrinkled bills on hand, you can resourcefully restore them.
Safety Note: Never apply a hot iron directly to currency, as you can scorch the fibers or melt security threads in higher denominations. Place the bill under a piece of plain cotton fabric (like a flour sack towel) and iron on a low, dry heat setting for 10 to 15 seconds.
- The Heavy Book Method: If you have time to spare, lightly mist the bill with a microscopic amount of water, place it between two pieces of parchment paper, and stick it inside a heavy encyclopedia or under a stack of crafting books overnight.
Tools of the Trade
While your hands are your primary tools, a resourceful crafter knows that a little leverage goes a long way. To get those razor-sharp, high-end folds, consider using a bone folder (a staple in any paper crafter’s toolkit). If you don’t have one, don’t rush out to buy one! A simple plastic credit card, the smooth back of a butter knife, or a guitar pick works just as well to burnish your edges.
The Visual Impact: Selecting Your Denomination

One of the most clever aspects of money origami is how the design of the currency interacts with the folds. Because the US Treasury places portraits, numbers, and security features in specific locations, the denomination you choose will drastically change the look of your finished bow tie. Some bills create a perfect numeric centerpiece in the knot, while others feature flashes of color on the bow loops.
As a budget-savvy gift giver, you might be deciding between giving a single large bill or multiple smaller ones. Here is a handy breakdown of how different bills behave when folded into our dapper bow tie shape.
| Denomination | Knot Appearance (Center) | Overall Visual Impact & Best Occasion |
|---|---|---|
| $1 Bill | George Washington’s eye or the “ONE” text, depending on orientation. | Classic greenback look. Great for practice, kids’ tooth fairy gifts, or stringing multiple together for a garland. |
| $5 Bill | Lincoln’s face or the purple “5” watermark. | Subtle purple and gray hues on the loops. Perfect for a budget-friendly stocking stuffer or casual thank-you. |
| $10 Bill | Hamilton’s portrait or the bright orange “10”. | Warm orange and red undertones give this bow tie a fiery, festive look. Excellent for a high school graduation card. |
| $20 Bill | Jackson’s face or the green eagle. | Rich greens and subtle peach tones. The standard for college graduations and solid Father’s Day gifts. |
| $50 Bill | Grant’s face or the blue/red star elements. | Striking blue and red background elements make this a very patriotic, high-end looking fold. |
| $100 Bill | The 3D blue security ribbon often lands right on or near the knot! | The ultimate flex. The blue ribbon and copper ink well make this look like a million bucks. Ideal for weddings. |
If you are creating a gift for a wedding, folding a $100 bill is an incredible way to present your contribution. The blue security ribbon adds a striking pop of color that looks incredibly intentional and sophisticated.
Step-by-Step Folding Instructions: Crafting the Bow Tie
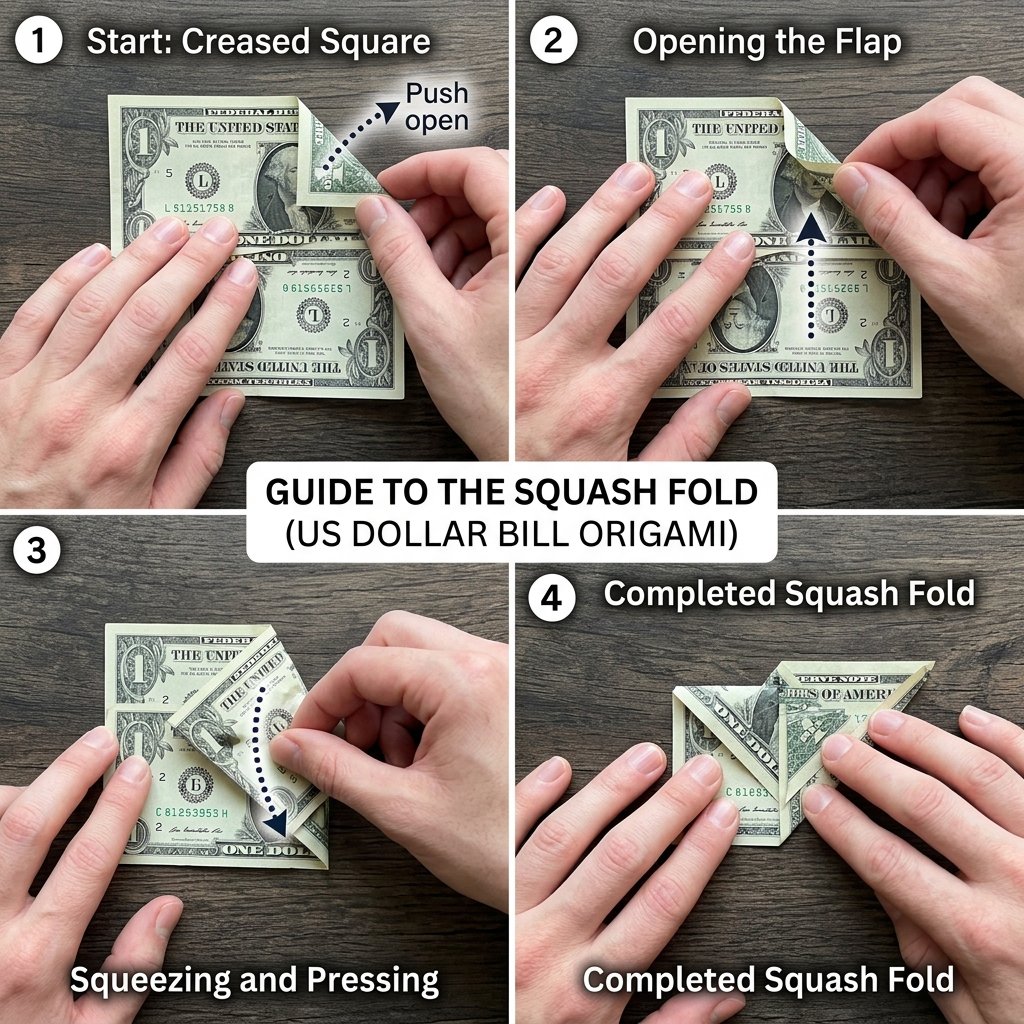
Now comes the fun part! Clear your workspace, wash and dry your hands (oil and dirt are the enemies of crisp paper crafts), and let’s get folding. Take your time with these steps. The secret to an elegant, expensive-looking money origami piece is symmetry and sharp creases. Remember our frugal crafting mantra:
“Measure twice, fold once, and always crease with confidence!”
Follow these detailed steps carefully. We will be using the standard orientation of the bill (face up) as our starting point.
- The Initial Center Crease: Lay your crisp bill perfectly flat on your table, face up (the President looking at you). Fold the bill in half lengthwise (hotdog style), bringing the bottom edge up to meet the top edge perfectly. Crease it sharply with your bone folder or thumbnail. Unfold the bill. You now have a distinct horizontal center guideline.
- Folding the Edges Inward: Take the top edge of the bill and fold it down so it perfectly aligns with the center crease you just made. Do the same with the bottom edge, folding it up to meet the center crease. Your bill should now be half its original height, with a seam running down the middle.
- The Vertical Half-Fold: Fold the entire piece in half crosswise (hamburger style), bringing the left edge over to meet the right edge. Crease the folded edge firmly.
- Creating the Triangle Points: Orient the folded bill so the folded edge is facing up, and the open edges are pointing down towards you. Take the top left corner (at the folded edge) and fold it down diagonally to meet the vertical center line, creating a triangle. Repeat with the top right corner. It should look like the nose of a paper airplane.
- The Preparatory Crease for the Knot: This step is crucial for the bow tie’s center knot. Look at the bottom edge of the triangle you just created. Fold the entire top triangle section down over itself along that bottom edge. Crease it very hard, then unfold it back to the “paper airplane” shape. This creates a horizontal crease that will guide our squash fold.
- Opening and the Squash Fold (The Magic Step): Unfold the two triangle corners you made in Step 4. Now, carefully open the main vertical fold (from Step 3) slightly. Look at the top center of the bill where all your creases intersect. Push down gently on the top center edge while pulling the sides apart. The paper will naturally want to collapse along the creases you made. Guide it to collapse flat into a small square or diamond shape in the center. This square is the knot of your bow tie!
- Thinning the Loops: Flip the entire piece over. You will see the square knot in the center and two wide rectangular flaps on the sides. To give the bow tie its classic shape, we need to narrow the center. Fold the top and bottom edges of the rectangular flaps inward, tucking them slightly under the edges of the center square knot. This narrows the “fabric” near the knot while leaving the ends wide.
- Locking the Shape: Flip the bow tie back over to the front. To make the edges look finished and tailored, fold the far left and far right raw edges inward by about a quarter of an inch. Crease sharply.
- Fluffing the Bow: Right now, your bow tie is perfectly flat. To give it that dapper, 3D masculine-elegant look, gently squeeze the top and bottom edges of the side loops. This will cause the center of the loops to pop up slightly, giving it volume and life.
Congratulations! You have just transformed standard currency into a work of art in under 5 minutes. If your first attempt feels a little wonky, don’t be discouraged. Just unfold the bill, smooth it out, and try again. Practice makes perfect, and luckily, your crafting materials are 100% reusable!
Creative Presentation: Elevating Your Cash Gift

You have folded a beautiful, crisp money origami bow tie. Now, handing it over loosely in your palm entirely defeats the purpose of our crafty endeavor! A resourceful upcycler knows that the presentation is just as important as the gift itself. Here are some clever, budget-savvy ways to present your origami masterpiece that will leave the recipient in awe.
The “Dressed Up” Greeting Card
Don’t buy a $6 greeting card when you can make a custom one for pennies. Take a piece of high-quality cardstock (kraft paper works beautifully for a rugged, masculine look). Fold it in half. Using a fine-tip black marker, draw a simple tuxedo shirt collar and some buttons down the front. Use a tiny dab of removable glue dot (or rolled up painter’s tape) to attach your money bow tie right below the collar. It instantly turns the card into a 3D tuxedo! This is incredibly popular for Father’s Day and groomsmen proposals.
The Top-Shelf Bottle Adornment
If you are gifting a bottle of whiskey, craft beer, or small-batch hot sauce to a handy dad or a bearded buddy, ditch the cheap paper gift bag. Instead, tie a piece of rustic jute twine or leather cord around the neck of the bottle. Attach your money bow tie to the cord using a mini wooden clothespin. It adds a touch of masculine elegance and instantly upgrades a $15 bottle of bourbon into a thoughtful, personalized gift package.
The Frugal Wedding Shadow Box
For budget brides or couples asking for a honeymoon fund, give them something they can display before they spend it. Purchase a cheap $1.25 shadow box frame from the Dollar Tree. Remove the glass and paint the frame a chic matte black or distressed white using the baking soda paint trick. Pin your $50 or $100 money bow tie to the fabric backing, and write a beautiful note like, “To help you tie the knot!” below it. It costs you less than $2 in supplies, but looks like a premium, custom-framed piece of art.
The Origami Shirt Pairing
If you want to take your origami skills to the absolute limit, you can fold a second bill into an origami collared shirt! The bow tie we just learned fits perfectly under the collar of a money origami shirt. Tucking a $10 bow tie into a $20 shirt gives you a $30 gift that is guaranteed to be the most photographed present at the graduation party.
Troubleshooting Common Money Origami Mistakes

Even the most seasoned frugal crafters run into a snag now and then. Currency paper is tough, but it can be stubborn. If your bow tie isn’t looking quite ready for the red carpet, don’t panic. Here is a practical guide to troubleshooting common folding woes and fixing them without ruining your cash.
Problem 1: The Knot is Crooked or Off-Center
This is the most common issue and it stems from rushing the early steps. If your initial horizontal and vertical creases (Steps 1 and 3) were not perfectly aligned, the squash fold in the center will be lopsided.
The Fix: Unfold the bill back to Step 2. Re-align your edges, ensuring there is no overlap. Use your bone folder to make the new creases dominant. When you get back to the squash fold, take it slow, pinching the center to ensure the diamond shape is perfectly symmetrical before pressing it flat.
Problem 2: The Loops are Too Fat or Bulky
If your bow tie looks more like a wrapped piece of candy than a tailored accessory, you likely didn’t fold the back flaps in far enough during Step 7.
The Fix: Flip the bow tie over. Unfold the top and bottom edges of the rectangular flaps. Fold them deeper towards the center horizontal line, tucking them tightly under the center knot. The narrower you make the back flaps, the more pronounced and elegant the bow tie loops will appear from the front.
Problem 3: The Bill Feels Too Thick to Fold
Older bills that have been exposed to humidity, dirt, and oils can swell slightly, making intricate folds difficult and resulting in “spongy” creases that won’t stay flat.
The Fix: This is where the ironing trick mentioned in Section 1 saves the day. If you are mid-fold and struggling, place the partially folded bill under a heavy book for 10 minutes. The weight will compress the fibers and set the creases, making the subsequent folds much easier to manage.
A Note on Unfolding
Part of being a considerate gift-giver is ensuring the recipient can actually use the gift! When they are ready to spend the cash, advise them to unfold it gently, reversing the steps. If the bill is heavily creased and a store clerk gives them a hard time (which is rare, but happens), they can easily use the low-heat iron trick to flatten it completely back to its original state. No harm, no foul, and 100% of the value is retained!
Conclusion
There you have it—the ultimate, resourceful, and incredibly clever way to upgrade a mundane cash present into a thoughtful, handcrafted keepsake. By taking just a few minutes out of your day and applying a bit of frugal DIY magic, you have created a money origami bow tie that speaks volumes about your creativity and care. It is practical, it is masculine-elegant, and best of all, it costs absolutely nothing extra to make!
Whether you are pinning it to a Father’s Day card, tying it around a graduation gift, or framing it for a wedding, this little paper masterpiece is guaranteed to be a hit. So the next time you find yourself reaching for a boring store-bought envelope to stuff a twenty-dollar bill into, stop! Grab your bone folder, find a crisp bill, and fold your way to a more memorable, budget-savvy gift. Happy crafting, and remember: the best gifts are the ones made with a little bit of heart and a lot of clever resourcefulness!

Makenzie is the founder and lead writer at MoneyHackTips.com — a personal finance blog dedicated to delivering street-smart financial wisdom for real people on real budgets. With 300+ published articles covering everything from debt management to investing fundamentals, Makenzie’s mission is to make every dollar work harder. When not writing about money hacks, Makenzie is testing frugal living strategies, optimizing side hustles, and helping readers build financial freedom from scratch.