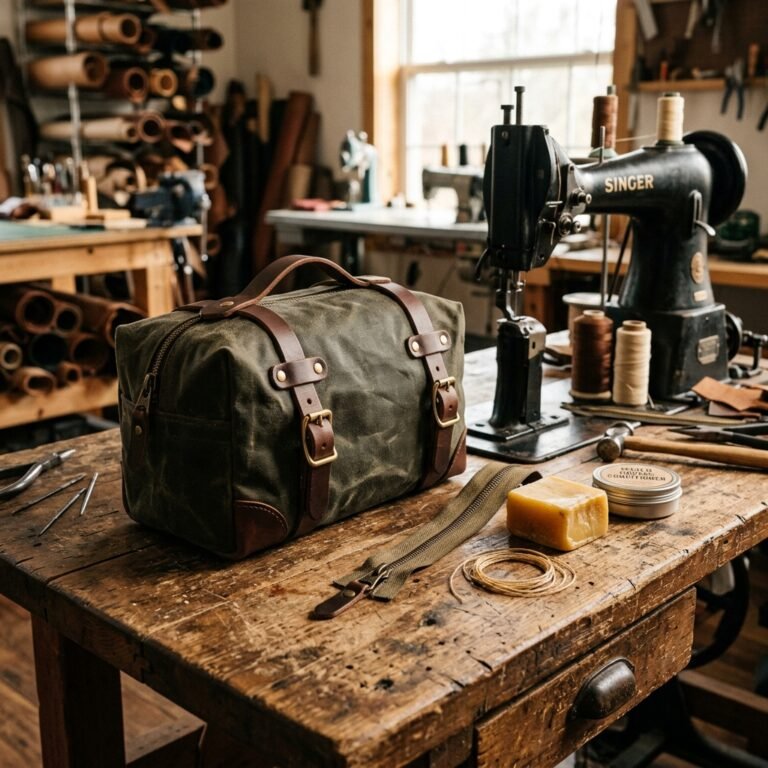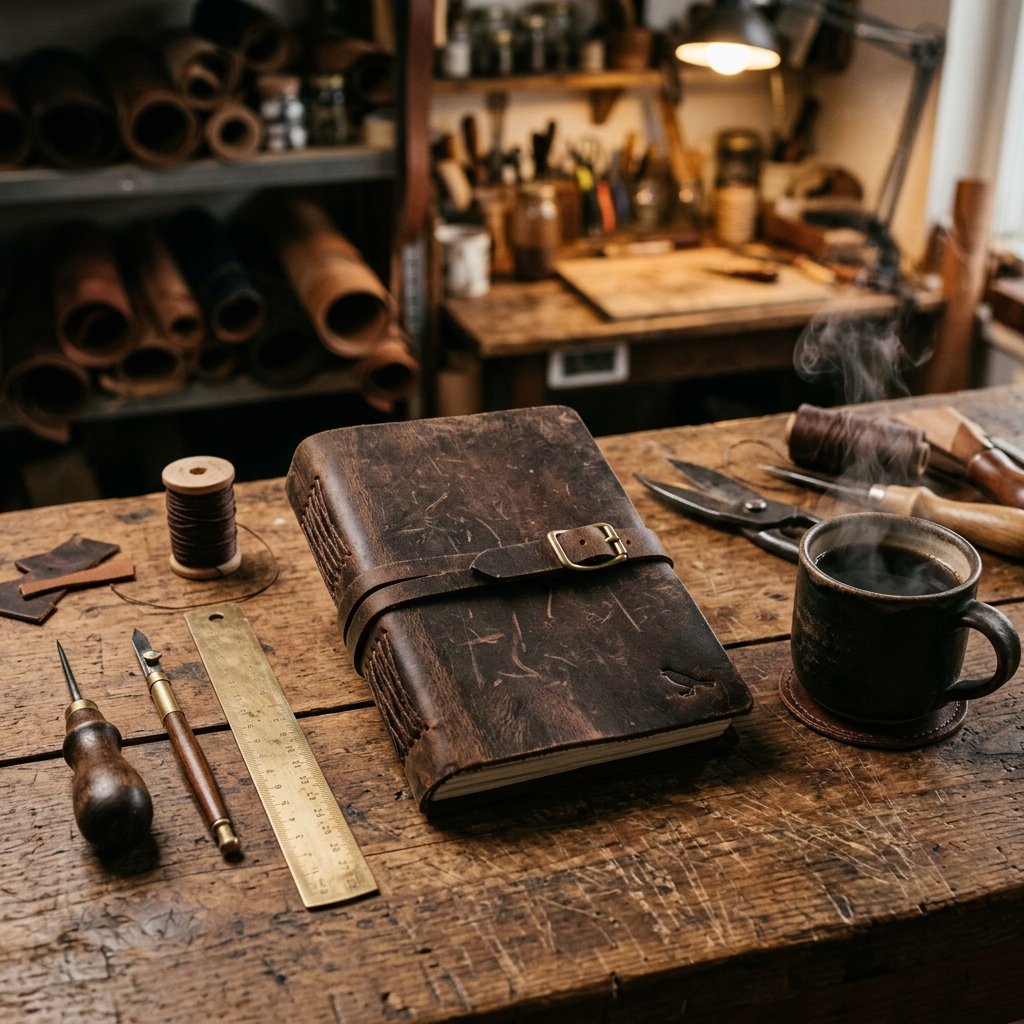

Let us be brutally honest: finding the perfect gift for the men in our lives can be an incredibly daunting task. The stores are flooded with generic gadgets, overpriced grooming kits, and novelty mugs that inevitably end up collecting dust in the back of a cabinet. If you are a crafty gift-giver, a frugal DIYer, or a budget-savvy partner looking to create something truly meaningful, you need a project that balances rugged masculinity with thoughtful craftsmanship. Enter the ultimate handmade gift: a stunning, heirloom-quality leather journal. Not only does this project scream bespoke luxury, but it is also surprisingly simple to master. In fact, you can complete this entire project in just 60 minutes.
This is not your average craft project. We are talking about genuine, rich leather, thick, tactile paper, and heavy-duty waxed thread. It is a gift that invites him to sketch, journal, plan, or simply jot down his brilliant ideas in a vessel that looks like it belongs in the satchel of an explorer. The best part? You do not need to spend $80 to $150 at a high-end boutique or artisanal market. By employing a few clever upcycling hacks and utilizing basic tools you likely already have in your craft arsenal, you can bring this project to life for a fraction of the cost—often under $10. Prepare to roll up your sleeves, embrace your inner leatherworker, and craft a deeply personal, remarkably practical gift that he will treasure for decades.
Sourcing the Hide Without Hiding Your Wallet: The Ultimate Budget Material Guide
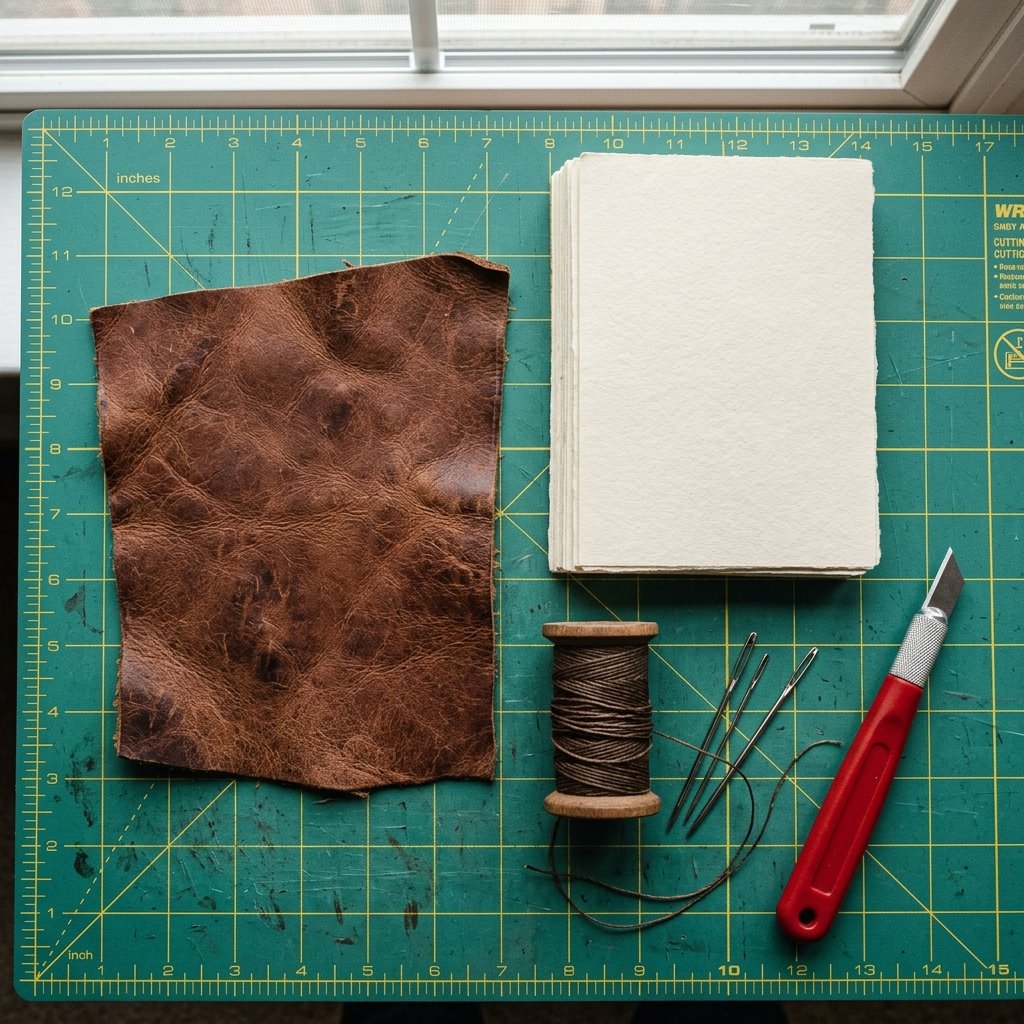
The foundation of any spectacular leather journal is, unsurprisingly, the leather itself. However, purchasing a brand-new side of full-grain leather from a specialty supplier can quickly obliterate your budget, costing upwards of $100. As resourceful DIYers, we know that true craftsmanship lies in the thrill of the hunt and the art of upcycling. You can source incredibly high-quality, beautifully weathered leather for mere pennies if you know exactly where to look.
The Thrift Store Leather Hack
Your local thrift store is a goldmine for premium leather. Head straight to the men’s outerwear or women’s handbag sections. Look for genuine leather jackets, skirts, or oversized bags that have seen better days. A single leather jacket, often priced around $5 to $15, can yield enough material to craft 5 to 10 journals! Look for the large, seamless panels on the back of the jacket. Ensure the leather is pliable and not dry-rotted. The existing scratches, scuffs, and natural patina will only add to the rugged, Indiana Jones-esque aesthetic of your finished journal.
Selecting the Perfect Paper
A journal is only as good as its pages. While standard printer paper is functional, it lacks the tactile luxury required for an heirloom gift. Instead, opt for heavyweight sketch paper, mixed media paper, or even watercolor paper. If you want to go the extra mile and create an antique, weathered look, you can easily coffee-dye your pages. Simply submerge your sheets in a shallow pan of strong, dark-roast coffee, let them soak for 2 minutes, and bake them in the oven at 200 degrees Fahrenheit until dry. The result is a crinkled, parchment-like texture that pairs beautifully with rustic leather.
| Material / Component | High-End Store Bought Cost | Frugal DIY Upcycled Cost |
|---|---|---|
| Genuine Leather Cover | $40.00 – $80.00 | $2.00 (Cut from thrifted jacket) |
| Premium Blank Pages | $15.00 – $30.00 | $4.00 (Sketchpad on sale) |
| Waxed Linen Thread & Binding | $10.00 – $20.00 | $1.50 (Craft store basic thread) |
| Total Estimated Cost | $65.00 – $130.00 | $7.50 |
Prepping the Pages: Folding and Trimming Your Paper Signatures

In the world of bookbinding, a “signature” is simply a group of sheets folded in half to create a small booklet. A standard leather journal is typically made up of multiple signatures sewn directly into the leather spine. This method ensures the journal opens flat and remains incredibly durable. For a substantial, satisfying journal, we will aim for 4 to 6 signatures, with each signature containing 5 to 8 sheets of paper.
Step-by-Step Signature Assembly
- Count and Stack: Take 6 sheets of your chosen paper and stack them perfectly flush.
- The Master Fold: Fold the entire stack in half horizontally (hamburger style). Use a bone folder, the back of a spoon, or the smooth handle of a heavy tool to crease the fold sharply. A crisp fold is essential for a professional finish.
- Trim the Edges: Because you are folding multiple sheets together, the inner pages will naturally protrude further than the outer pages, creating a staggered edge. For a pristine, modern look, clamp a metal ruler down and slice the edges flush with your craft knife. For a more rugged, historical look, leave them uneven or even tear the edges slightly using a wet paintbrush technique.
- Repeat: Create 4 to 5 identical signatures. Stack them together and press them under a heavy stack of books for 15 minutes to flatten the spines.
Crafty Expert Mantra: “Precision in the preparation creates perfection in the presentation. Take your time creasing those signatures—your future self will thank you when it comes time to stitch!”
Sizing and Slicing the Leather: Measuring for the Perfect Fit
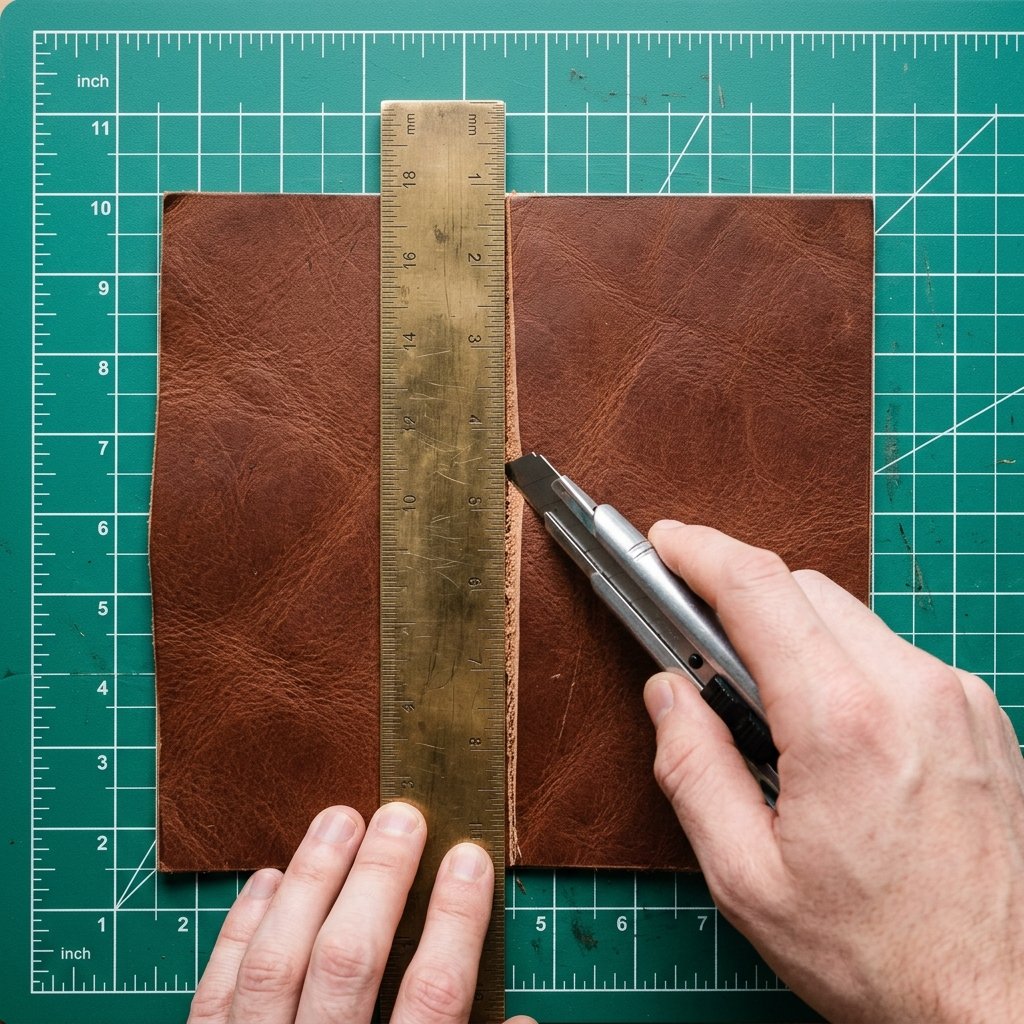
Now that your interior pages are prepped, it is time to cut the leather cover. This is where the magic happens, transforming raw material into a recognizable gift. The golden rule of leatherworking is simple: measure twice, cut once. Leather is unforgiving, and a misplaced cut cannot be easily undone.
Calculating the Cover Dimensions
To determine the exact size of your leather cover, you need to measure your folded signatures. Let us assume your folded pages are 5 inches wide by 7 inches tall. Your leather cover needs to wrap around these pages with a slight overhang to protect the paper edges.
- Height: Add 0.5 inches to the height of your pages. (e.g., 7 inches + 0.5 = 7.5 inches tall).
- Width: Multiply the width of your pages by two, add the thickness of your stacked signatures (the spine), and add 0.5 inches for the front and back overhang. (e.g., 5 + 5 + 0.5 spine + 0.5 overhang = 11 inches wide).
- Optional Flap: If you want a wrap-around closure flap (highly recommended for that rugged explorer vibe), add an extra 3 to 4 inches to the total width.
Making the Cut
Lay your leather flat on a self-healing cutting mat. Use a heavy brass or steel ruler to guide your blade. Never use a plastic ruler, as the knife will slice right into it.
Important Safety Note: Always use a fresh, sharp blade in your utility knife or rotary cutter. A dull blade requires more force, increasing the risk of slipping and causing serious injury. Keep your non-cutting hand firmly planted away from the blade’s path.
Take multiple light passes with the knife rather than trying to hack through the thick leather in one go. This technique ensures a clean, professional edge without any fraying or stretching.
The Art of the Awl: Marking and Punching the Binding Holes
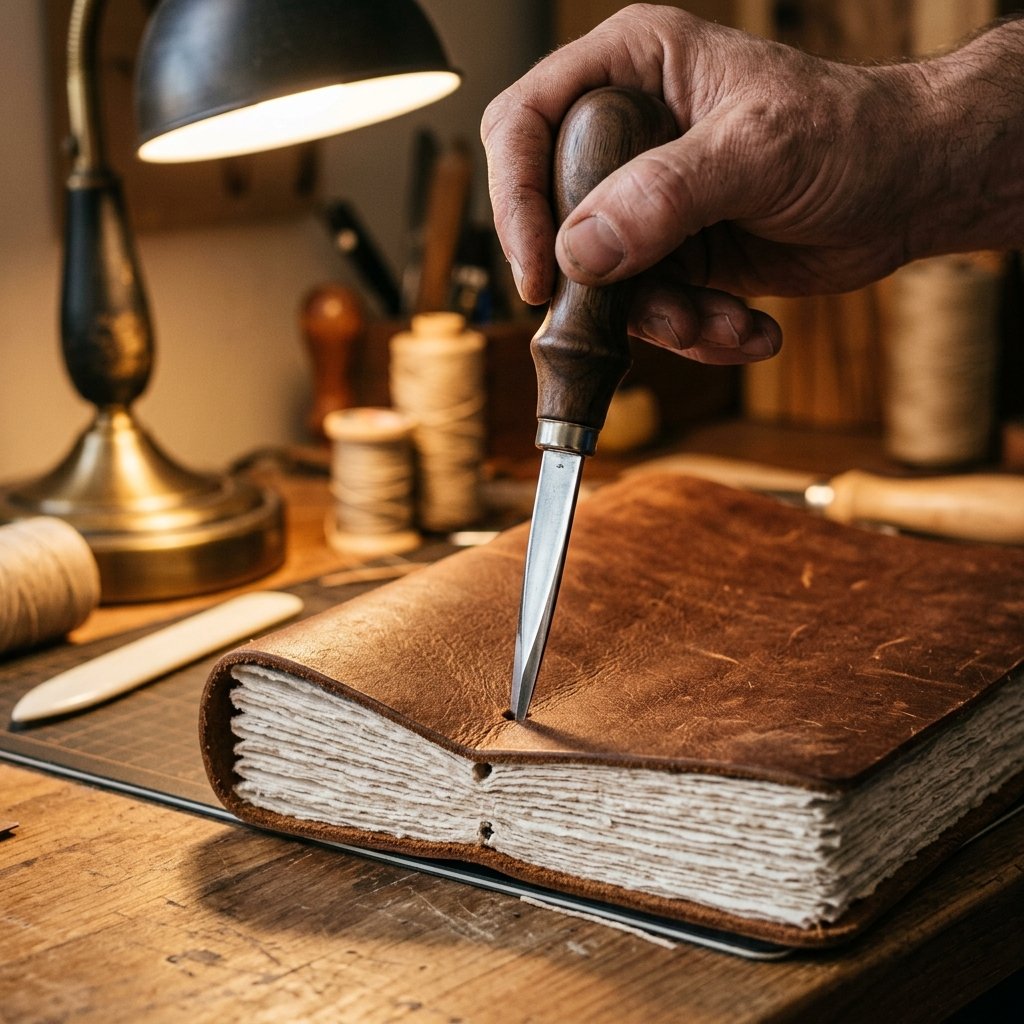
To attach the paper to the leather, we must create a series of precisely aligned holes. This step requires patience, but it is the secret to a journal that looks meticulously handcrafted rather than hastily assembled.
Creating the Punching Template
Do not attempt to freehand the holes. Instead, create a simple paper template. Cut a strip of scrap paper exactly the height of your pages. Mark 3 to 5 points evenly spaced along the strip. A classic three-hole pamphlet stitch is perfect for beginners: mark one hole in the exact center, one hole 1 inch from the top, and one hole 1 inch from the bottom.
Punching the Signatures
Open one of your folded signatures to the center spread. Lay your template along the crease. Using a bookbinding awl (or a clean, sharp nail if you are employing a budget-savvy hack), carefully pierce through the paper at your marked points. Repeat this for every signature, ensuring the template is facing the same direction each time.
Punching the Leather Spine
Next, find the center of your leather cover (the spine area). You will need to punch a column of holes for each signature you plan to include. If you have 4 signatures, you need 4 vertical columns of holes on the leather spine, spaced about 0.25 inches apart. Use your paper template to mark the vertical spacing. Place the leather on a scrap piece of wood or an old magazine, and drive your awl through the tough hide. Wiggle the awl slightly to ensure the hole is wide enough to accommodate your needle and thick waxed thread.
Rugged Binding Techniques: Stitching It All Together
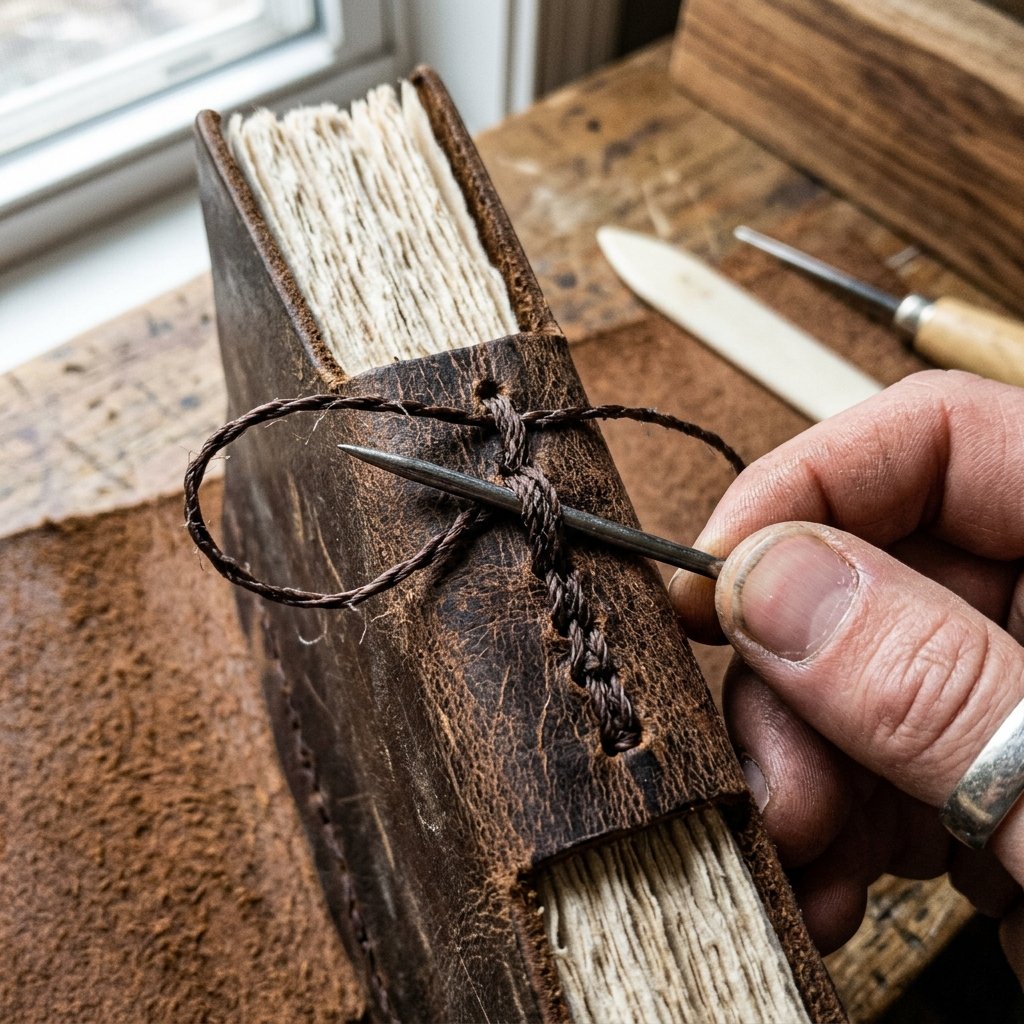
This is the moment your disparate materials become a cohesive, functional object. We will be using a variation of the traditional saddle stitch or a multi-signature pamphlet stitch. The key here is using the right thread. Standard sewing thread will snap under tension. You absolutely must use heavy-duty waxed linen or waxed polyester thread. The wax prevents tangling, adds immense strength, and locks the stitches in place.
The Figure-8 Pamphlet Stitch
Cut a length of waxed thread approximately three times the height of your journal. Thread a blunt tapestry needle or a specific leather harness needle.
- Start Inside: Take your first signature and line it up with the first column of holes on the leather spine. Push the needle from the inside of the signature through the center hole, passing through both the paper and the leather. Leave a 3-inch tail of thread inside the journal.
- Up and Over: Bring the needle up the outside of the leather spine and push it back inside through the top hole (piercing the leather and the paper).
- All the Way Down: Pull the thread taut. Now, skip the center hole and push the needle from the inside out through the bottom hole.
- Back to Center: Bring the thread up the outside of the spine and push it back inside through the center hole. Be careful not to pierce the thread that is already occupying that hole.
- The Tie-Off: You should now have both ends of the thread inside the center of the signature, with the long stitch running between them. Tie a firm, double square knot directly over the long stitch. Snip the ends, leaving about 0.5 inches for a rugged look.
Repeat this entire process for each signature, working your way across the leather spine. As you finish each section, you will see a beautiful, uniform row of stitches developing on the exterior spine—a true hallmark of handmade quality.
Next-Level Personalization: Stamping, Weathering, and Closure Straps
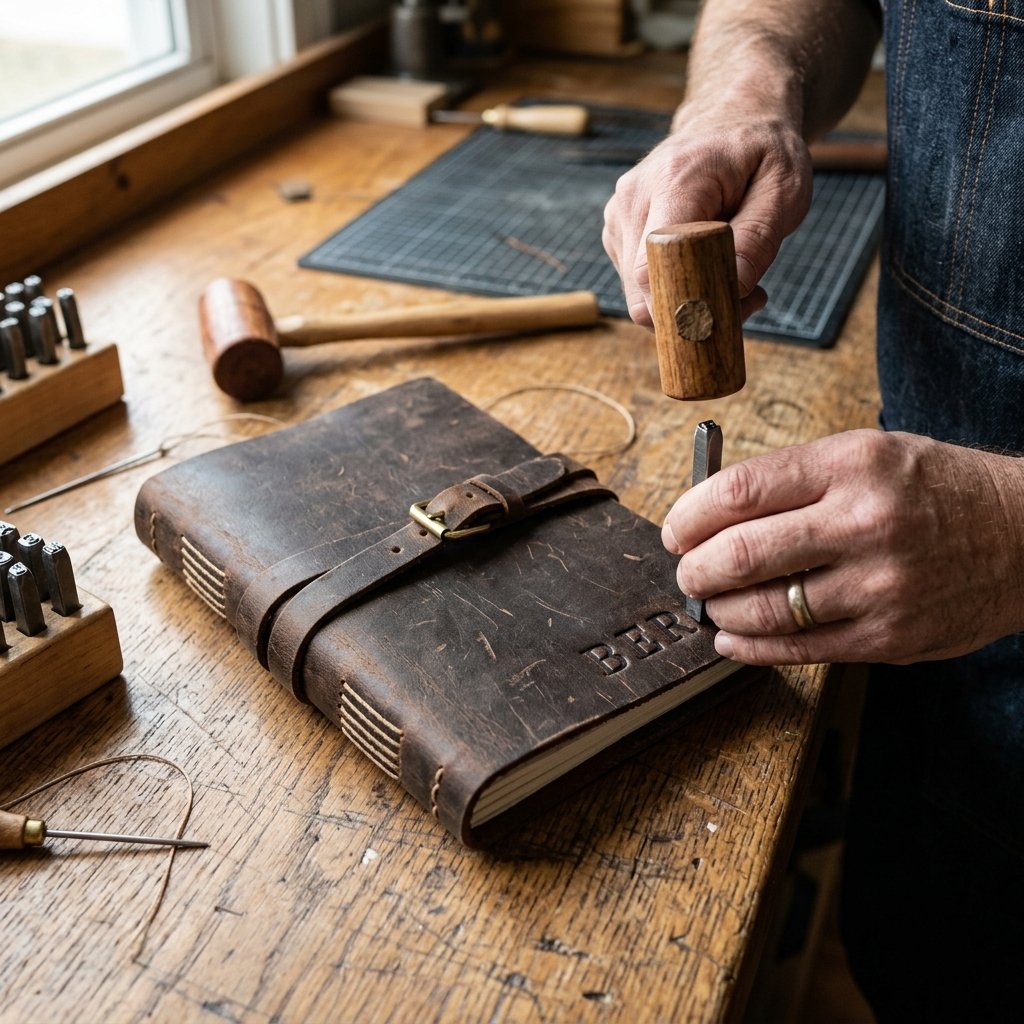
Your journal is now fully assembled and perfectly functional. However, to elevate this from a simple craft project to an unforgettable, personalized gift for him, we need to add a few masculine finishing touches. This is where you can truly let your creative, crafty-expert flag fly.
The Wrap-Around Strap Closure
If you left extra width on your leather cover, you can create a classic wrap-around strap. Using your craft knife, cut a long, thin strip of scrap leather (about 0.5 inches wide and 15 inches long). Cut a small slit in the front flap of your journal cover. Thread one end of the strap through the slit and secure it on the inside with a dab of strong leather glue or a single metal rivet. The strap can now be wrapped around the journal multiple times to keep it securely closed.
Custom Leather Stamping
Nothing says “bespoke” quite like a custom monogram. If you have a set of metal letter stamps (often found at craft stores or hardware stores for under $15), you can easily emboss his initials onto the cover. Slightly dampen the area of the leather you wish to stamp with a sponge. Place the metal stamp onto the leather and strike the top firmly with a mallet. The moisture helps the leather fibers compress and hold the shape of the letter perfectly.
Weathering and Conditioning
If your upcycled leather looks a bit too pristine, you can artificially age it. Take a piece of fine-grit sandpaper and lightly rough up the edges and the spine. Finally, rub a generous amount of leather conditioner, mink oil, or even a DIY beeswax balm into the cover using a soft cloth. This not only protects the leather but deepens the color, highlights the natural grain, and gives the journal an incredibly rich, luxurious scent. He will be absolutely blown away by the craftsmanship, and you will have the satisfaction of knowing you created a masterpiece on a shoestring budget.
Conclusion
And there you have it—a breathtaking, rugged, and profoundly personal gift crafted entirely by your own hands in just about an hour. By stepping outside the traditional retail box and embracing the frugal, resourceful spirit of upcycling, you have transformed an old thrifted jacket and a stack of paper into an heirloom-quality leather journal. This is not just a place for him to write; it is a testament to your creativity, your budget-savvy brilliance, and your willingness to craft something unique.
To present this masterpiece, skip the glossy store-bought wrapping paper. Instead, wrap the journal in brown kraft butcher paper, tie it off with a piece of rough jute twine, and tuck a sprig of fresh rosemary or a high-quality pen under the bow. The presentation will perfectly match the masculine, earthy aesthetic of the journal inside. Whether it is for Father’s Day, an anniversary, a graduation, or just because, this DIY leather journal is guaranteed to be the most memorable and cherished gift he receives this year. Now go forth, grab your awl, and start crafting your next masterpiece!

Makenzie is the founder and lead writer at MoneyHackTips.com — a personal finance blog dedicated to delivering street-smart financial wisdom for real people on real budgets. With 300+ published articles covering everything from debt management to investing fundamentals, Makenzie’s mission is to make every dollar work harder. When not writing about money hacks, Makenzie is testing frugal living strategies, optimizing side hustles, and helping readers build financial freedom from scratch.