
The Art of the Rugged Carry: Why DIY Beats Retail
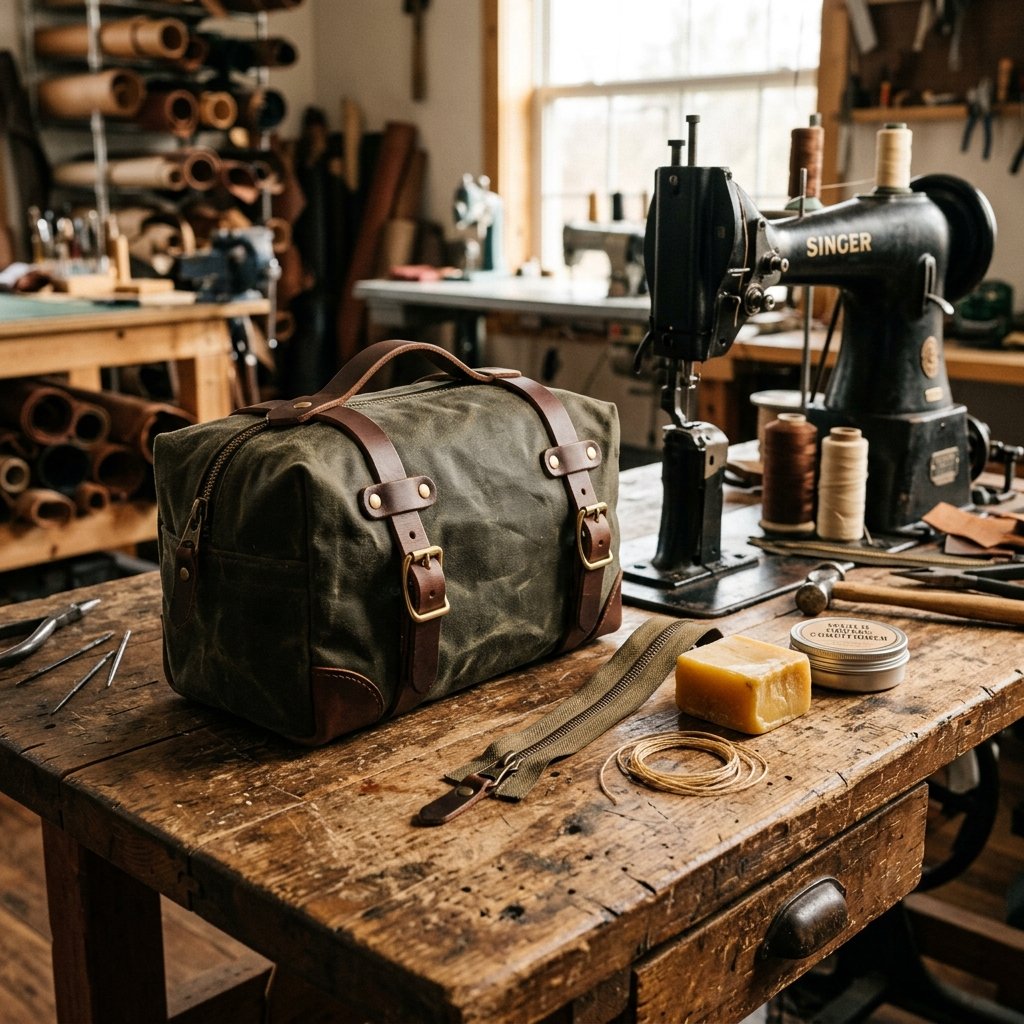
In a world of fast fashion and flimsy polyester, there is something deeply satisfying about a piece of gear that gains character with every mile it travels. The waxed canvas dopp kit is the quintessential masculine accessory—waterproof, durable, and possessing a patina that tells a story. However, if you step into a high-end boutique or browse heritage brands online, you will quickly realize that these simple bags often carry a price tag north of $80 to $120. For the frugal DIYer, that is not just a challenge; it is an invitation.
By sourcing your own heavy-duty cotton duck canvas and applying a custom wax blend, you can create a professional-grade toiletry bag for under $20. This project isn’t just about saving money; it’s about craftsmanship. We are going to build a kit that outlasts the store-bought versions, featuring reinforced seams, a heavy-duty brass zipper, and genuine leather accents. Whether you are crafting a thoughtful Father’s Day gift or upgrading your own travel kit, this guide will walk you through the rugged, practical steps of becoming a master of waxed canvas.
The Blueprint: Sourcing Heavy-Duty Materials on a Budget
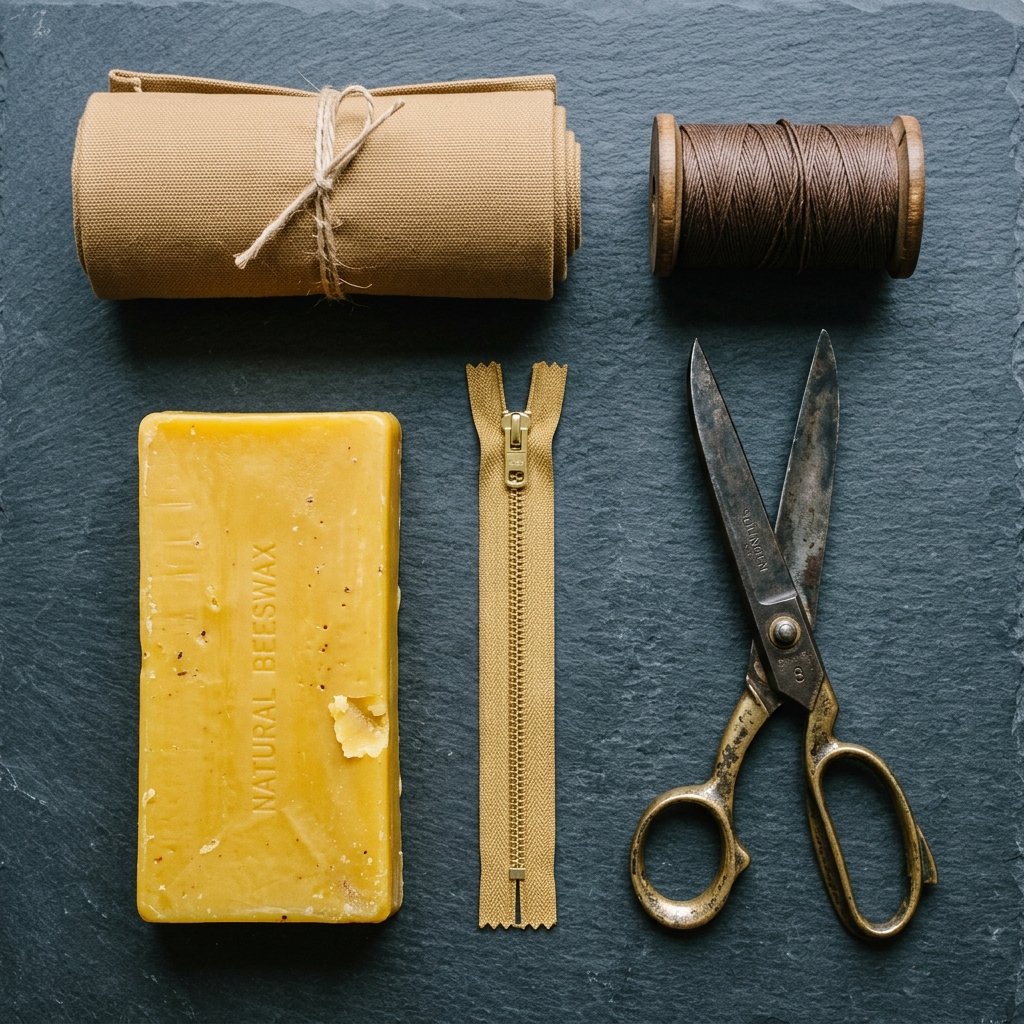
The secret to a high-end look is starting with the right foundation. You don’t need to buy expensive ‘designer’ fabrics. Instead, look for raw materials that have utility in their DNA. For this project, we are looking for 10oz to 14oz cotton duck canvas. You can often find this at fabric stores, but for the ultimate budget hack, consider upcycling a heavy-duty painter’s drop cloth or an old military duffel bag.
Essential Supply List
| Material | Purpose | Estimated Cost |
|---|---|---|
| 1/2 Yard Cotton Duck Canvas | Main body of the bag | $5.00 |
| 12-inch Brass Zipper | Heavy-duty closure | $4.00 |
| Beeswax & Paraffin Mix | Waterproofing/Waxing | $6.00 |
| Leather Scraps | Zipper pulls and handle | $2.00 (or free from old belts) |
| Heavy Duty Thread | Structural integrity | $2.00 |
When selecting your zipper, always opt for metal (brass or antique nickel). Plastic zippers are for gym bags; metal zippers are for heirlooms. For the leather accents, don’t buy a full hide. Check the ‘remnant’ bin at craft stores or, better yet, harvest leather from a worn-out thrift store belt. This adds an instant ‘broken-in’ charm to your project.
The Secret Sauce: Mastering the Art of DIY Fabric Waxing
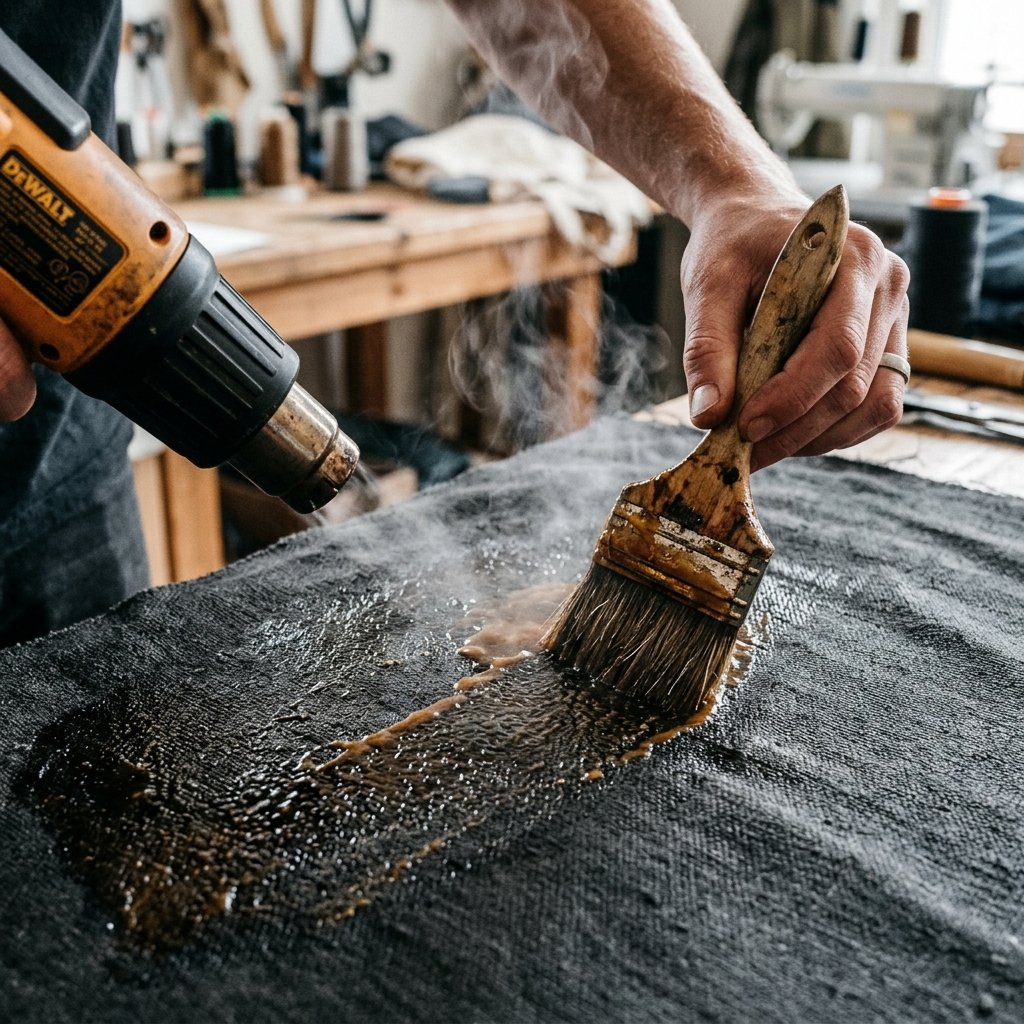
Buying pre-waxed canvas can be triple the price of raw canvas. By waxing it yourself, you control the finish and save significantly. Waxing provides a water-resistant barrier and gives the fabric that iconic ‘crinkle’ look known as pull-up. This is where the magic happens.
The 60/40 Formula
For the perfect balance of flexibility and waterproofing, use a ratio of 60% beeswax to 40% paraffin wax. Beeswax provides the grip and scent, while paraffin ensures the wax isn’t too sticky in warm weather.
- Melt the Wax: Use a double boiler (or a tin can inside a pot of water) to melt your wax blocks. Never melt wax directly over an open flame.
- Apply: Lay your canvas flat on a protected surface. Use a natural bristle brush to paint the molten wax onto the fabric in thin, even strokes.
- Drive it In: Use a high-heat hair dryer or a heat gun to melt the wax into the fibers. You will see the canvas darken as it absorbs the liquid.
- Cure: Hang the canvas in a warm, dry place for 24 hours. This allows the wax to set and the ‘tackiness’ to subside.
Safety Note: Always wax in a well-ventilated area and keep a fire extinguisher nearby when working with melted wax. Never leave melting wax unattended.
Measure Twice, Cut Once: Precision Prep for a Professional Finish

A dopp kit is essentially a 3D box made from 2D rectangles. To get that ‘rugged-elegant’ shape, we need to be precise with our measurements. For a standard-sized kit that fits a toothbrush, shaving cream, and pomade, follow these dimensions.
Cutting Dimensions
- Main Body (2 pieces): 12 inches x 10 inches.
- Side Pull Tabs (2 pieces): 2 inches x 4 inches.
- Main Handle (1 piece): 2 inches x 8 inches.
- Lining (Optional – 2 pieces): 12 inches x 10 inches (use a light cotton or nylon).
If you are using a heavy 14oz canvas, you may choose to skip the lining for a more ‘workwear’ feel. However, a lining helps protect the interior from spills. If you are a resourceful upcycler, an old flannel shirt makes an incredible, cozy lining for a masculine dopp kit.
The Assembly Line: Stitching Your Way to a Rugged Masterpiece

Now we move to the sewing machine. Because waxed canvas is thick, you will need a Size 16 or 18 Denim/Leather needle and a walking foot if you have one. If your machine struggles, ‘crank’ the wheel by hand through the thickest seams.
Step-by-Step Construction
- The Zipper Sandwich: Lay one piece of canvas right-side up. Place the zipper face-down along the 12-inch edge. Place the lining (if using) face-down on top. Pin and sew using a zipper foot. Repeat for the other side.
- Topstitching: Flip the fabric so the wrong sides are together and the zipper is exposed. Topstitch 1/8 inch away from the zipper teeth. This prevents the lining from getting caught in the zipper.
- The Tabs and Handle: Fold your pull tabs and handle pieces in thirds and stitch down the center. Baste these to the short ends of your main body, centered with the zipper.
- The Main Seam: Open the zipper halfway (CRITICAL STEP!). Match the canvas pieces right sides together and sew around the three open sides with a 1/2 inch seam allowance.
Mantra for Success: Always leave the zipper open before sewing the perimeter, or you will sew yourself into a box you cannot flip right-side out!
Boxing the Corners: Creating the 3D Shape
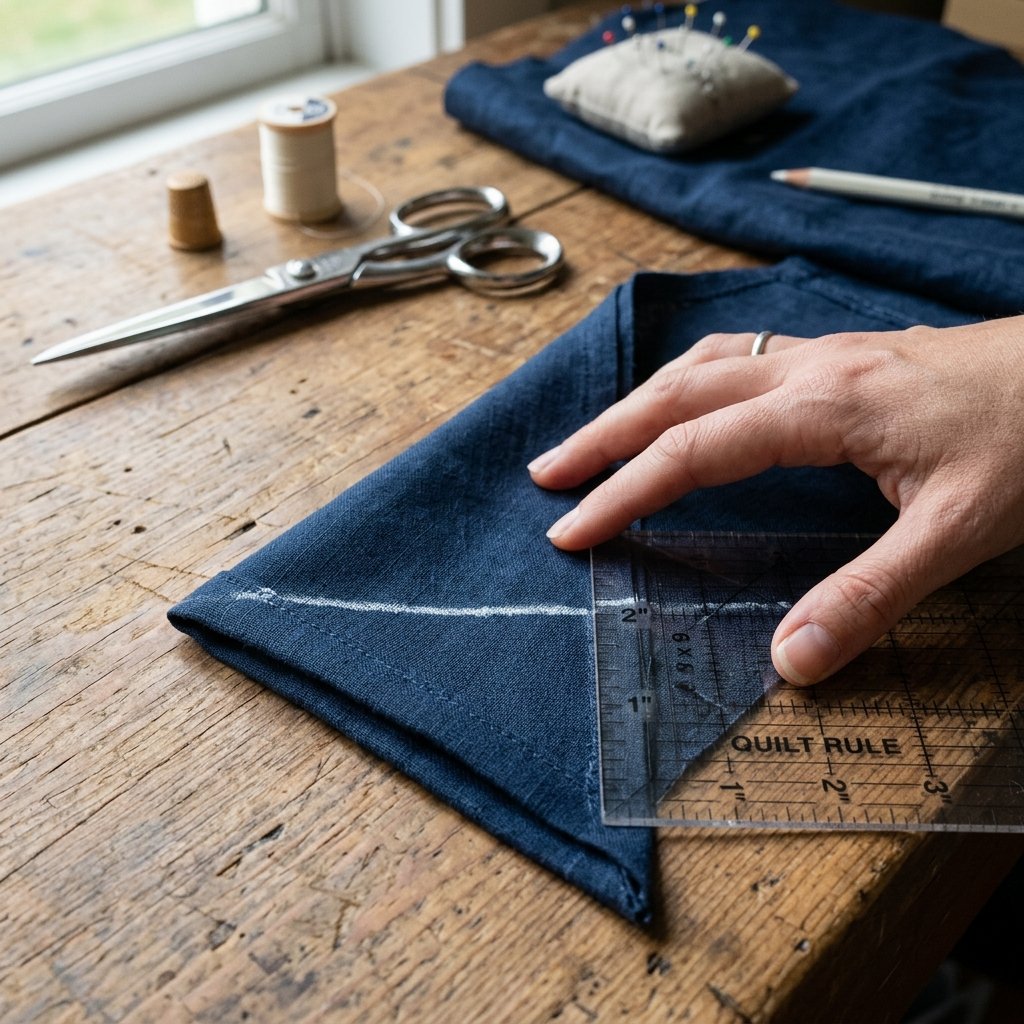
To give the bag its depth, we must ‘box’ the corners. This is the difference between a flat pencil pouch and a professional dopp kit. It looks complicated, but it is pure geometry.
How to Box Corners
- At each of the four corners, pull the front and back fabric apart to create a triangle shape, matching the side seam with the bottom seam.
- Measure 2 inches from the point of the triangle and draw a straight line across.
- Stitch along this line. Backstitch at the beginning and end for maximum strength.
- Trim the excess fabric, leaving about a 1/4 inch seam. For a clean finish, you can cover these raw edges with bias tape or a simple ‘zigzag’ stitch.
Once all four corners are boxed, reach through the open zipper and turn the bag right-side out. Use a blunt tool (like a bone folder or a capped pen) to push the corners out firmly.
The Polished Edge: Leather Details and Maintenance
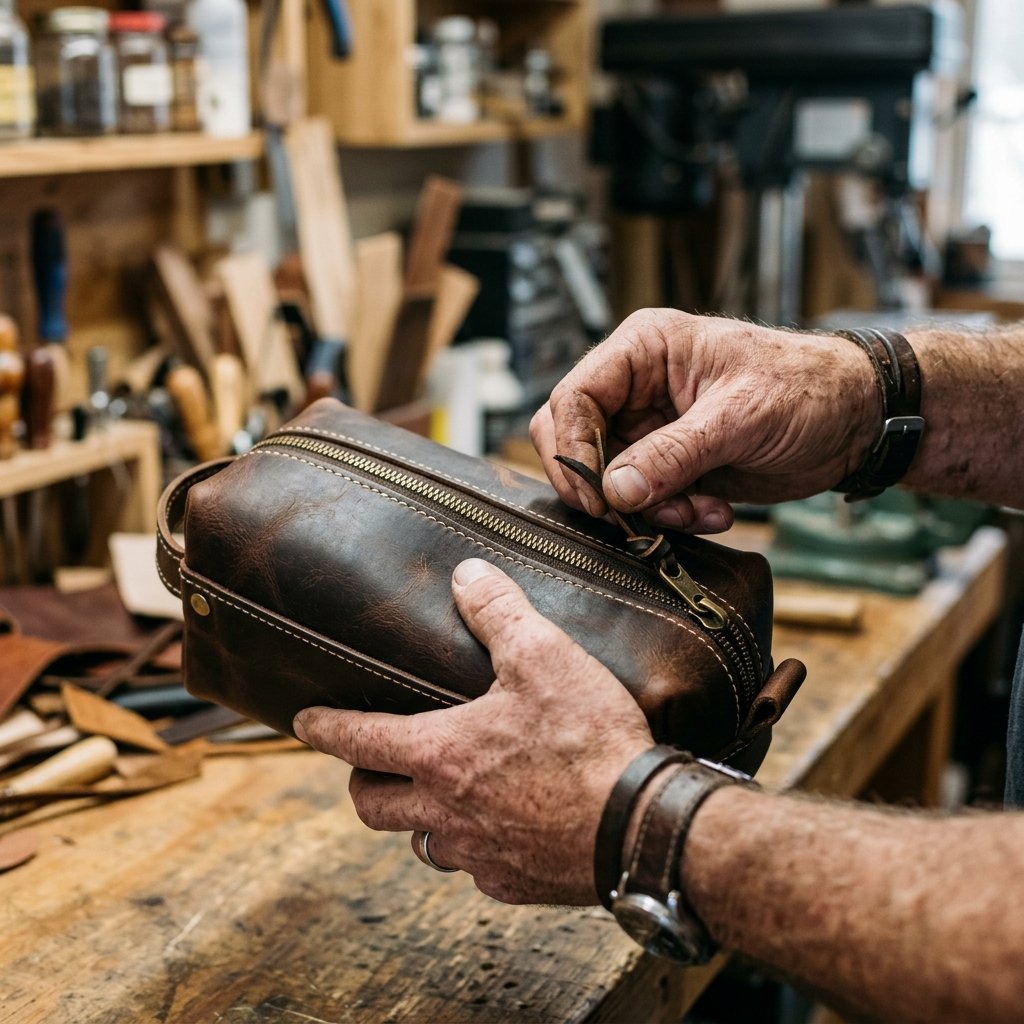
To truly achieve the ‘Better Than Store-Bought’ status, we add the finishing leather touches. If you haven’t already sewn the leather handle into the side seams, you can rivet it on now for a more industrial look.
Adding a Leather Zipper Pull
Cut a strip of leather 1/4 inch wide and 5 inches long. Thread it through the hole in the zipper slider and tie a simple overhand knot. This small detail makes the bag much easier to open with cold or wet hands and adds a high-end aesthetic.
Maintenance Guide
| Care Task | Frequency | Method |
|---|
A waxed canvas bag should never see the inside of a washing machine. The heat and soap will strip the wax and ruin the structure. Embrace the scuffs—they are the ‘fingerprints’ of your travels.
Conclusion
Your New Favorite Travel Companion
Congratulations! You have just turned a few yards of basic canvas and some household wax into a rugged, heirloom-quality dopp kit. By choosing to build rather than buy, you’ve saved over $60 and gained a piece of gear that is uniquely yours. This bag will handle the humidity of a bathroom or the grit of a camping trip with equal grace.
Remember, the beauty of DIY is the ability to customize. Next time, try adding an interior pocket for a razor, or use a contrasting thread color for a bolder look. Whether this kit stays in your suitcase or ends up under the Christmas tree for a loved one, it stands as a testament to the fact that with a little grit and a sewing machine, you can always make it better than store-bought.

Makenzie is the founder and lead writer at MoneyHackTips.com — a personal finance blog dedicated to delivering street-smart financial wisdom for real people on real budgets. With 300+ published articles covering everything from debt management to investing fundamentals, Makenzie’s mission is to make every dollar work harder. When not writing about money hacks, Makenzie is testing frugal living strategies, optimizing side hustles, and helping readers build financial freedom from scratch.