The Heartbreak of the Unraveling Stitch
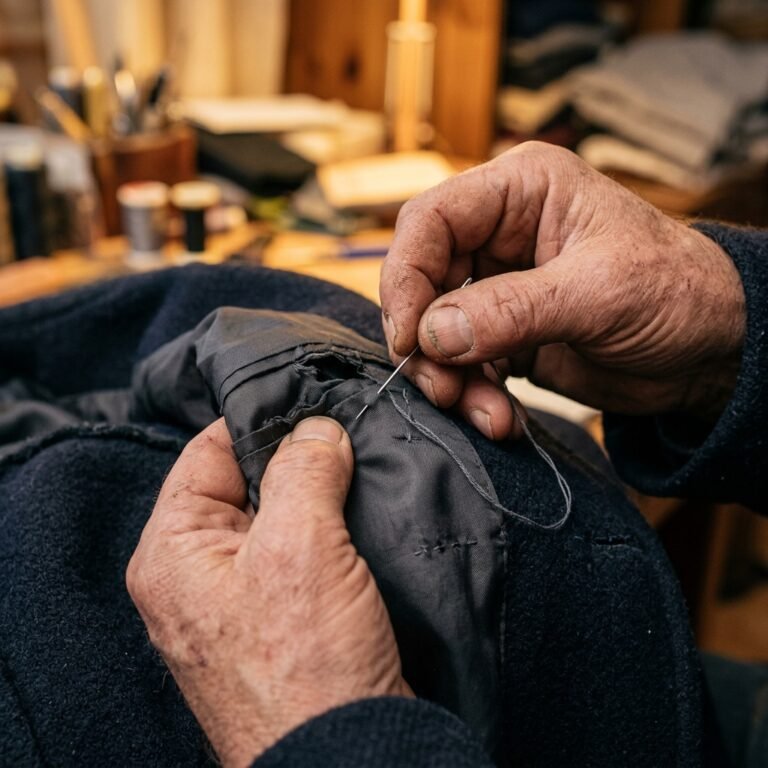
There is a specific kind of panic that sets in when you pull your favorite heirloom blanket out of storage—the one your grandmother spent months knitting—only to find a gaping hole staring back at you. Whether it was a hungry moth, a snag from a pet’s claw, or simply the inevitable wear of decades of use, a hole in a knit blanket feels like a wound in your family history. But before you relegate that treasure to the rag bin or pay a professional weaver $100 or more to fix it, stop. You don’t need a degree in textile engineering or even a sewing machine to perform a miracle. All you need is a bit of patience, a $2 darning needle, and the ‘Secret Hack’ of the trade: Swiss Mending.
As a frugal DIYer, you know that the most sustainable and budget-savvy move isn’t buying new; it’s mastering the art of the mend. In this guide, we are going to dive deep into the rugged, practical world of invisible mending. We will treat your blanket with the respect it deserves, using techniques that reinforce the structure while remaining completely hidden to the naked eye. This isn’t just about ‘patching’ a hole; it’s about restoring the integrity of the knit itself. Let’s get your hands dirty and your blankets saved.
The Anatomy of the Damage: Assessing Your Knit
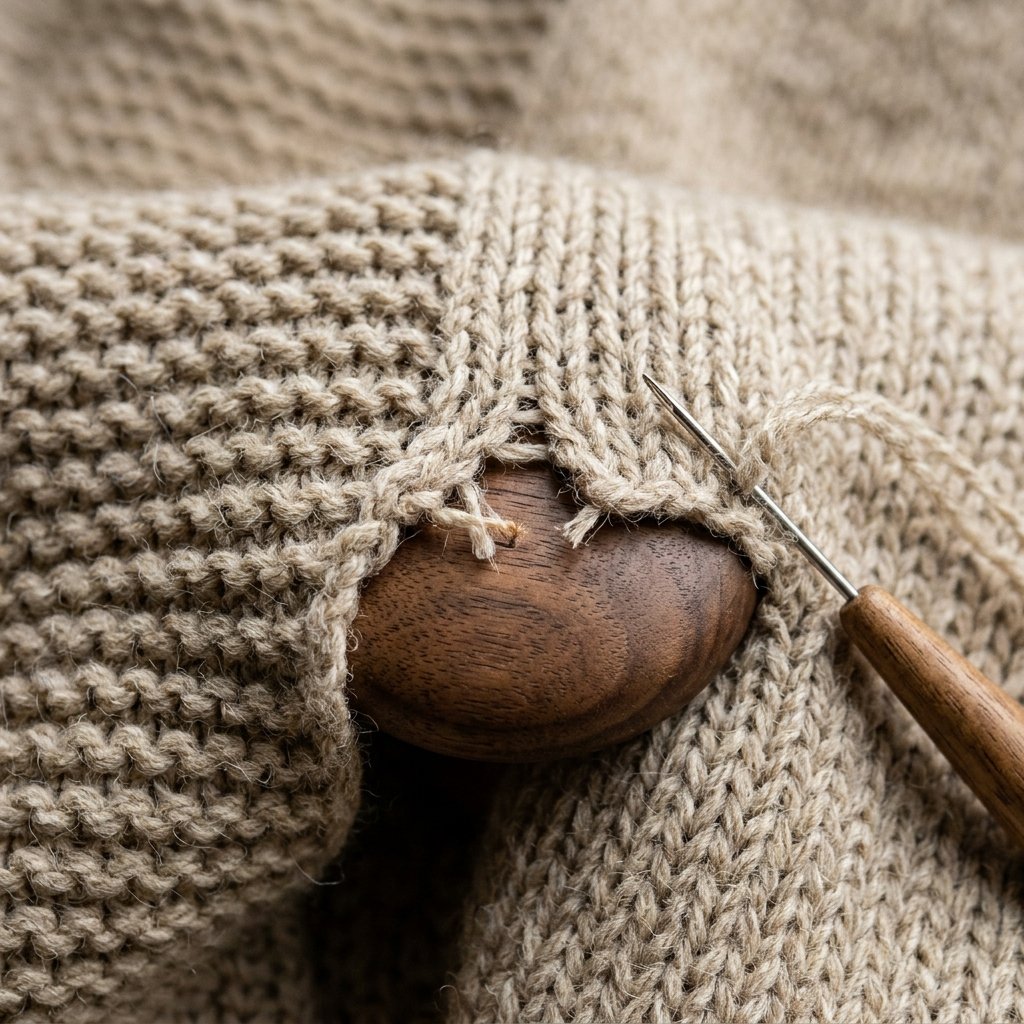
Before we pick up a needle, we must understand what we are looking at. A knit blanket isn’t just a piece of fabric; it is a continuous series of interlocking loops. When one loop breaks, the ones above and below it lose their anchor, leading to a ‘run’ or a widening hole. Identifying the knit style is the first step in a successful, invisible repair.
Common Knit Structures and Their Vulnerabilities
- Stockinette Stitch: The classic ‘V’ shape. This is the most common and, luckily, the easiest to mend invisibly.
- Garter Stitch: The bumpy, ridged texture. This requires a bit more ‘zig-zag’ movement with your needle to mimic the ridges.
- Chunky/Cable Knits: These are high-tension areas where the hole might look smaller than it actually is because the surrounding yarn is pulling tight.
“In mending, the goal is to follow the path of the original yarn. If you move like the wool, the repair becomes the wool.”
Check the edges of the hole. Are there ‘live’ loops (loops that are still intact but hanging loose)? If so, we need to secure those immediately with safety pins or stitch markers to prevent the hole from growing while we work. This simple 30-second step can save you 2 hours of extra work later.
The $0 Toolbox: Materials for the Rugged Mender
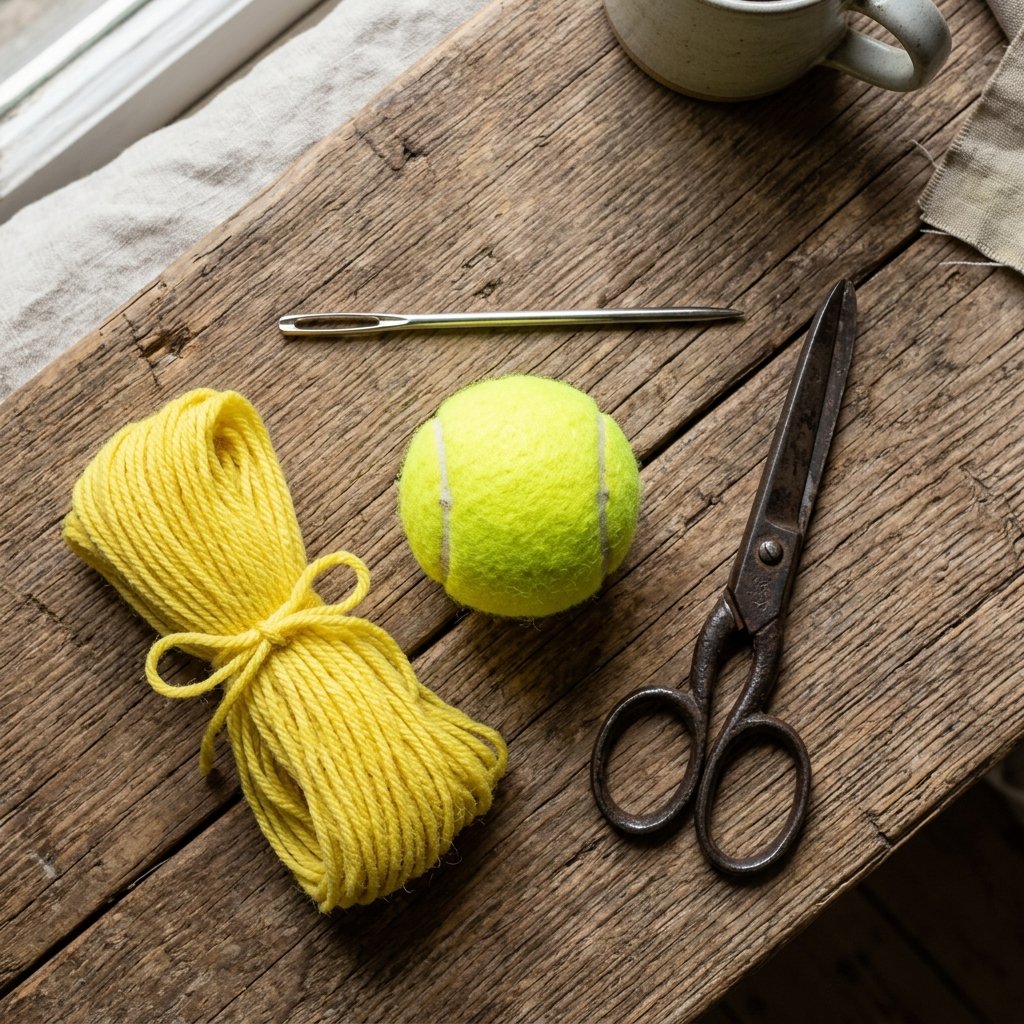
You don’t need a fancy craft store kit. In fact, the best tools are often already in your junk drawer or can be scavenged from the blanket itself. If you are truly budget-conscious, you can even harvest ‘repair yarn’ from the hidden hem of the blanket if you don’t have a matching color on hand.
| Tool | Purpose | Estimated Cost |
|---|---|---|
| Darning Needle | Blunt-tipped needle for weaving without splitting yarn. | $1.50 |
| Matching Yarn | The ‘filler’ for the hole. Match weight and fiber type. | $0.00 (Scavenged) |
| Darning Mushroom | A hard surface to provide tension under the hole. | $0.00 (Use a tennis ball) |
| Small Scissors | For clean snips of frayed ends. | $2.00 |
The Pro vs. DIY Cost Breakdown
If you were to take an heirloom wool blanket to a professional textile restorer, you are looking at a minimum bench fee of $50 to $75, plus labor. By doing this yourself, you are achieving a 98% cost savings while gaining a skill that lasts a lifetime. Plus, there is a rugged satisfaction in knowing you saved your own gear with nothing but your hands and a needle.
The Secret Hack: Step-by-Step Swiss Mending
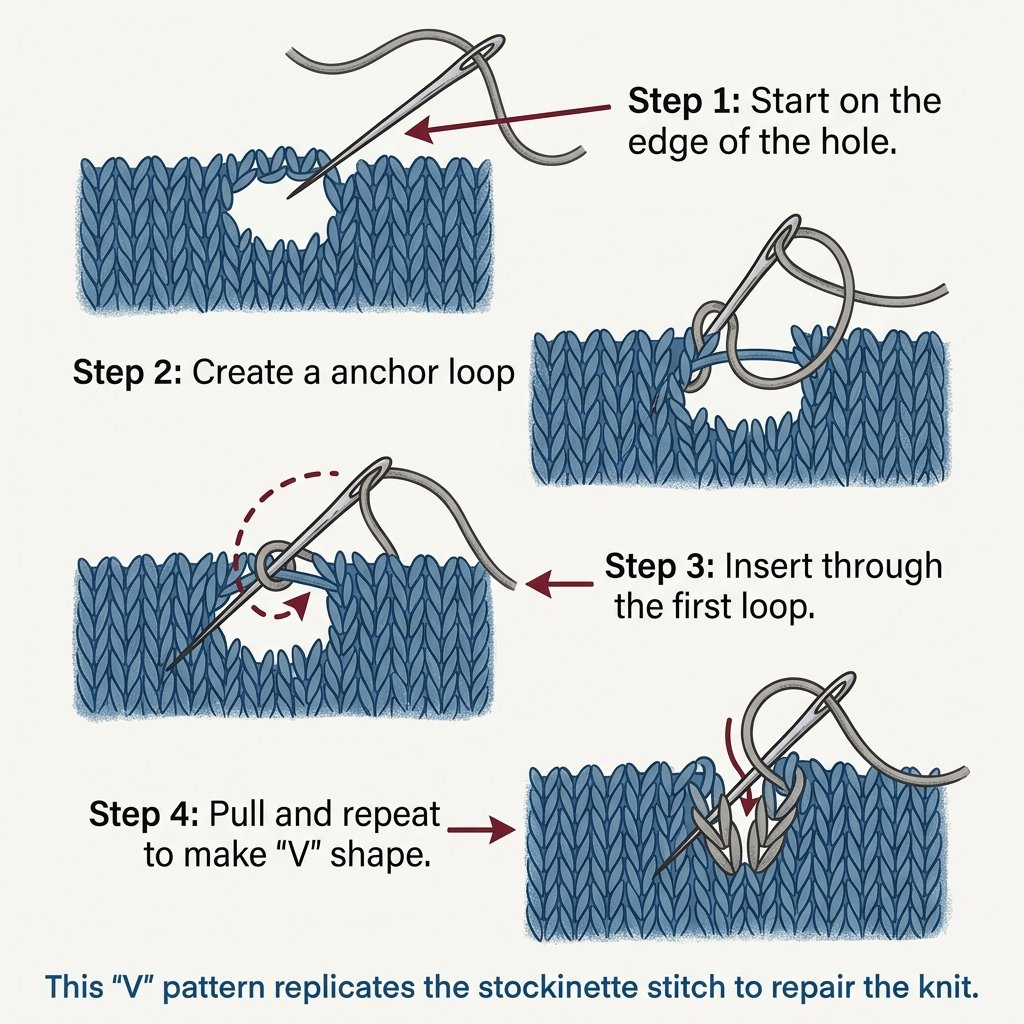
The ‘Secret Hack’ is a technique called Swiss Mending (or Duplicate Stitching). Unlike a standard ‘darn’ which creates a woven patch, Swiss mending actually recreates the knit loops. Here is how to do it fast and effectively.
The Execution Phase
- Stabilize: Place your tennis ball or darning mushroom under the hole. This keeps the fabric flat and prevents you from accidentally sewing the front of the blanket to the back.
- Clear the Debris: Use your scissors to trim away any ‘fuzz’ or extremely frayed fibers that are obscuring the live loops. Do not cut the actual yarn structure!
- The Anchor: Thread your needle with about 18 inches of yarn. Start 2 inches to the side of the hole in healthy fabric. Weave the needle through the back of existing stitches to anchor it without a bulky knot.
- Recreate the ‘V’: Bring the needle up through the center of the first ‘live’ loop at the bottom of the hole. Go behind the ‘legs’ of the stitch above it, then back down into the same loop you started from. You have just created a new knit stitch.
- The Bridge: Move horizontally across the hole, recreating each missing loop. If the hole is large, create a ‘grid’ of horizontal threads first, then weave your ‘V’ shapes over them.
- The Finish: Once the hole is closed, weave the tail of the yarn into the back of the blanket for 3 inches to secure it.
“The secret to an invisible mend is tension. Don’t pull too tight, or the blanket will pucker. Keep it relaxed, just like the original knit.”
Problem vs. Solution: Choosing Your Stitch
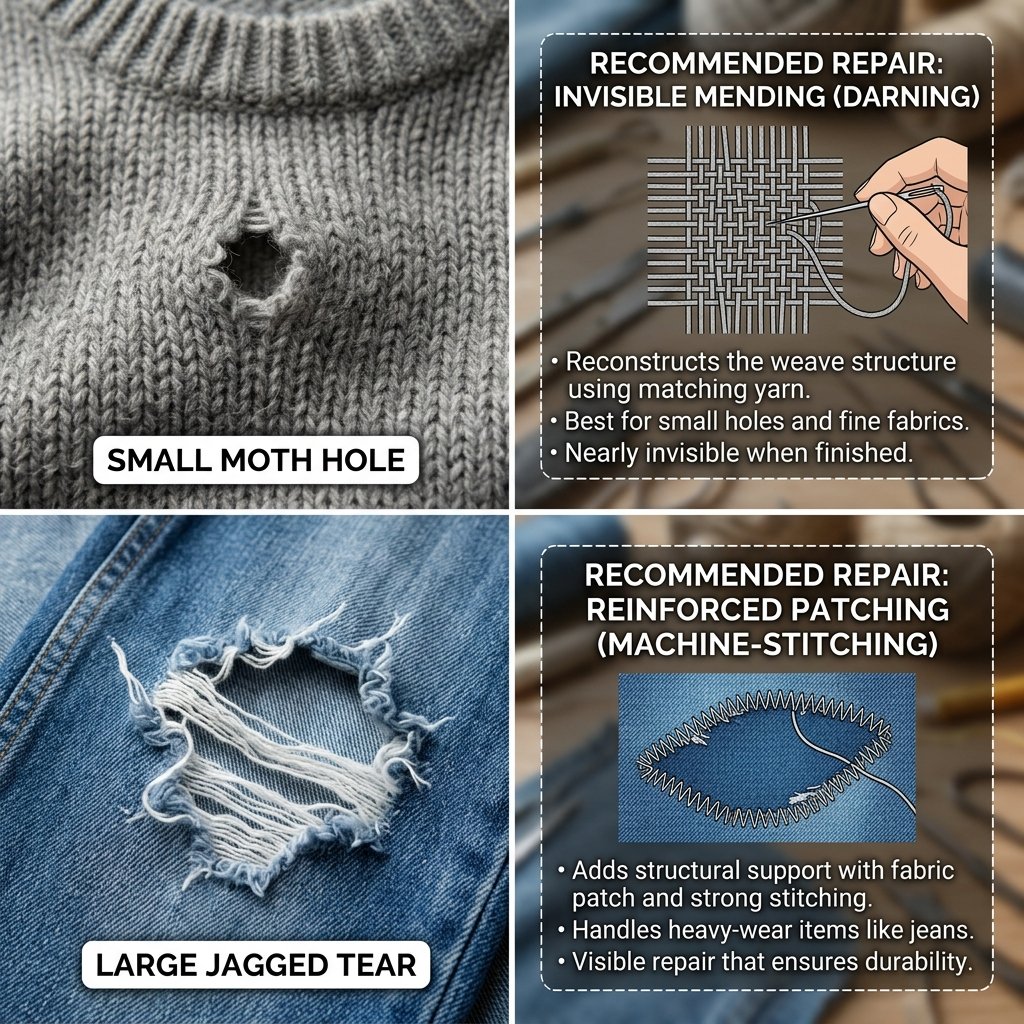
Not every hole is created equal. A snag on a delicate cashmere throw requires a different approach than a blowout on a heavy-duty wool camping blanket. Use this table to determine your tactical approach.
| Damage Type | Recommended Stitch | Difficulty Level |
|---|---|---|
| Small Snag | Inward Pull & Knot | Easy (2 mins) |
| Moth Hole (< 1 inch) | Swiss Mending | Medium (15 mins) |
| Large Tear (> 2 inches) | Woven Darning Grid | Hard (45 mins) |
| Edge Fraying | Blanket Stitch Border | Medium (20 mins) |
Safety Note for Natural Fibers
When working with heirloom wool, be wary of moth larvae. If the hole was caused by pests, place the blanket in a sealed bag and freeze it for 48 hours before mending to ensure no ‘hitchhikers’ remain to ruin your hard work.
The Finishing Touch: Blocking and Steaming
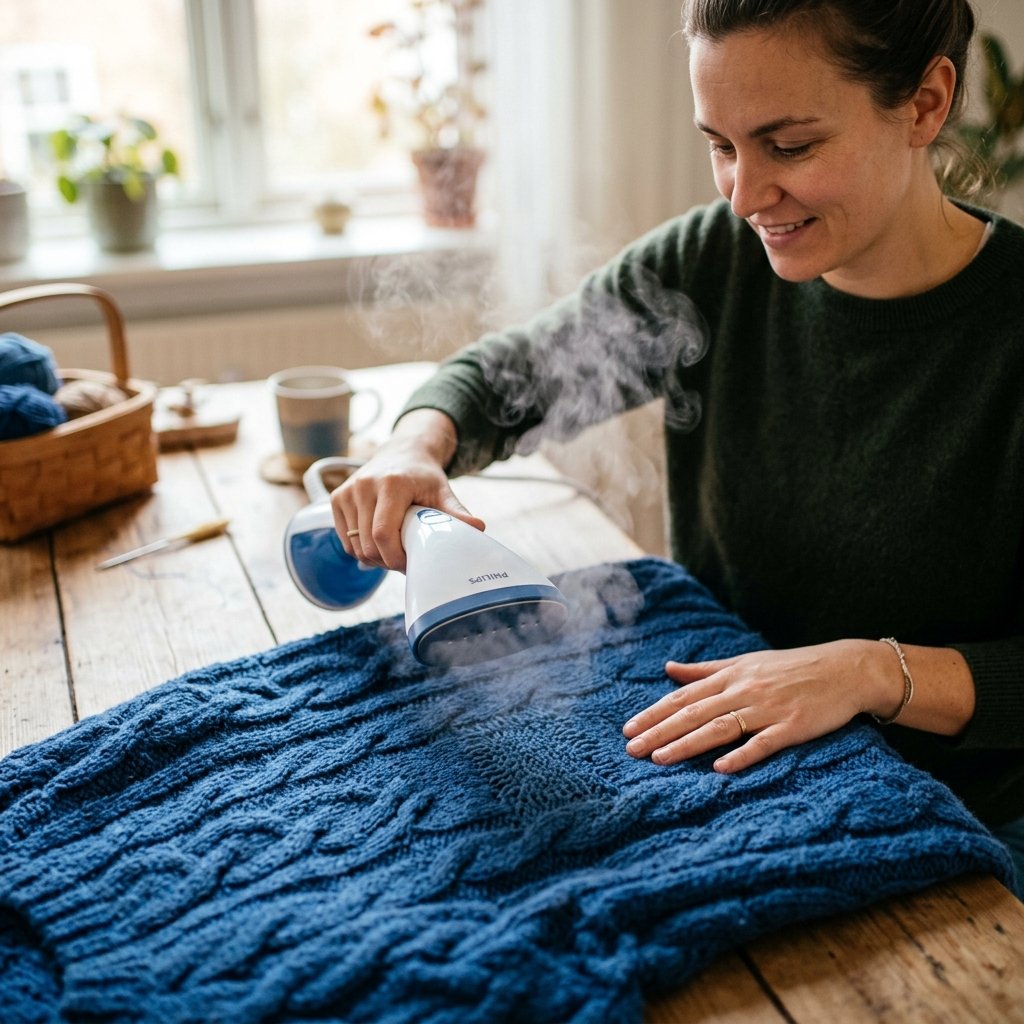
Your mend might look a little ‘proud’ or stiff when you first finish. This is normal. To make it truly invisible, you need to block the repair. This is the professional secret that blends the new yarn with the old, weathered fibers of the heirloom.
- Steam it: Hold a steam iron 1 inch above the repair. Do not touch the iron to the wool! The moisture and heat will cause the fibers to expand and ‘bloom,’ filling the gaps in your stitching.
- Massage the Stitch: While the yarn is still warm and damp, gently tug the blanket in all directions. This settles your new stitches into the surrounding grid.
- Dry Flat: Let the blanket sit for 4 hours until completely dry.
By taking these extra 10 minutes, you transform a ‘fix’ into a ‘restoration.’ Your repair will be so seamless that you’ll likely forget where the hole even was by next winter.
Conclusion
Legacy Restored, Pennies Saved
Mending is a quiet act of rebellion against a throwaway culture. By choosing to fix your heirloom blanket instead of replacing it, you’ve saved hundreds of dollars and preserved a piece of your family’s story. Whether you’re a rugged outdoorsman fixing a camping throw or a crafty parent saving a baby blanket, the ‘Secret Hack’ of Swiss mending is now a tool in your arsenal. Remember, a mend doesn’t make an item ‘used’—it makes it loved. Now, go grab that needle and save your history, one loop at a time.

Makenzie is the founder and lead writer at MoneyHackTips.com — a personal finance blog dedicated to delivering street-smart financial wisdom for real people on real budgets. With 300+ published articles covering everything from debt management to investing fundamentals, Makenzie’s mission is to make every dollar work harder. When not writing about money hacks, Makenzie is testing frugal living strategies, optimizing side hustles, and helping readers build financial freedom from scratch.