
The Dreaded Black Hole in Your Winter Coat
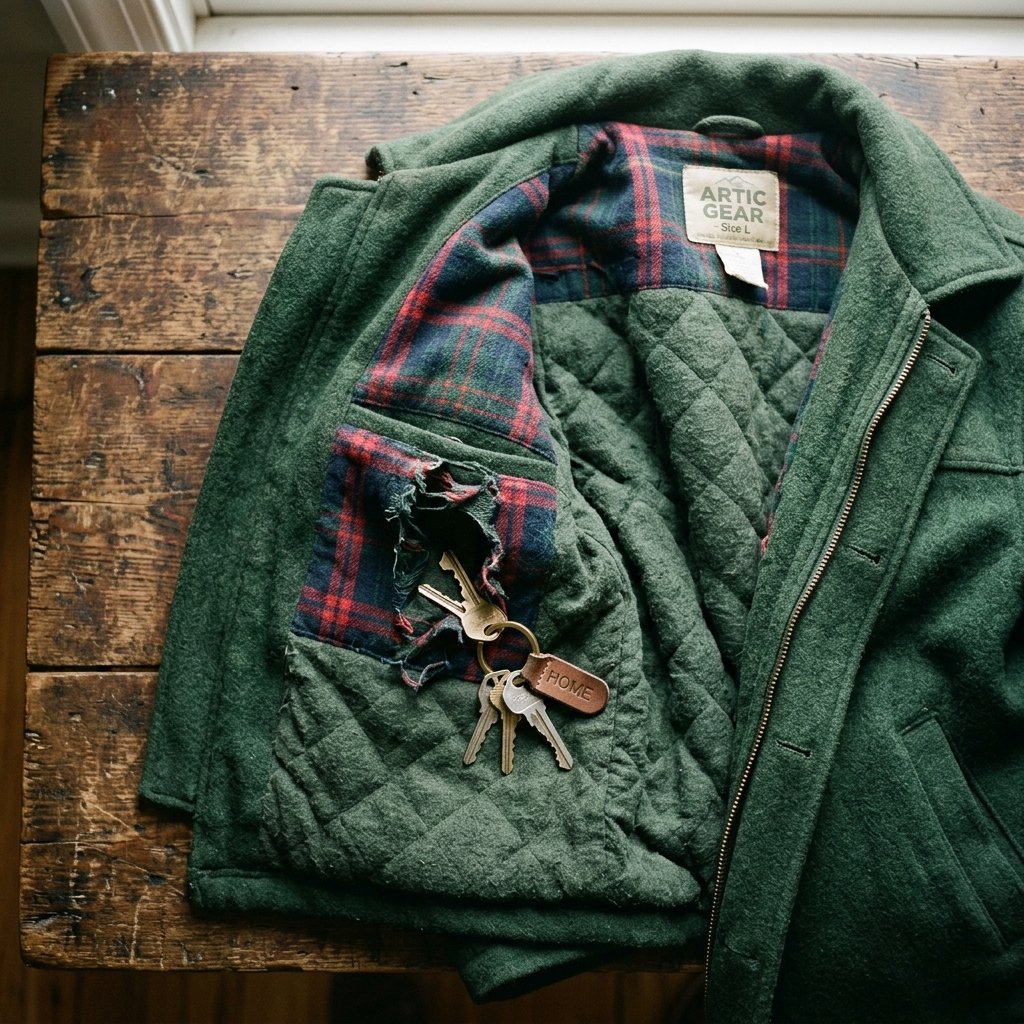
We have all been there. You are standing at your front door in the freezing cold, fumbling for your house keys. You reach into your trusty winter coat pocket, but instead of feeling the familiar jingle of metal, your fingers push straight through a frayed hole, descending into the dark, mysterious abyss between your coat’s outer shell and its lining. Your keys are gone, swallowed by the dreaded ‘pocket black hole.’ It is a frustrating, panic-inducing moment, but before you toss that expensive jacket into the donation bin or shell out $30 to a professional tailor, take a breath. You are a resourceful, budget-savvy upcycler, and you are going to fix this yourself.
Mending a torn coat pocket lining is one of the most practical, money-saving skills you can master. It requires absolutely zero electricity, no bulky sewing machine, and materials that cost mere pennies. Whether you are a handy parent trying to keep up with kids who stuff their pockets with rocks and pinecones, or a frugal DIYer looking to extend the life of your rugged workwear, this guide will teach you the ancient, grandma-approved secrets of hand-sewing. We will cover everything from assessing the blowout to executing the perfect invisible ladder stitch, ensuring your pockets are reinforced and ready to carry your everyday carry (EDC) essentials safely once again.
The Anatomy of a Pocket Blowout: Assessing the Damage
Why Do Pockets Tear in the First Place?
Before we thread a needle, we need to understand the enemy. Pocket linings are typically made from thin, silky materials like polyester or acetate to allow your hands to slide in and out easily. However, this thin fabric is no match for the sharp teeth of house keys, heavy metal tools, or the constant friction of cold, calloused hands. Furthermore, modern fast-fashion manufacturing often uses weak, single-stitch seams that simply cannot withstand the rugged demands of daily life.
Diagnosing the Tear: Seam Split vs. Shredded Fabric
Pull the pocket lining completely inside out so it hangs outside of the coat. Examine the damage closely under a good light. You are looking for one of two scenarios:
- The Clean Seam Split: This is the best-case scenario. The thread holding the two pieces of fabric together has snapped, but the fabric itself is intact. You will see neat, unfrayed edges. This is a 5-minute fix using a simple ladder stitch.
- The Shredded Blowout: This happens when a sharp object (like a key or a pocket knife) punctures the middle of the fabric, or when a seam split is ignored for too long, causing the fabric edges to fray and disintegrate. This requires a bit more crafty ingenuity, such as darning or applying a scrap fabric patch.
Safety Note: When digging into the lining of an old coat, be careful of sharp objects that may have fallen through the hole, such as loose sewing needles, safety pins, or broken glass. Always feel around gently before aggressively pulling the fabric!
The Rugged Mender’s Toolkit: Zero-Budget Preparation
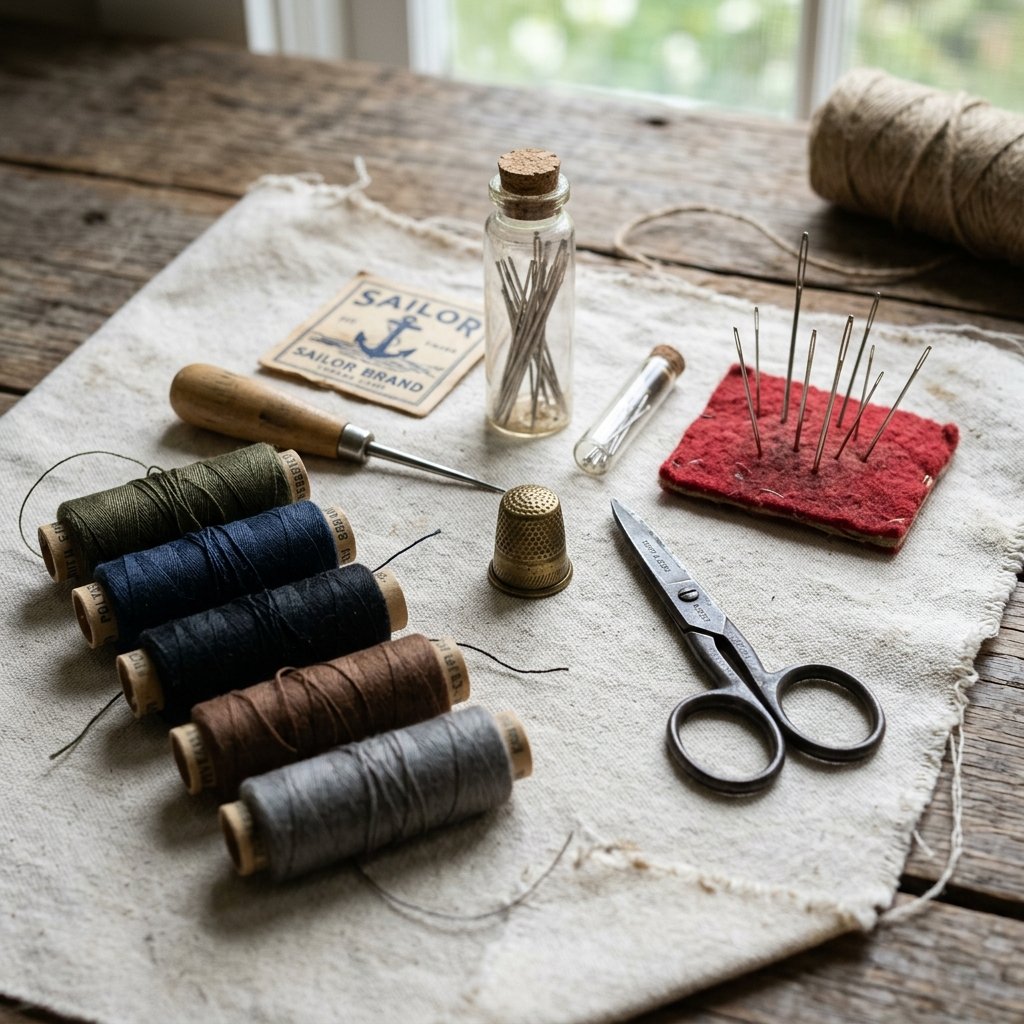
Gathering Your Arsenal
You do not need a fancy sewing box to be a master mender. A frugal crafter’s toolkit is built on practicality and resourcefulness. To mend your pocket, you only need three things: a needle, thread, and scissors. However, choosing the right type of needle and thread will make the difference between a repair that lasts a week and one that outlasts the coat itself.
Selecting the Right Thread and Needle
For pocket linings, you want a thread that is strong but not so thick that it tears the delicate lining fabric. A high-quality, all-purpose polyester thread is usually your best bet because it has a slight stretch and resists snapping under pressure. Avoid cheap, vintage cotton threads you might find at a thrift store, as they degrade over time and break easily. As for needles, a standard ‘Sharps’ needle (medium length, round eye) is perfect for general hand sewing.
| Fabric Type | Recommended Thread | Best Needle Type | Estimated Cost |
|---|---|---|---|
| Silky/Polyester Lining | All-Purpose Polyester | Sharps (Size 8-9) | $0.00 (from stash) |
| Heavy Cotton/Flannel | Heavy-Duty Cotton/Poly Blend | Betweens (Size 7-8) | $0.00 (from stash) |
| Fleece/Wool | Heavy-Duty Polyester | Darners (Size 5-7) | $0.00 (from stash) |
The Grandma-Approved Secret: The Invisible Ladder Stitch
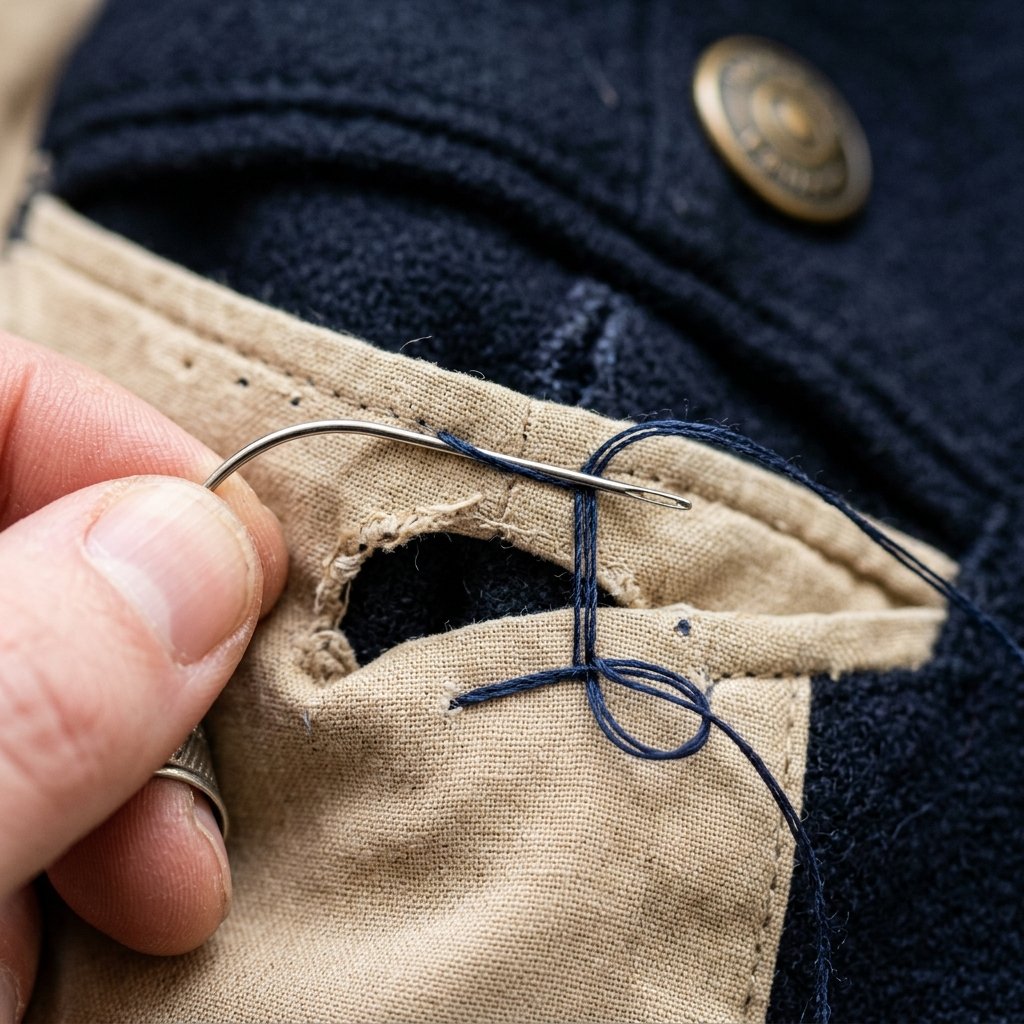
Mastering the Slip Stitch for Clean Seam Splits
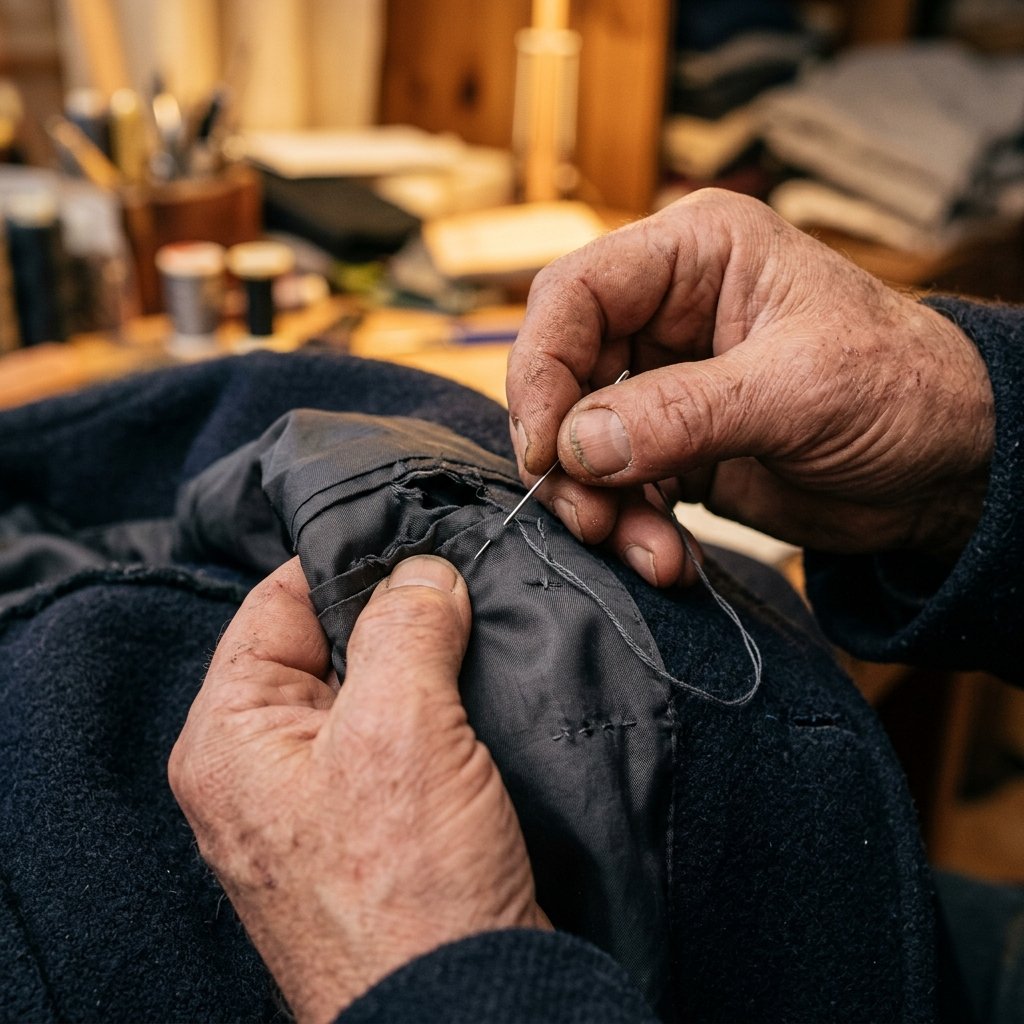
If your pocket tore along the seam, the Ladder Stitch (also known as the Slip Stitch) is your ultimate weapon. It is an ingenious hand-sewing technique that pulls two folded edges of fabric together, hiding the thread completely inside the fold. It looks professional, is incredibly strong, and is deeply satisfying to execute.
Step-by-Step Ladder Stitch Guide
- Thread and Knot: Cut a piece of thread about 18 inches long. Thread your needle and tie a sturdy double knot at the end. Do not use a thread longer than your arm, or it will tangle and cause immense frustration.
- Bury the Knot: Start at one end of the tear, about a quarter-inch before the hole begins. Insert the needle inside the fold of the seam and push it out, so the knot is hidden inside the lining.
- The First Rung: Take the needle straight across the gap to the opposite folded edge. Insert the needle directly into the crease of the fold, slide it along inside the fold for about 1/8 inch, and bring it back out.
- The Second Rung: Go straight across the gap back to the first side. Insert the needle into the crease, slide it along for 1/8 inch, and bring it out. You are creating what looks like the rungs of a ladder spanning the gap.
- The Magic Pull: After creating 4 or 5 rungs, gently pull the thread tight. Watch in amazement as the two edges slide together perfectly, hiding the stitches completely.
- Tie Off: Continue this process until you have closed the hole and stitched a quarter-inch past it. To finish, make a small stitch, loop the needle through the thread circle twice to create a knot, and pull tight. Push the needle back into the fabric and trim the thread so the tail is hidden.
Mender’s Mantra: ‘Slow is smooth, and smooth is fast.’ Take your time with your stitches. Even, tightly spaced stitches will yield a repair that is stronger than the factory original.
The Heavy-Duty Fix: Patching a Shredded Lining
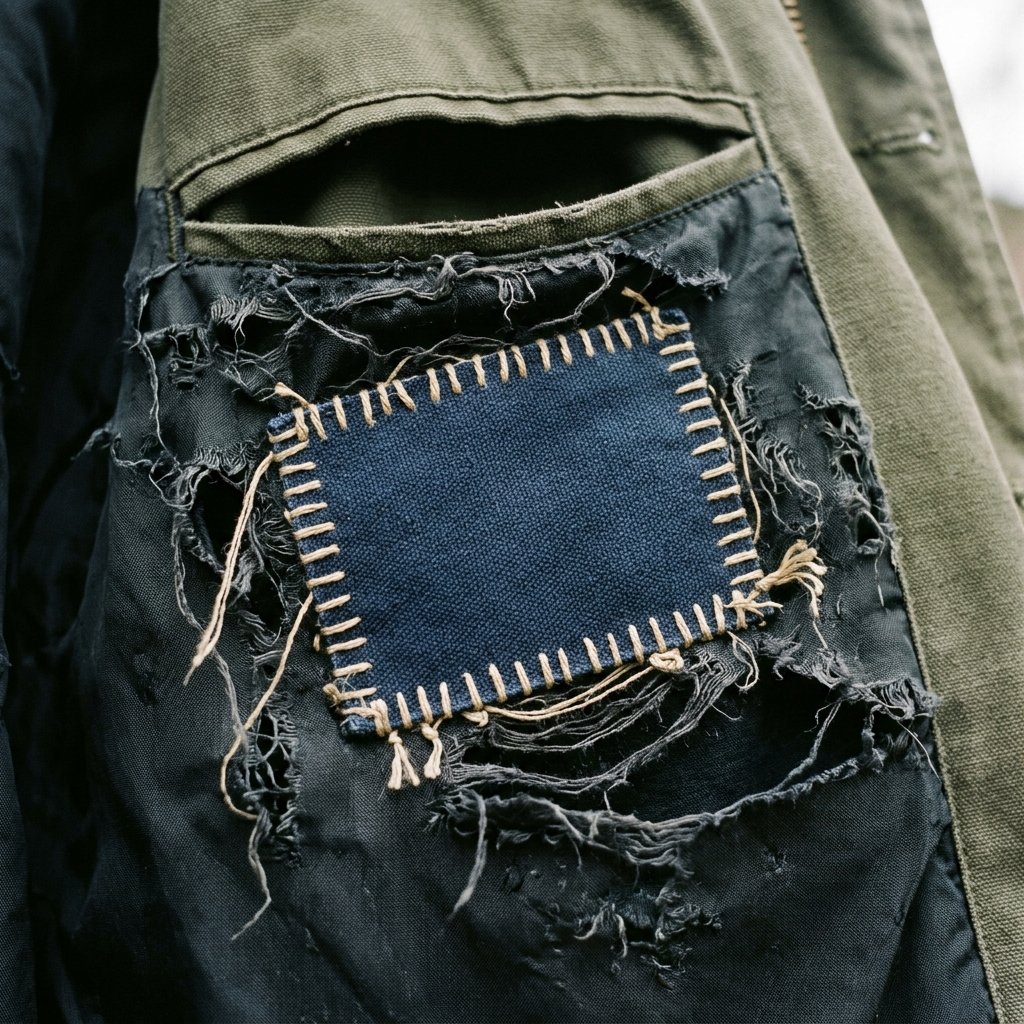
When the Fabric is Gone, Bring in the Reinforcements
Sometimes, a pocket isn’t just torn; it’s obliterated. If your keys have worn a physical hole through the fabric, you cannot simply pull the edges together without puckering the pocket and making it significantly smaller. In this case, you need to channel your inner tailor and apply a scrap fabric patch. This is a fantastic opportunity to upcycle an old flannel shirt, a scrap of denim, or a piece of canvas you have lying around.
How to Apply a Scrap Patch by Hand
- Square the Hole: Use your scissors to trim away the frayed, messy edges of the hole. It seems counterintuitive to make the hole bigger, but you need clean, stable fabric to sew your patch onto.
- Cut the Patch: Cut a piece of scrap fabric that is at least 1 inch larger than the hole on all sides. For a rugged, masculine touch, use a contrasting fabric like plaid flannel or dark denim.
- Pin and Fold: Place the patch over the hole. Fold the raw edges of the patch under by about 1/4 inch to prevent it from fraying, and pin it in place.
- The Whip Stitch: Thread your needle with heavy-duty thread. Starting at one corner, push the needle up from inside the pocket, through the folded edge of the patch. Bring the thread over the edge of the patch and down into the pocket lining right next to it. Repeat this looping motion all the way around the patch.
- Secure and Test: Once you have stitched all the way around, tie off your knot securely. Thrust your hand into the pocket to test its strength. Your pocket is now reinforced and ready for heavy duty use!
The No-Sew Emergency Hacks: Fixing Pockets on the Fly
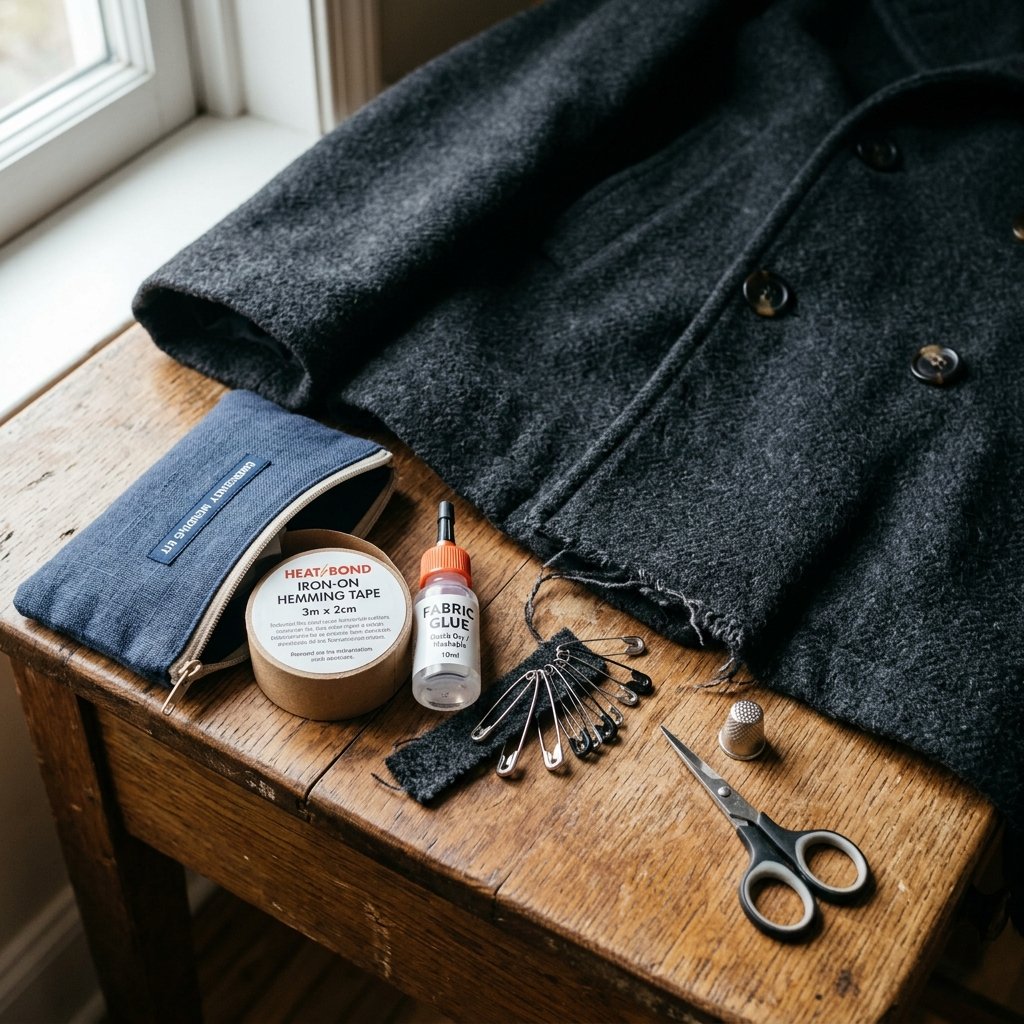
When You Have 5 Minutes and No Needle
We are practical people. Sometimes, you are about to walk out the door for a crucial meeting or a winter hike, and you discover a blown-out pocket. You don’t have 15 minutes to sit down with a needle and thread. For these moments, you need clever, budget-savvy emergency hacks that require zero sewing skills.
Fabric Glue and Iron-On Tape
If you keep a frugal, well-stocked craft drawer, you likely have fabric glue or iron-on hemming tape (like Stitch Witchery). These are lifesavers for quick pocket repairs.
- Iron-On Mending Tape: Turn the pocket inside out. Cut a piece of mending tape to the length of the tear. Carefully pinch the torn edges together, lay the tape over the seam, and press it with a hot iron for 10 seconds. The heat melts the adhesive, bonding the fabric instantly.
- Fabric Glue: Apply a thin line of flexible fabric glue along the torn edges. Press them together and use binder clips or clothespins to hold the seam shut while it dries. It takes longer to cure (usually 24 hours for full strength), but it requires no heat.
| Pocket Damage Type | Best Mending Method | Time Required | Estimated Cost |
|---|---|---|---|
| Clean Seam Split | Ladder Stitch (Slip Stitch) | 10 minutes | $0.00 |
| Shredded Fabric Hole | Darning or Scrap Patch | 20 minutes | $0.00 |
| Emergency On-the-Go Tear | Iron-on Tape / Fabric Glue | 5 minutes | $3.00 |
Preventative Maintenance: Protecting Your Pockets
Stop the Tear Before It Starts
The truest sign of a handy, resourceful upcycler is not just fixing things when they break, but preventing them from breaking in the first place. Once you have mended your pocket, or when you buy a new coat, take a few proactive steps to ensure you never lose your keys to the black hole again.
Key Management and Reinforcement
- Reinforce the Bottom Seam: The bottom corners of a pocket bear the most weight. Turn the pockets of a new coat inside out and add a quick row of backstitches over the factory seam at the bottom corners. This adds incredible strength for an investment of just 5 minutes.
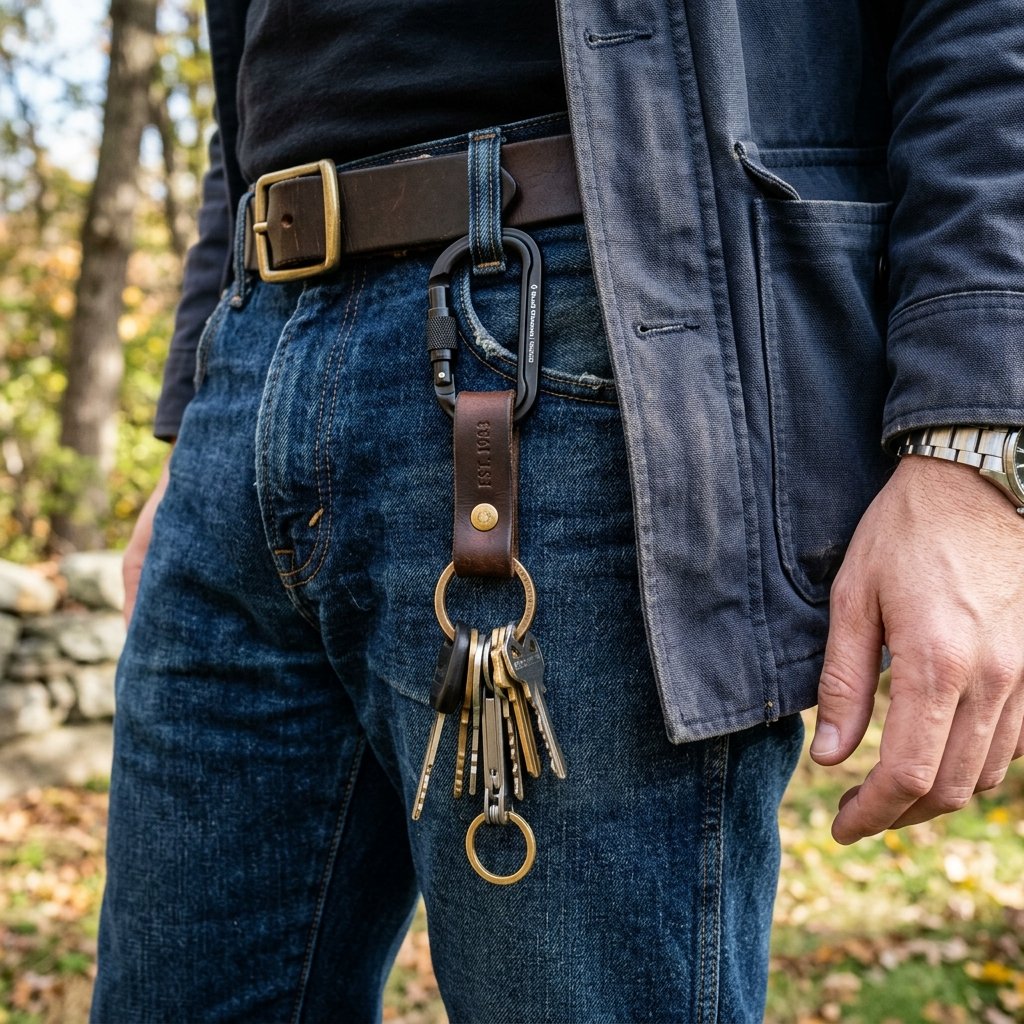
- Upgrade Your Key Carry: Stop dropping a jagged, heavy ball of metal directly into thin silky fabric. Invest in a rugged leather key fob or a tactical key organizer that covers the sharp teeth of your keys. Better yet, use a heavy-duty carabiner to clip your keys to a belt loop, keeping the weight entirely out of your coat pocket.
- Empty Pockets Daily: It sounds simple, but leaving heavy items like loose change, multi-tools, or heavy phones in your pockets while the coat hangs in the closet puts constant, unnecessary strain on the lining. Empty your pockets when you take your coat off.
Conclusion
Wear Your Mended Coat with Pride
Congratulations! You have successfully rescued your favorite coat from the donation pile, saved yourself a hefty tailoring bill, and ensured your keys will never vanish into the lining again. Mending is more than just a frugal chore; it is an act of rebellion against disposable fast-fashion culture. Every stitch you make is a testament to your resourcefulness, your practical skills, and your commitment to making things last. The next time you slip your hands into your warm, secure coat pockets, you will feel the quiet satisfaction of a job well done. Now, grab your keys, step out into the cold, and tackle your day with the confidence of a true DIY master!

Makenzie is the founder and lead writer at MoneyHackTips.com — a personal finance blog dedicated to delivering street-smart financial wisdom for real people on real budgets. With 300+ published articles covering everything from debt management to investing fundamentals, Makenzie’s mission is to make every dollar work harder. When not writing about money hacks, Makenzie is testing frugal living strategies, optimizing side hustles, and helping readers build financial freedom from scratch.