
The Art of the Cardboard Metropolis
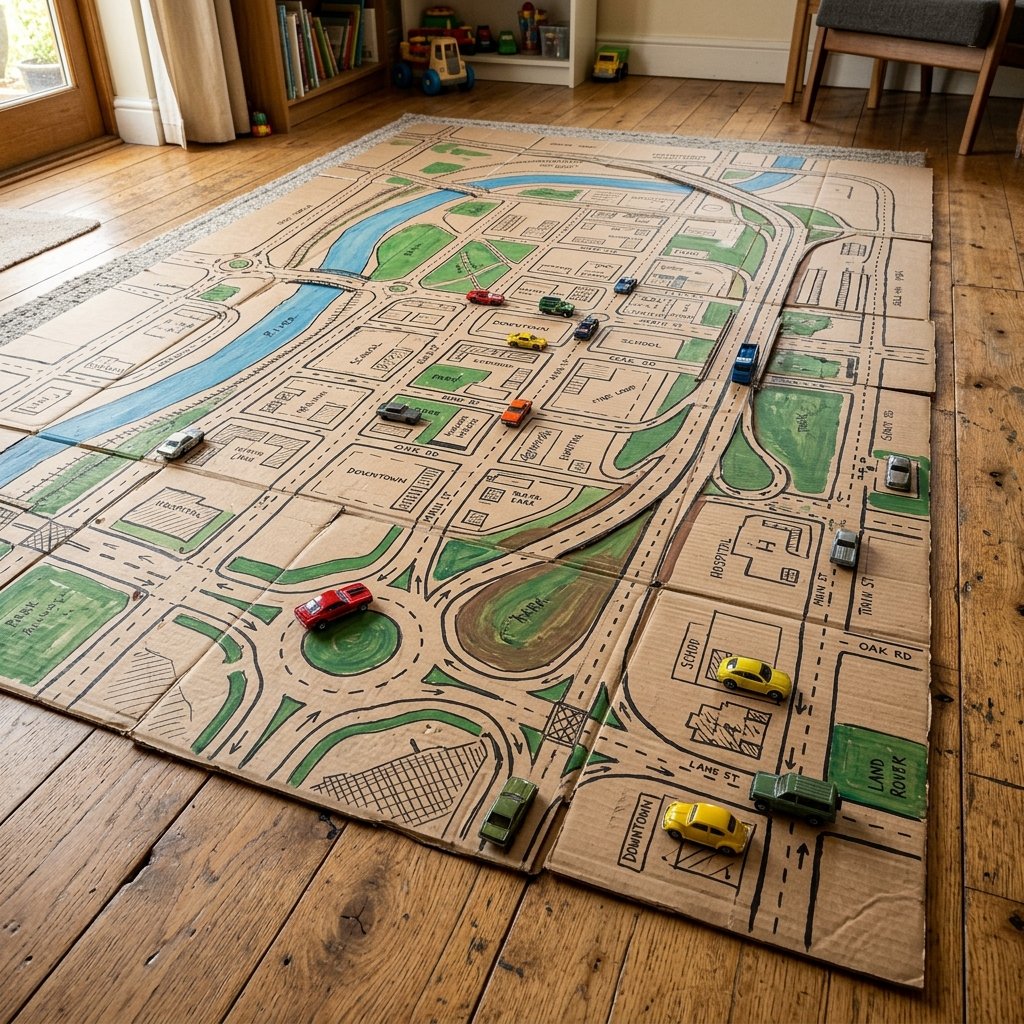
In a world of expensive, plastic-heavy playsets that take up permanent residence in your living room, there is a rugged, resourceful alternative waiting in your recycling bin. We are talking about the humble shipping box—a material that is 100% free, incredibly durable, and infinitely customizable. As a frugal DIYer, you know that the best toys aren’t bought; they are engineered. By transforming flat-packed cardboard into a giant road map, you aren’t just saving $50 to $100 on a store-bought play rug; you are building a legacy of creativity and spatial reasoning for your kids. This isn’t just a craft; it is a masterclass in urban planning on a dime. Whether you are a handy dad looking for a weekend project or a budget-savvy parent needing a rainy-day solution, this giant road map is your ticket to hours of quiet, engaged play. We are going to take those Amazon boxes and turn them into a high-octane infrastructure project that would make any civil engineer proud.
Budget Mantra: Your trash is the foundation of their next great adventure. Never underestimate the power of a blank brown canvas and a permanent marker.
The Blueprint: Gathering Your Urban Planning Materials
Sourcing the Infrastructure
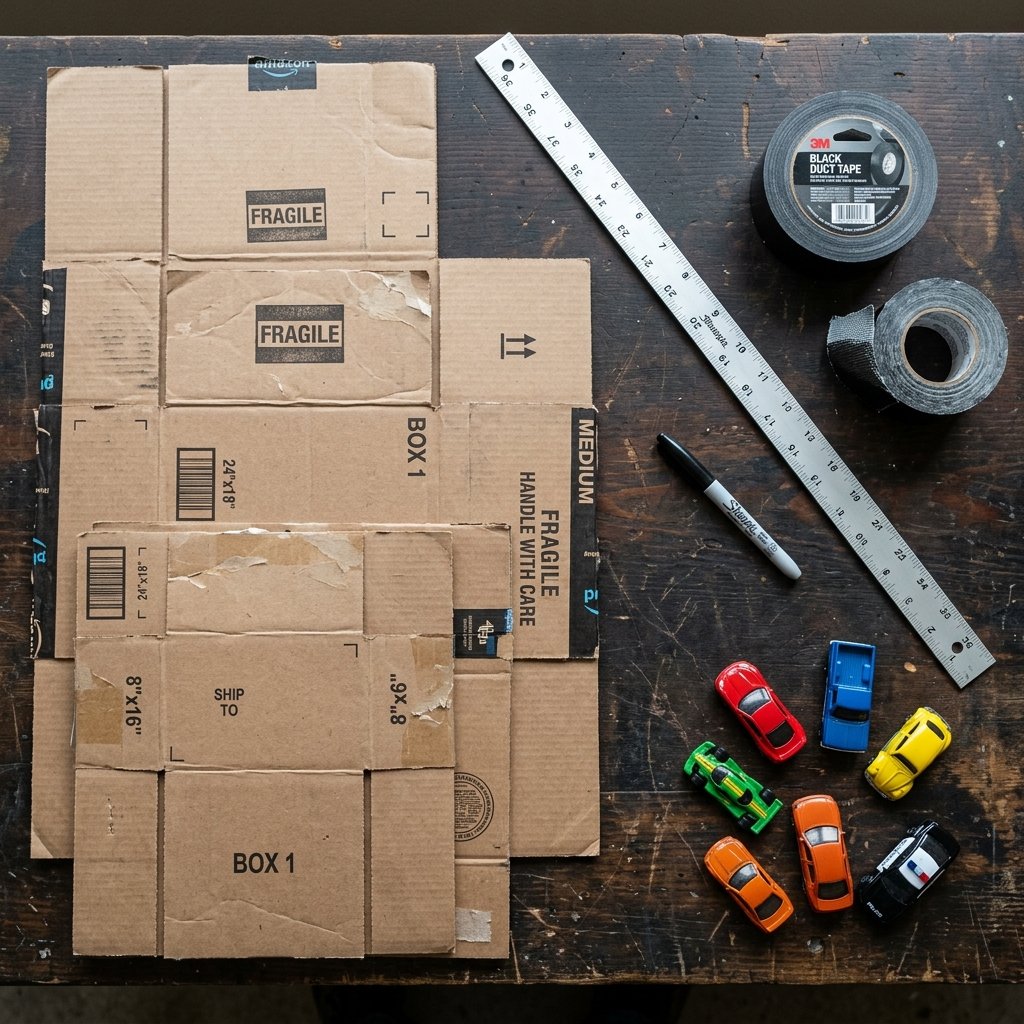
Before we break ground on our cardboard city, we need to gather high-quality materials. The beauty of this project is that the primary material is literally garbage. Look for large, flat shipping boxes—think appliance boxes, furniture packaging, or those extra-large moving boxes. The goal is to maximize surface area while minimizing the number of seams. You want corrugated cardboard for its structural integrity; it can withstand the ‘traffic’ of heavy die-cast cars and the occasional toddler footstep.
The Tool Kit
You don’t need a professional workshop, but a few key tools will make the process smoother and the result more professional. A heavy-duty metal ruler is essential for straight highways, and a variety of markers will allow for different road types. For a masculine-elegant look, stick to a monochrome palette with pops of tactical yellow and green.
| Material | Purpose | Estimated Cost |
|---|---|---|
| Large Cardboard Boxes | The Road Surface | $0.00 (Upcycled) |
| Black Permanent Marker | Road Borders & Asphalt | $1.25 (Dollar Tree) |
| White/Yellow Paint Pen | Lane Lines & Markings | $2.50 |
| Duct Tape or Packing Tape | Joining Sections | $3.00 |
| Utility Knife | Cutting & Trimming | Owned |
| Total Investment | Professional Play Surface | $6.75 |
Structural Integrity: Prepping and Flattening Your Canvas
Breaking Down the Boxes
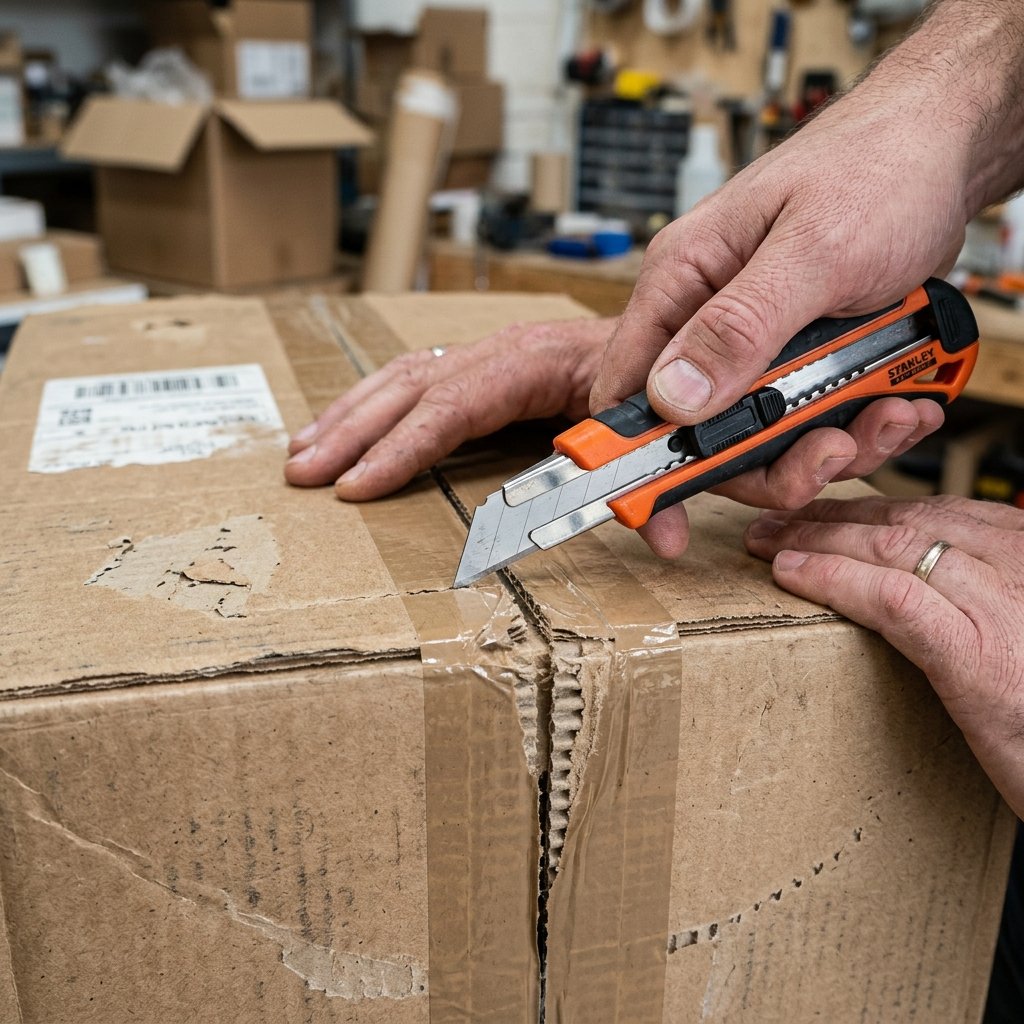
To create a truly ‘giant’ map, you need to maximize the flat surface area of your boxes. Start by carefully cutting through the taped seams of your boxes with a utility knife. Avoid ripping the cardboard, as this creates uneven surfaces that make drawing difficult. Once opened, lay the boxes flat on the floor. If the cardboard is bowed from being folded, spend 10 minutes gently counter-flexing it or weigh it down with heavy books to ensure a level playing field.
Pro Tip: Use a ‘ladder stitch’ of tape on the underside of the boxes when joining them. This keeps the top surface smooth and prevents toy cars from getting caught in the gaps between box panels.
Creating a Seamless Surface
If you are using multiple boxes, overlap the edges by about 1 inch and secure them firmly with packing tape on both sides. For a more rugged, long-lasting map, use black duct tape on the top side to mimic the look of fresh asphalt seams. This not only reinforces the joints but adds to the aesthetic of a real road system. Make sure the ‘grain’ of the cardboard (the internal corrugation) is running in different directions if possible to prevent the entire map from rolling up in one direction.
Zoning the City: Mapping Out Roads, Intersections, and Districts
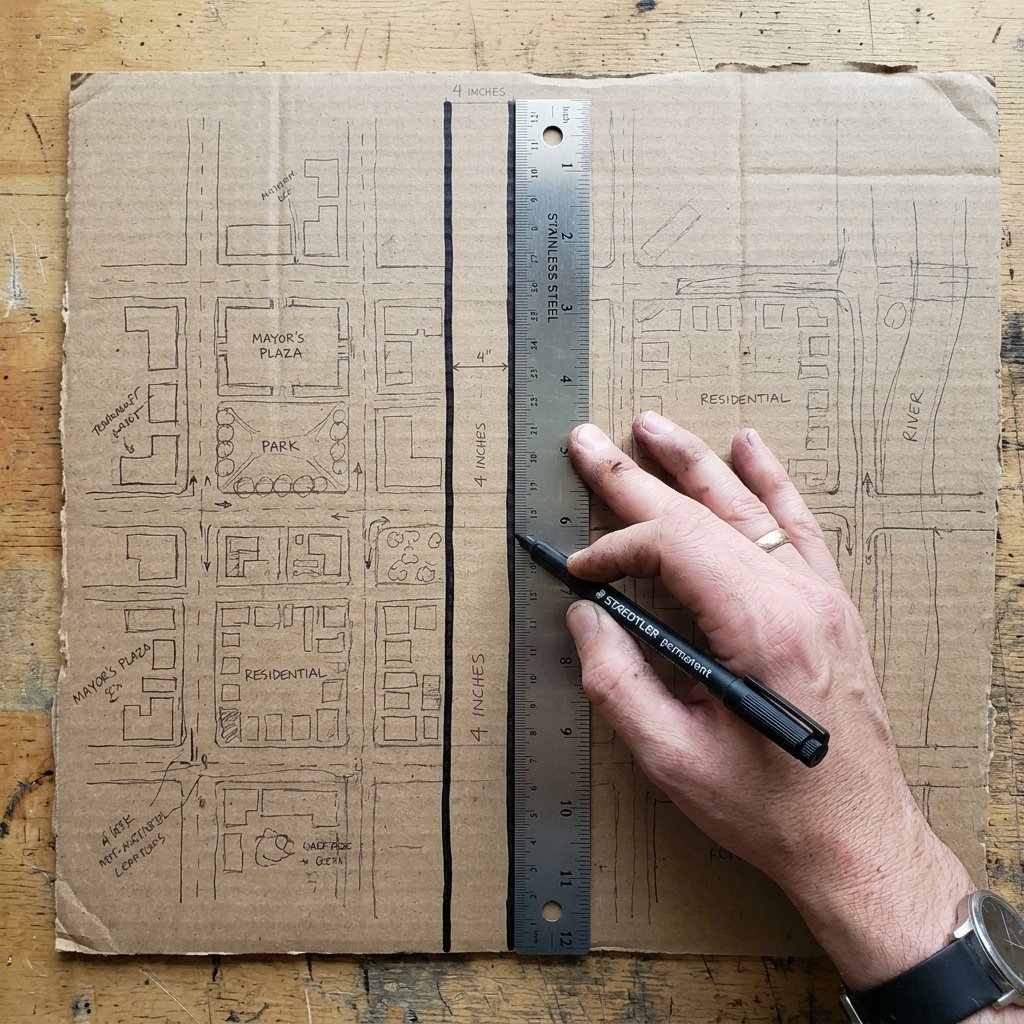
The Master Plan
Don’t just start drawing lines. A great road map needs logic. Start by sketching a ‘Main Street’ or a highway that runs through the center of your largest cardboard piece. From there, branch off into residential cul-de-sacs, industrial zones, and commercial districts. Think about how a real city functions. You need roundabouts to keep traffic flowing and plenty of parking lots for those Matchbox collections.
Scaling for Performance
To ensure the map is functional, you must scale your roads to the size of the vehicles. Most die-cast cars are approximately 1:64 scale. Use the following table to ensure your infrastructure can handle the load:
| Road Type | Recommended Width | Visual Detail |
|---|---|---|
| Highway/Freeway | 5 – 6 Inches | Double Yellow Lines |
| City Street | 3.5 – 4 Inches | Dotted White Lines |
| Alleyway | 2 Inches | Solid Gray Lines |
| Parking Space | 1.5 x 3 Inches | White Outlines |
Drafting the Details
- Use your metal ruler to draw the outer boundaries of your roads in thick black marker.
- Add ‘intersections’ by leaving gaps in the lines where two roads meet.
- Draw a large circle for a roundabout in the center of the map to act as a focal point.
- Incorporate ‘green zones’ by sketching parks or forests in the empty spaces between roads.
The Master Builder’s Detail Work: Adding 3D Elements and Landmarks
Upcycling 3D Structures
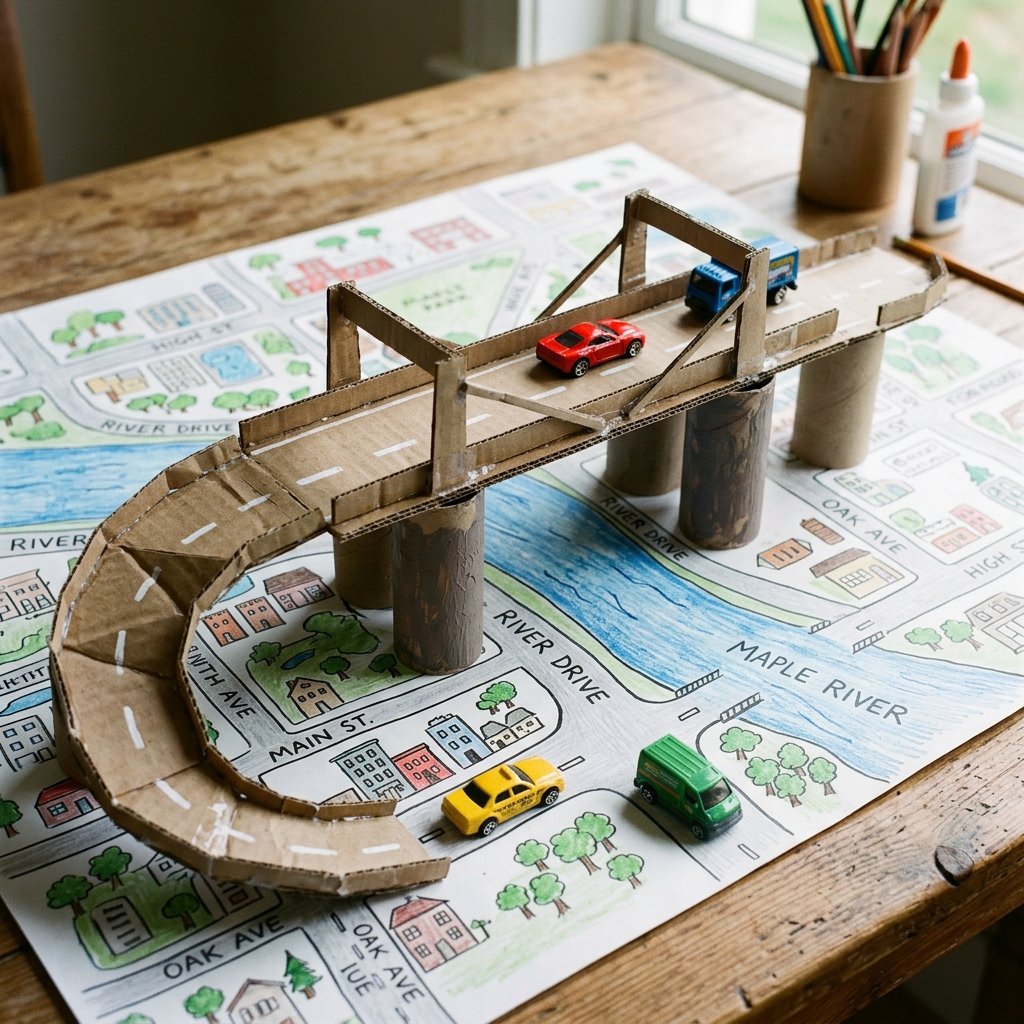
A flat map is great, but a 3D city is legendary. This is where your crafty expertise really shines. Look through your recycling for smaller items that can be turned into landmarks. An empty tissue box makes a perfect hospital; a Pringles can is a ready-made grain silo or skyscraper; and toilet paper rolls are the ideal supports for a raised overpass. This adds a layer of ‘rugged elegance’ to the project that store-bought mats lack.
Engineering an Overpass
To create a multi-level experience, cut a long strip of cardboard about 4 inches wide. Use two upright toilet paper rolls as ‘pillars’ and tape the strip across them to create a bridge. This allows cars to drive both over and under, doubling the play value in that specific zone. Secure everything with a hot glue gun for a permanent, ‘toddler-proof’ bond.
Safety Note: When using a hot glue gun, keep a bowl of cold water nearby. If you get glue on your skin, dip it immediately to prevent burns. Always supervise children if they are assisting with the gluing process.
Visual Cues and Signage
Small details make a big impact. Use scrap cardboard to create tiny ‘Stop’ signs or ‘Yield’ signs. Glue them to toothpicks or coffee stirrers and poke them into the cardboard base. This teaches kids basic road safety while they play, making this a clever educational tool as well as a toy.
Maintenance and Expansion: Modular Design for Infinite Play
The Modular Advantage
One of the biggest issues with a ‘giant’ toy is storage. To solve this, design your map to be modular. Instead of one massive sheet, create 4 to 6 large panels that fit together like a puzzle. As long as the roads exit each panel at the same measurement (e.g., 2 inches from the corner), the panels can be rearranged in dozens of configurations. This keeps the toy ‘fresh’ and exciting for months.
Storage Solutions
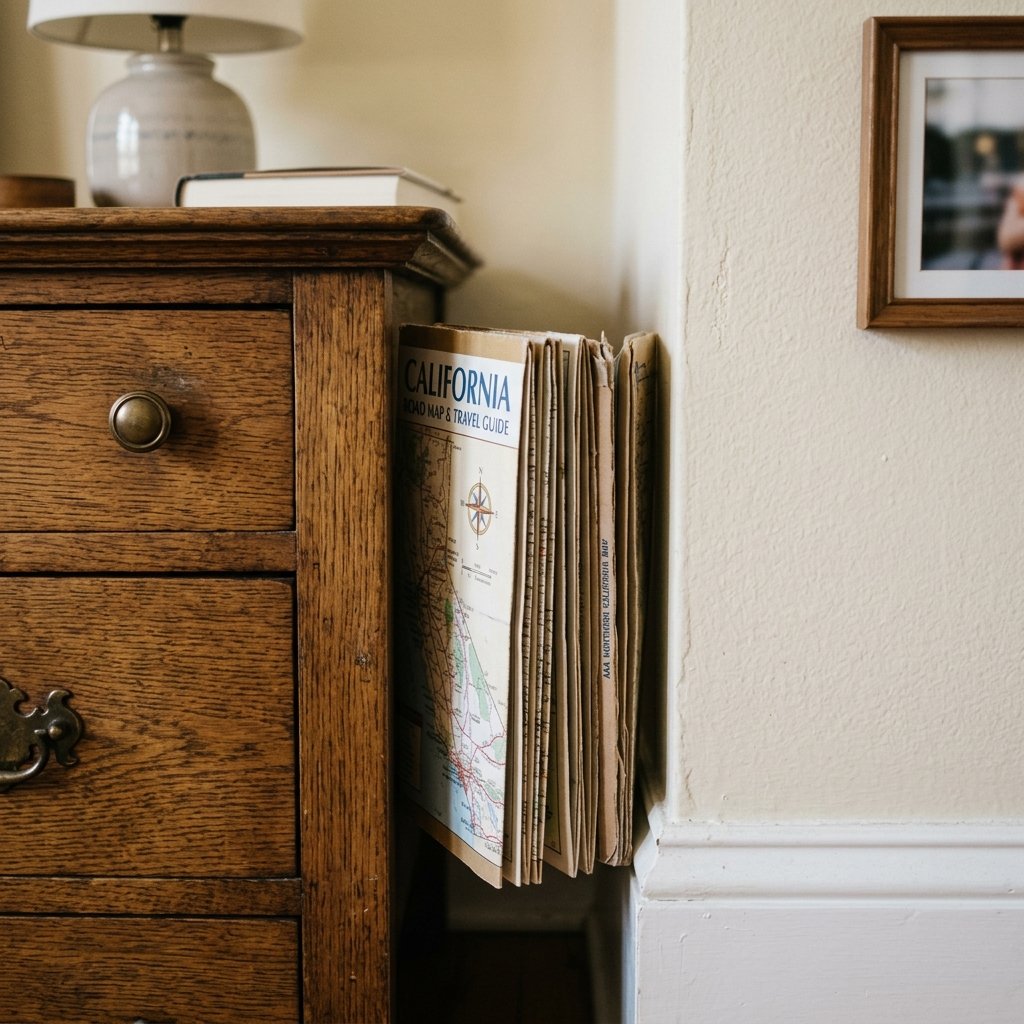
When playtime is over, a modular map can be stacked flat and slid under a bed or behind a sofa. If you opted for a single giant sheet, you can score the back of the cardboard (cutting only halfway through) at regular intervals to allow it to fold up like an accordion. This resourceful hack ensures your home doesn’t feel like a permanent construction zone.
Expanding the Territory
The best part of a cardboard road map? It is never finished. Every time a new package arrives on your doorstep, it is an opportunity for a new ‘suburb’ or a ‘beachfront’ district. You can even encourage your kids to color in the buildings and parks themselves, giving them a sense of ownership over their mini-metropolis.
Civil Engineering Logic: Advanced Layout Patterns
Designing Realistic Traffic Flow
To truly keep kids busy for hours, the map needs to be ‘navigable.’ Include a mix of one-way streets and two-way boulevards. Create a ‘downtown’ area with a high density of parking spots and a ‘suburban’ area with longer, winding roads. This variety encourages different types of play—from high-speed racing to methodical parking and ‘errand-running’ scenarios.
Texture and Terrain
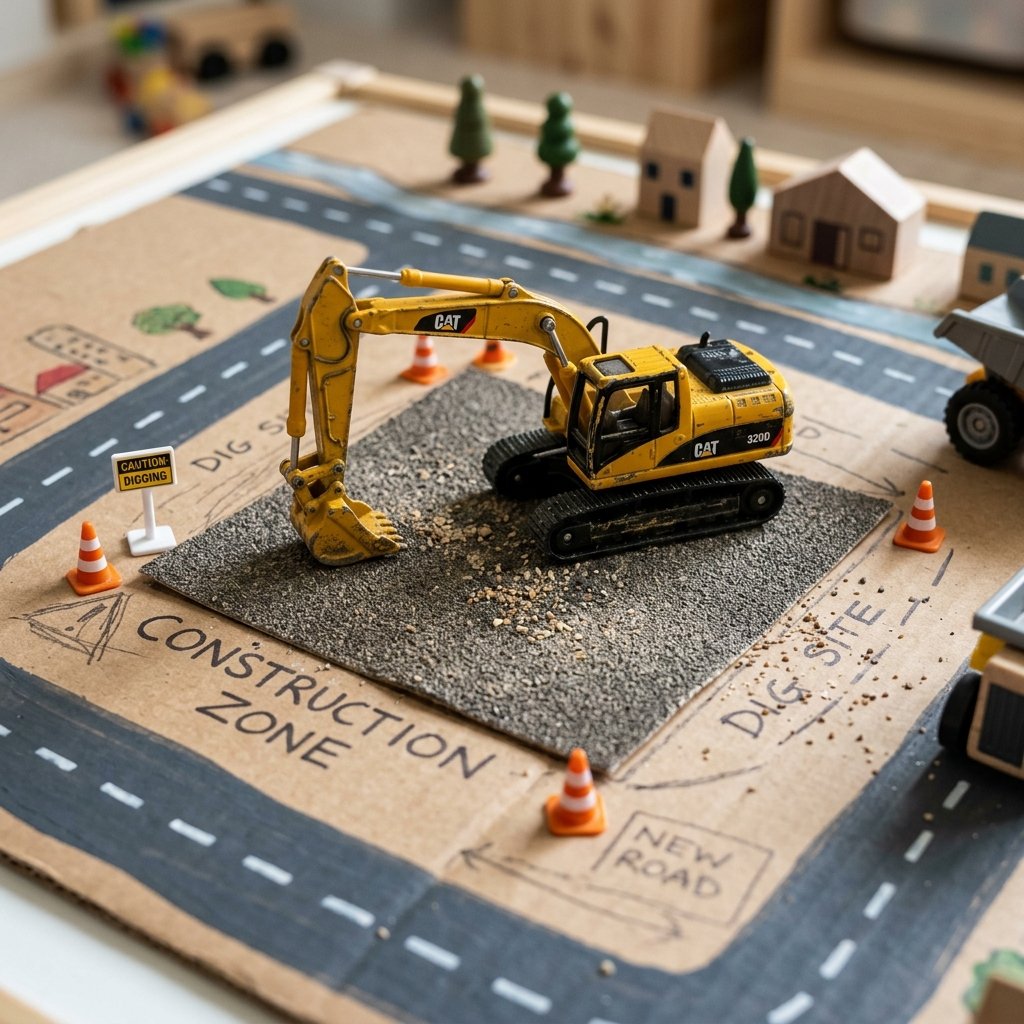
If you want to go the extra mile, use different materials for different terrains. Glue down a piece of sandpaper to represent a ‘gravel’ construction site, or use a scrap of blue felt for a lake or harbor. These tactile elements provide sensory feedback that enhances the play experience. It’s these crafty, budget-savvy touches that elevate a simple box into a professional-grade playset.
Conclusion
The High-Impact, Zero-Cost Play Solution
Building a giant DIY cardboard road map is the ultimate win-win for the resourceful parent. You are clearing out your recycling bin, saving a significant amount of money, and providing your children with a sprawling, imaginative world that requires no batteries or screens. This project proves that with a little bit of ‘urban planning’ and some basic craft supplies, you can create a high-end play experience for under $10. The rugged durability of the cardboard ensures it will last through countless ‘traffic jams’ and ‘high-speed chases,’ and its modular nature means it can grow alongside your child’s imagination. So, next time a shipping box arrives, don’t see it as trash—see it as the foundation of a new city. Grab your markers, clear some floor space, and start building. Your kids—and your wallet—will thank you.

Makenzie is the founder and lead writer at MoneyHackTips.com — a personal finance blog dedicated to delivering street-smart financial wisdom for real people on real budgets. With 300+ published articles covering everything from debt management to investing fundamentals, Makenzie’s mission is to make every dollar work harder. When not writing about money hacks, Makenzie is testing frugal living strategies, optimizing side hustles, and helping readers build financial freedom from scratch.