Unlock the Secret to High-End Decor on a Shoestring Budget
Let’s be honest: walking through those high-end home boutiques can be a dangerous game for the budget-conscious. You see a beautifully organic, hand-thrown ceramic jewelry dish with a price tag of $45, and your heart sinks. But what if I told you that you could replicate that exact artisanal look for about $0.50 per piece? Welcome to the world of high-end air-dry clay crafting. This isn’t the crumbly, grey school project material you remember from 3rd grade. With the right techniques, a bit of grit, and some clever finishing moves, you can create pieces that are virtually indistinguishable from kiln-fired ceramics. Whether you are a frugal DIYer looking to spruce up your nightstand or a handy parent searching for a sophisticated gift idea, this guide is your roadmap to professional-grade results without the professional-grade price tag.
The Budget Blueprint: Materials and Cost Comparisons
Why Air-Dry Clay is the Ultimate Frugal Flex
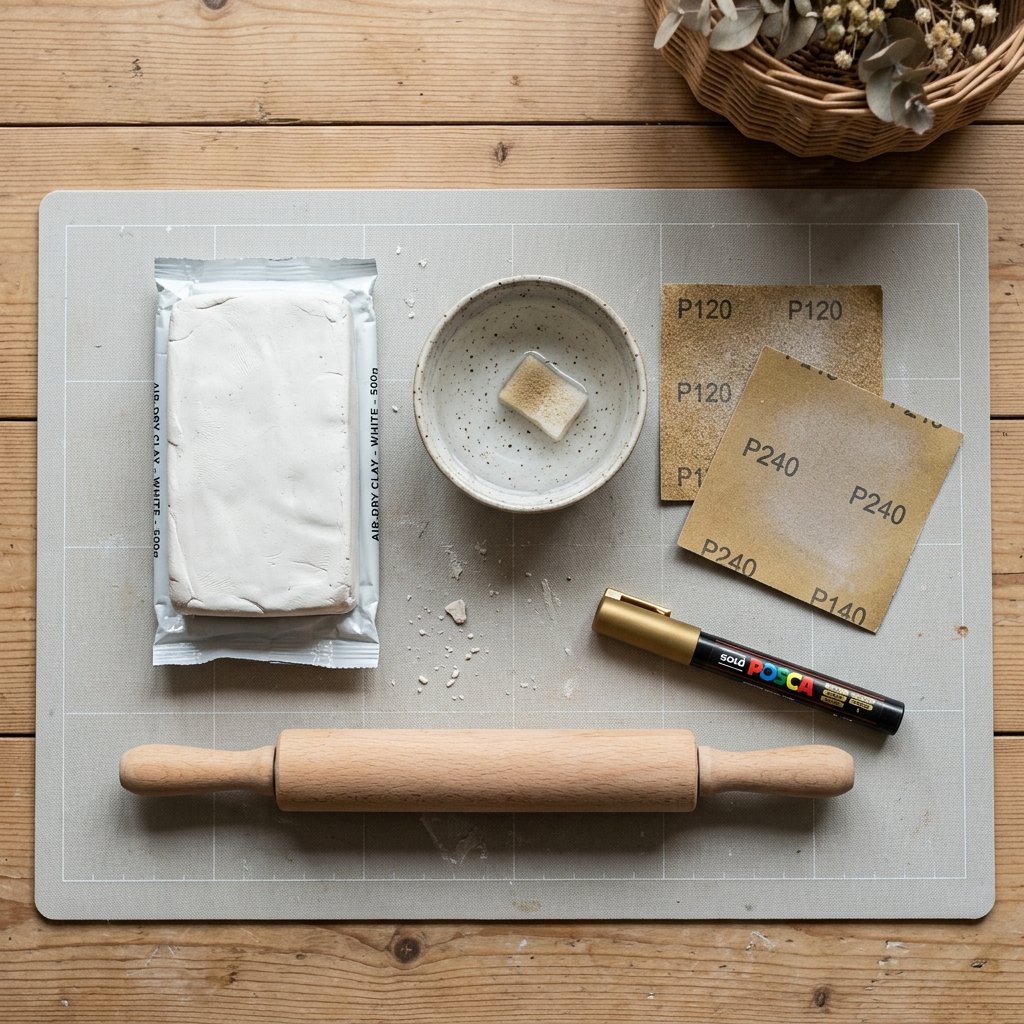
The beauty of this project lies in its accessibility. You don’t need a $2,000 kiln or a studio membership. You just need a flat surface and a few household items. By choosing air-dry clay over traditional pottery, you are saving 95% on equipment costs immediately. Below is a breakdown of what you’ll need to get started and how it stacks up against those big-box store alternatives.
| Item | DIY Cost (Per Dish) | Store-Bought Equivalent |
|---|---|---|
| Air-Dry Clay (Bulk Pack) | $0.30 | N/A |
| Acrylic Paint / Pigment | $0.10 | N/A |
| Glossy Varnish / Sealer | $0.15 | N/A |
| Total Cost | $0.55 | $28.00 – $55.00 |
Essential Gear You Already Own
- Rolling Pin: Or a smooth glass wine bottle (empty and cleaned).
- Cutting Tool: A simple butter knife or an old X-Acto blade.
- Texture Tools: Dried leaves, lace scraps, or even a rugged piece of burlap.
- Sandpaper: 220-grit and 400-grit for that ultra-smooth ceramic finish.
Pro-Tip: Always keep a small bowl of water nearby. This is your ‘liquid gold’ for smoothing out cracks as you work, ensuring a professional, non-DIY look from the start.
Mastering the Slab Method: A Step-by-Step Sculpting Guide
Precision Folding and Shaping for the Rugged Crafter
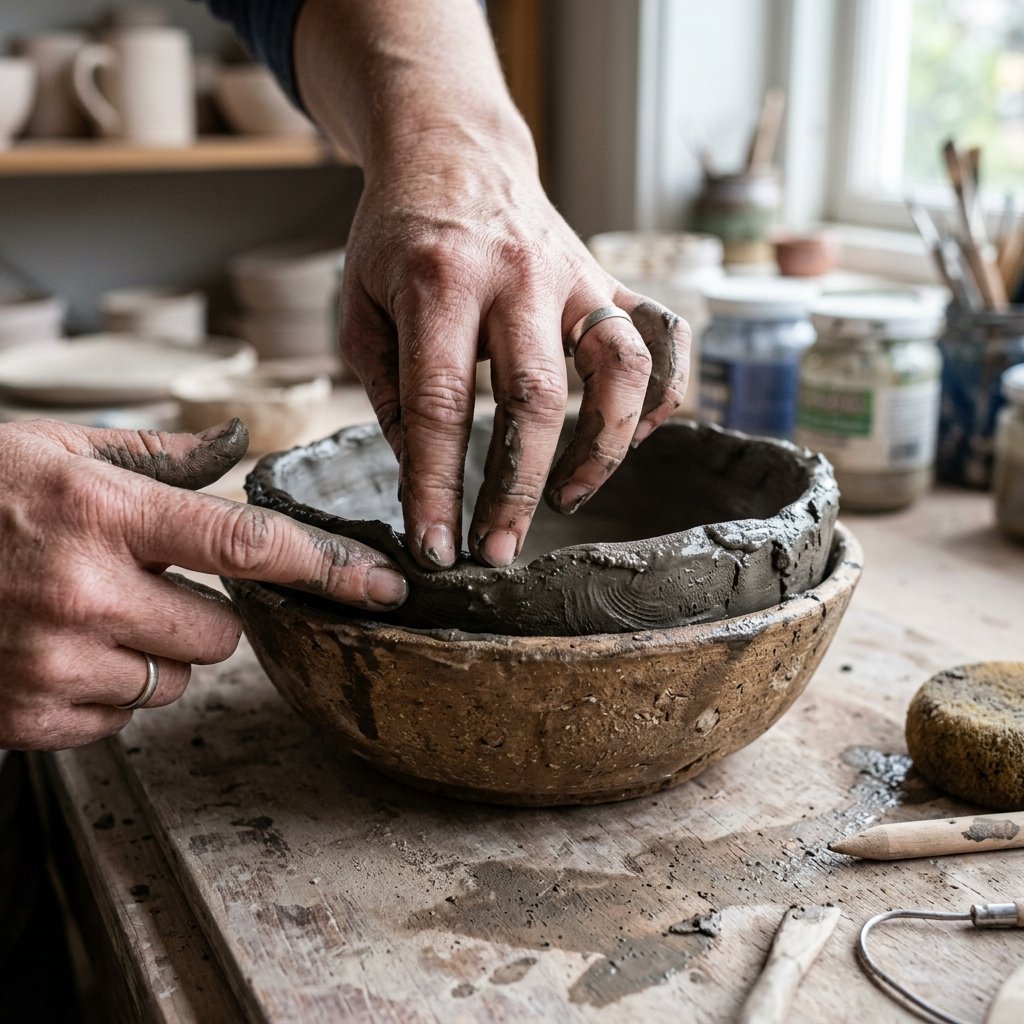
To achieve that ’boutique’ look, we avoid the lumpy pinch-pot method and instead use the Slab Method. This ensures a uniform thickness, which is the hallmark of professional pottery. Follow these steps for a perfect base every time.
- Condition the Clay: Knead a golf-ball-sized piece of clay for 2 minutes. This warms the fibers and prevents future cracking.
- Roll it Out: Use your rolling pin to flatten the clay to a consistent 1/4 inch thickness. Aim for an organic oval or a perfect circle using a kitchen bowl as a template.
- The ‘Slump’ Technique: Place your cut clay shape inside a small bowl lined with plastic wrap. This allows the clay to take on a gentle curve without collapsing.
- Refine the Edges: Dip your finger in water and run it along the rim until it is perfectly smooth.
“The secret to a rugged yet elegant piece is in the drying process. Never rush it with a hair dryer; let nature take its course for at least 24 to 48 hours to avoid warping.”
The Ceramic Illusion: Sanding and Sealing for a High-Gloss Finish

From Chalky to Chic: The Finishing Touch
This is where the magic happens. Raw air-dry clay has a matte, chalky finish that screams ‘craft project.’ To transform it into a ‘ceramic’ masterpiece, we must focus on the surface treatment. This is the most critical stage for the crafty expert.
The Three-Stage Sanding Process
- Stage 1: Once 100% dry, use 220-grit sandpaper to remove any major bumps or uneven edges.
- Stage 2: Switch to 400-grit sandpaper for a buttery-smooth surface. It should feel like polished stone.
- Stage 3: Wipe away all dust with a slightly damp (not wet!) cloth.
| Finish Type | Material Used | Visual Result |
|---|---|---|
| Classic Porcelain | White Gloss Varnish | High-shine, bright white |
| Modern Matte | Matte Acrylic Sealer | Sophisticated, stone-like |
| Artisanal Stoneware | Baking Soda + Paint | Textured, heavy, earthy |
To get that viral ‘baking soda’ ceramic look, mix 1 part baking soda with 2 parts acrylic paint. The reaction creates a thick, stone-like paste that hides any minor imperfections in your clay work, giving you a rugged, masculine-elegant vibe that looks expensive.
Sophisticated Styling: Gold Rims and Marble Effects
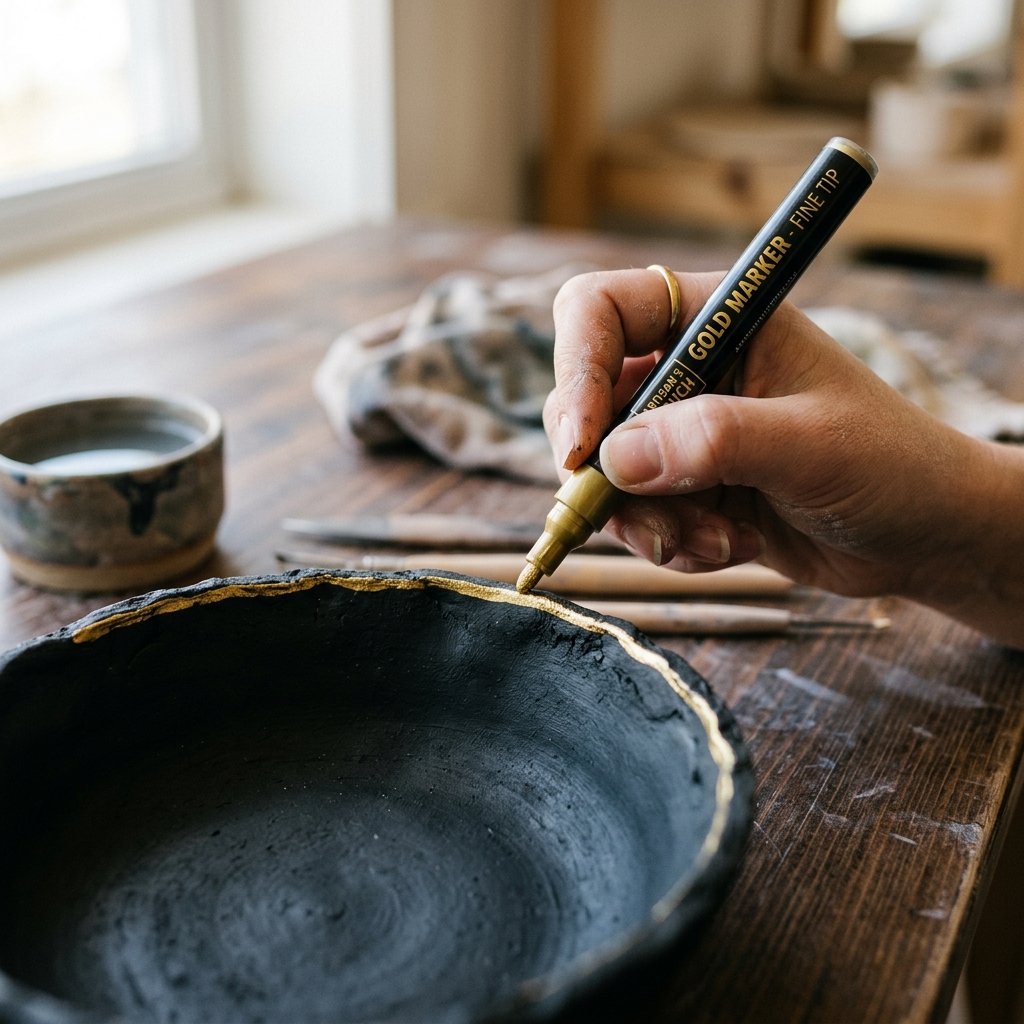
Level Up Your Aesthetic for Under $2
Now that you have a smooth, sealed base, it’s time to add the ‘designer’ details. A simple gold rim can increase the perceived value of your dish by $20 instantly. Here is how to execute high-end details with precision.
The Midas Touch (Gold Leafing)
You don’t need expensive gold leaf sheets. A $1.25 gold paint pen from the craft aisle works wonders. Simply steady your elbow on the table and rotate the dish slowly as you apply the paint to the very edge. This creates a crisp, metallic border that mimics high-end bone china.
The Faux Marble Swirl
If you want a marbled look, don’t paint it on. Instead, before the clay dries, take two small snakes of clay—one white and one tinted with a drop of grey paint—and twist them together like a candy cane. Roll them into a ball, then flatten. The result is a natural, integrated marble vein that looks like it was quarried from the earth.
Safety Note: While these dishes look good enough to eat off of, air-dry clay is not food-safe. Use them strictly for jewelry, keys, or as decorative accents. Keep them away from standing water.
Longevity and Care: Making Your DIY Last a Lifetime
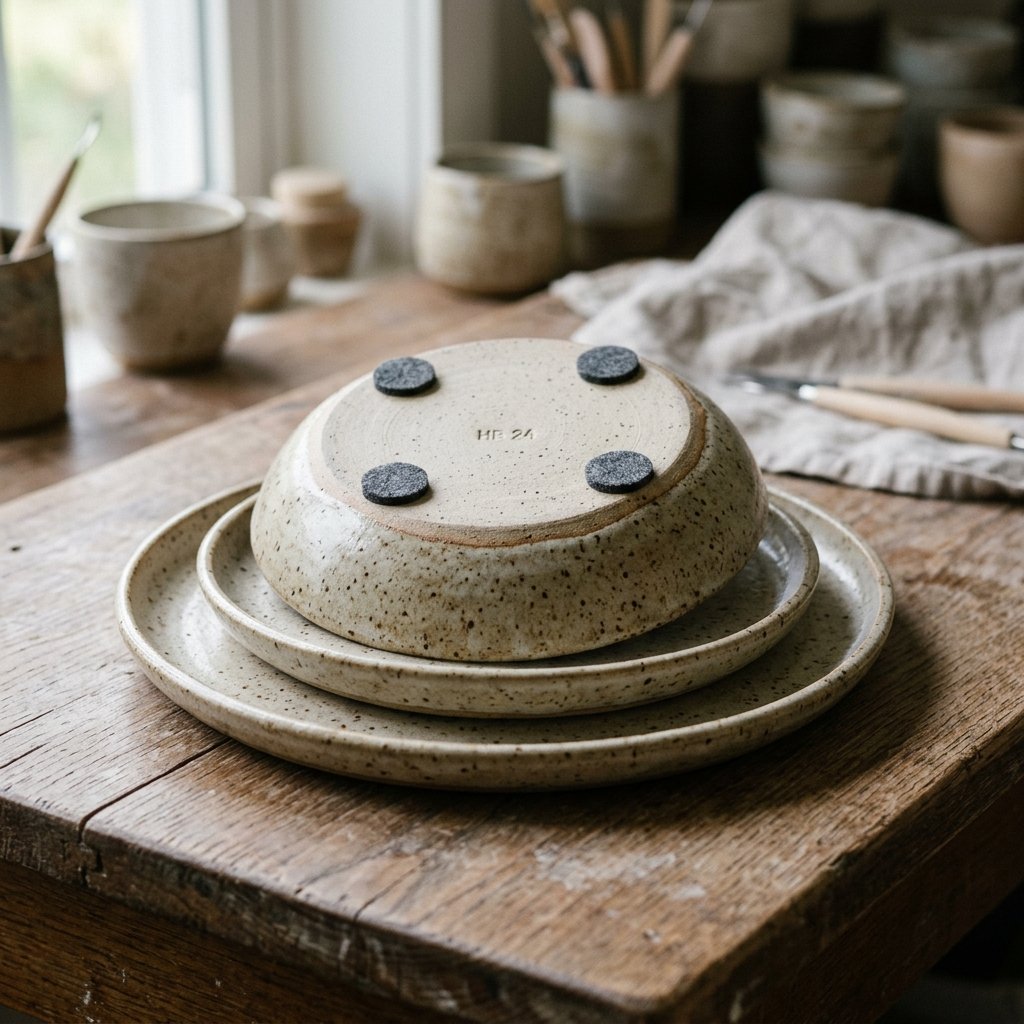
Rugged Durability for the Practical Maker
One common complaint about air-dry clay is that it can be fragile. However, as a handy upcycler, you know that the right reinforcement makes all the difference. To ensure your jewelry dish survives the hustle and bustle of a busy household, follow these durability hacks.
- Double Sealing: Apply a coat of polyurethane or a UV resin to the bottom of the dish as well as the top. This prevents moisture from the air from seeping into the clay over time.
- Felt Bottoms: Glue a small circle of scrap felt or cork to the bottom. This not only protects your furniture but also gives the dish a weighted, premium feel.
- Repairing Cracks: If a dish drops and chips, don’t toss it! Use a tiny bit of wood filler or a fresh slurry of clay and water to patch the area, sand it down, and spot-paint. It’s the frugal way to maintain your collection.
By following these steps, you’ve turned a simple $5 block of clay into a collection of 10 or more stunning pieces. Whether you’re gifting these for Father’s Day (think rugged concrete-look valet trays) or using them for wedding favors, you’ve mastered the art of the ‘expensive’ DIY.
Conclusion
The Masterpiece is Yours
You’ve officially bypassed the boutique markup and created something truly stunning with your own two hands. This project proves that you don’t need a massive budget or a professional studio to achieve masculine-elegant or chic-artisanal results. You’ve used your resourcefulness to turn basic earth and water into a functional piece of art. So, the next time someone asks where you bought that gorgeous ceramic dish, you can smile and tell them the truth: you made it for less than a dollar. Now, go forth and create—your nightstand (and your wallet) will thank you!

Makenzie is the founder and lead writer at MoneyHackTips.com — a personal finance blog dedicated to delivering street-smart financial wisdom for real people on real budgets. With 300+ published articles covering everything from debt management to investing fundamentals, Makenzie’s mission is to make every dollar work harder. When not writing about money hacks, Makenzie is testing frugal living strategies, optimizing side hustles, and helping readers build financial freedom from scratch.