
The Magic of the Humble Cardboard Box
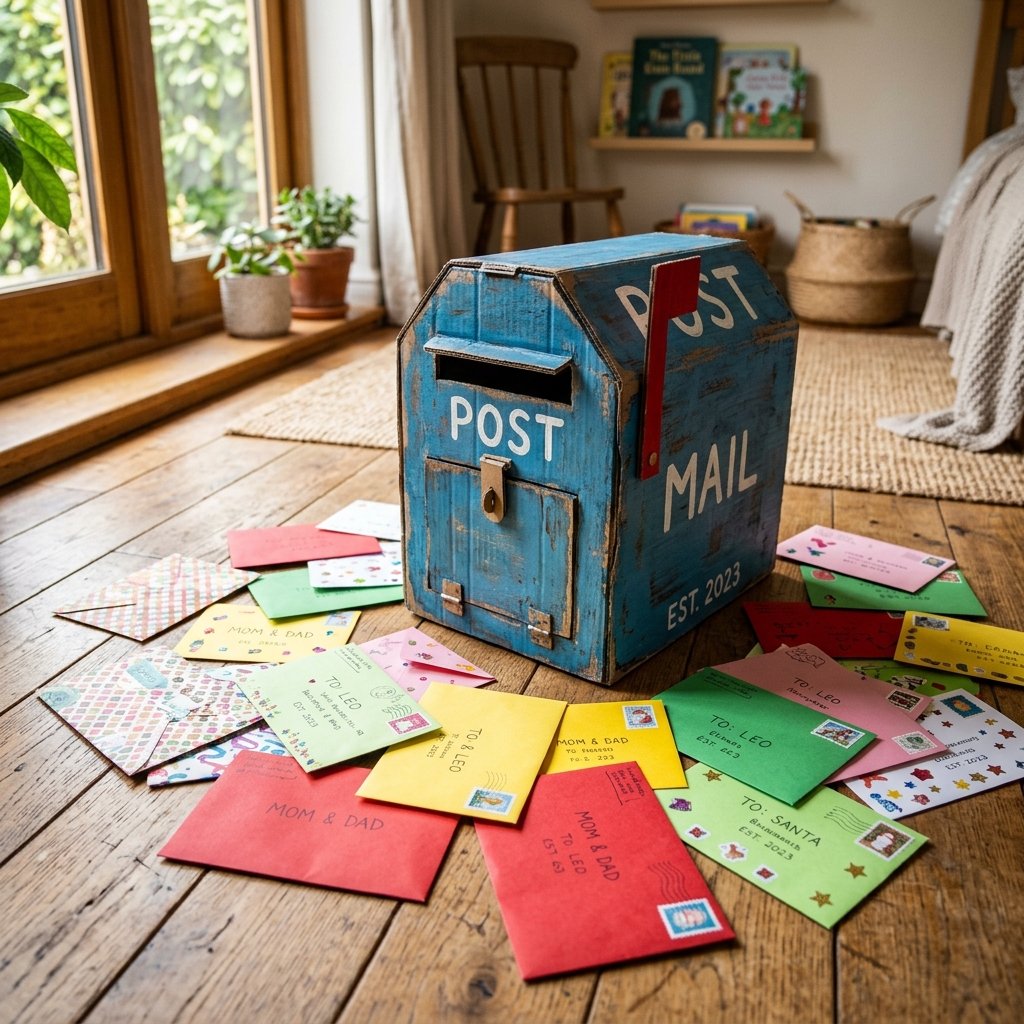
We have all been there: you spend $50 on a high-tech, blinking, noise-making plastic toy, only for your toddler to spend the entire afternoon playing with the shipping box it came in. It is time we lean into that creative instinct. As a resourceful, budget-savvy parent, you know that ‘trash’ is simply raw material waiting for a vision. Today, we are going to take that rugged brown corrugated cardboard and transform it into a high-functioning, interactive toddler mailbox. This project costs $0, keeps the kids busy for hours, and teaches them the fine art of correspondence (or at least the joy of shoving things into slots). Let’s grab our utility knives and turn some recycling into a childhood treasure.
Scavenging Your Supplies: The Zero-Budget Inventory
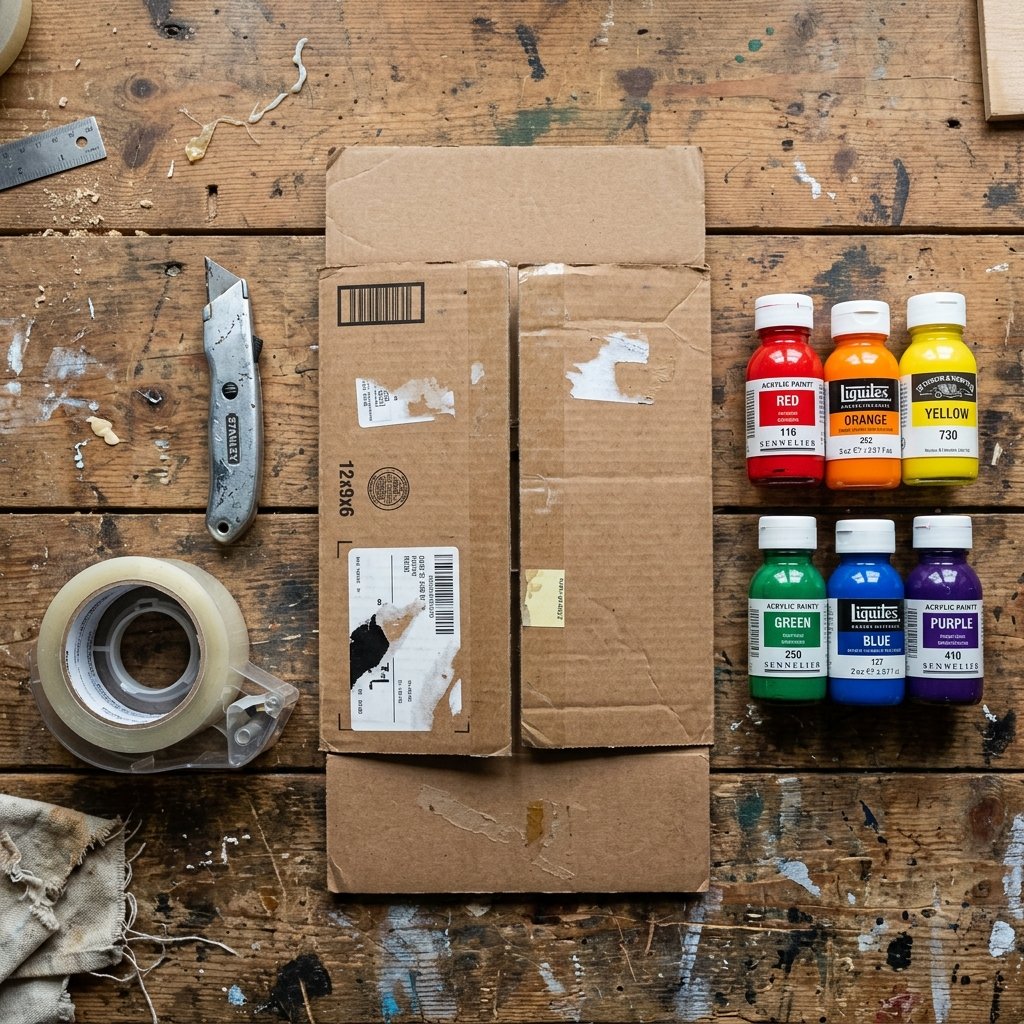
Before we start cutting, we need to gather our materials. The beauty of this project is that you likely already have everything sitting in your pantry or garage. We are looking for structural integrity and a bit of crafty flair. Don’t settle for flimsy cereal boxes; we want the rugged, double-walled cardboard that can withstand a toddler’s enthusiasm.
| Material | Source | Estimated Cost |
|---|---|---|
| Large Shipping Box | Amazon/Delivery Trash | $0.00 |
| Utility Knife/Box Cutter | Toolbox | $0.00 |
| Packing Tape or Hot Glue | Junk Drawer | $0.00 |
| Acrylic Paint or Markers | Kids’ Art Bin | $0.00 |
| Paper Scraps (for mail) | Recycling Bin | $0.00 |
| Total Project Cost | N/A | $0.00 |
The Budget Crafter’s Mantra: If it can be taped, it can be saved. If it can be painted, it can be personalized.
Check your box for any staples or sharp edges. Since this is for a toddler, we want to ensure the base is sturdy. If the bottom of your box feels weak, reinforce it with a second layer of cardboard scraps and a generous amount of hot glue or heavy-duty packing tape.
Engineering the Mail Slot and the Retrieval Door
The Cut That Matters
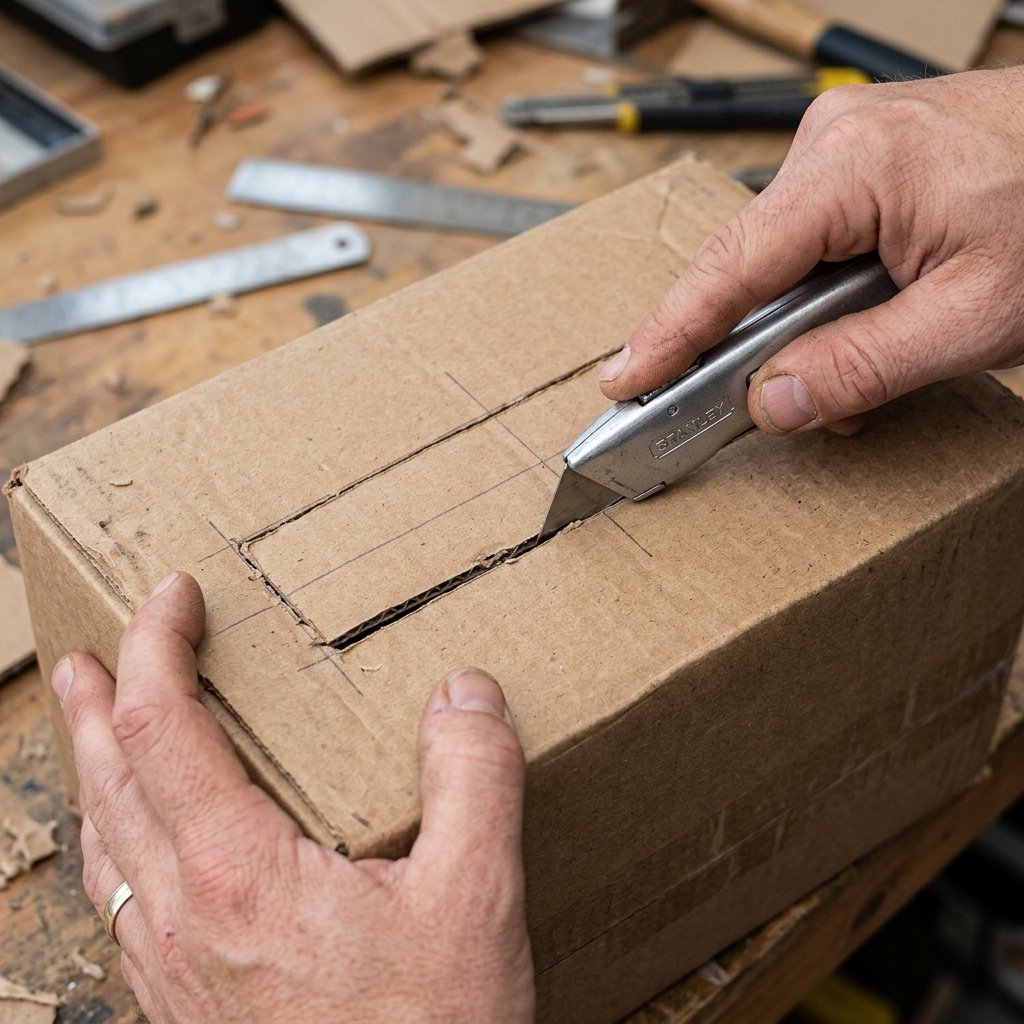
The heart of any mailbox is the slot. For a toddler, this needs to be wide enough to accommodate thick ‘letters’ but narrow enough to feel like a real challenge for their fine motor skills. Safety Note: Always perform the cutting yourself, away from little hands.
- The Slot: Measure 2 inches down from the top of the box. Use your utility knife to cut a rectangle approximately 6 inches wide and 1 inch tall.
- The Door: On the front or side of the box, cut a large ‘U’ shape to create a flap that opens downward. This is where the toddler will ‘retrieve’ their mail.
- The Hinge: Instead of cutting the bottom of the ‘U’, simply score the cardboard lightly so it folds easily without detaching.
To make the door feel ‘high-end,’ we can add a simple handle. A spare wine cork or even a folded piece of cardboard taped into a loop works perfectly. This gives the child something tactile to grab onto as they work on their ‘open and close’ skills.
Crafting the Iconic Red Flag
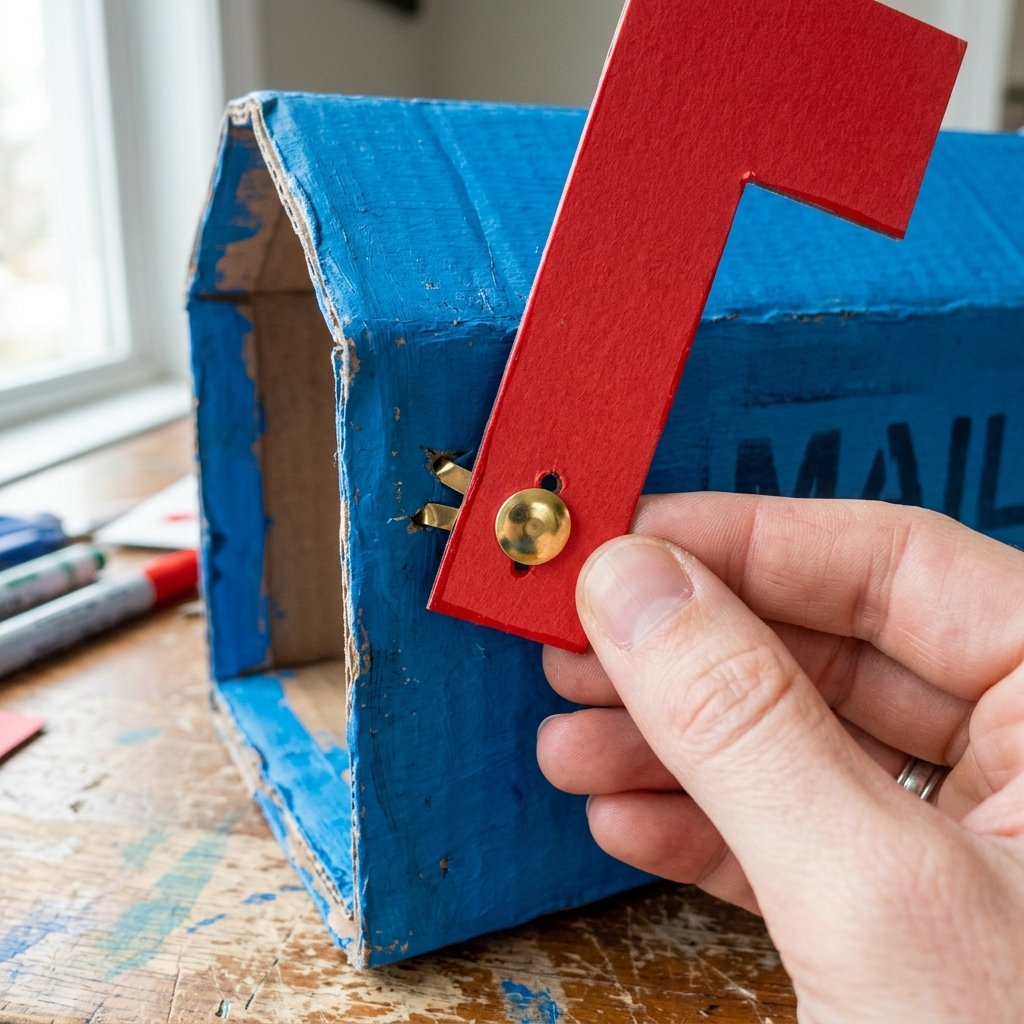
No mailbox is complete without the signal flag. This is the part that toddlers find most fascinating—the ‘on/off’ switch of the mail world. We want this to be rugged enough to be flipped up and down 100 times a day.
- Cut a ‘L’ shape or a simple rectangle from a separate piece of scrap cardboard.
- Paint this piece bright red (or a contrasting color).
- To attach it, use a brass fastener (brad) if you have one. If not, poke a small hole in the box and the flag, thread a piece of sturdy twine through, and tie large knots on both ends.
- Ensure the flag is loose enough to rotate but tight enough to stay upright when ‘raised.’
Pro-Tip: If the flag feels flimsy, laminate two pieces of cardboard together with glue before painting. This creates a ‘heavy-duty’ feel that mimics real metal.
The Dollar Tree Aesthetic: Painting and Personalization
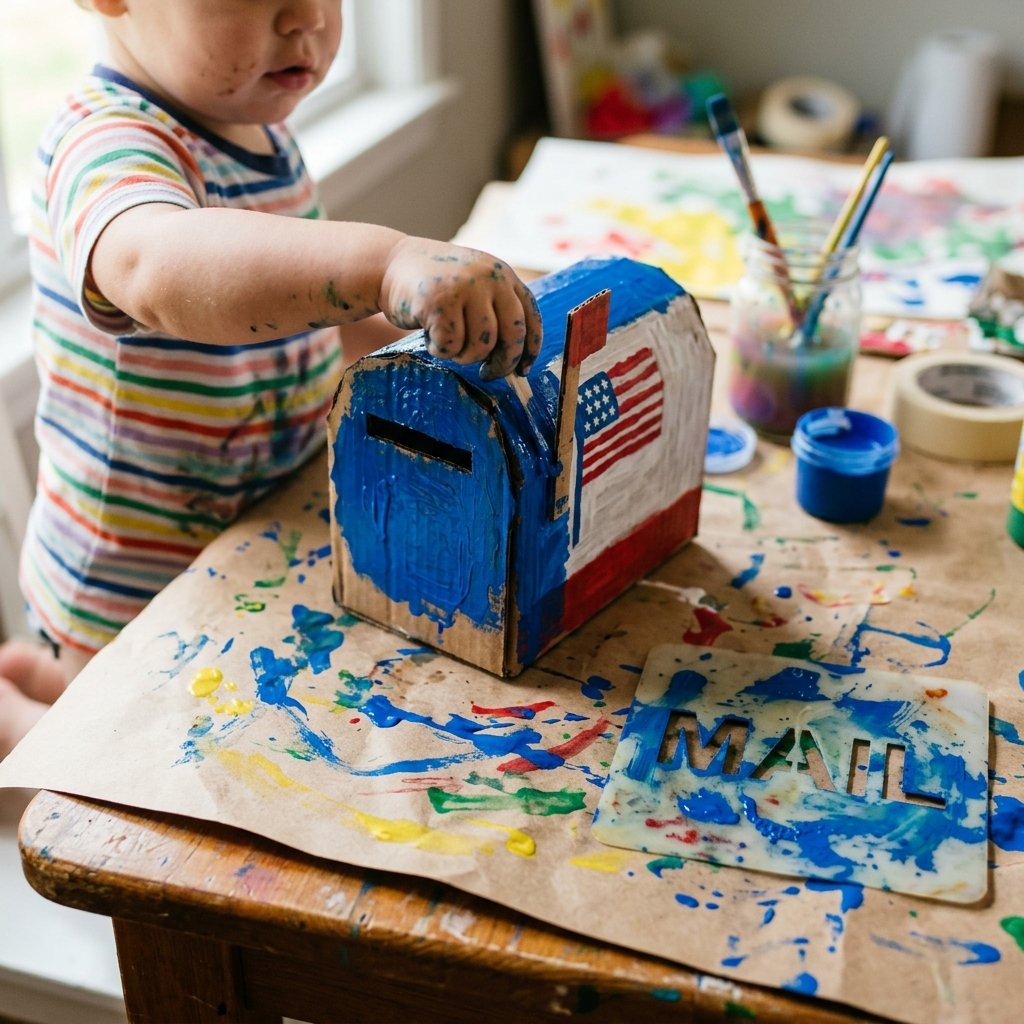
High-End Looks on a Trash Budget
Now that the structure is solid, we need to move away from the ‘shipping box’ look and toward the ’boutique toy’ aesthetic. This is where your inner designer shines. You don’t need expensive chalk paint; simple acrylics or even leftover house paint will do.
| Style Choice | Technique | Effort Level |
|---|---|---|
| Classic Rural | Solid Navy Blue with White Lettering | Low |
| Modern Farmhouse | White Base with Black ‘Post’ Text | Medium |
| Whimsical Garden | Pastel Colors with Floral Stickers | High |
- The Base Coat: Apply one thick coat of paint. Don’t worry about perfection; the texture of the cardboard adds a rugged charm.
- Personalization: Use a permanent marker or a stencil to write your child’s name across the front. ‘Caleb’s Post’ or ‘Lily’s Letters’ makes the toy feel like a special gift rather than a weekend project.
- Durability Tip: Once the paint is dry, rub a piece of clear wax or even a bit of hairspray over the surface to help prevent the paint from chipping during heavy play.
Interactive Play: Creating the ‘Mail’ Portfolio
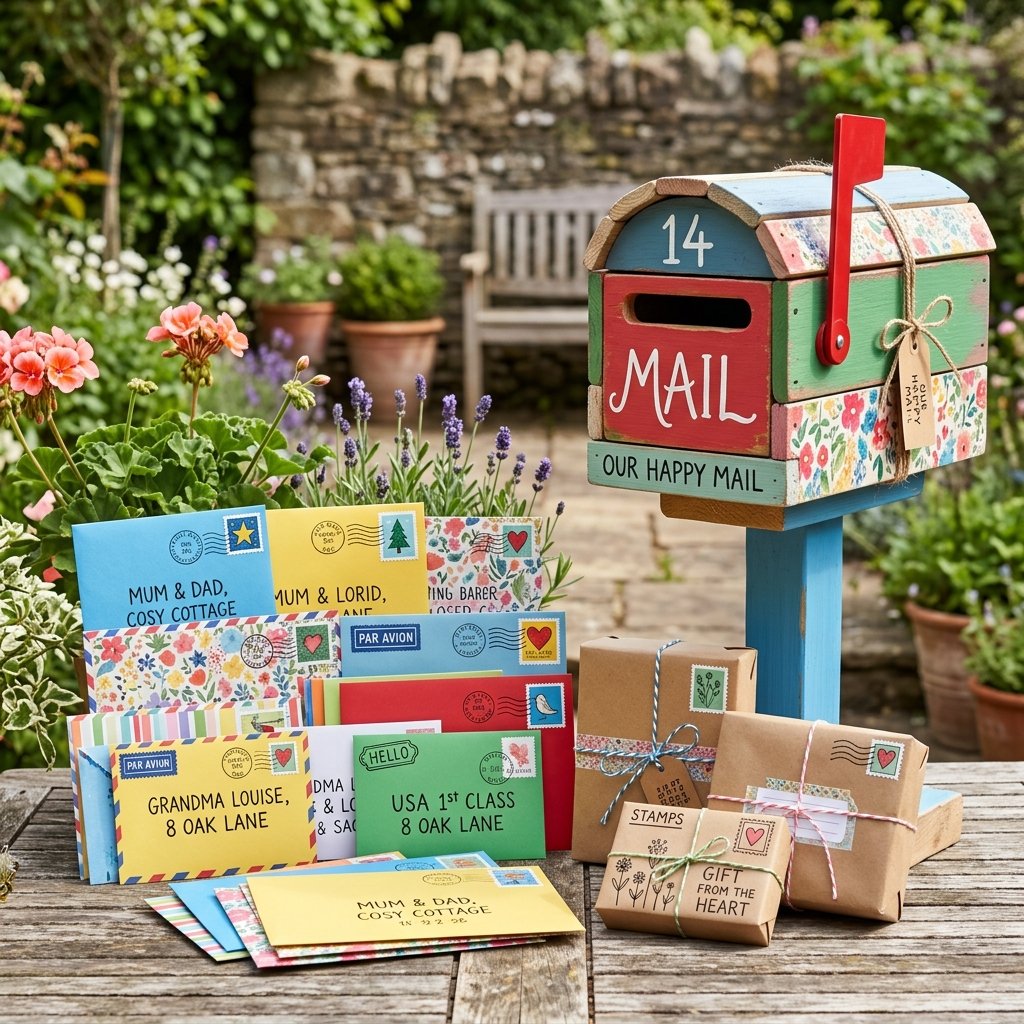
A mailbox is only as good as the letters inside it. To keep your toddler engaged for hours, you need a variety of ‘mail’ items. This is a great way to use up junk mail and scrap paper while teaching basic sorting skills.
The DIY Letter Kit:
- Envelopes: Take old junk mail envelopes and tape them shut. Paint them different colors to encourage color sorting (e.g., ‘Put the blue letter in the box!’).
- Postcards: Cut rectangles from cereal boxes. On one side, let the toddler scribble their ‘message,’ and on the other, draw a fake stamp.
- Packages: Use small tea boxes or jewelry boxes. Wrapping them in brown paper makes them look like authentic miniature parcels.
By providing different shapes and sizes, you are challenging the toddler to figure out which items fit through the slot and which need to go through the larger retrieval door. This is spatial awareness training disguised as pure fun.
Longevity and Maintenance: Making Cardboard Last
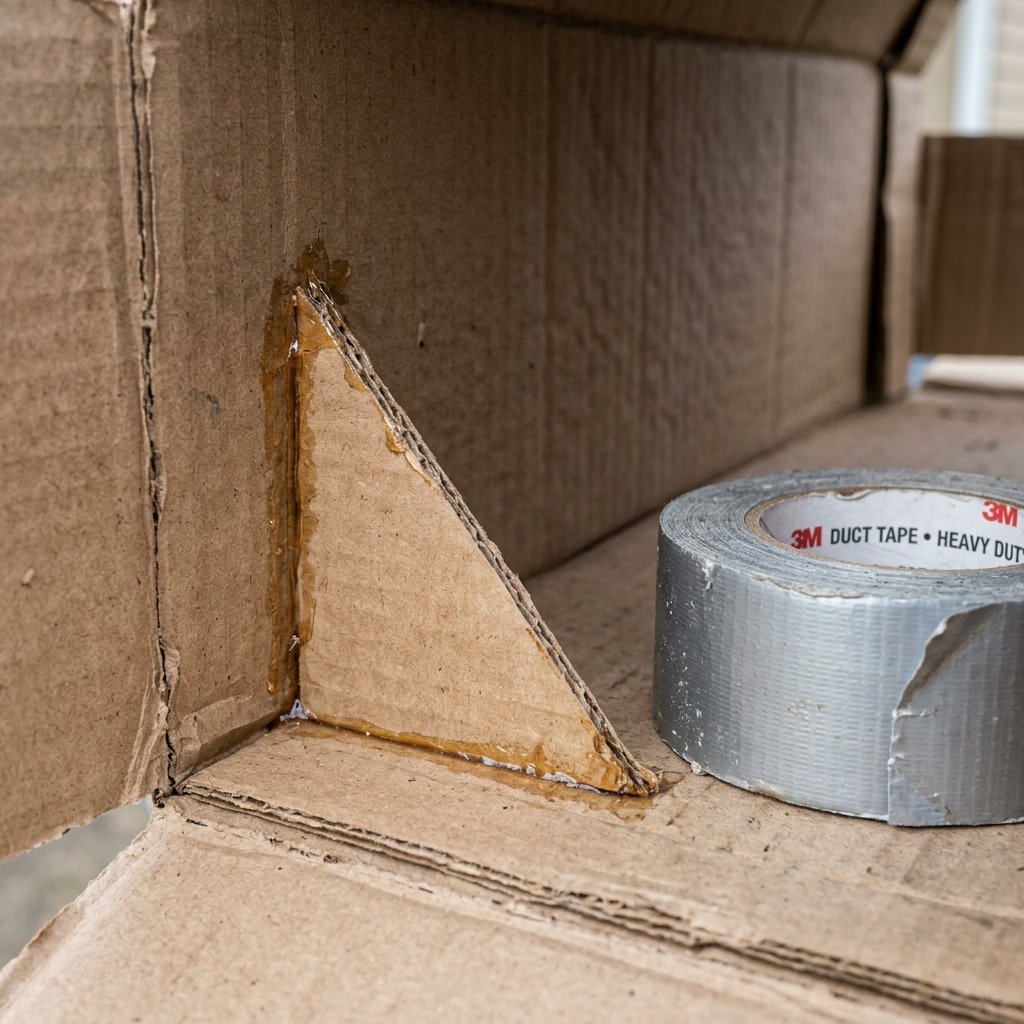
Cardboard is surprisingly durable, but toddlers are a force of nature. To ensure this toy lasts more than a week, we need to apply some crafty engineering. Think of this as ‘mending’ for toys.
Maintenance Mantra: A strip of tape today keeps the recycling bin away.
| Wear Point | Reinforcement Method |
|---|---|
| Slot Edges | Wrap with clear packing tape to prevent fraying. |
| Door Hinge | Add a ‘spine’ of duct tape for extra flexibility. |
| Box Corners | Reinforce internally with triangular cardboard ‘gussets’. |
If the mailbox starts to look a bit ‘loved’ (crushed or bent), don’t toss it! You can easily patch it with more cardboard or add a new layer of paint. Part of the frugal DIY philosophy is teaching children that we repair things rather than replacing them at the first sign of wear.
Conclusion
The Ultimate Trash-to-Treasure Victory
You have successfully turned a piece of waste into a bespoke, interactive toy that rivals anything found in a big-box store. Not only have you saved $30 to $50, but you have also provided your child with a tool for imaginative play that grows with them. From simple ‘in and out’ games to complex ‘delivery route’ roleplay, this cardboard mailbox is a testament to the power of resourceful parenting. So, the next time a delivery arrives at your door, don’t just see a box—see a castle, a car, or another mailbox waiting to happen. Happy crafting, and may your ‘post office’ always be open for business!

Makenzie is the founder and lead writer at MoneyHackTips.com — a personal finance blog dedicated to delivering street-smart financial wisdom for real people on real budgets. With 300+ published articles covering everything from debt management to investing fundamentals, Makenzie’s mission is to make every dollar work harder. When not writing about money hacks, Makenzie is testing frugal living strategies, optimizing side hustles, and helping readers build financial freedom from scratch.