
The Secret to High-End Aesthetics on a Shoestring Budget
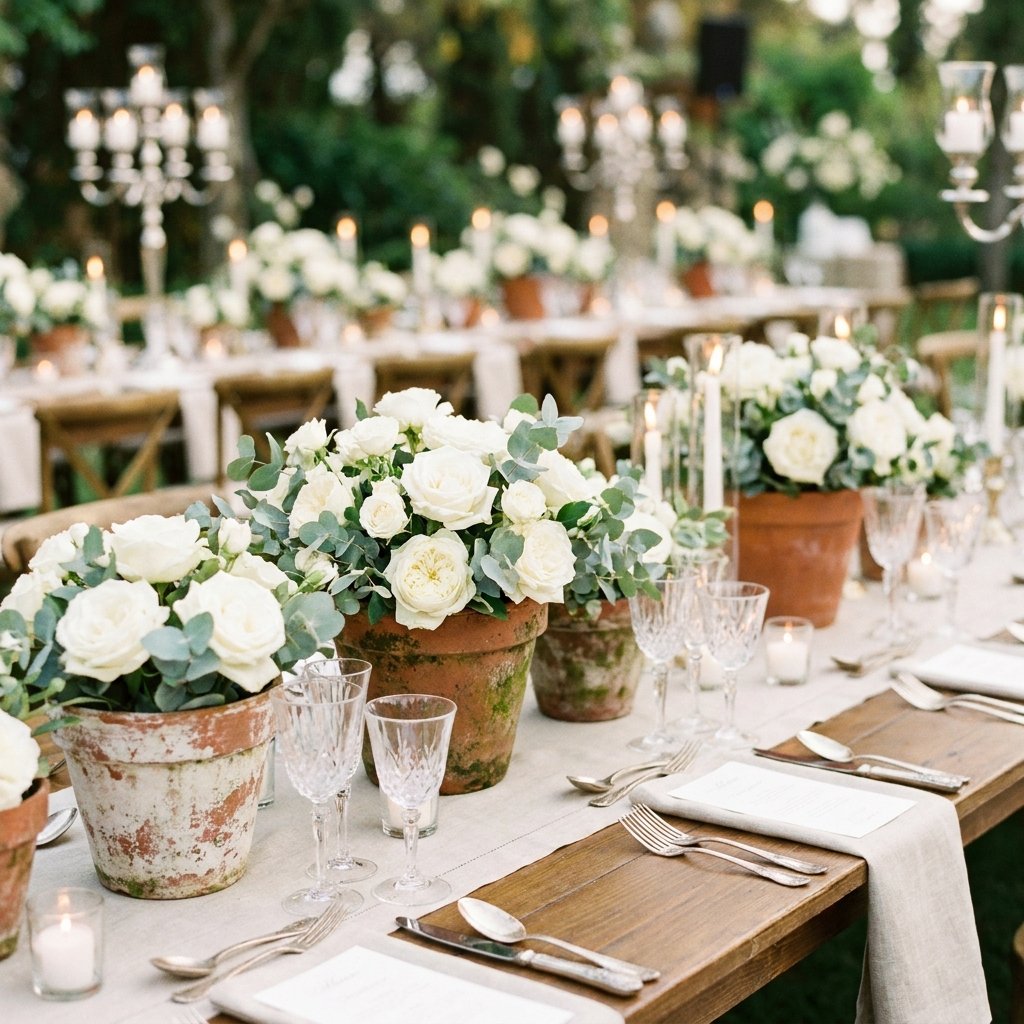
Planning a wedding often feels like a constant battle between your Pinterest dreams and your bank account reality. We’ve all seen those breathtaking Mediterranean-inspired tablescapes featuring centuries-old, weathered terra cotta pots that look like they were plucked from a Tuscan villa. The problem? Those ‘authentic’ aged pots can retail for $40 to $120 apiece at high-end boutiques. For a wedding with twenty tables, that’s a $2,000 bill just for the vessels!
But here is the clever, resourceful truth: you don’t need a time machine or a massive inheritance to achieve that rugged, masculine-elegant look. With a little bit of craftiness and a few pantry staples, you can turn a standard $1.25 Dollar Tree clay pot into a masterpiece that looks like a weathered relic. This guide will walk you through the ‘Alchemist’s Method’ of aging terra cotta, ensuring your guests will be whispering about your ‘extravagant’ decor choices while you smile knowing they cost less than a cup of coffee.
The Master List: Sourcing Your Materials for Pennies

The beauty of this project lies in its simplicity. We aren’t using expensive specialty glazes or professional kilns. Instead, we are using the power of texture and common household items. To keep your costs at exactly $2 per unit or less, sourcing is everything. You want to look for basic, unglazed terra cotta pots. Their porous nature is exactly what we need to absorb our ‘aging’ mixtures.
| Material | Source | Estimated Cost Per Pot |
|---|---|---|
| Standard Terra Cotta Pot | Dollar Tree / Bulk Wholesale | $1.25 |
| White Acrylic Paint or Leftover House Paint | Craft Stash / Garage | $0.15 |
| Baking Soda or Garden Lime | Pantry | $0.10 |
| Coarse Sandpaper | Hardware Store | $0.10 |
| Matte Sealer (Optional) | Hardware Store | $0.40 |
| TOTAL | – | $2.00 |
Budget Guru Tip: Check Facebook Marketplace or local ‘Buy Nothing’ groups. Many gardeners get rid of used pots for 100% free. Even if they are slightly chipped, that only adds to the rugged, authentic charm we are after!
The Baking Soda Stone Method: Creating Instant History
The Science of the ‘Stone’ Texture
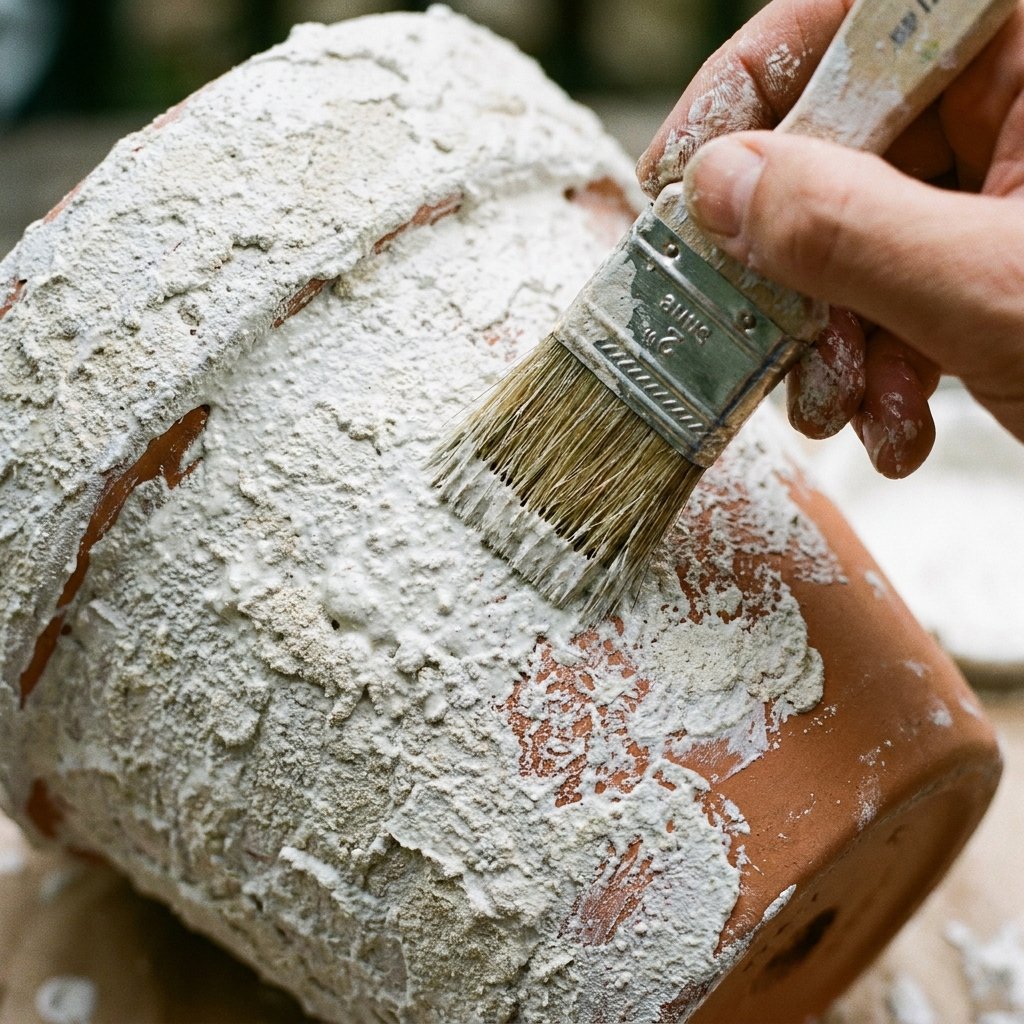
The most effective way to mimic decades of mineral buildup and salt efflorescence is a technique called the ‘Baking Soda Paint’ trick. When you mix baking soda into acrylic paint, it creates a chemical reaction that results in a thick, gritty paste. When applied to the pot, it dries with a matte, stone-like finish that is indistinguishable from real aged clay.
- Clean the Surface: Wipe down your pots with a damp cloth to remove any dust. If using old pots, ensure there is no loose dirt.
- The Formula: Mix 1 part white acrylic paint with 1 part baking soda. The consistency should be like thick cake frosting.
- The Application: Do not use smooth brush strokes. Instead, use a ‘stippling’ motion—dab the brush up and down to create peaks and valleys in the texture.
- The Layering: Focus the heaviest application around the rim and the base, as this is where natural mineral deposits usually gather over time.
By using this method, you are effectively ‘growing’ a crust on the pot in 15 minutes that would normally take 15 years to develop in a garden.
The ‘Green Thumb’ Patina: Adding Faux Moss and Algae
Adding Organic Depth
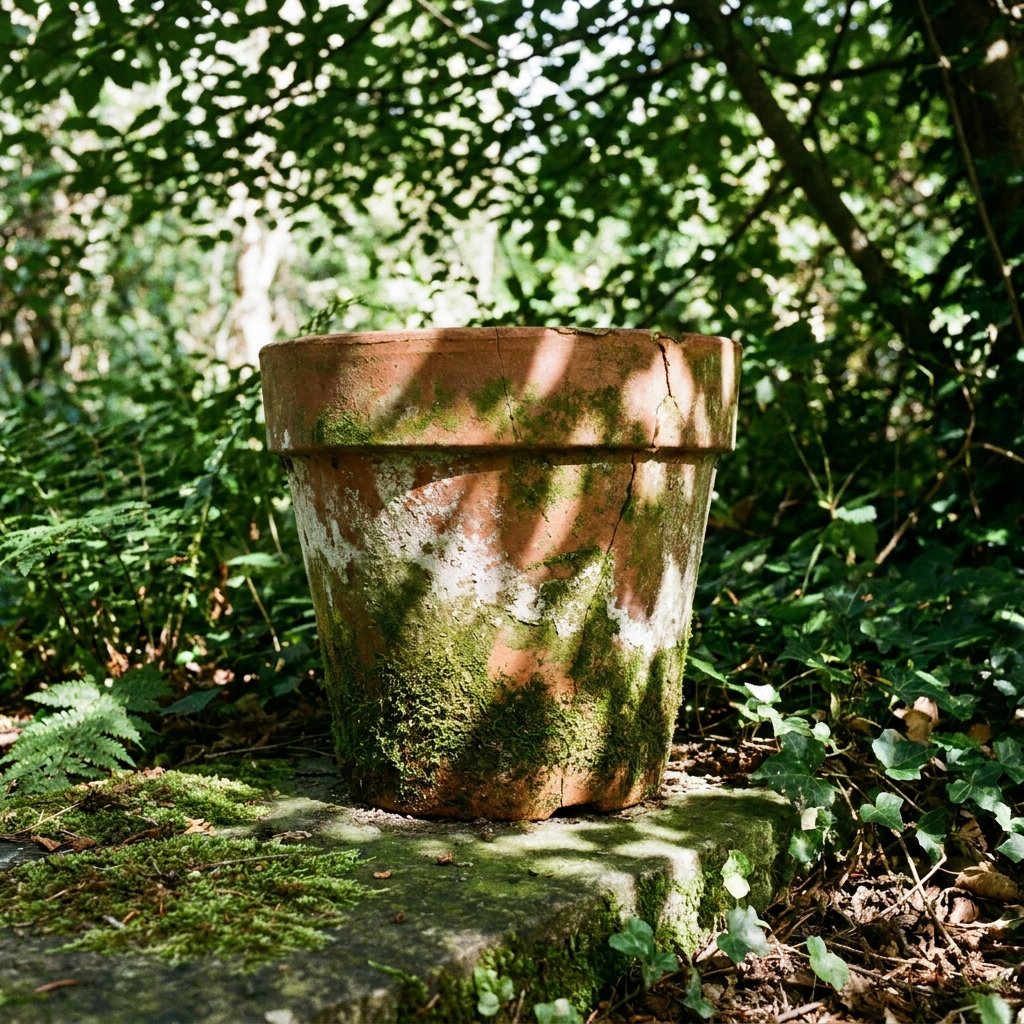
If your wedding theme is more ‘Secret Garden’ or ‘Enchanted Forest,’ white minerals aren’t enough. You need the look of organic growth. This is where we get crafty with shades of green and grey. Authentic aged pots often have a slight green tint near the bottom where moisture sits.
- The Moss Wash: Mix a tiny drop of dark green and burnt umber paint into a large amount of water. It should be the consistency of tea.
- The Drip Technique: Hold the pot upside down and let the ‘moss water’ run from the base toward the rim. This mimics natural gravity-fed staining.
- The Sanding Phase: Once everything is bone dry, take your coarse sandpaper and lightly scuff the high points. This reveals the original orange clay underneath, creating a multi-dimensional look that screams ‘antique find.’
This layering process is what separates a ‘craft project’ from a ‘professional prop.’ The more layers of thin, watery color you add, the more realistic the finish becomes.
Styling Your Masterpieces: From Table 1 to Table 20
High-End Styling on a Budget
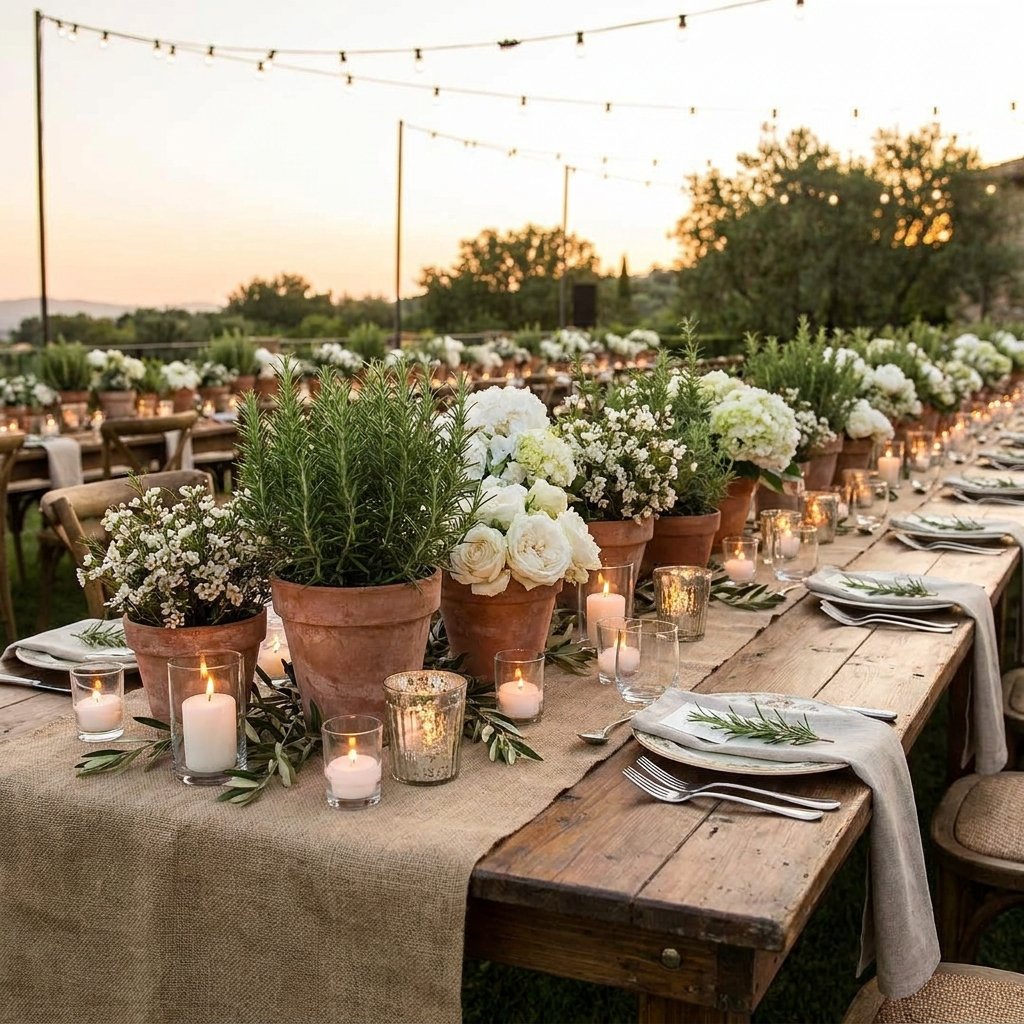
Now that you have your vessels, how do you make them look like a million bucks? The key is contrast. The rugged, matte texture of the aged terra cotta pairs beautifully with soft, delicate florals and polished elements.
| Wedding Style | Filler Suggestion | Accent Element |
|---|---|---|
| Rustic Italian | Dried Lavender & Olive Branches | Unfinished Wood Slabs |
| Modern Organic | Single White Peony & Eucalyptus | Gold Taper Candle Holders |
| Boho Chic | Pampas Grass & Succulents | Macrame Runners |
| Classic Elegant | Baby’s Breath & White Roses | Mirror Rounds |
To save even more, consider using potted herbs like rosemary or thyme inside your DIY vessels. Not only are they cheaper than cut flowers (often only $3-4 per plant), but they also provide a wonderful aroma for your guests and can be taken home as wedding favors!
The Logistics: Mass Production and Durability
Efficiency for the Busy Bride or Groom
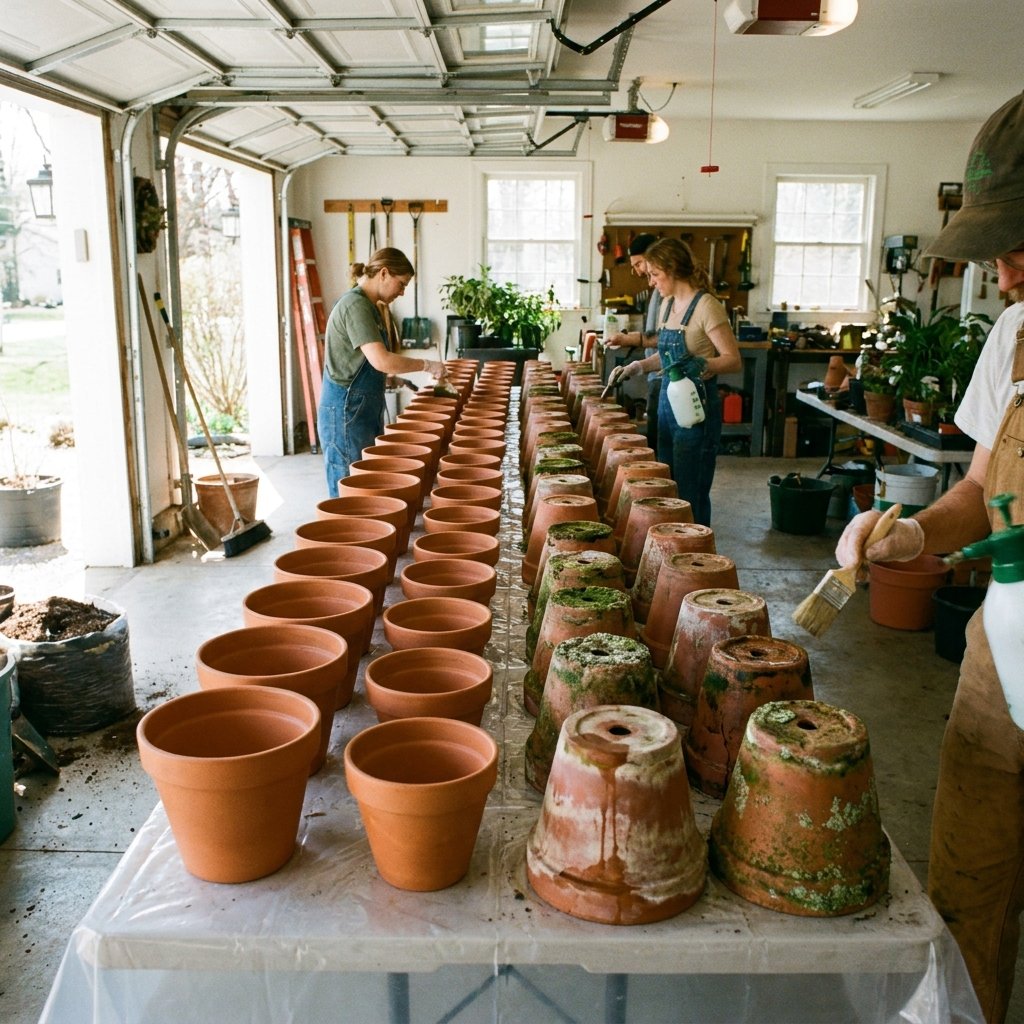
When you need to make 30 of these, you need a system. Set up an assembly line in your garage or backyard. Line the pots up and do all the ‘baking soda’ layers first, then follow up with the washes. This will save you hours of cleaning brushes between steps.
Safety & Durability Note: While these pots look rugged, the paint/baking soda mixture can be sensitive to heavy water. If you are using live plants that require watering, it is highly recommended to spray the interior and exterior with a matte clear sealer. This prevents the moisture from the soil from bubbling the paint from the inside out.
Transporting these is also a breeze. Since they are already ‘distressed,’ a few extra clinks or small scratches during transit only add to the character. Simply wrap them in old newspapers—another zero-cost solution!
Conclusion
The $2 Victory
By choosing to spend a few hours on a Saturday afternoon with some baking soda and paint, you’ve effectively saved enough money to upgrade your honeymoon or spring for that open bar. The DIY Aged Terra Cotta Centerpiece is more than just a hack; it’s a testament to the fact that elegance isn’t bought—it’s created. Your guests will admire the ‘expensive’ weathered patina, and you’ll have the quiet satisfaction of knowing you mastered the art of the ‘Trash-to-Treasure’ wedding. Now, grab those pots and start aging! Your dream wedding is just a stipple-brush away.

Makenzie is the founder and lead writer at MoneyHackTips.com — a personal finance blog dedicated to delivering street-smart financial wisdom for real people on real budgets. With 300+ published articles covering everything from debt management to investing fundamentals, Makenzie’s mission is to make every dollar work harder. When not writing about money hacks, Makenzie is testing frugal living strategies, optimizing side hustles, and helping readers build financial freedom from scratch.