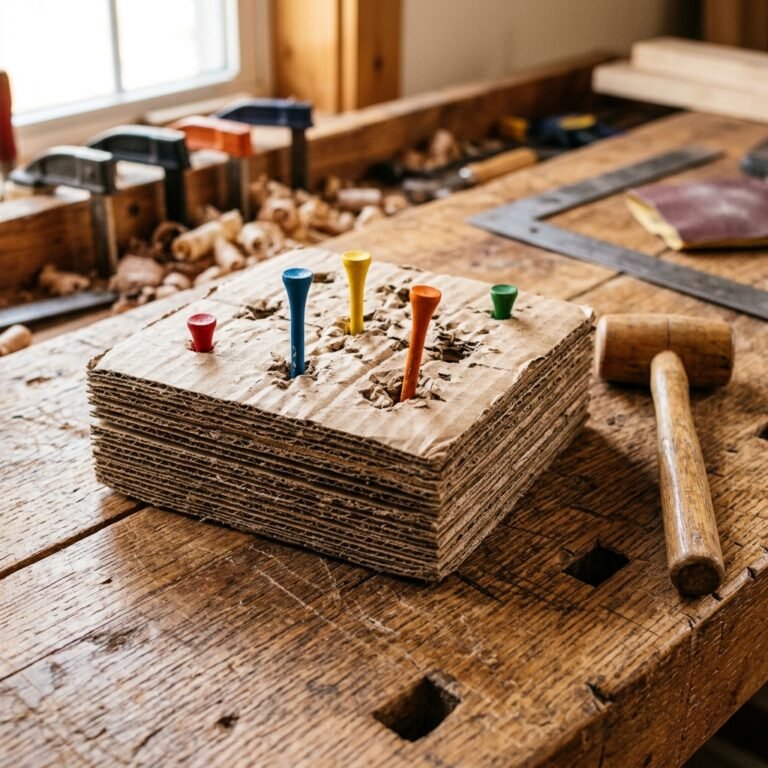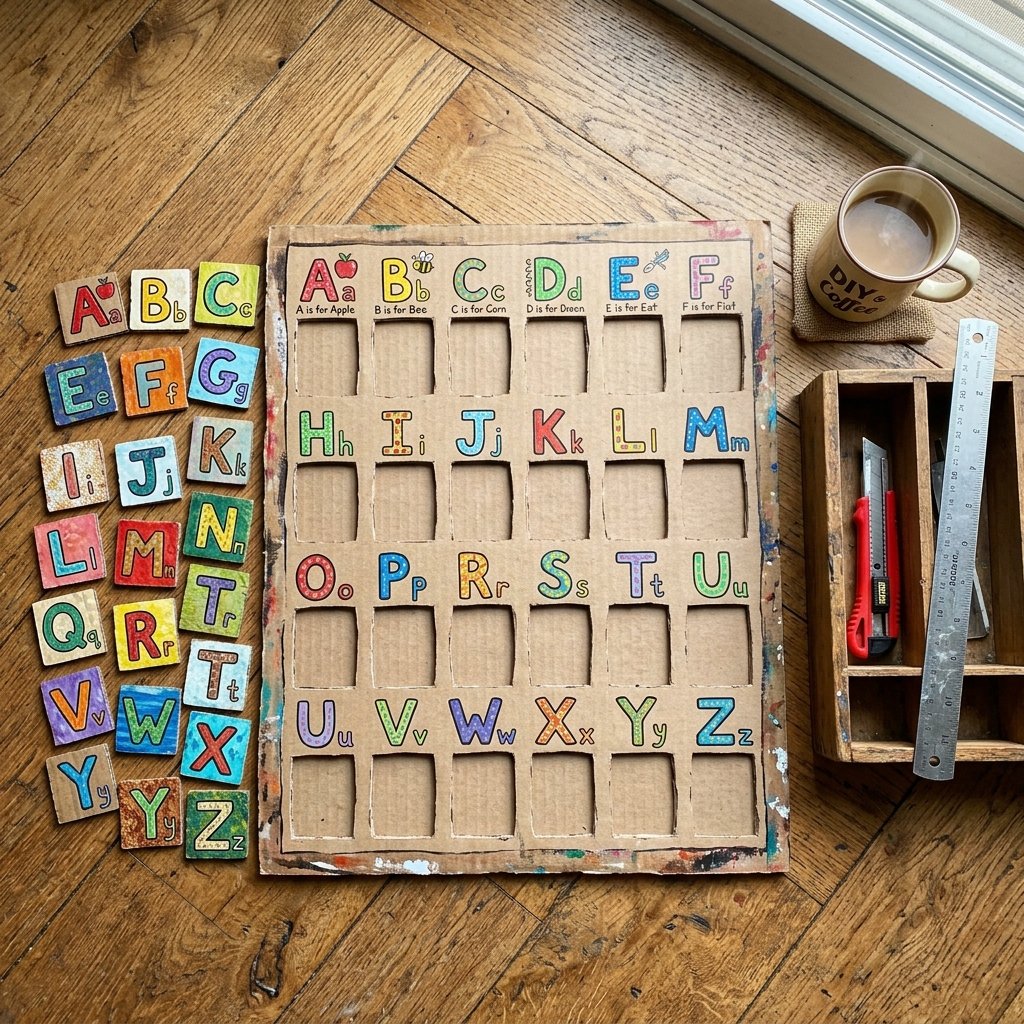

The Cardboard Revolution: Why Your Trash is a Goldmine
Let’s be honest: your toddler probably loves the box the toy came in more than the toy itself. It is time to lean into that natural curiosity and save a stack of cash in the process. As a frugal DIYer, you know that the modern home is practically built on a foundation of corrugated cardboard from weekly deliveries. Instead of tossing those boxes into the recycling bin, we are going to upcycle them into The Ultimate DIY Cardboard Alphabet Letter Matching Game. This isn’t just a craft; it is a rugged, tactile, and highly effective educational tool designed to survive the high-energy play of a busy toddler. We are talking about a project that costs $0.00 but provides hundreds of hours of cognitive development. Forget the flimsy, over-priced plastic sets from the big-box stores. Today, we build something with character, durability, and a bit of that masculine-elegant design flair that makes even a cardboard toy look like a piece of custom nursery decor.
“Frugality is not about doing without; it is about doing better with what you already have.”
The Strategic Advantage: DIY vs. Store-Bought
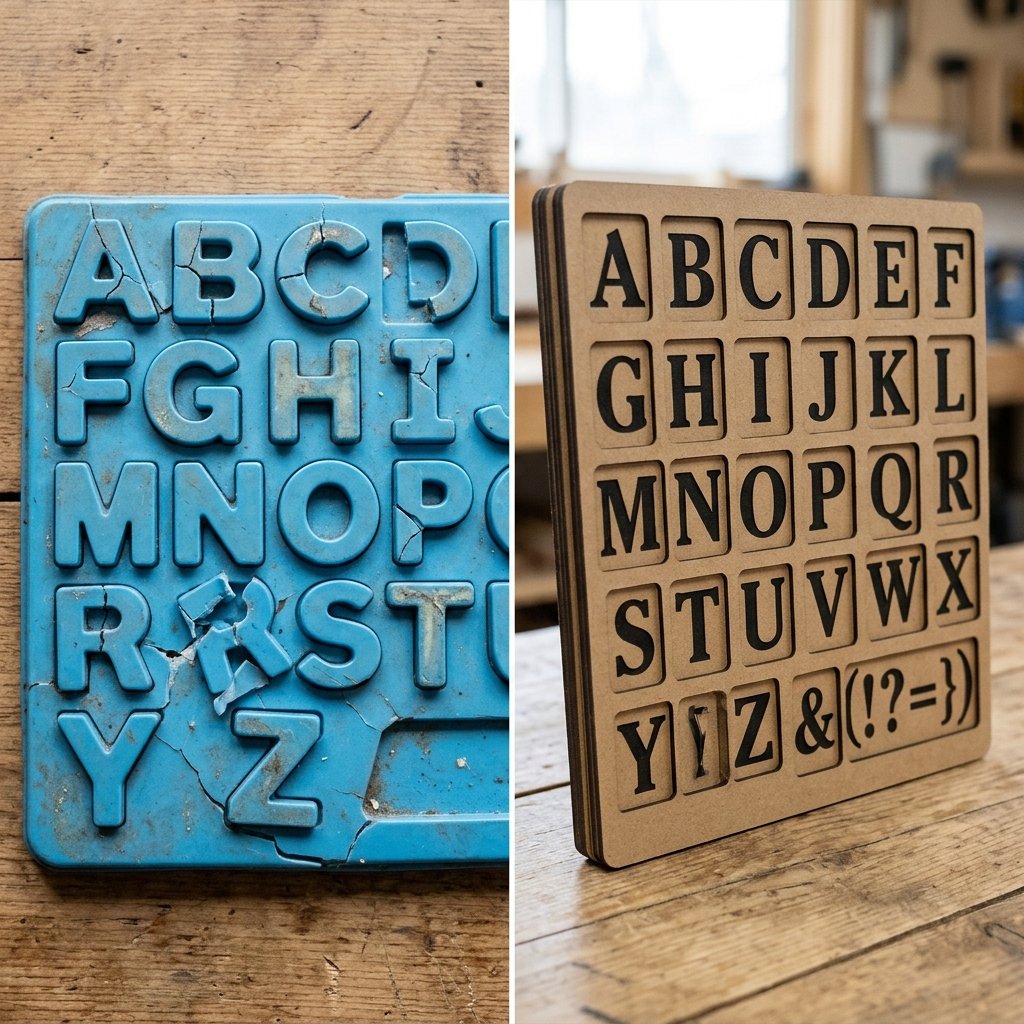
Before we pick up the utility knife, let’s look at the numbers. A high-quality wooden or plastic alphabet matching set can set you back anywhere from $20 to $50. Most of these sets are either too small (choking hazards) or too fragile (cheap plastic tabs). By building your own, you control the scale, the texture, and the durability. Plus, you’re teaching your child the value of resourcefulness from day one.
| Feature | Store-Bought Plastic Set | The DIY Cardboard Masterpiece |
|---|---|---|
| Initial Cost | $25.00+ | $0.00 |
| Durability | Brittle plastic snaps | Rugged, multi-layer corrugated strength |
| Customization | Generic fonts/colors | Customized to your child’s favorite colors |
| Repairability | Impossible to fix | 5-minute fix with hot glue |
| Eco-Footprint | High (Landfill bound) | Zero (100% Recyclable/Upcycled) |
The Arsenal: Materials and Tactical Prep
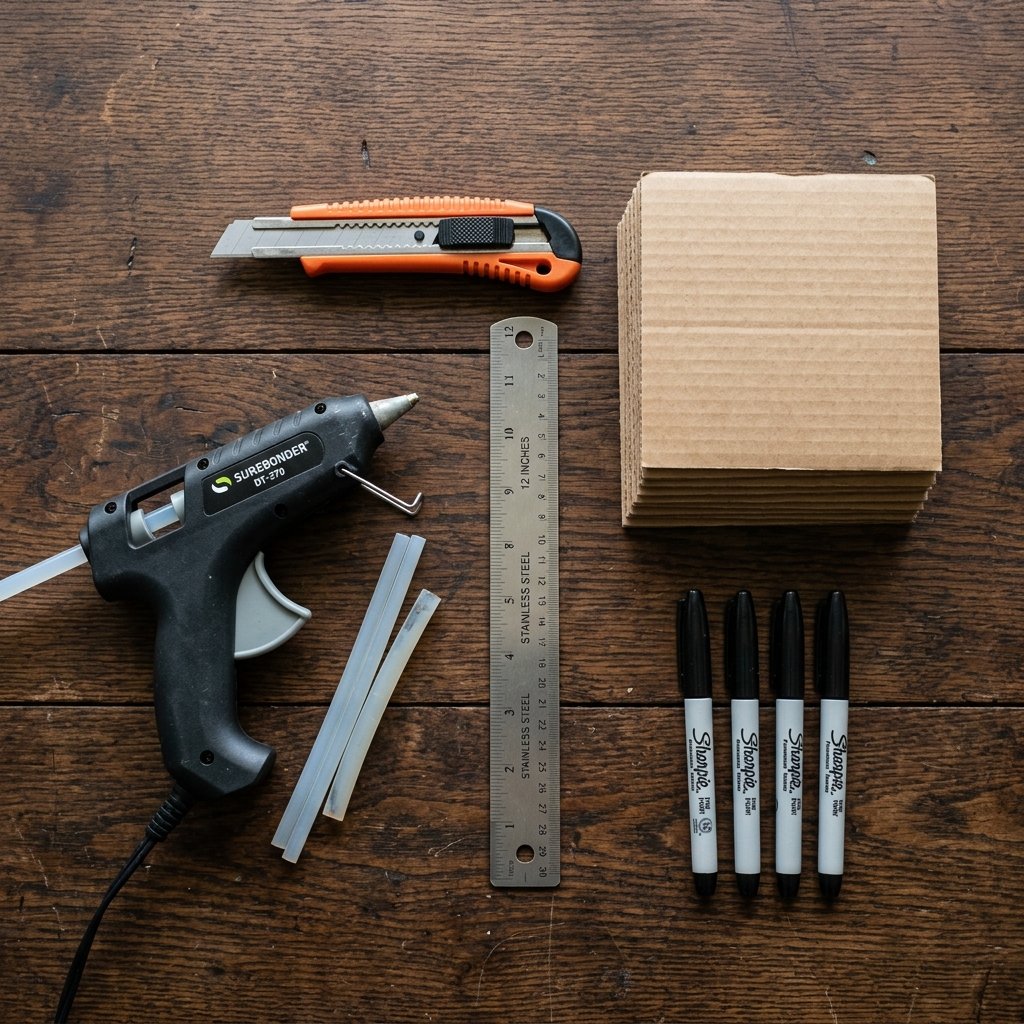
To execute this project with precision, you need the right tools. We aren’t just hacking away at a box; we are engineering a learning tool. Most of these items are already sitting in your junk drawer or garage. If you need to buy anything, a quick trip to the dollar store will keep your budget under $5.
- Double-Walled Corrugated Cardboard: The thicker, the better. Look for shipping boxes from heavy appliances or bulk grocery runs.
- Heavy-Duty Utility Knife: Ensure you have a fresh, sharp blade for clean, professional edges.
- Metal Ruler or Straight Edge: Essential for those crisp, masculine-elegant lines.
- Permanent Markers or Acrylic Paint: For high-contrast lettering that catches a toddler’s eye.
- Hot Glue Gun: For reinforcing the base and adding tactile elements.
- Self-Healing Cutting Mat: Or another scrap piece of cardboard to protect your dining table.
Safety First: Always cut away from your body. When using a utility knife on thick cardboard, make multiple shallow passes rather than one heavy chop. This ensures a cleaner edge and prevents the blade from slipping.
Phase One: Engineering the Master Board
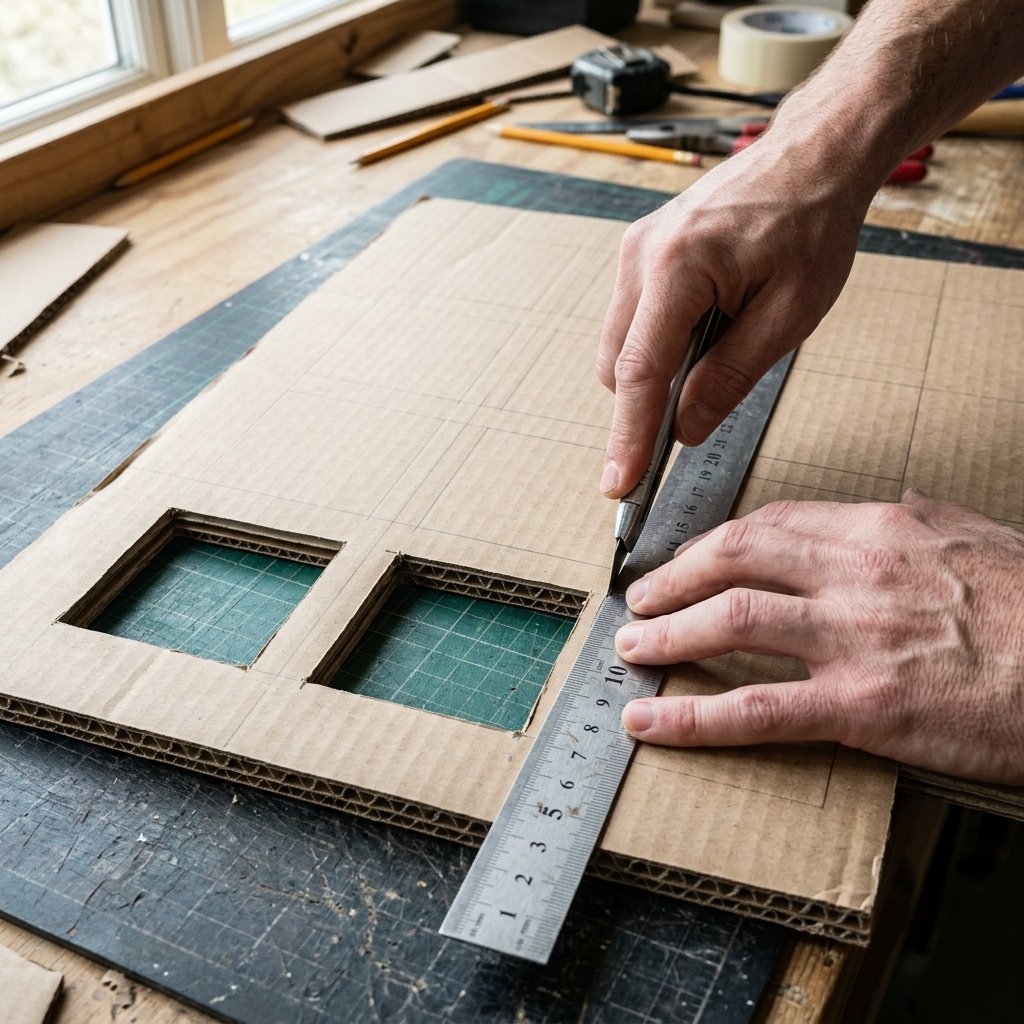
The Master Board is the heart of the game. This is the large surface where all 26 letters will eventually find their home. We want this to be sturdy enough to be stepped on, sat on, and dragged across the floor. To achieve this, we will use a double-layering technique.
- Measure and Cut: Cut two identical rectangles of cardboard, approximately 18 by 24 inches. This gives the toddler plenty of space to navigate.
- The Grid Layout: On one sheet, use your metal ruler to draw a grid of 26 squares or circles. Aim for each cell to be about 3 by 3 inches.
- The Cut-Out: Carefully cut out the shapes from the top sheet. These will become the ‘windows’ or slots for your letters.
- The Lamination: Apply a generous amount of hot glue to the back of the top sheet (the one with holes) and press it firmly onto the solid bottom sheet. This creates a recessed pocket for each letter tile, providing a satisfying ‘click’ feel when the toddler matches them correctly.
- Labeling: Using your marker, write the uppercase letter at the bottom of each recessed pocket.
Phase Two: Crafting the Alphabet Tiles
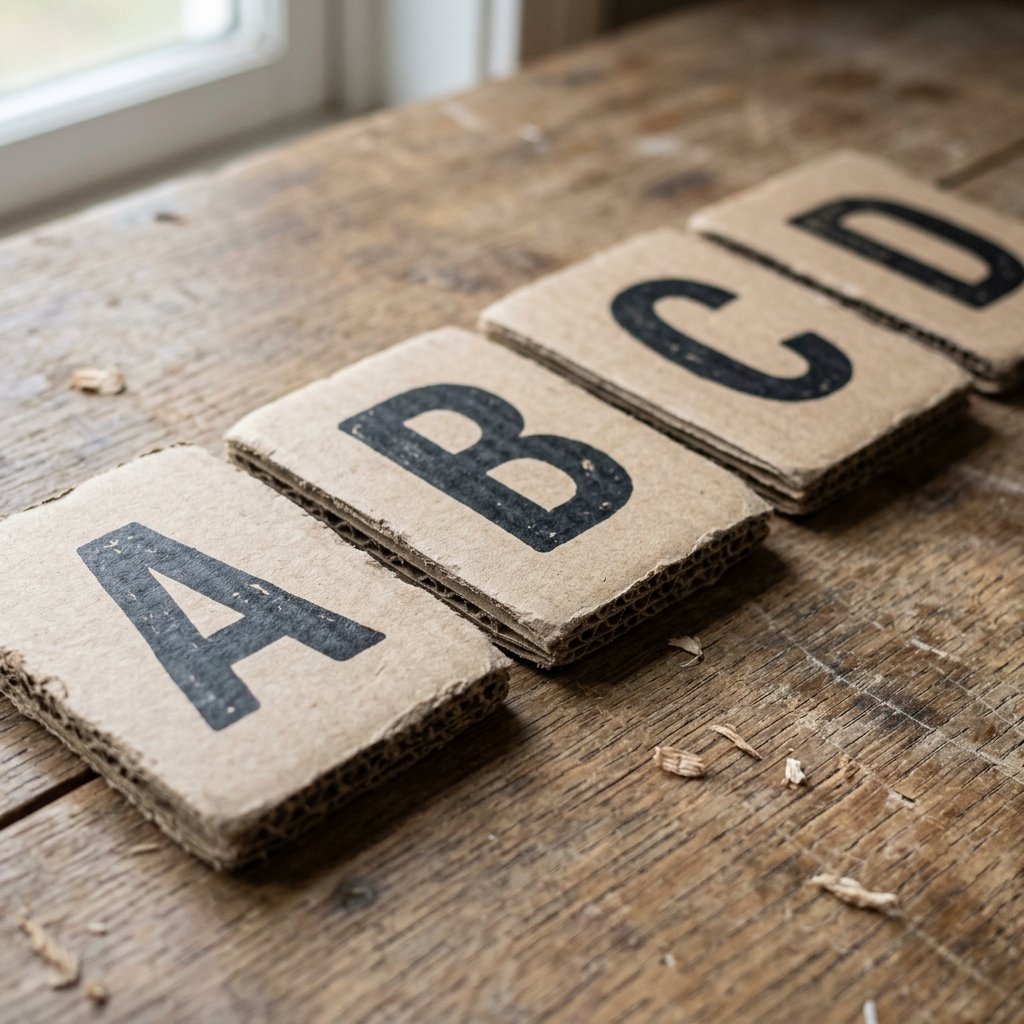
Now we create the matching pieces. These need to be chunky enough for small hands to grasp but precise enough to fit into the slots we just engineered. For a truly professional look, we will use the ‘sandwich’ method for the tiles.
- The Template: Use the shapes you cut out in Phase One as your templates. If they are a bit jagged, trim them into perfect squares.
- The Reinforcement: For each letter, glue two pieces of cardboard together. This gives the tile a heavy, premium feel similar to high-end wooden blocks.
- The Lettering: On one side of the tile, write the uppercase letter. On the reverse side, consider writing the lowercase version. This adds a second level of difficulty as your child grows, extending the life of the toy by 12 to 18 months.
- The Sanding Trick: Use a bit of fine-grit sandpaper (or a nail file) to smooth the edges of the cardboard. This prevents paper cuts and gives the game a ’boutique’ finish that belies its humble origins.
Pro-Tip: Use high-contrast colors. Research shows toddlers respond best to primary colors or black-on-white. A bold black letter on the natural brown of the cardboard is both stylish and highly legible.
Gameplay Variations & Skill Progression
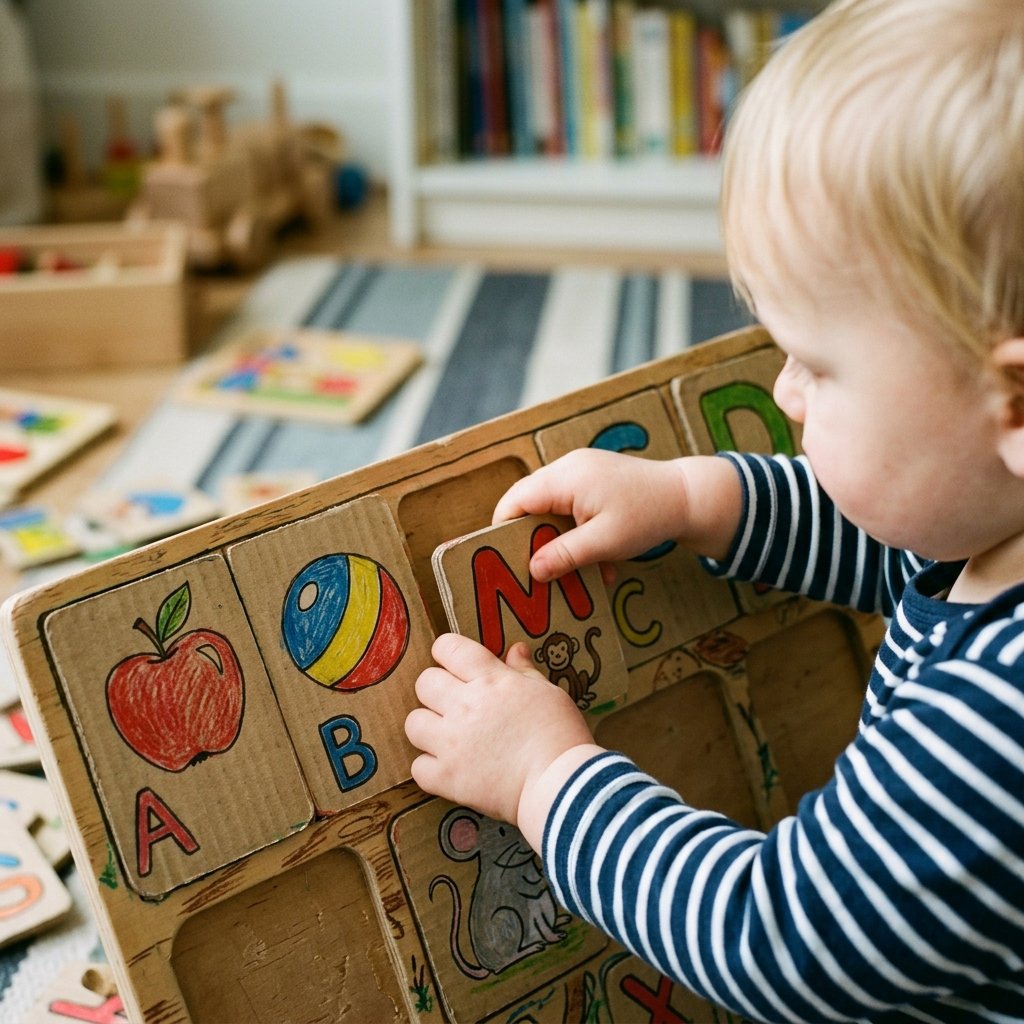
This isn’t just a matching game; it’s a versatile training platform. As your toddler masters the basics, you can introduce new challenges without spending a dime on new toys. This is the hallmark of the clever, resourcefully-creative parent.
Level 1: Visual Matching
The child simply matches the shape and the letter on the tile to the letter in the recessed pocket. This builds hand-eye coordination and pattern recognition.
Level 2: Phonics & Sound
As they place a letter, have them make the phonetic sound. “A is for Apple, /a/ /a/ /a/.” This bridges the gap between visual recognition and language skills.
Level 3: Color Coding
If you used different colors for vowels and consonants (e.g., Red for A, E, I, O, U and Blue for the rest), you can start teaching the basics of word construction. This simple addition makes the game relevant for preschoolers as well.
| Age Group | Skill Focus | Game Mode |
|---|---|---|
| 18 – 24 Months | Fine Motor Skills | Simple Shape Fitting |
| 2 – 3 Years | Letter Recognition | Alphabet Matching |
| 3 – 4 Years | Phonics | Sound Association |
| 4+ Years | Early Spelling | Building CVC Words |
Maintenance: Keeping Your Cardboard Gear in Top Shape
Cardboard is surprisingly resilient, but it isn’t invincible. To ensure this game lasts through multiple children, follow these simple maintenance steps. This is where the ‘rugged’ part of our design comes into play.
- The Clear Tape Laminate: If your toddler is in a ‘chewing’ phase, cover the tiles in clear packing tape. This makes them water-resistant and easy to wipe down.
- Corner Reinforcement: Use a small dab of hot glue or wood glue on the corners of the master board to prevent delamination.
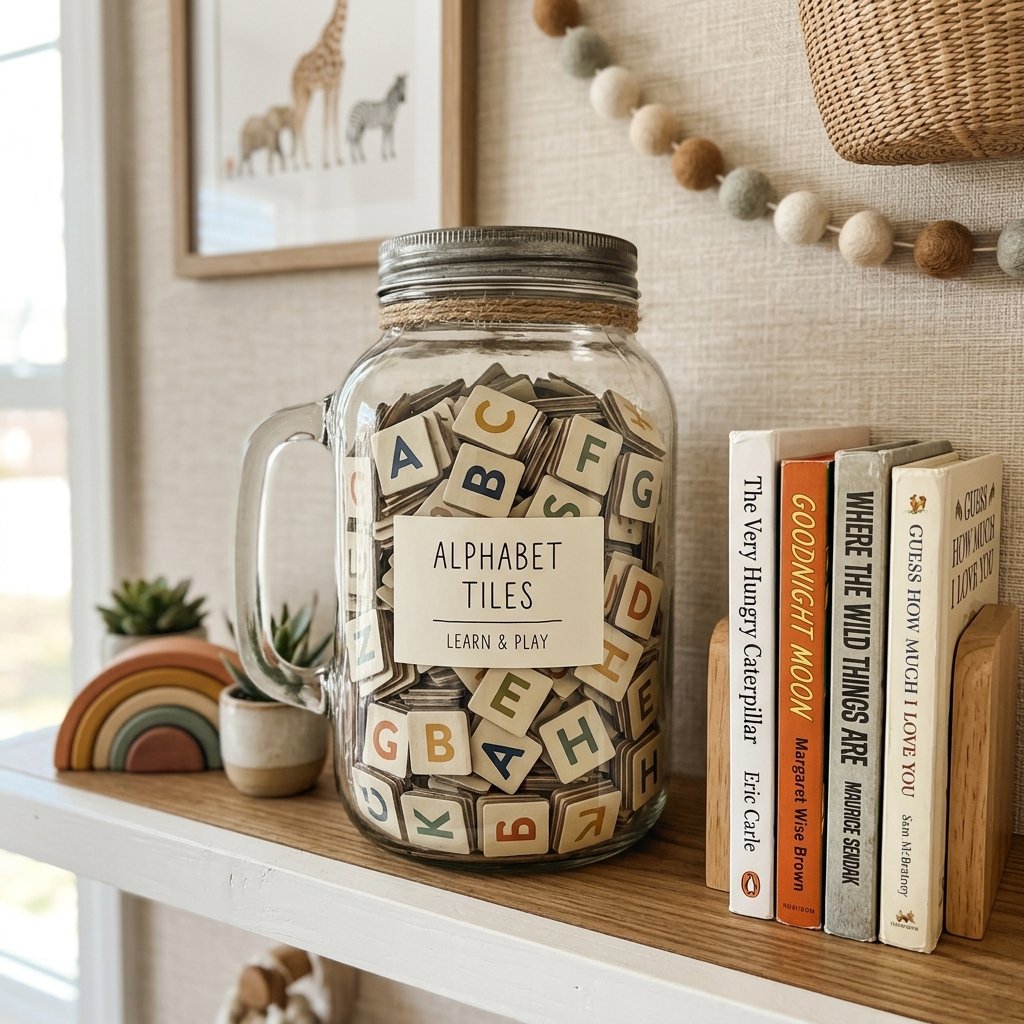
- Storage: Since this board is flat, it can be tucked behind a dresser or slid under a bed. For the tiles, upcycle an old coffee tin or a large mason jar. It looks great on a shelf and keeps the pieces organized.
By taking these steps, you aren’t just making a toy; you are creating an heirloom-quality piece of functional art that proves you don’t need a massive budget to provide a world-class education for your child.
Conclusion
The The Ultimate DIY Cardboard Alphabet Letter Matching Game is more than just a way to kill an afternoon; it is a testament to the power of frugal creativity. You have taken materials destined for the bin and engineered a high-value educational asset that rivals any store-bought equivalent. You have saved $30, reduced waste, and created something with your own two hands that your toddler will genuinely love. This is the essence of being a crafty, budget-savvy parent. Now, go grab that box from the porch and start cutting—your little one’s new favorite game is just a few slices away!

Makenzie is the founder and lead writer at MoneyHackTips.com — a personal finance blog dedicated to delivering street-smart financial wisdom for real people on real budgets. With 300+ published articles covering everything from debt management to investing fundamentals, Makenzie’s mission is to make every dollar work harder. When not writing about money hacks, Makenzie is testing frugal living strategies, optimizing side hustles, and helping readers build financial freedom from scratch.