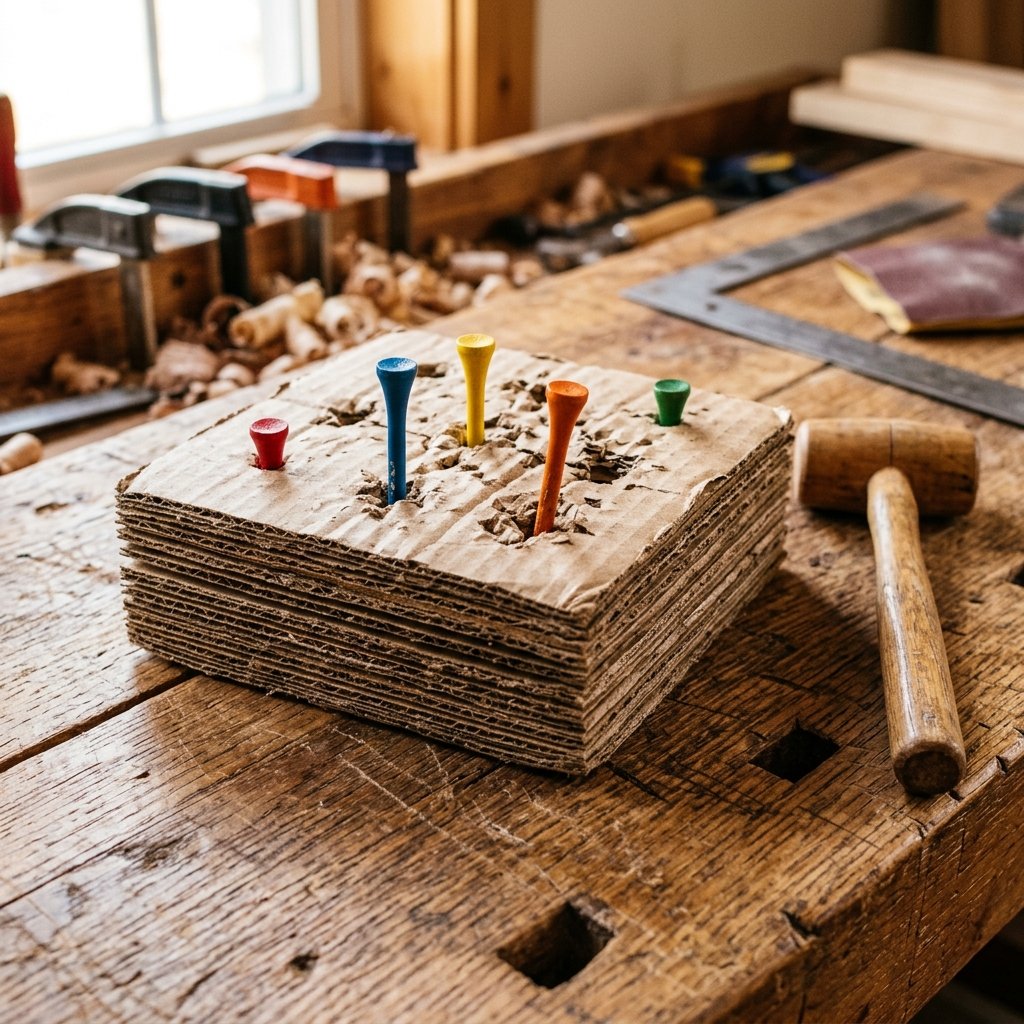

Let’s be honest: your toddler probably finds the shipping box more interesting than the $40 plastic toy that came inside it. As a frugal DIYer, you know that the best tools for development don’t need a high price tag or a battery compartment. Today, we are going to lean into that natural curiosity and build a high-performance, rugged, and completely free Cardboard Hammering Toy. This isn’t just a craft; it’s a piece of tactical engineering designed to boost hand-eye coordination, refine fine motor skills, and keep a busy toddler engaged for hours. By upcycling everyday materials, we are proving that smart parenting and resourcefulness go hand-in-hand. Forget the store-bought clutter—we’re building something better, sturdier, and far more rewarding.
The Material Audit: Turning Trash into Tactical Training Tools

Before we start the build, we need to gather our supplies. The beauty of this project is that you likely have everything sitting in your recycling bin or junk drawer right now. We are looking for structural integrity here—thin cereal boxes won’t cut it. We need the heavy-duty corrugated stuff. We’re going to compare the cost of this DIY build versus a standard retail version to show you exactly how much you’re saving by being a crafty expert.
| Material | Source | Estimated Cost |
|---|---|---|
| Heavy Corrugated Cardboard | Shipping Boxes | $0.00 |
| Hammering Pegs | Plastic or Wood Golf Tees | $0.00 (or $1 at thrift) |
| The Hammer | Small Wooden Mallet or Thick Cardboard Roll | $0.00 |
| Adhesive | Hot Glue or Packing Tape | $0.10 |
| Total Project Cost | N/A | $0.10 |
Why This Beats Store-Bought
When you buy a plastic hammering bench, you’re often stuck with 4-6 fixed pegs that offer zero variety. With our DIY cardboard version, you can create 20-30 different striking points, varying the resistance and the layout to keep the challenge fresh as your child grows. Plus, when they eventually destroy it (as toddlers do), you haven’t lost a $25 investment—you’ve just gained more material for the recycling bin.
Engineering the Foundation: Step-by-Step Construction
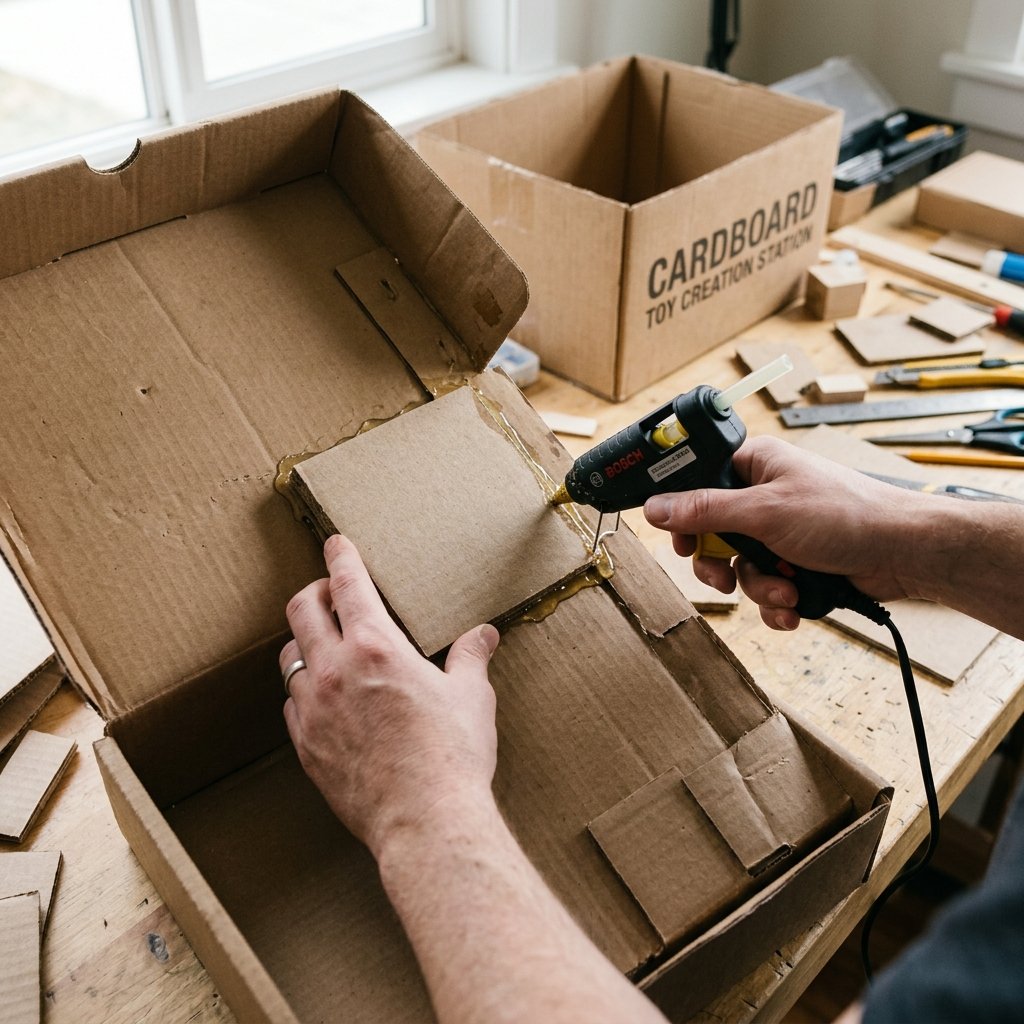
To ensure this toy survives a toddler’s enthusiasm, we need to build it with a focus on durability. We aren’t just taping a box shut; we are reinforcing the strike zone. Follow these precise steps to assemble your hammering station.
- Select Your Base: Find a medium-sized shipping box. The ideal size is roughly 10×10 inches. If the box is flimsy, we will reinforce it.
- Reinforce the Strike Plate: Cut two extra squares of cardboard that fit perfectly inside the top of the box. Use hot glue to laminate these layers together. This creates a thick, multi-layered surface that provides the perfect amount of resistance for the golf tees.
- Prepare the Entry Points: Using a screwdriver or a thick nail, pre-poke small holes into the top of the box. Space them roughly 2 inches apart. Do not make the holes too large; we want the golf tees to fit snugly so the toddler has to actually ‘work’ to hammer them in.
- Seal the Chassis: Glue the reinforced strike plate to the underside of the box lid. Close the box and secure all seams with heavy-duty packing tape.
“The secret to a long-lasting cardboard toy is in the lamination. Multiple layers of corrugated grain running in opposite directions create a ‘plywood’ effect that is incredibly tough.”
The Physics of Play: How Hammering Boosts Coordination
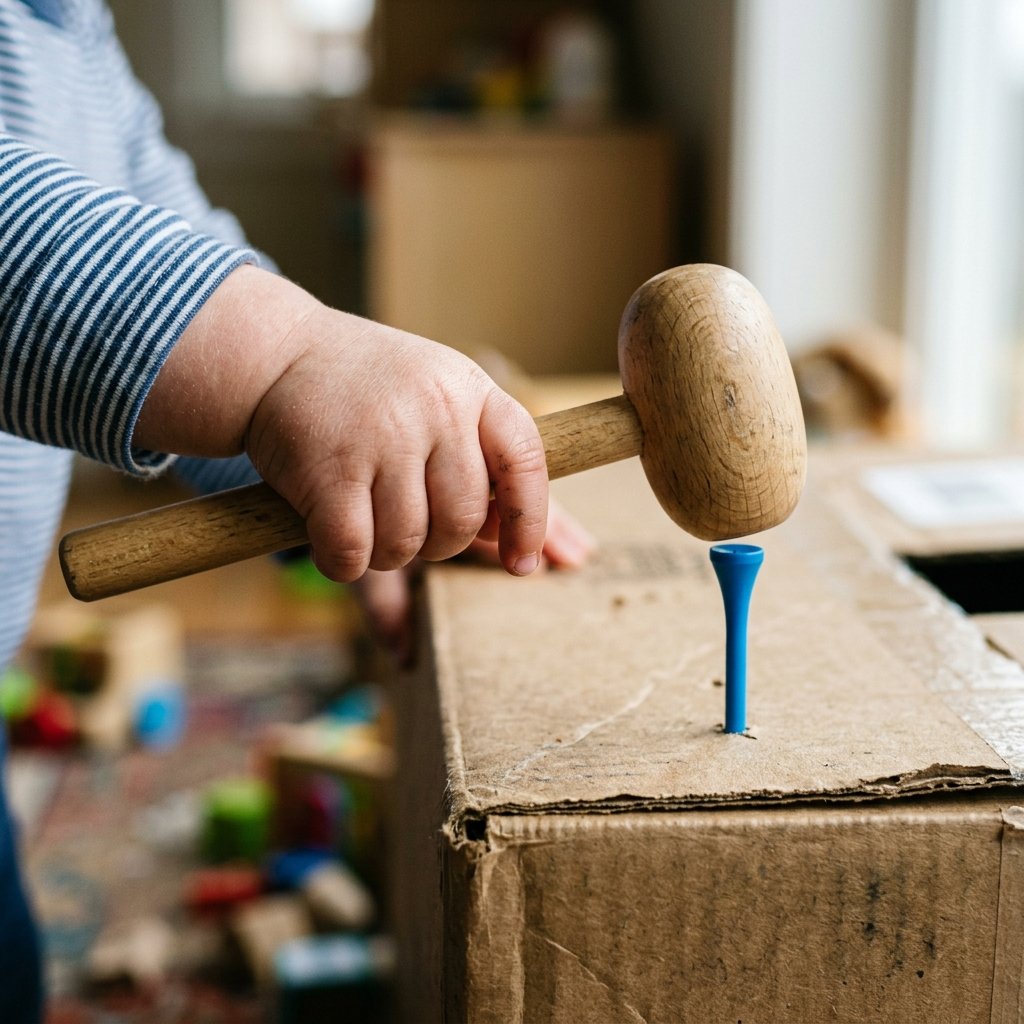
Hammering is a ‘bilateral integration’ activity. It requires the brain to coordinate the eyes with the hand holding the tool, while the other hand often stabilizes the base. This is the foundation for later skills like writing, using scissors, and even tying shoelaces. By providing a zero-budget outlet for this urge, you are fostering neurological development without the ‘toy tax’ usually associated with educational products.
Developmental Milestones Targeted
- Hand-Eye Coordination: Tracking the small head of the golf tee and connecting with the hammer.
- Proprioception: Learning how much force is required to move the peg without crushing the box.
- Grip Strength: Developing the ‘palmar grasp’ and eventually moving toward a more refined tool grip.
| Skill Level | Activity Variation | Developmental Focus |
|---|---|---|
| Beginner (18m+) | Random hammering on pre-poked holes | Gross Motor & Force Discovery |
| Intermediate (2yo) | Hammering by color (match tee to hole color) | Visual Discrimination |
| Advanced (3yo+) | Following a numbered sequence (1 to 10) | Cognitive Sequencing & Precision |
Customizing the Aesthetic: Masculine-Elegant Design on a Budget
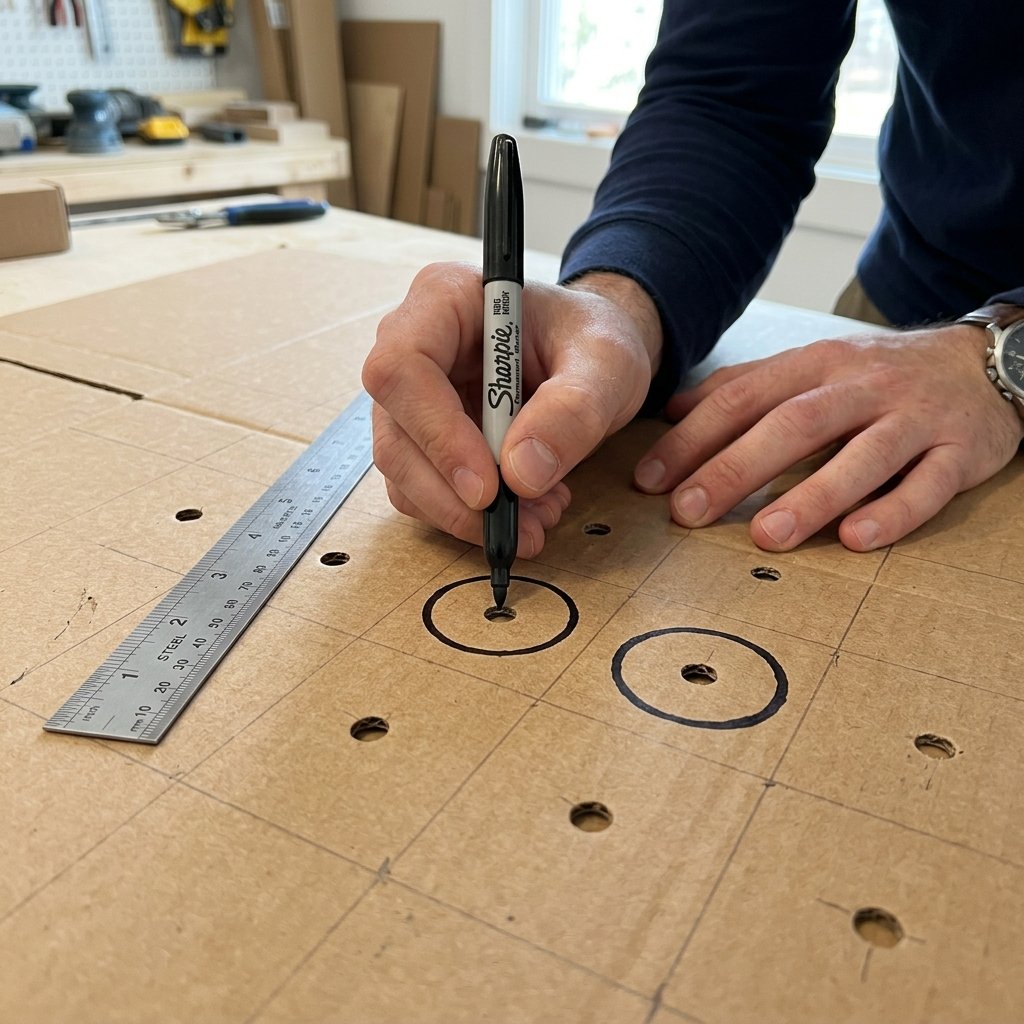
Just because it’s made of trash doesn’t mean it has to look like it. For the ‘Masculine-Elegant’ DIYer, we want this to look like a piece of intentional equipment. You can elevate the look of your cardboard hammering toy with a few simple, budget-savvy tricks.
The ‘Pro-Tool’ Finish
- The Sharpie Outline: Use a thick black permanent marker to draw bold circles around each hole. This gives it an industrial, ‘engineered’ look and provides a clear visual target for the child.
- Natural Tones: Keep the cardboard raw but clean. Remove all shipping labels using a hair dryer to melt the adhesive for a clean, uniform brown finish.
- Color Coding: Use primary color electrical tape to wrap the handle of the hammer. This not only looks professional but adds grip for small hands.
“A well-made toy commands respect. When we take the time to finish a cardboard project with clean lines and intentional markings, we teach our children to value their tools and their work.”
Maintenance and Safety: Keeping the Workshop Secure
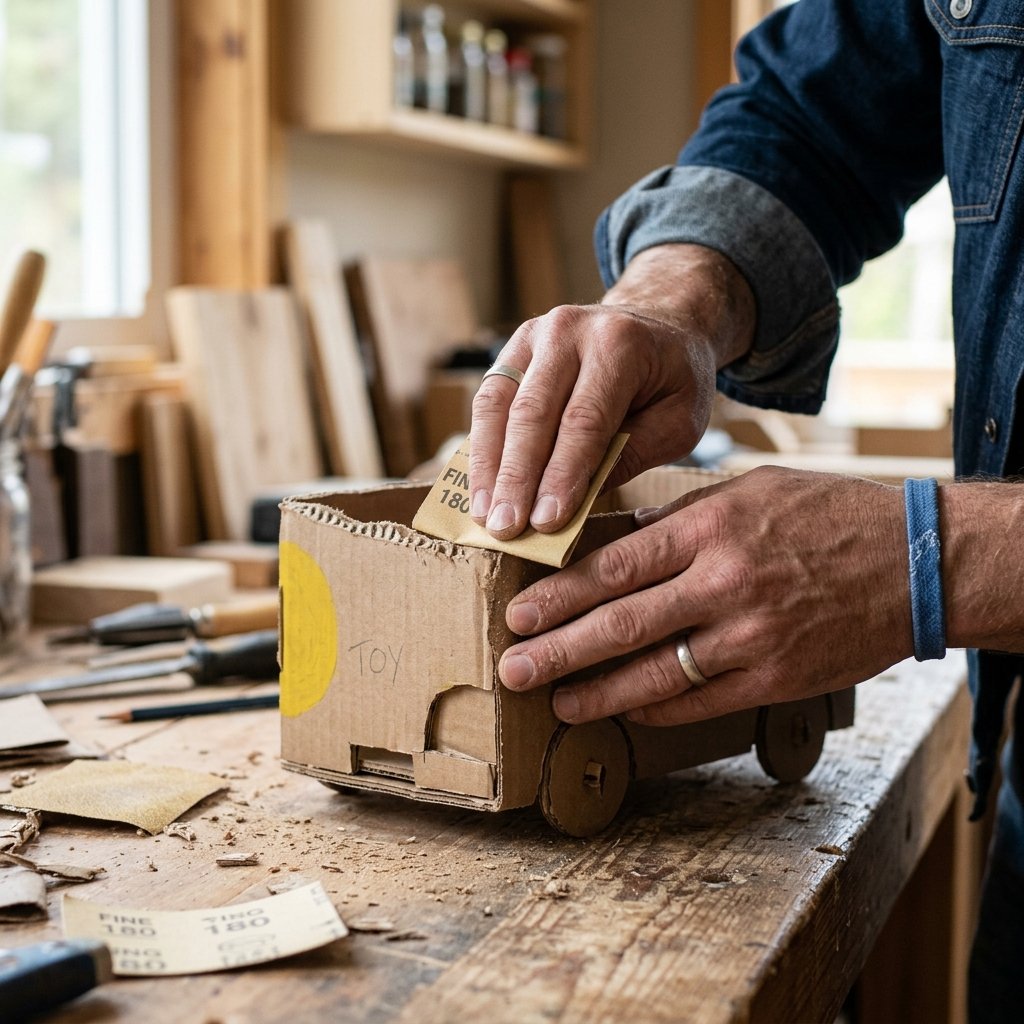
As with any project involving small parts and tools, safety is the priority. While this is a ‘low-risk’ toy, a few rugged safety protocols ensure the fun stays productive and injury-free.
Safety Checklist
- Tee Selection: Ensure you are using plastic golf tees or blunt wooden ones. Avoid any that have sharp, splintered ends.
- Supervision: This is an interactive toy. Always supervise play to ensure the hammer stays on the box and doesn’t migrate toward the coffee table—or the cat.
- Edge Control: Check the edges of your cardboard for ‘paper cut’ potential. A quick run-over with a piece of sandpaper or a strip of masking tape solves this instantly.
If the top of the box starts to get ‘mushy’ after a few weeks of heavy use, don’t toss the whole thing. Simply glue a new layer of cardboard over the top, poke fresh holes, and your $0 toy is refurbished and ready for another 100 hours of play.
Conclusion
Building your own toddler development tools isn’t just about saving $30 at the big-box store—it’s about the mindset of resourcefulness. You’ve taken a discarded shipping container and transformed it into a high-functioning engine for growth. This cardboard hammering toy is proof that with a little clever engineering and some crafty-expert intuition, you can provide your child with world-class developmental play for the cost of a few drops of glue. Now, hand over that mallet, stand back, and watch your little one’s coordination soar. You didn’t just give them a toy; you gave them a challenge you built with your own two hands. That is the true heart of the frugal DIYer.

Makenzie is the founder and lead writer at MoneyHackTips.com — a personal finance blog dedicated to delivering street-smart financial wisdom for real people on real budgets. With 300+ published articles covering everything from debt management to investing fundamentals, Makenzie’s mission is to make every dollar work harder. When not writing about money hacks, Makenzie is testing frugal living strategies, optimizing side hustles, and helping readers build financial freedom from scratch.