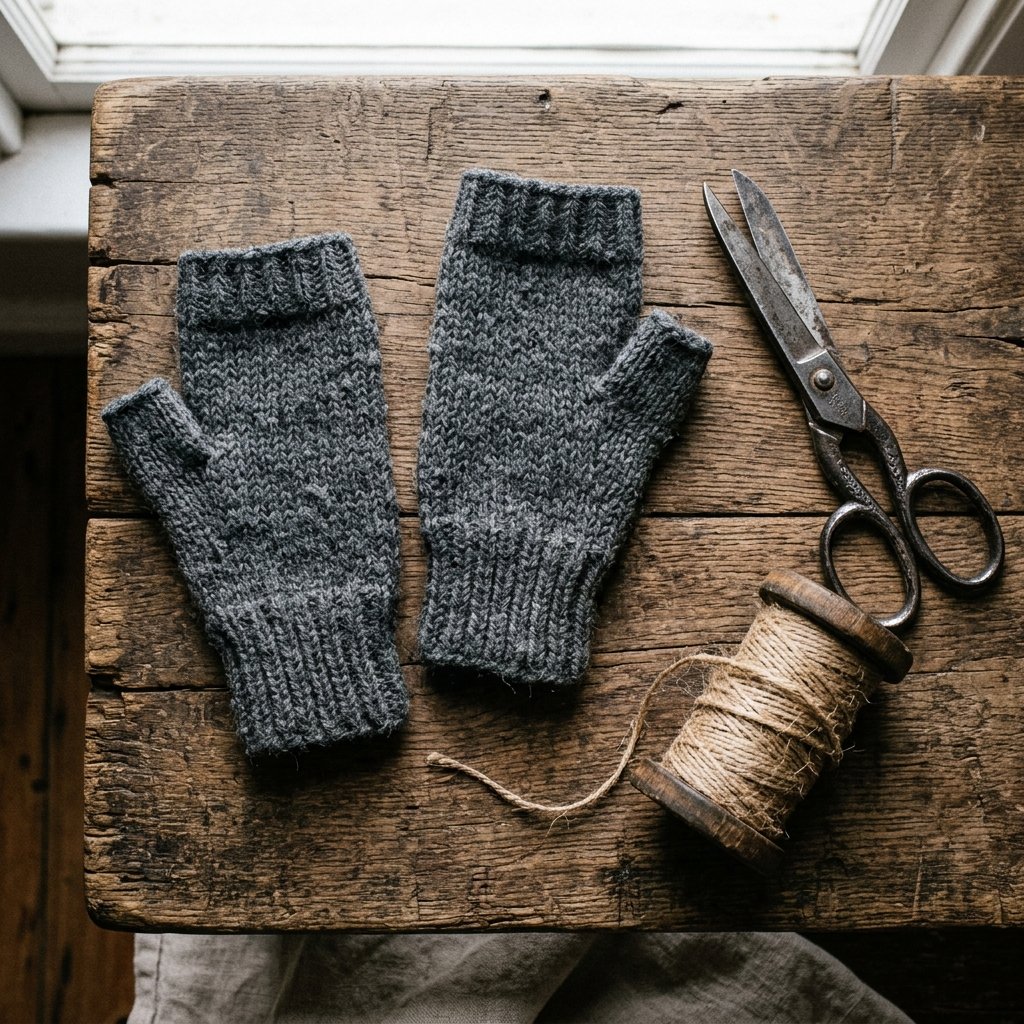

We have all experienced that sinking feeling: you reach into the dryer and pull out your favorite 100% wool sweater, only to realize it has shrunk three sizes and could now only fit a medium-sized housecat. Before you toss that felted tragedy into the donation bin—or worse, the trash—stop. That “ruined” garment is actually a goldmine of high-quality, pre-shrunk, ultra-warm material. Because the wool has undergone the felting process (where heat and agitation lock the fibers together), it won’t fray when cut. This makes it the perfect candidate for a 5-minute upcycling project that yields a pair of rugged, masculine-elegant fingerless gloves.
As a frugal DIYer, you know that the best resources are the ones you already own. By repurposing this textile, you are not just saving $30 to $50 on boutique accessories; you are practicing a form of creative stewardship. This guide will show you how to identify the best parts of the sweater to use, how to execute the perfect cut, and how to add those small, crafty details that make the finished product look like a high-end designer piece rather than a laundry mishap.
The Anatomy of a Shrunk Sweater: Why Felting is Your Friend
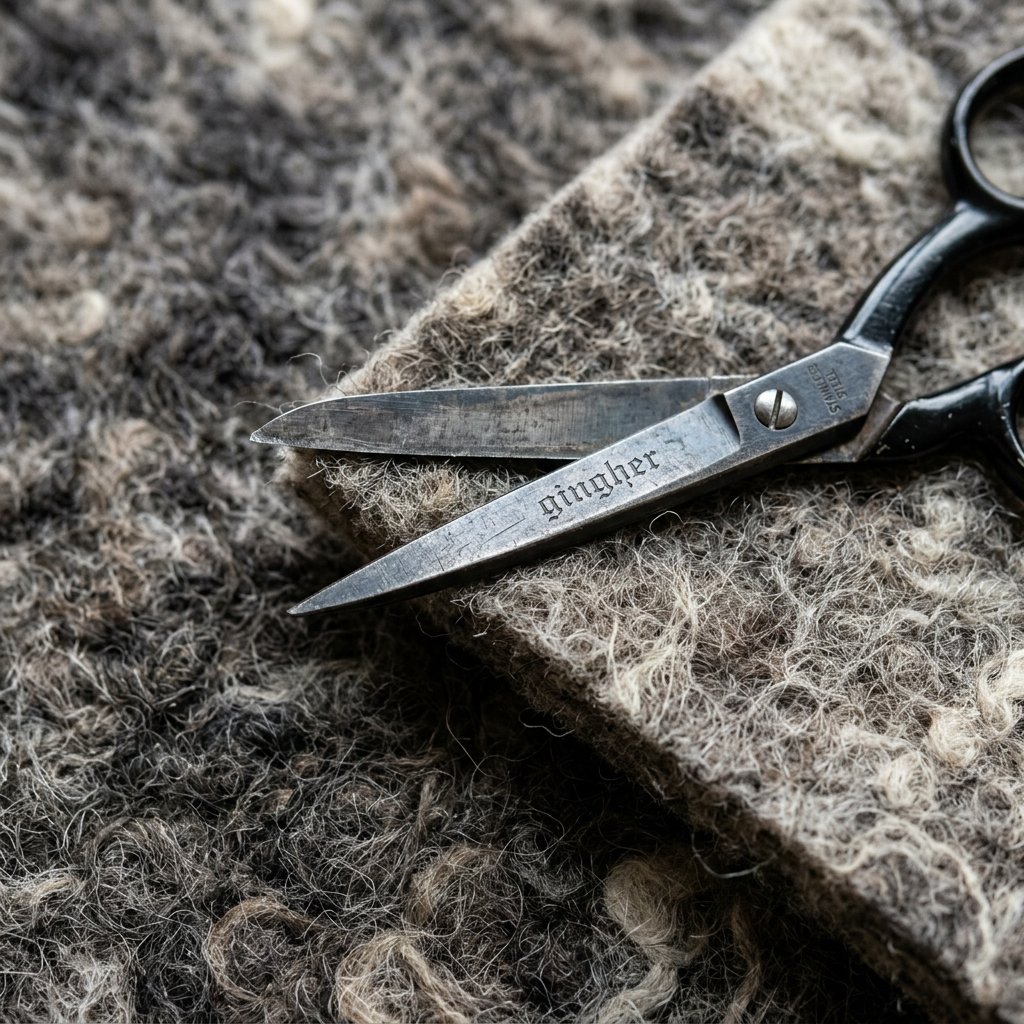
Understanding the Felting Advantage
When wool shrinks, the microscopic scales on the fibers hook together, creating a dense, durable fabric known as felt. This is the secret weapon of the budget-savvy crafter. Unlike knitted items that haven’t been shrunk, felted wool will not unravel when you cut it. This eliminates the need for complex hemming or a sewing machine, making this a true zero-skill, high-reward project.
Selecting the Right Candidate
Not every sweater is destined for glove-hood. For the best results, look for the following characteristics:
- Material: 100% Wool, Cashmere, or Alpaca. Synthetic blends (like acrylic) won’t felt and will likely fray.
- Density: The fabric should feel thick and slightly stiff. If you can still see the individual knit stitches clearly, it might need one more trip through a hot wash cycle.
- The Sleeves: We will be using the cuffs of the sleeves. Ensure the sleeve width fits comfortably around your hand and forearm.
| Fabric Type | Upcycling Potential | Ruggedness Rating |
|---|---|---|
| 100% Merino Wool | Excellent – Very Warm | High |
| Cashmere | Superior – Ultra Soft | Medium |
| Acrylic Blend | Poor – Will Fray | Low |
| Lambswool | Great – Classic Look | Very High |
The 5-Minute Toolkit & Material Breakdown
Minimalist Gear for Maximum Results
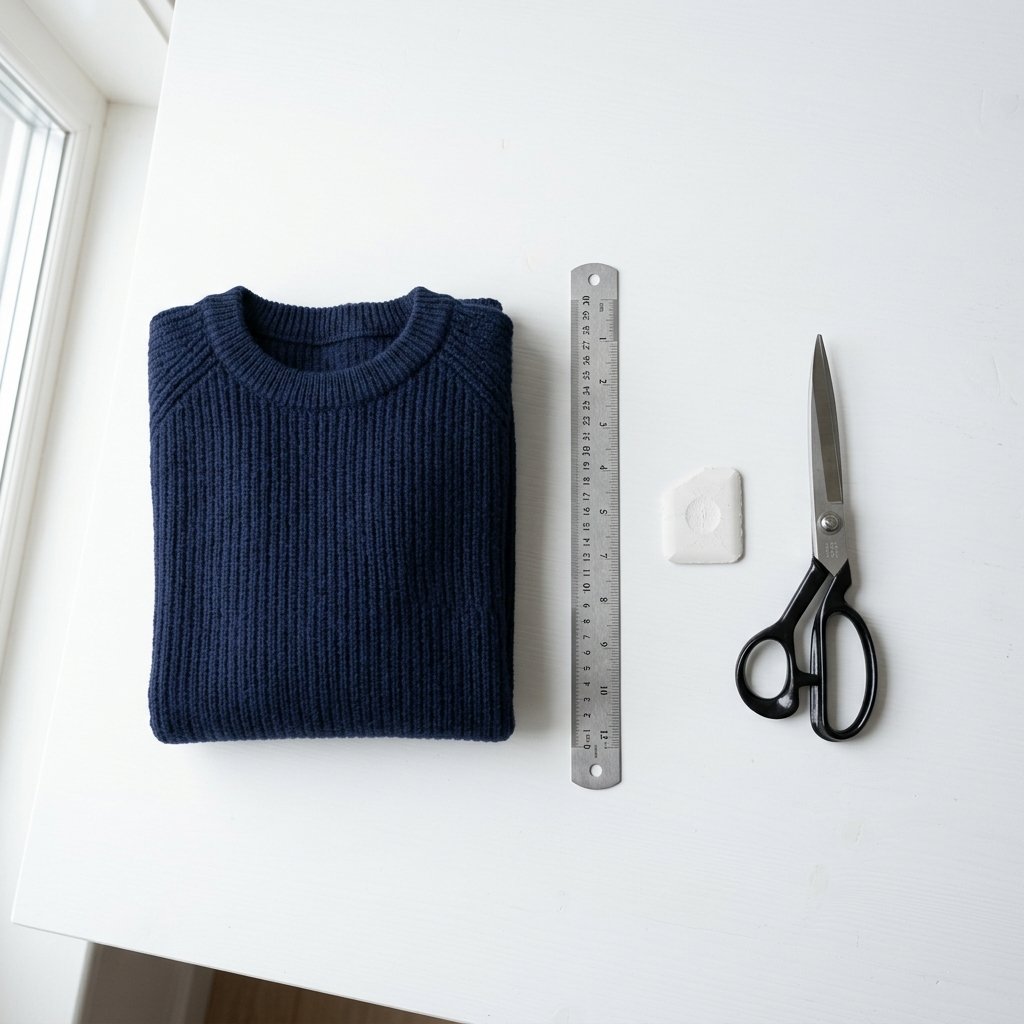
One of the hallmarks of a master upcycler is the ability to create something beautiful with almost no overhead. You likely have everything you need in your junk drawer or sewing kit right now. This project is 100% free if you already own the ruined sweater.
Essential Supplies
- The Shrunk Sweater: Preferably one with intact sleeve cuffs.
- Fabric Shears: Sharpness is key for a clean, professional edge.
- Tailor’s Chalk or a Sliver of Soap: To mark your cut lines without leaving permanent marks.
- A Ruler or Measuring Tape: To ensure symmetry between the left and right hand.
- Optional: Needle and heavy-duty thread (for reinforcing the thumb hole if desired).
Frugal Guru Tip: If you don’t have tailor’s chalk, a dry sliver of leftover bar soap works perfectly for marking dark fabrics and washes out instantly!
Step-by-Step: The 5-Minute Transformation

Executing the Perfect Cut
Follow these steps with precision to ensure your gloves look intentional and sophisticated. We are aiming for a rugged, utilitarian aesthetic that works for both outdoor chores and urban commuting.
- Measure the Length: Lay the sweater sleeve flat. Measure from the edge of the cuff up toward the shoulder. For standard fingerless gloves, 8 to 10 inches is usually ideal. Mark this line with your chalk.
- The Primary Cut: Cut straight across the sleeve along your mark. Repeat for the second sleeve. You now have two wool tubes.
- The Thumb Hole Placement: Put the wool tube on your arm, pulling the original sweater cuff down toward your knuckles. Mark the spot where your thumb naturally meets the fabric, usually about 2 inches from the knuckle edge.
- The Thumb Slit: Remove the tube. Fold the fabric slightly at your mark and snip a small vertical slit (about 1 inch long). Do not over-cut! Remember, wool stretches.
- The Fit Test: Slide your hand in and poke your thumb through. If it’s too tight, increase the slit by 1/8th of an inch at a time until comfortable.
| Step | Action | Time Required |
|---|---|---|
| Measurement | Mark 9 inches from cuff | 60 Seconds |
| Cutting | Snip the sleeves | 60 Seconds |
| Thumb Slit | Mark and snip thumb hole | 120 Seconds |
| Finishing | Trim loose fibers | 60 Seconds |
Customization: Adding Masculine-Elegant Details

Elevating the Aesthetic
While the raw-edge look is perfectly rugged, you can take these gloves from “DIY project” to “Boutique find” with a few resourceful additions. This is where your crafty expertise shines.
Reinforcing the Thumb Hole
If you want your gloves to last through years of wood-chopping or winter hiking, consider a simple blanket stitch around the thumb slit. Using a contrasting color of embroidery floss or heavy-duty waxed thread adds a sophisticated, hand-crafted touch.
The Leather Patch Hack
If you have an old leather belt or a discarded handbag, cut two small rectangles (approx. 1×2 inches). Use a leather punch or a thick needle to sew these onto the outer wrist of the gloves. This provides a rugged, heritage-wear look that mimics high-end brands like Filson or Orvis.
Mantra for the Budget Crafter: “Style isn’t about what you spend; it’s about the cleverness of your execution and the quality of your materials.”
The Zero-Waste Philosophy: Using the Scraps
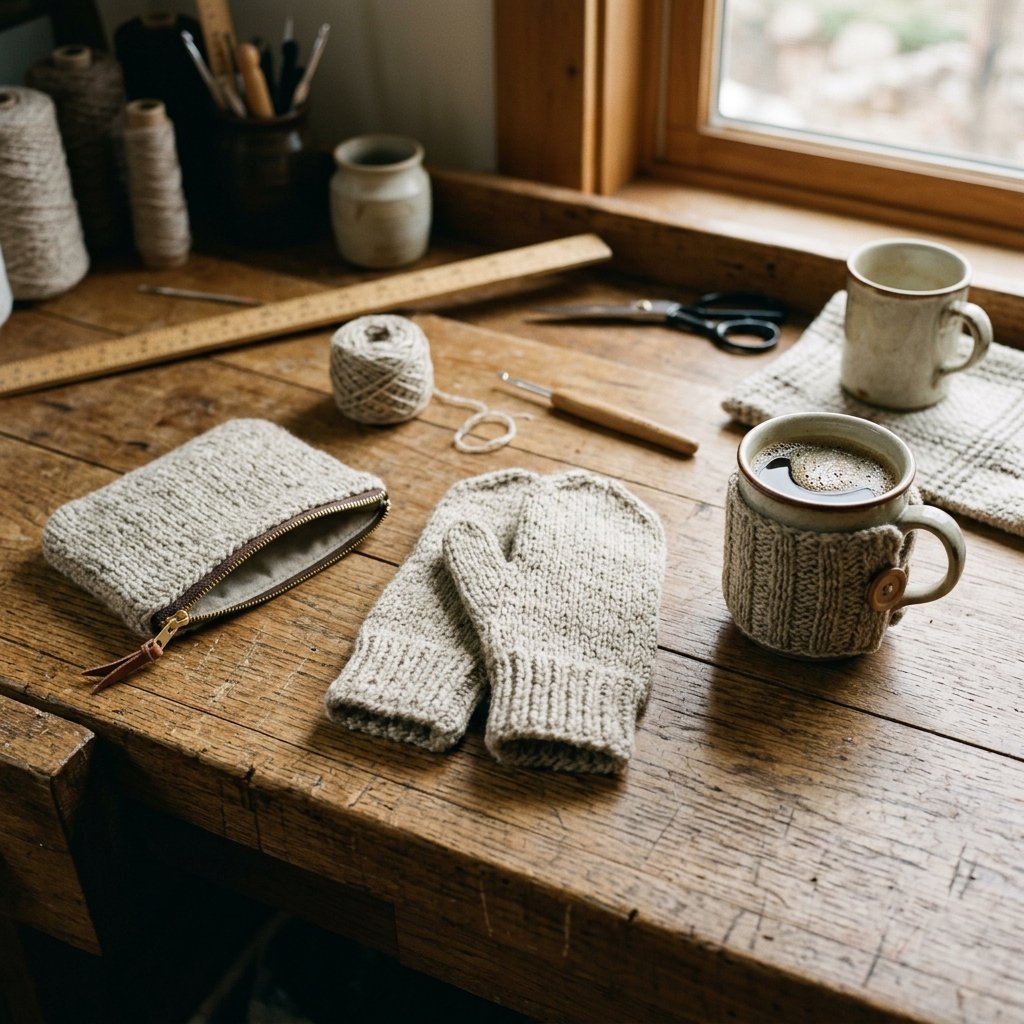
No Fiber Left Behind
After cutting the sleeves, you are left with the torso of the sweater. A true Trash-to-Treasure Guru never wastes high-quality felted wool. Here are three quick ways to use the remaining material:
- The Mason Jar Cozy: Cut a strip from the remaining body to wrap around a jar. It keeps your coffee hot and your hands cool.
- Boot Liners: Cut two large rectangles to slide into your boots for extra insulation during extreme cold.
- The Tablet Sleeve: Use the largest flat section of the torso to sew a simple, protective envelope for your iPad or e-reader.
Cost Comparison: DIY vs. Store Bought
| Item | Retail Price (New) | DIY Upcycled Cost |
|---|---|---|
| Wool Fingerless Gloves | $35.00 | $0.00 |
| Wool Coffee Cozy | $12.00 | $0.00 |
| Wool Tablet Case | $45.00 | $0.00 |
| Total Savings | $92.00 | 100% Free |
Conclusion
Don’t let a laundry accident get you down. With just 5 minutes and a bit of resourceful thinking, you’ve turned a ruined garment into a pair of stylish, functional, and rugged fingerless gloves. This project is the epitome of the frugal DIY lifestyle: it requires no new materials, reduces waste, and results in a high-end accessory that you can wear with pride or give as a thoughtful, handmade gift. The next time you see a shrunk sweater at a thrift store for $1, you won’t see a mistake—you’ll see your next pair of favorite winter gloves. Happy crafting!

Makenzie is the founder and lead writer at MoneyHackTips.com — a personal finance blog dedicated to delivering street-smart financial wisdom for real people on real budgets. With 300+ published articles covering everything from debt management to investing fundamentals, Makenzie’s mission is to make every dollar work harder. When not writing about money hacks, Makenzie is testing frugal living strategies, optimizing side hustles, and helping readers build financial freedom from scratch.