
We have all been there: a long day of yard work, a heavy lifting session, or just the accumulated stress of the workweek leaves your lower back or shoulders screaming for relief. Usually, the first instinct is to reach for those expensive, disposable chemical heat patches at the drugstore. But let’s be honest—those $15 packs of patches are a drain on your wallet and end up in the landfill after just a few hours of mediocre warmth. What if I told you that the most effective, long-lasting, and ruggedly handsome heating pad you’ll ever own is currently sitting in your giveaway pile?
Today, we are diving into the world of high-end upcycling. We are going to take a worn-out, 100% cotton flannel shirt and transform it into a bespoke, microwaveable heating pad. This isn’t just a craft; it’s a practical, budget-savvy solution for the handy individual who values resourcefulness. It’s soft, it’s durable, and it smells like heaven if you add a few dried herbs. Let’s stop overpaying for temporary fixes and start building something that lasts.
The Anatomy of a Zero-Cost Comfort Solution
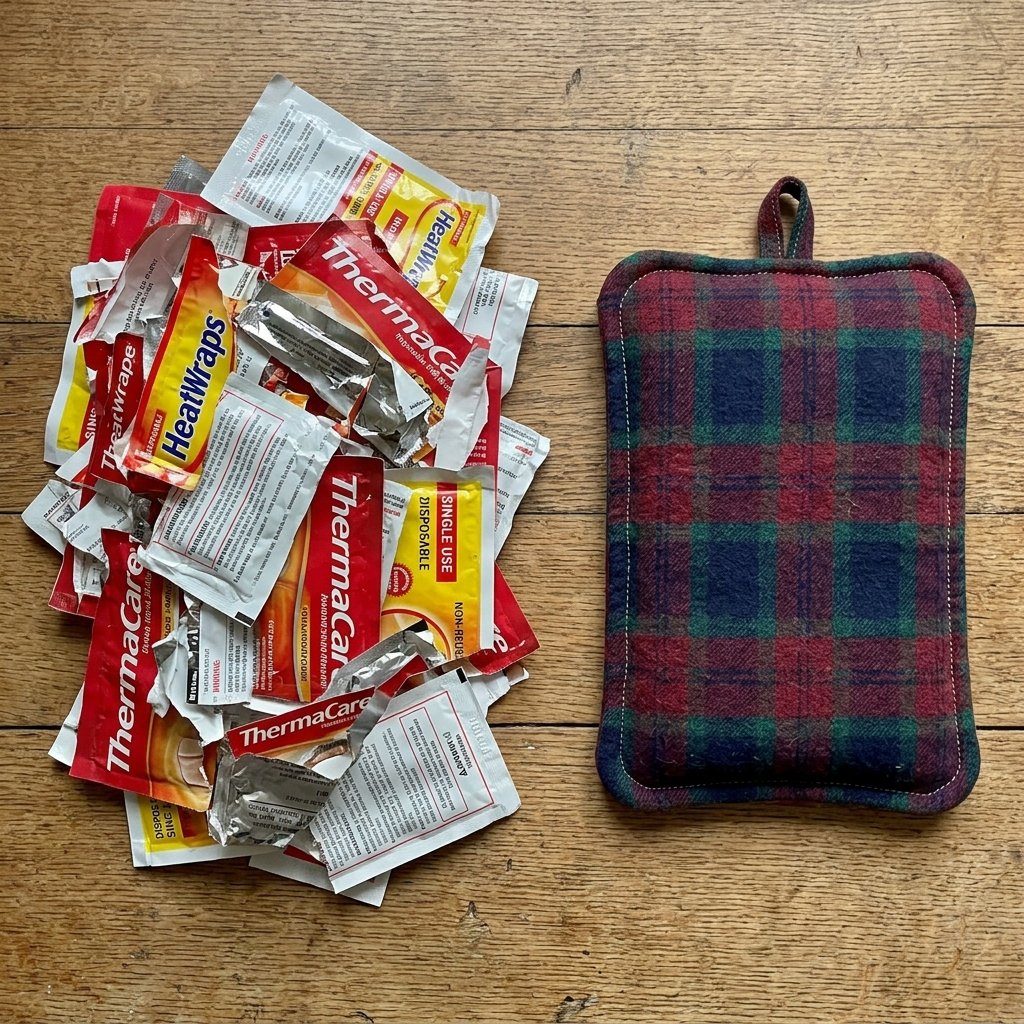
Before we pick up a needle, let’s look at the math. A standard electric heating pad can cost anywhere from $25 to $50, and those disposable patches are roughly $3 per use. By using a shirt you already own and a bag of pantry-staple rice, your total investment is effectively $0.00. This is the ultimate ‘Trash-to-Treasure’ win.
Why Flannel?
Flannel is the gold standard for this project for three reasons: durability, breathability, and heat retention. Because flannel is typically made of 100% cotton (ensure your shirt is 100% cotton to avoid melting in the microwave!), it can withstand repeated heating cycles without degrading. The brushed texture also feels incredible against sore skin, providing a tactile comfort that plastic-wrapped patches simply cannot match.
| Item | Store-Bought Patch (10pk) | DIY Upcycled Flannel Pad |
|---|---|---|
| Initial Cost | $15.00 | $0.00 (Upcycled) |
| Reusability | Single Use | Infinite |
| Chemical-Free | No | Yes |
| Customizable Size | No | Yes |
| Total 1-Year Savings | $0.00 | $150+ |
The Master Blueprint: Materials and Preparation
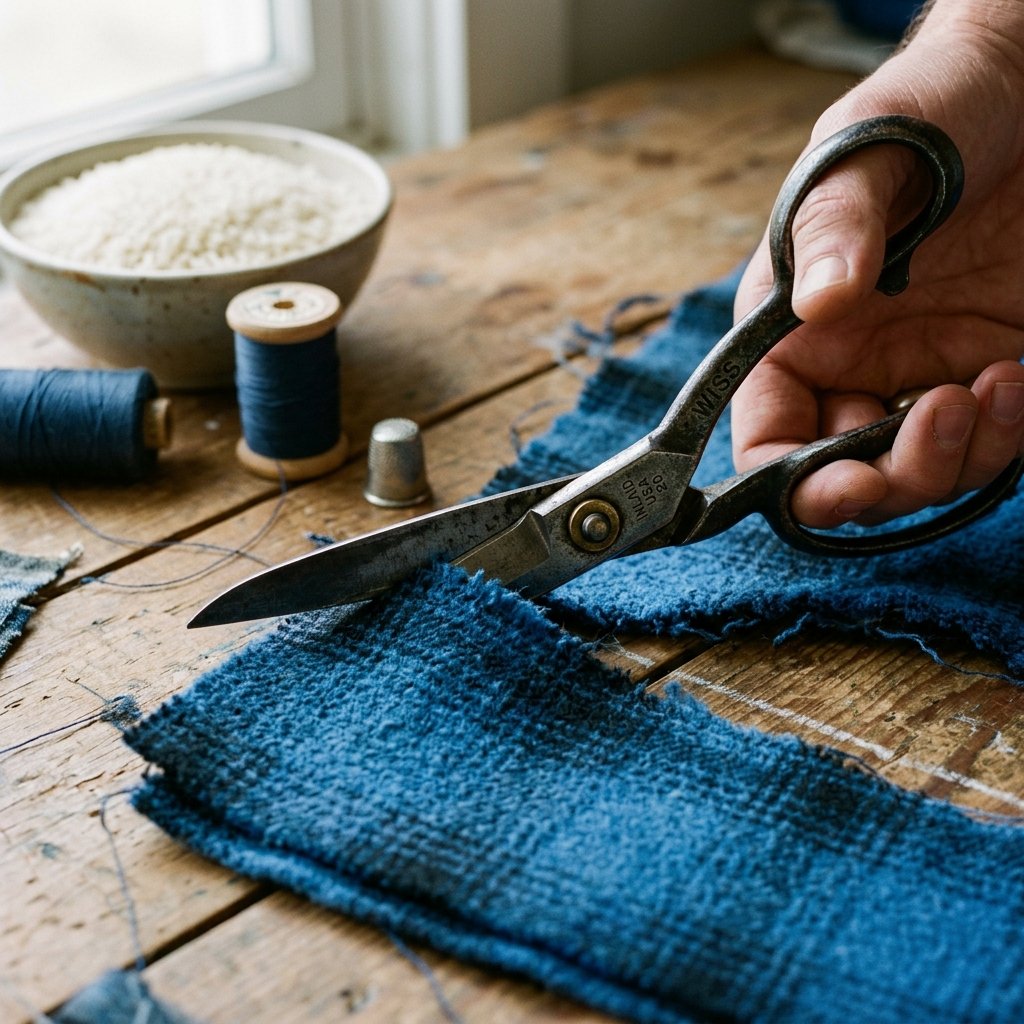
To build a heating pad that looks as good as it performs, you need to gather your supplies. This is a great project for those who are just learning to sew or for the seasoned mender looking for a quick, satisfying win.
Required Supplies:
- One 100% Cotton Flannel Shirt: Look for thick, high-quality cotton. Avoid synthetic blends as they can scorch or melt.
- Filler: Long-grain white rice is the budget-friendly king, but we will discuss alternatives like flaxseed or feed corn later.
- Heavy-Duty Thread: Cotton or all-purpose polyester thread works well.
- Fabric Scissors: Sharp shears will make cutting through the flannel seams much easier.
- Pins or Clips: To hold your fabric in place before sewing.
- A Funnel: To make the filling process mess-free.
Budget Mantra: The best materials are the ones you already have. Check the sleeves and back panels of your old work shirts for the largest sections of usable, un-worn fabric.
Step-by-Step Construction: Turning Fabric into Therapy
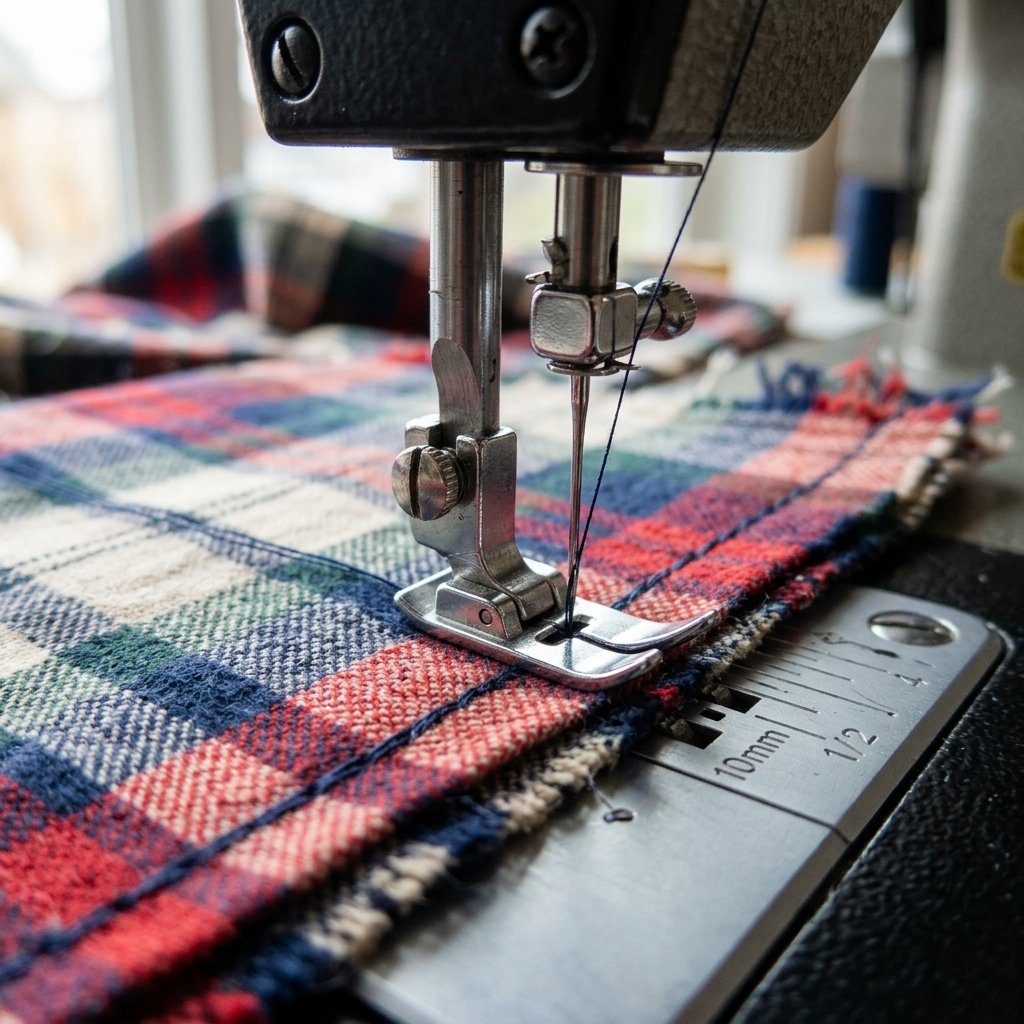
Follow these steps to ensure your heating pad is secure and leak-proof. We want a rugged build that can handle being tossed around the couch or stuffed into a gym bag.
1. Cutting the Panels
Identify the largest flat areas of your shirt—usually the back panel. Cut two identical rectangles. For a standard neck and shoulder pad, 8 inches by 20 inches is the sweet spot. For a small pocket warmer, 5 inches by 5 inches works perfectly.
2. The Initial Stitch
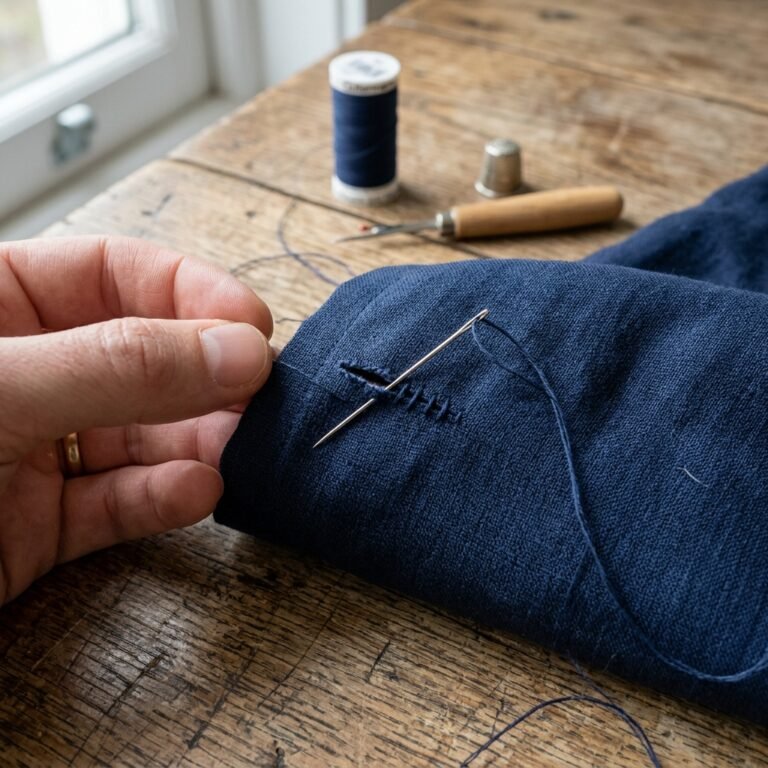
Place the two panels with the ‘right sides’ (the pretty sides) facing each other. Sew along three of the four sides, leaving a 1/2 inch seam allowance. If you are hand-sewing, use a tight backstitch for maximum strength. This ensures the rice won’t leak out through the gaps.
3. Reinforcing the Corners
Clip the corners (being careful not to cut the thread) to reduce bulk, then turn the bag right-side out. Use a pencil or chopstick to push the corners out sharp. For extra durability, I recommend a topstitch around the three closed edges.
4. Creating Channels (The Secret Pro-Tip)
To prevent all the rice from sliding to one end, sew two vertical lines down the length of the bag, dividing it into three long channels. This keeps the heat evenly distributed across your body.
The Core of the Magic: Choosing Your Thermal Filler
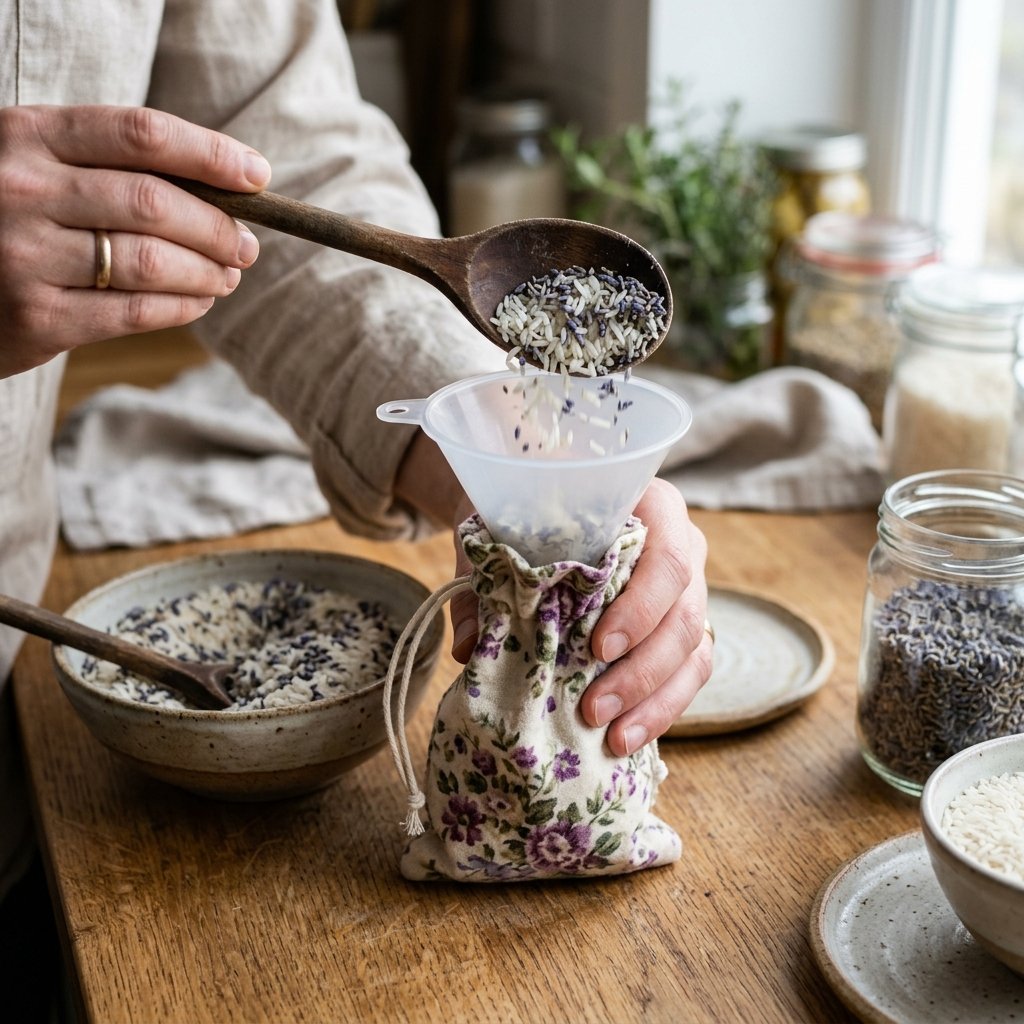
What you put inside your flannel sleeve determines how long the heat lasts and how the pad drapes over your muscles. While rice is the most common, there are several ‘upgraded’ options depending on your budget and what you have in the pantry.
| Filler Material | Heat Retention | Weight/Drape | Cost Level |
|---|---|---|---|
| White Rice | Moderate (20-30 mins) | Excellent | Lowest |
| Flaxseed | High (30-45 mins) | Superior/Silky | Moderate |
| Whole Feed Corn | Very High (45+ mins) | Bulky | Low |
| Cherry Pits | Moderate | Light/Airy | High |
Aromatherapy Add-ins
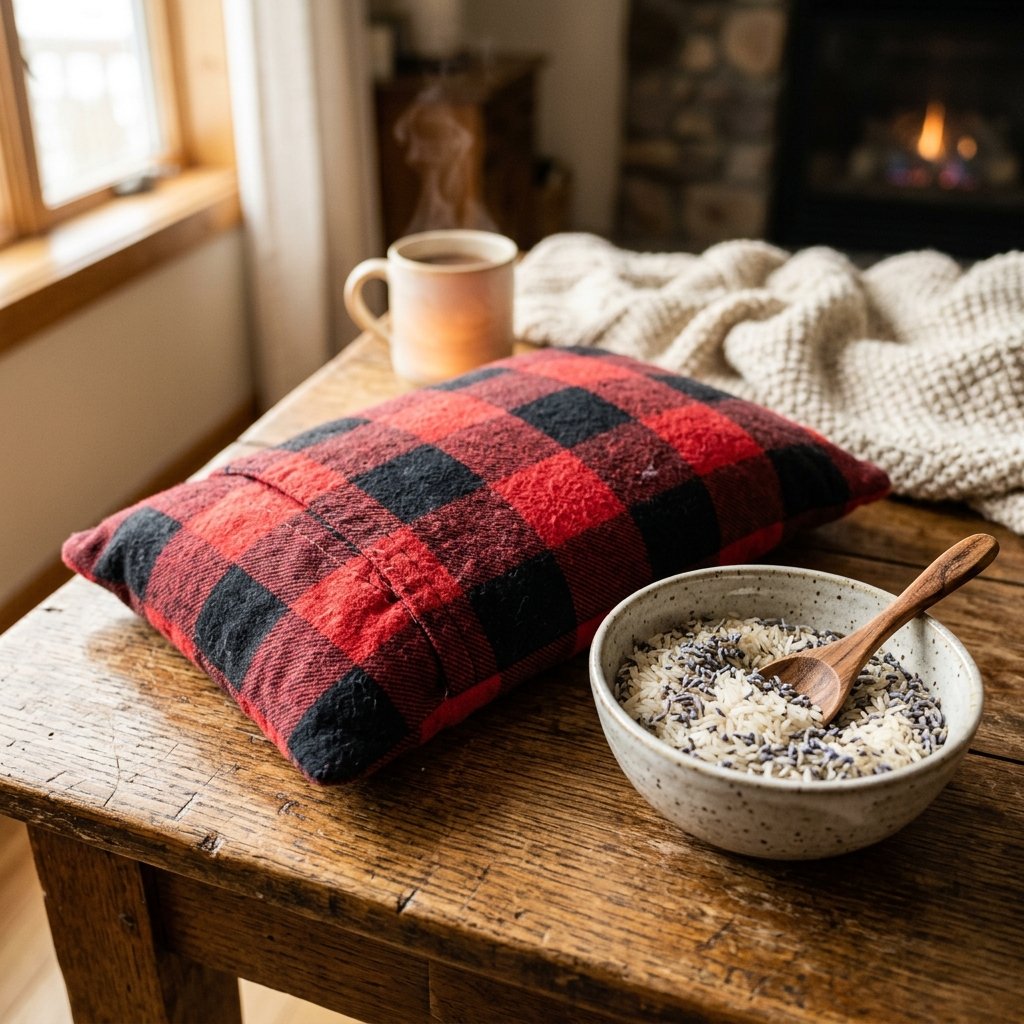
To turn this into a high-end spa experience, mix in a handful of dried lavender buds, dried rosemary, or even a few cloves with your filler. The heat will release the natural oils, providing a calming scent that helps melt away tension. Avoid using essential oils directly on the filler as they can become rancid over time when repeatedly heated.
Safety First: Heating Guidelines for Maximum Longevity
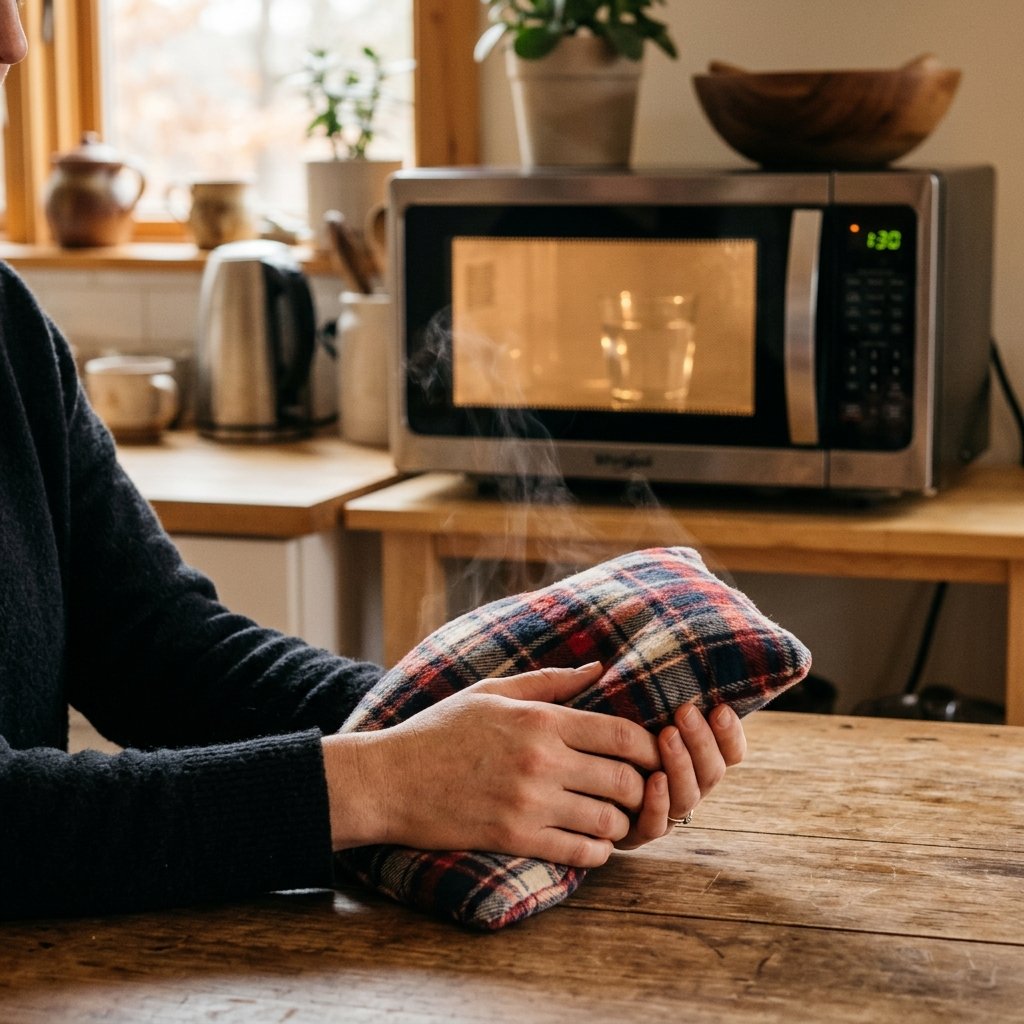
Because we are dealing with dry organic material and a microwave, safety is paramount. Treat your DIY heating pad with respect to ensure it lasts for years.
Safety Note: Always place a small cup of water in the microwave alongside your heating pad. This provides a bit of moisture in the air, preventing the rice from scorching or smelling ‘toasty’ over time.
- Initial Heat: Start with 1 minute and 30 seconds. Shake the bag to distribute the heat and test it against your forearm.
- Increments: If it’s not hot enough, add time in 30-second intervals. Never exceed 3 minutes total.
- The Cotton Rule: Again, ensure your shirt was 100% cotton. Polyester or nylon thread and fabric can melt or even spark in the microwave.
- Storage: Keep your heating pad in a dry place. If it gets damp, the rice can mold. Since the cover is sewn shut, you can’t wash it easily—consider making a secondary ‘pillowcase’ sleeve from the shirt’s leftover fabric that can be removed and laundered!
Conclusion
There you have it—a rugged, effective, and incredibly frugal solution to muscle pain that honors the spirit of upcycling. By repurposing an old flannel shirt, you’ve not only saved over $30 on a store-bought alternative, but you’ve also created a custom piece of wellness gear that is far superior to anything disposable. Whether you’re making these for yourself, or crafting a batch as thoughtful, masculine-elegant gifts for friends and family, the DIY Flannel Heating Pad is a masterclass in resourcefulness. So, the next time your back starts to ache, don’t head to the pharmacy. Head to your closet, grab that old plaid shirt, and make some magic happen!

Makenzie is the founder and lead writer at MoneyHackTips.com — a personal finance blog dedicated to delivering street-smart financial wisdom for real people on real budgets. With 300+ published articles covering everything from debt management to investing fundamentals, Makenzie’s mission is to make every dollar work harder. When not writing about money hacks, Makenzie is testing frugal living strategies, optimizing side hustles, and helping readers build financial freedom from scratch.