Rescuing Your Wardrobe Essentials
Linen is the pinnacle of summer sophistication—breathable, durable, and effortlessly stylish. However, its loose, natural weave makes it susceptible to the occasional snag or stress tear. Before you relegate those $120 designer trousers to the rag pile or pay a tailor $30 for a simple fix, let’s talk about the ‘Invisible Hack.’ This isn’t just about closing a gap; it is about structural restoration. As a frugal DIYer, you know that the most sustainable garment is the one you already own. By mastering the art of the ladder stitch and the strategic use of backing scraps, you can perform a surgical-grade repair for under $1. This guide will walk you through the rugged, practical steps of hand-mending, ensuring your repair is not only strong but virtually undetectable to the naked eye.
The Anatomy of a Linen Tear: Preparation and Assessment
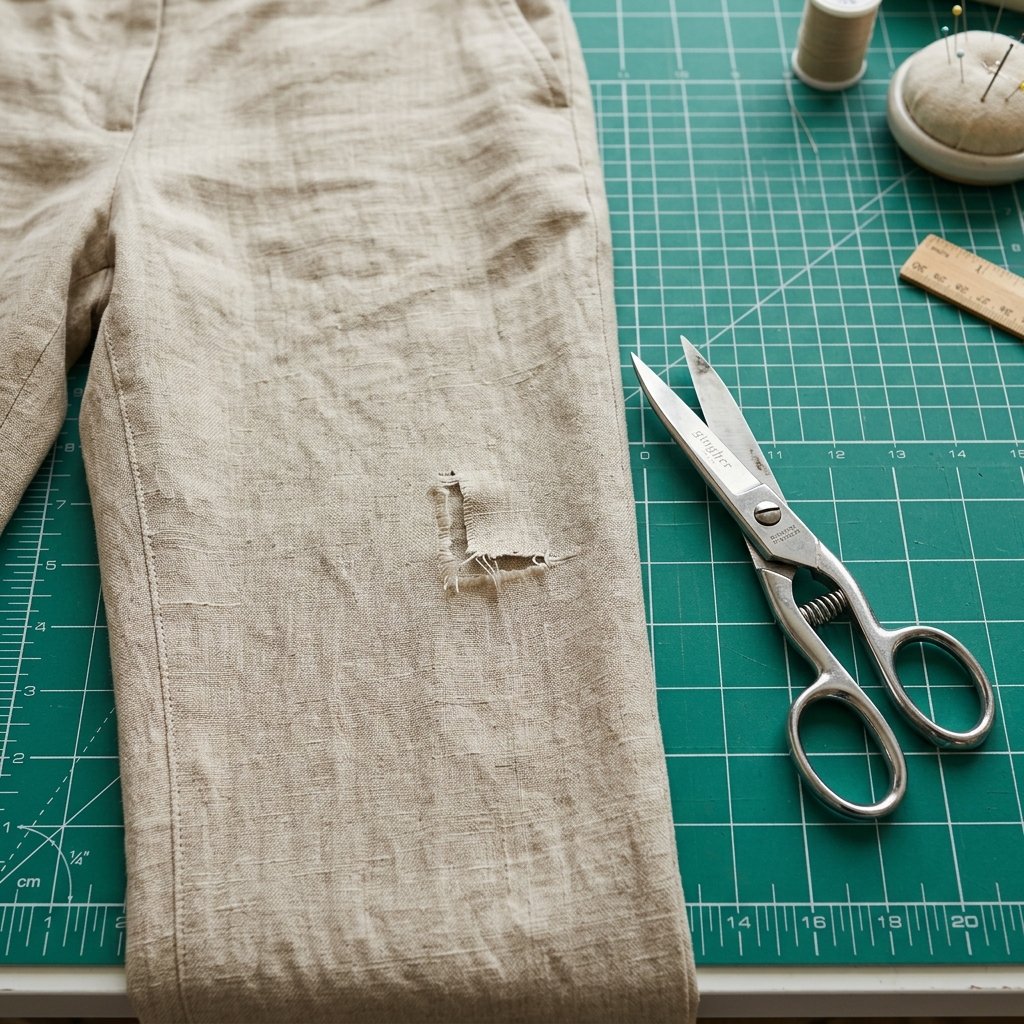
Before we pick up a needle, we must understand the fabric. Linen is made from flax fibers, which are strong but lack the elasticity of synthetics. This means a hole in linen will ‘travel’ or fray if not addressed immediately. First, assess the damage: is it a clean snag or a blowout from friction? For a clean snag, we can use a simple invisible ladder stitch. For a larger hole where fabric is actually missing, we will employ a ‘Reverse Patch’ technique. Preparation is the key to a professional finish. Start by trimming any excessively long, fuzzy frayed threads with sharp embroidery scissors. Do not cut into the stable weave; only remove the ‘whiskers’ that will get caught in your stitching. This ensures the final mend lies flat against your skin.
| Repair Type | Best For | Difficulty Level |
|---|---|---|
| Ladder Stitch | Seam rips and clean snags | Beginner |
| Reverse Patch | Holes with missing fabric | Intermediate |
| Sashiko Darning | Rugged, visible reinforcement | Advanced |
The Golden Rule of Mending: Always match your thread to the darkest shade in the fabric’s weave. When in doubt, go one shade darker, as light thread reflects more light and becomes more visible.
The Essential Budget Toolkit for Home Tailoring
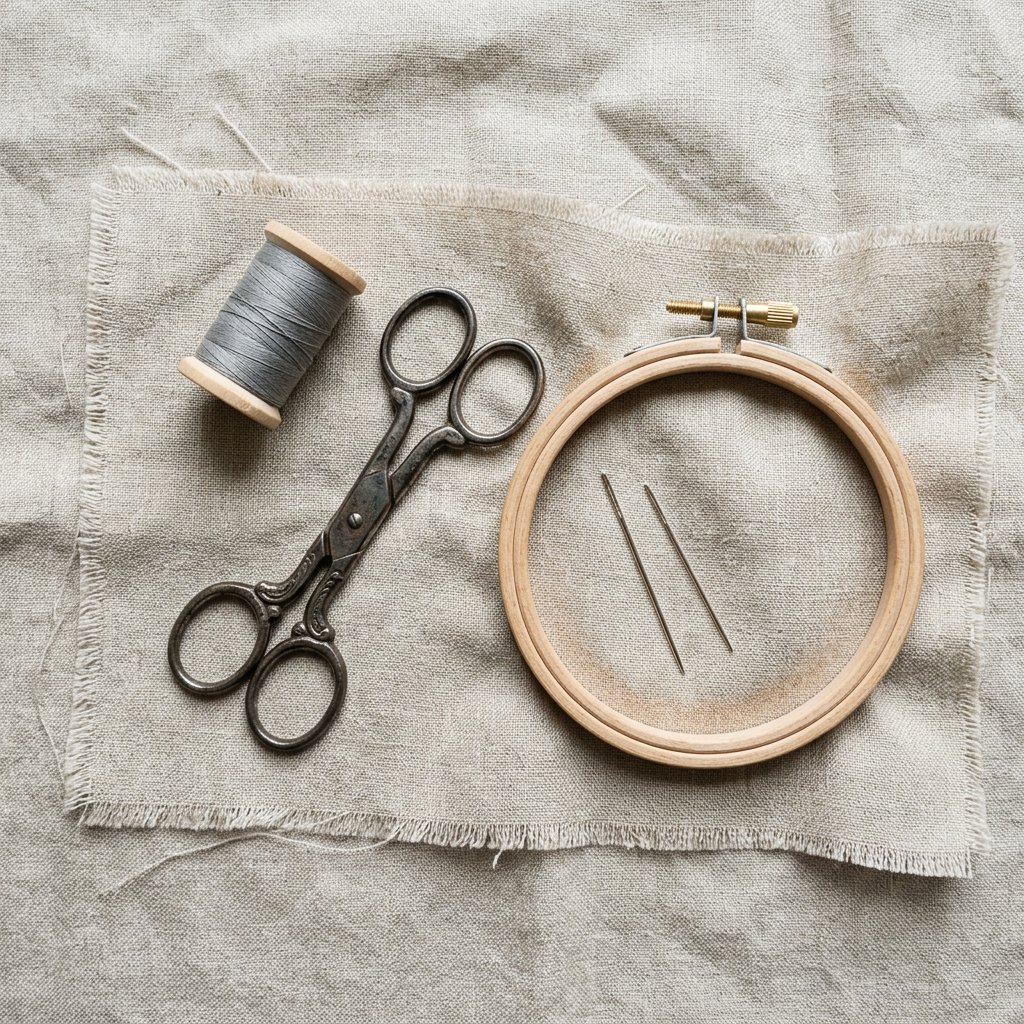
You don’t need a $500 sewing machine to achieve a high-end result. In fact, for linen, hand-sewing is often superior because it allows you to control the tension of every single fiber. To get started, you likely already have these items in a junk drawer, or you can find them for pennies at a local thrift shop. The most critical component is the needle. A ‘Sharp’ or ‘Between’ needle in size 9 or 10 is ideal for linen; it is thin enough to pass between the weave without displacing the flax fibers. For thread, 100% cotton or a high-quality cotton-wrapped polyester is best. Avoid cheap, fuzzy threads from dollar-store kits as they will snap under the tension of a pant leg.
| Tool | Purpose | Estimated Cost |
|---|---|---|
| Size 10 Sharp Needle | Precision stitching | $0.15 |
| Matching Cotton Thread | Structural bond | $2.00 |
| Small Embroidery Hoop | Maintaining tension | $1.50 |
| Scrap Linen Fabric | Backing material | $0.00 (Upcycled) |
If you don’t have an embroidery hoop, a clever hack is to stretch the fabric over a wide-mouthed mason jar and secure it with a rubber band. This provides the ‘rugged’ stability needed to keep the hole from puckering while you work.
Step-by-Step: The Invisible Ladder Stitch Hack
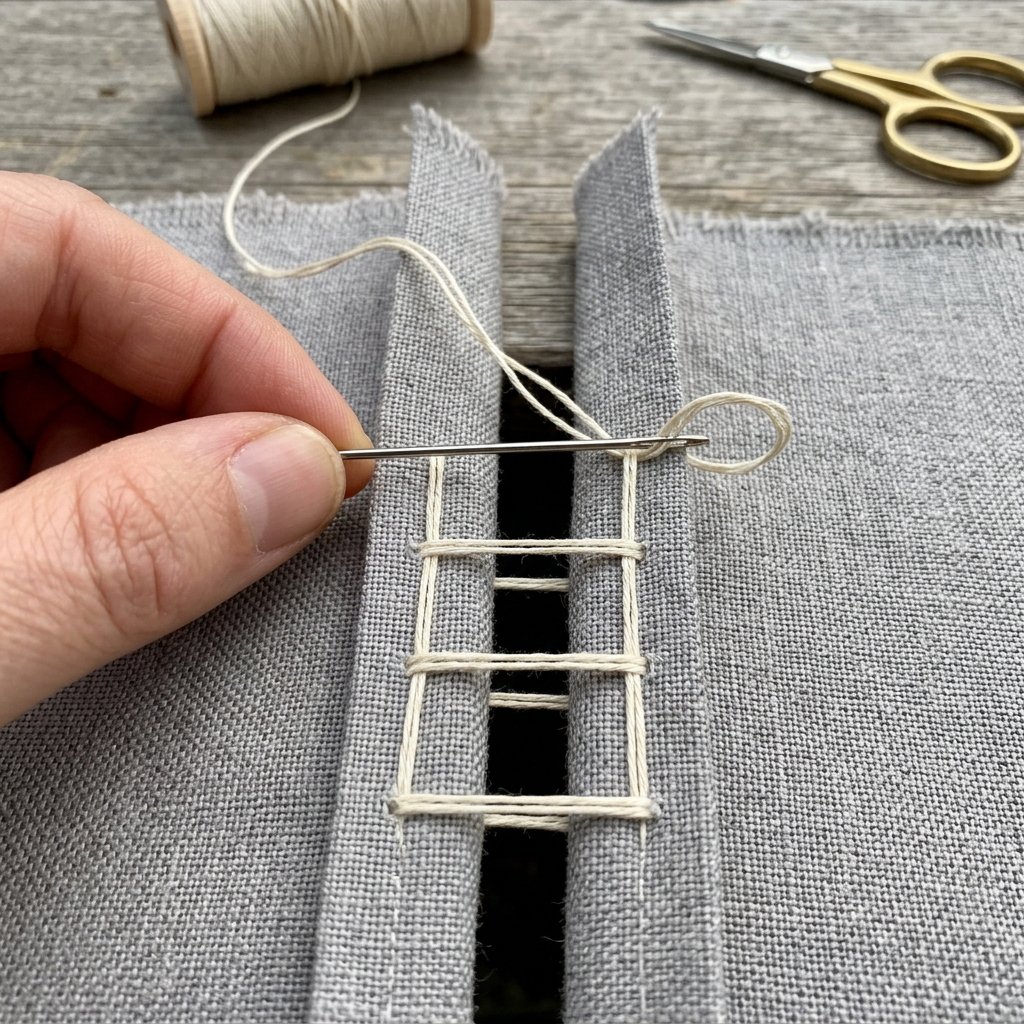
The ladder stitch is the secret weapon of professional plushie makers and high-end tailors alike. When pulled tight, the thread disappears entirely into the fold of the fabric. Follow these steps for a 100% invisible finish:
- Anchor the Thread: Start your needle about 1/4 inch behind the start of the tear, on the inside of the garment. Tie a small, secure knot.
- The First Bridge: Bring the needle to the ‘right’ side of the fabric. Move to the opposite side of the tear and insert the needle, sliding it forward about 2-3 millimeters inside the fold of the fabric.
- The Ladder Rungs: Cross back to the first side and repeat the process. You are essentially creating ‘rungs’ of a ladder that cross the gap. Keep your stitches small and consistent.
- The Tension Pull: After every 4 or 5 stitches, gently pull the thread. You will see the two sides of the linen pull together perfectly, burying the thread inside the weave.
- The Lock-Off: Once you reach the end of the tear, continue for another 1/4 inch into the solid fabric to ensure stability. Pass the needle to the inside and tie a surgeon’s knot.
Mantra for the Mender: Tension is everything. Pull too hard and the fabric puckers; pull too soft and the hole remains visible. Find the middle path where the fabric lays flat.
The Reverse Patch: Saving Large Holes Safely
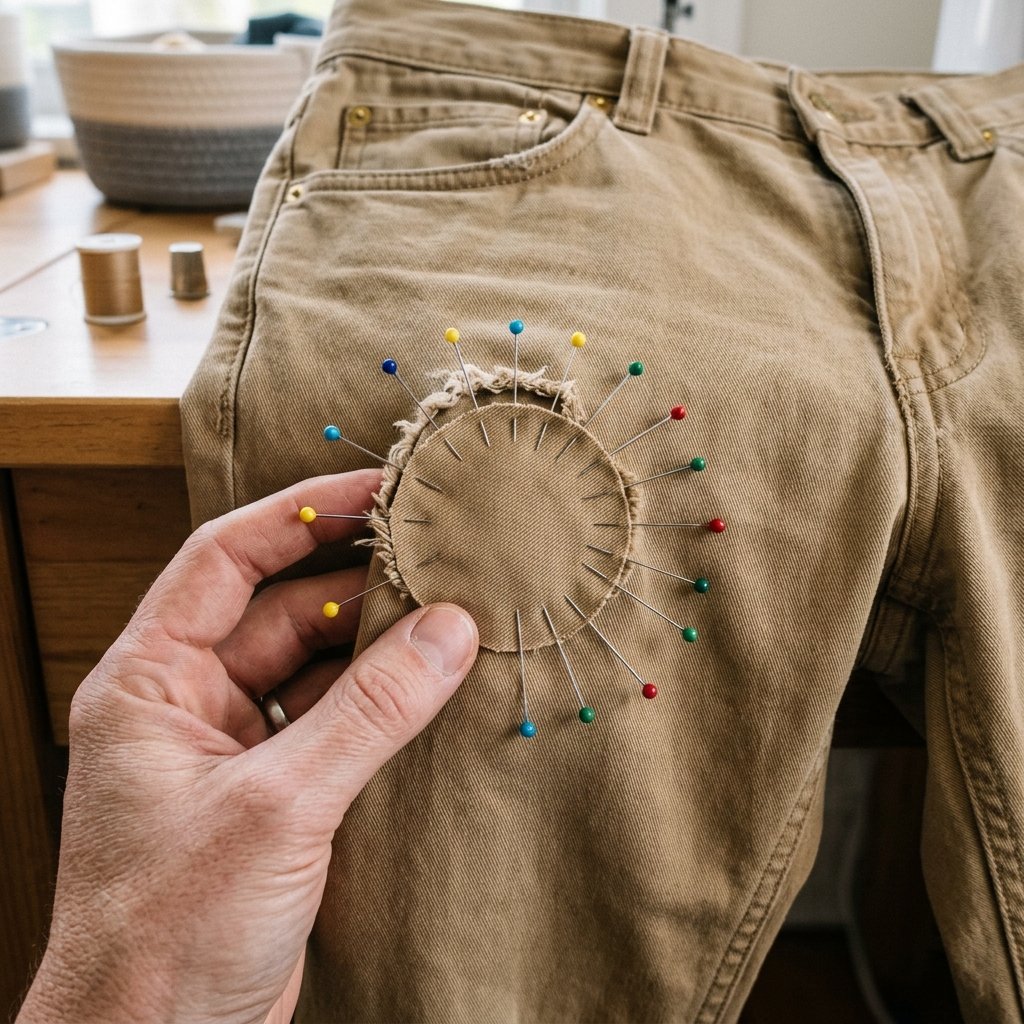
If your linen pants have a hole larger than a dime, a simple stitch will pull the fabric too tight and create an unsightly bulge. This is where the ‘Reverse Patch’ comes in. This method adds a ‘scaffold’ of fabric behind the hole to maintain the pant’s shape. Find a scrap of similar weight fabric—an old linen shirt or even a piece of heavy cotton muslin works perfectly. Cut the patch so it is 1 inch larger than the hole on all sides. Using a washable glue stick or pins, secure the patch to the inside of the pants. From the outside, use a ‘pick stitch’ (tiny dots of thread) to catch the patch. Because linen has a visible grain, you can hide your stitches by following the vertical lines of the fabric. This method is incredibly durable and prevents the hole from ever expanding again.
Safety Note: When pinning your patch, always place the pin heads facing away from your hand to avoid accidental pricks while maneuvering the fabric.
The Finishing Touch: Professional Pressing and Care
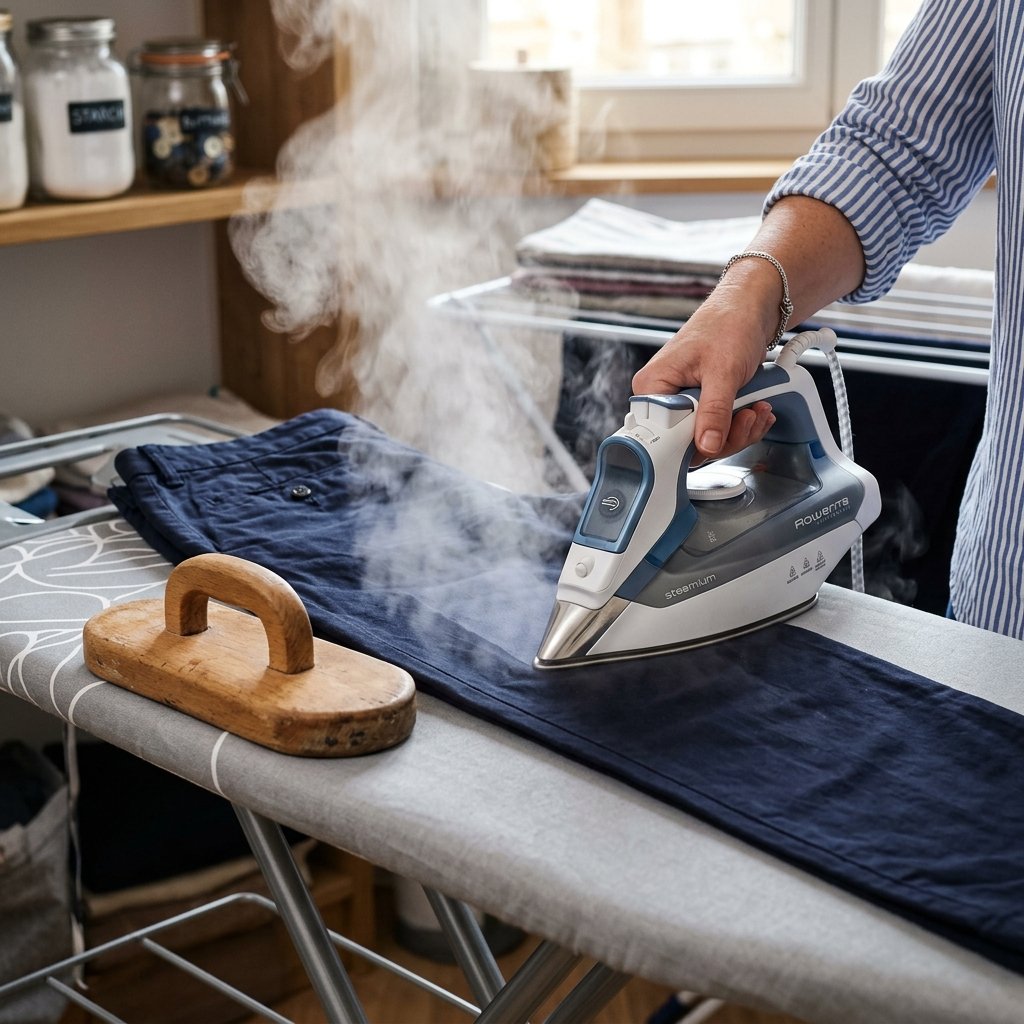
The difference between a ‘homemade’ look and a ‘hand-tailored’ look is the iron. Once your stitching is complete, your repair will likely look a bit bunched. Set your iron to the Linen/High Heat setting with full steam. Lay a thin pressing cloth (a clean cotton bandana works well) over the repair. Press firmly for 10-15 seconds without sliding the iron. The heat and steam will ‘set’ the fibers and the thread, allowing the new stitches to settle into the original weave. This process effectively ‘melts’ the repair into the garment. To ensure your repair lasts for years, avoid high-heat commercial dryers. Hang-dry your linen to prevent the fibers from becoming brittle and snapping at the stress points you just mended.
| Care Step | Benefit | Time Required |
|---|---|---|
| Steam Pressing | Hides stitch lines | 2 Minutes |
| Air Drying | Preserves fiber strength | 4 Hours |
| Cold Wash | Prevents shrinkage | 30 Minutes |
Conclusion
Your Wardrobe, Reclaimed
By taking 20 minutes to apply these invisible sewing hacks, you’ve done more than just fix a pair of pants. You’ve practiced a form of ‘slow fashion’ that defies the throwaway culture of today. You saved roughly $30 to $100 in replacement or tailoring costs, and you’ve gained a rugged, practical skill that will serve you for a lifetime. Whether you are prepping for a summer wedding or just maintaining your favorite weekend gear, remember that a well-mended garment is a badge of honor. It shows you value quality, you possess the cleverness to maintain it, and you have the crafty expertise to do it yourself. Now, wear those linen pants with the confidence of someone who knows exactly how they were built—and how to keep them going.

Makenzie is the founder and lead writer at MoneyHackTips.com — a personal finance blog dedicated to delivering street-smart financial wisdom for real people on real budgets. With 300+ published articles covering everything from debt management to investing fundamentals, Makenzie’s mission is to make every dollar work harder. When not writing about money hacks, Makenzie is testing frugal living strategies, optimizing side hustles, and helping readers build financial freedom from scratch.