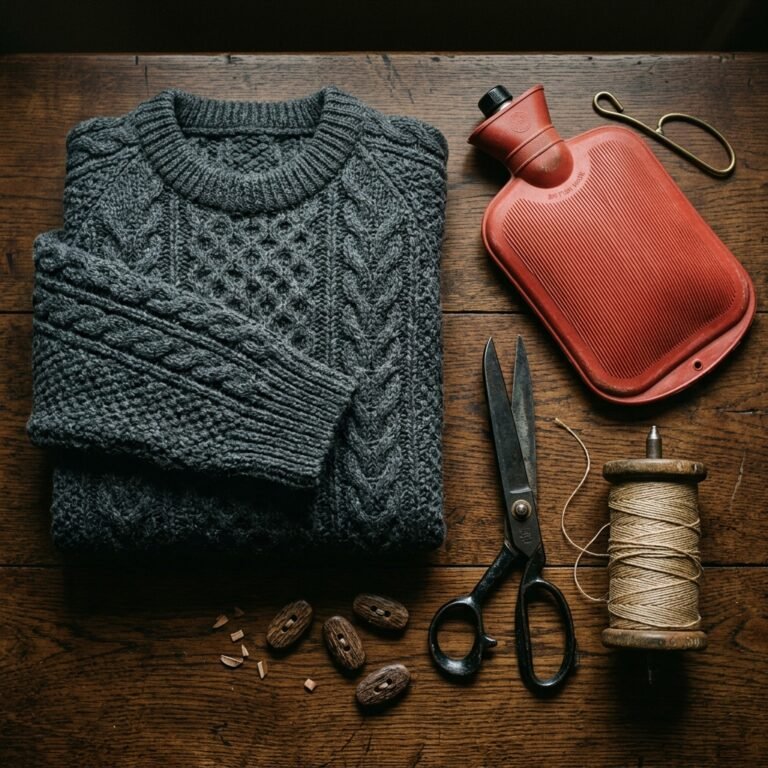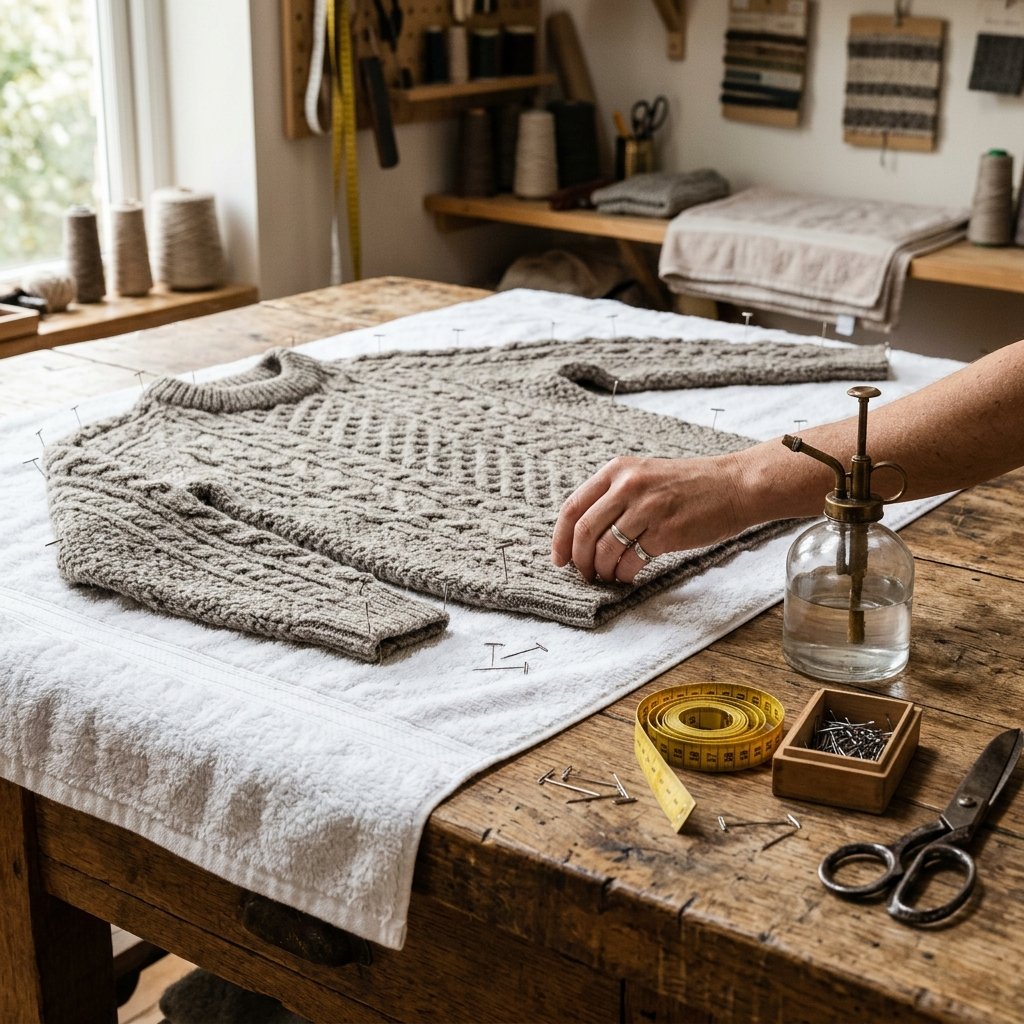

Welcome, frugal DIYers, handy parents, and resourcefully-creative upcyclers! There is nothing quite as heartbreaking as pulling your favorite, rugged wool sweater out of the closet or the wash, only to discover it has stretched out into a shapeless, baggy mess. Maybe the cuffs have lost their elasticity, the neckline is sagging to your chest, or the entire torso looks like it was made for a giant. Before you toss that expensive, masculine-elegant fisherman sweater into the donation bin or, worse, the trash, stop right there! You are about to learn the master tailor’s secret to saving your wardrobe on a dime.
Wool is a miraculous, natural fiber. Because it is essentially animal hair, it reacts to heat, moisture, and agitation in highly predictable ways. This means that with a little bit of crafty expertise and absolutely $0 out of pocket, you can reverse the stretching process and manipulate those fibers back into their original, perfect fit. Whether you are a budget-savvy mom trying to save a thrifted cashmere find, or a handy dad looking to restore his favorite winter layering piece, this guide will walk you through the exact, step-by-step techniques to shrink a wool sweater safely and effectively.
We are going to cover everything from targeted spot-shrinking for those annoying loose cuffs, to full-body submersions for complete garment overhauls. Roll up your sleeves, grab some thick towels, and let us turn that tragic laundry mishap back into a treasured wardrobe staple!
Understanding the Beast: The Science of Wool Fibers

Before we dive into the boiling water and steam, we need to understand exactly what we are working with. Why does wool stretch, and more importantly, why does it shrink? If you look at a wool fiber under a microscope, it looks a lot like a pinecone or a shingled roof. These overlapping scales are called cuticles. When wool gets wet and warm, these scales open up. If you add agitation (like pulling, wearing, or the rough tumbling of a washing machine), those open scales catch onto one another and lock tightly together. This process is called felting.
When a sweater stretches out, those fibers have been pulled apart while the scales were relaxed. To shrink it back, we need to re-introduce heat and moisture to open the scales, and then encourage them to contract and lock back into a tighter formation. However, not all wool is created equal. A rugged, 100% virgin wool sweater will react very differently than a superwash merino blend.
The Upcycler’s Mantra: Heat plus moisture plus agitation equals shrinkage. Control the variables, and you control the garment!
| Wool Type | Shrinkability | Recommended Method |
|---|---|---|
| 100% Virgin / Untreated Wool | Extremely High | Targeted Steam or Gentle Hot Bath |
| Merino Wool | High | Hot Water Submersion |
| Cashmere | Moderate to High | Lukewarm Bath & Careful Reshaping |
| Superwash Wool | Very Low | Machine Wash Hot & Machine Dry |
| Wool / Synthetic Blends | Low | High-Heat Machine Method |
Always check your garment’s care tag first. If it says “Superwash” or “Machine Washable,” the wool fibers have been chemically treated or coated in a microscopic layer of plastic to prevent the scales from locking. You will need to use much higher heat to force a superwash sweater to shrink. If it says “Hand Wash Only” or “Dry Clean Only,” proceed with the gentle hand-methods outlined below.
Pre-Shrink Reconnaissance: Assessing the Damage & Gathering Supplies
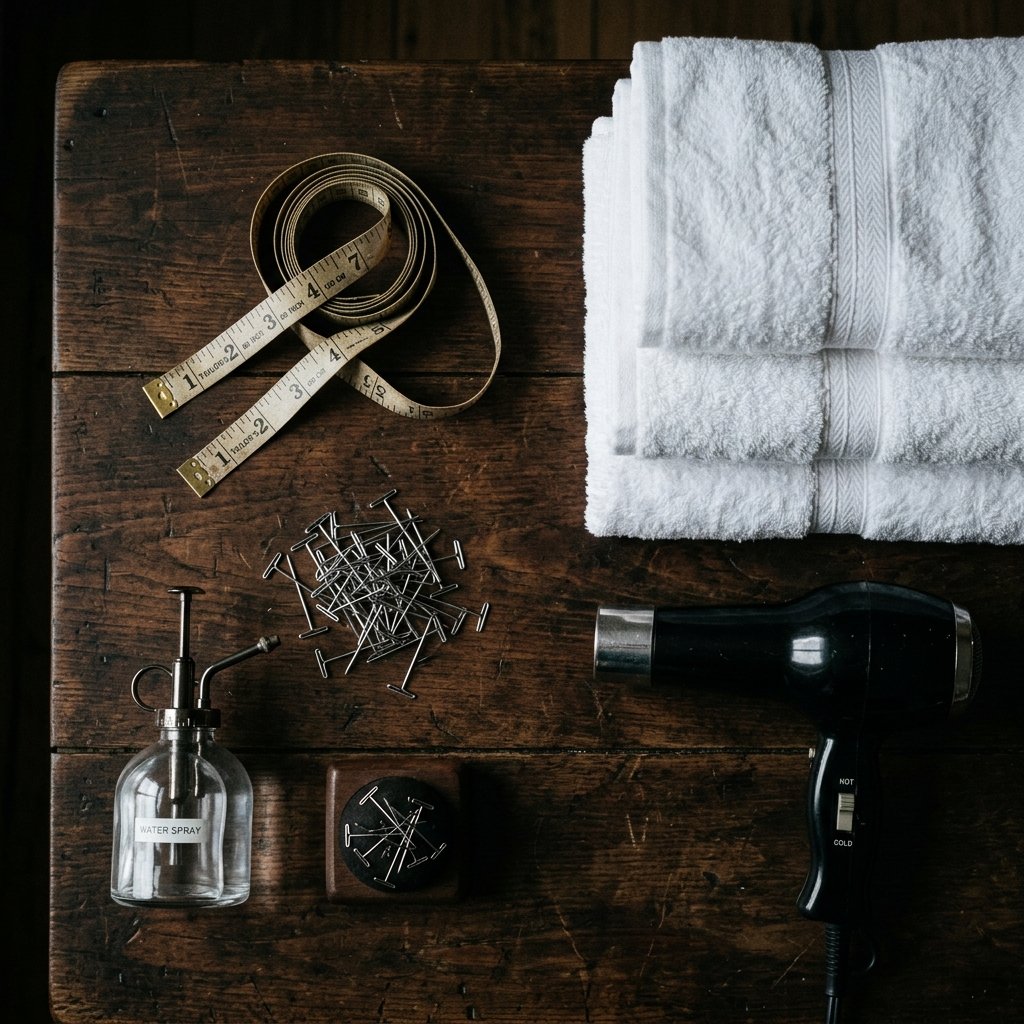
A true craftsman never starts a project without assessing the situation and gathering their tools. First, put the stretched-out sweater on. Look in the mirror and pinch the areas that need to be shrunk. Is it just the hem? Are the elbows bagging out? Or is the entire torso three sizes too big? Identifying the problem areas will dictate which method you use. If you only have loose cuffs, you do not want to submerge the entire sweater and risk shrinking the parts that already fit perfectly.
Next, gather your supplies. You do not need expensive tailoring equipment to pull this off. Everything you need is likely already in your house, making this a 100% free DIY rescue mission.
- Thick, clean bath towels: At least two or three, preferably white or colorfast so they do not bleed dye onto your sweater.
- A spray bottle: Filled with clean, hot water for targeted shrinking.
- A hairdryer or clothing steamer: Essential for applying localized heat.
- Rust-proof T-pins: For blocking and pinning the sweater into its final shape.
- A foam blocking mat or an ironing board: A surface you can pin into.
- A measuring tape: To ensure you achieve the exact dimensions you desire.
Once your arsenal is assembled, take some baseline measurements of the sweater as it currently sits, and write down the measurements you want it to be. This will be your roadmap to success.
Targeted Tactical Shrinking: Fixing Baggy Cuffs and Sagging Necklines
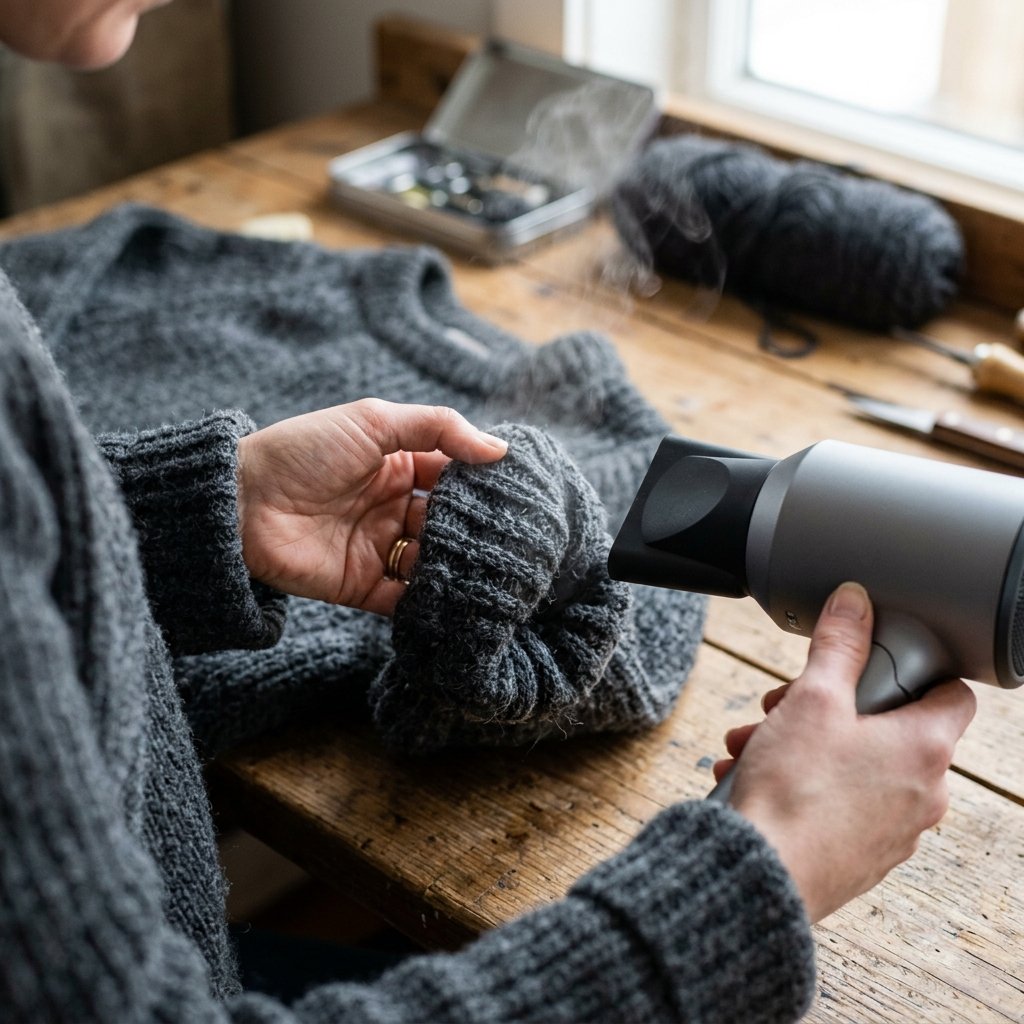
Let us start with the most common problem: isolated stretching. If you have a favorite rugged cardigan that fits perfectly in the shoulders but has cuffs that hang like bell-bottoms, the Targeted Tactical Shrinking method is your best friend. This technique uses localized heat and moisture to shrink specific areas without compromising the rest of the garment.
- Lay it flat: Place your sweater on a dry towel over your ironing board or blocking mat. Smooth out the fabric so it lays naturally.
- Apply hot moisture: Take your spray bottle filled with hot water and generously mist the stretched-out area (e.g., the cuffs or the neckline). The wool should be damp to the touch, but not soaking wet.
- Manipulate the fibers: Using your fingers, gently push and bunch the damp wool fibers together. You are manually coaxing them back into a tighter formation. If you are fixing a ribbed cuff, pinch the ribs together so they touch.
- Apply the heat: Turn your hairdryer on the highest heat setting. Hold it about 3 to 4 inches away from the damp wool and blast it with hot air. Continue to use your free hand to pat and bunch the fibers together as they dry.
- The Steam Iron Alternative: If you have a steam iron, you can hover it about an inch above the damp wool and hit the steam button. Warning: Never press a hot iron directly onto wet wool, as it will crush the fibers and leave a shiny, permanent scorch mark!
Safety Note: When using a hairdryer or steam iron, always keep your hands clear of the direct steam path to avoid severe burns. Work slowly and methodically.
Repeat this process until the targeted area has shrunk back to your desired measurement. It is a brilliant, budget-savvy way to extend the life of your garments without a full wash cycle.
The Full-Body Reset: Shrinking the Entire Sweater
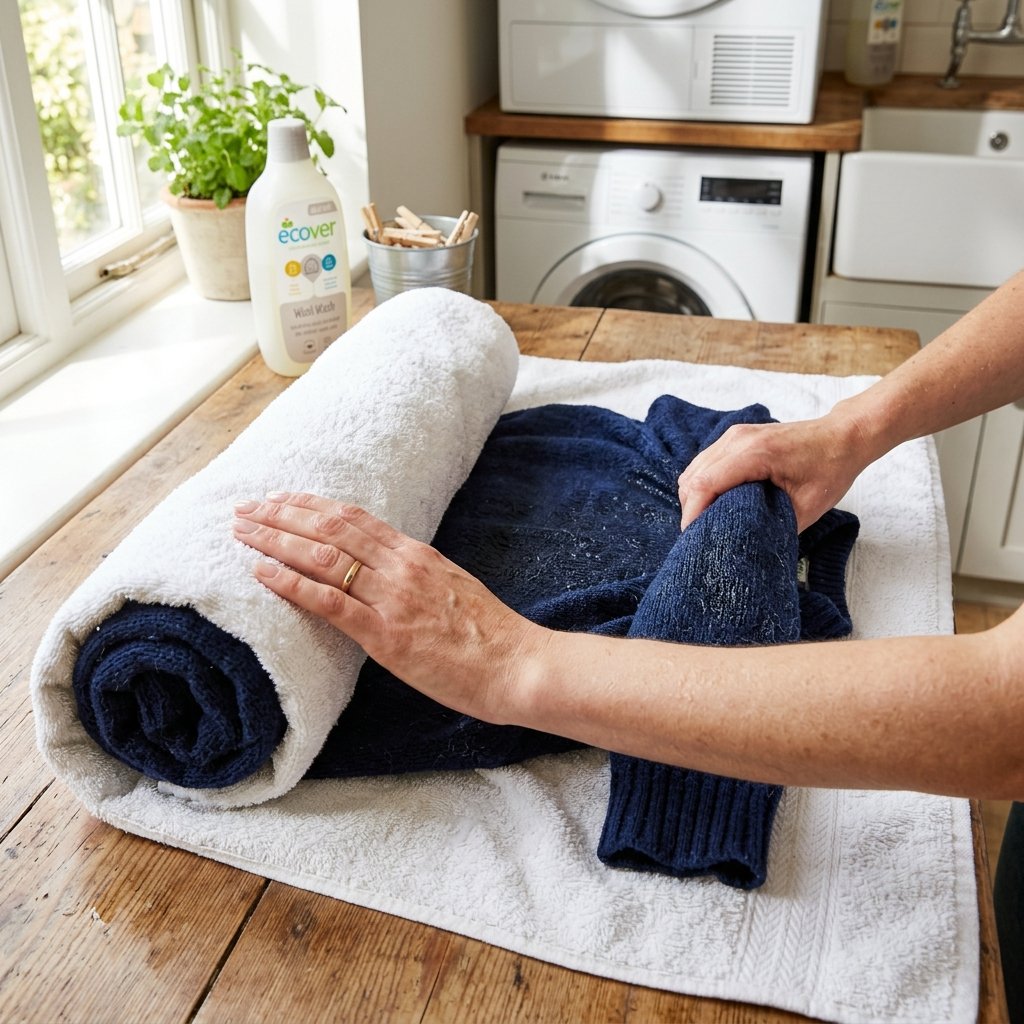
If your sweater has suffered a catastrophic stretching event—perhaps it got caught on something, or a well-meaning family member aggressively wrung it out after a wash—you will need to perform a Full-Body Reset. This method involves submerging the entire garment to relax all the fibers simultaneously.
- The Hot Bath: Fill a clean sink or basin with hot water. For virgin wool, the water should be warm to the touch (around 100 degrees Fahrenheit). For tougher blends, use hotter water. Do not use boiling water yet, as extreme heat can shock the wool into felting instantly, turning your adult sweater into a toddler’s size.
- Submersion: Push the sweater gently into the water until it is completely saturated. Let it soak for 10 to 15 minutes. This allows the water to penetrate the core of the fibers, opening the cuticles.
- Gentle Agitation: If you need significant shrinkage, gently swish the sweater around in the water. Remember our mantra: agitation causes shrinkage. If you only need a little shrinkage, skip the agitation.
- The Drain and Squeeze: Drain the water from the sink. Carefully lift the heavy, wet sweater, supporting its weight from the bottom so it does not stretch further. Gently press the water out against the side of the sink. Never wring or twist the wool!
- The Burrito Roll: Lay the damp sweater flat on a clean, dry bath towel. Roll the towel up with the sweater inside, creating a tight “burrito.” Press down firmly on the rolled towel to extract as much excess moisture as possible. The sweater should emerge damp, but not dripping.
Now your sweater is primed and ready for the most crucial step of the entire process: blocking.
The Danger Zone: Using the Washer and Dryer for Extreme Cases

Sometimes, gentle coaxing is not enough. If you are dealing with a stubborn wool-synthetic blend, a superwash merino, or a sweater that is so massively oversized that you have nothing to lose, it is time to enter the Danger Zone: the machine washer and dryer. This is the rugged, high-risk, high-reward method for the bravest of DIYers.
Machine shrinking is highly unpredictable. A sweater can go from a men’s XXL to a child’s medium in a matter of minutes. Therefore, vigilance is your greatest weapon.
- The Wash Cycle: Place the sweater in a mesh laundry bag to protect it from snagging. Run it through a hot wash cycle. The combination of hot water and the aggressive agitation of the washing machine will force the fibers to contract rapidly.
- The Dryer Check: Transfer the damp sweater to the tumble dryer. Set it to medium or high heat. Here is the absolute most critical rule: You must check the sweater every 5 minutes.
- The Extraction: Stop the dryer, pull the sweater out, and measure it against your body or your measuring tape. It will shrink remarkably fast. The moment it reaches the correct size—or slightly larger than the correct size, as it will shrink a tiny bit more as it cools—pull it out immediately.
If you pull it out and it is still a bit damp, do not put it back in the dryer! Lay it flat to air dry the rest of the way. This method is incredibly effective for saving thrift store finds that are just a few sizes too big, turning a $5 oversized cast-off into a custom-tailored masterpiece.
The Master Tailor’s Finish: Blocking and Reshaping Your Garment

Whether you used the targeted spray method, the hot bath, or the machine dryer, your journey ends here: Blocking. Blocking is the professional tailor’s secret to giving knitwear a crisp, custom-fit, high-end finish. It is the process of pinning the damp garment into its exact final shape and allowing it to dry, locking the fibers into place.
| Action | Store-Bought Replacement Cost | DIY Rescue Cost |
|---|---|---|
| Replacing a High-End Wool Sweater | $150 – $300 | $0 |
| Professional Tailoring / Alterations | $45 – $80 | $0 |
| Dry Cleaner Shrinking Service | $20 – $40 | $0 |
As you can see, mastering this skill keeps serious cash in your wallet. Here is how to execute the perfect block:
- Prepare the Surface: Lay out your foam blocking mats, or pad your ironing board with thick towels.
- Position the Sweater: Lay the damp sweater flat on the surface. Gently nudge, pat, and coax the fabric into the exact dimensions you want. Use your measuring tape to ensure the chest width, sleeve length, and torso length match your ideal fit.
- Pin it Down: Insert rust-proof T-pins through the edges of the sweater and into the mat beneath. Space the pins about an inch apart. Pay special attention to the shoulders, the hem, and the cuffs. If you want the cuffs tight, bunch them up and pin them securely.
- Air Dry: Leave the sweater pinned in place in a well-ventilated room. Do not place it in direct sunlight or directly over a radiator, as uneven heat can warp the shape. Depending on the thickness of the wool, this can take anywhere from 24 to 48 hours.
Once completely dry, remove the pins. The sweater will hold its new, shrunken shape beautifully. You have successfully manipulated the fibers, reversed the damage, and rescued a premium piece of clothing from the trash heap. Wear it with the pride of a true craftsman!
Conclusion
Congratulations, frugal upcyclers and crafty menders! You now possess the knowledge to bend wool fibers to your will. By understanding the science of heat, moisture, and agitation, you have unlocked the ability to save hundreds of dollars on replacement clothing and professional tailoring. A stretched-out neckline or a baggy pair of cuffs is no longer a death sentence for your favorite garments; it is simply an opportunity to flex your DIY muscles.
Remember, the key to successful garment rescue is patience and observation. Start with the gentlest methods, like targeted steaming, before moving on to full submersion or the high-stakes dryer method. Always respect the fabric, measure twice, and block with precision. Now, go raid your closet—or the clearance racks at your local thrift store—and start rescuing those beautiful wool pieces from the trash. Happy mending, and stay resourceful!

Makenzie is the founder and lead writer at MoneyHackTips.com — a personal finance blog dedicated to delivering street-smart financial wisdom for real people on real budgets. With 300+ published articles covering everything from debt management to investing fundamentals, Makenzie’s mission is to make every dollar work harder. When not writing about money hacks, Makenzie is testing frugal living strategies, optimizing side hustles, and helping readers build financial freedom from scratch.