
The Ultimate Trash-to-Treasure Pup Transformation
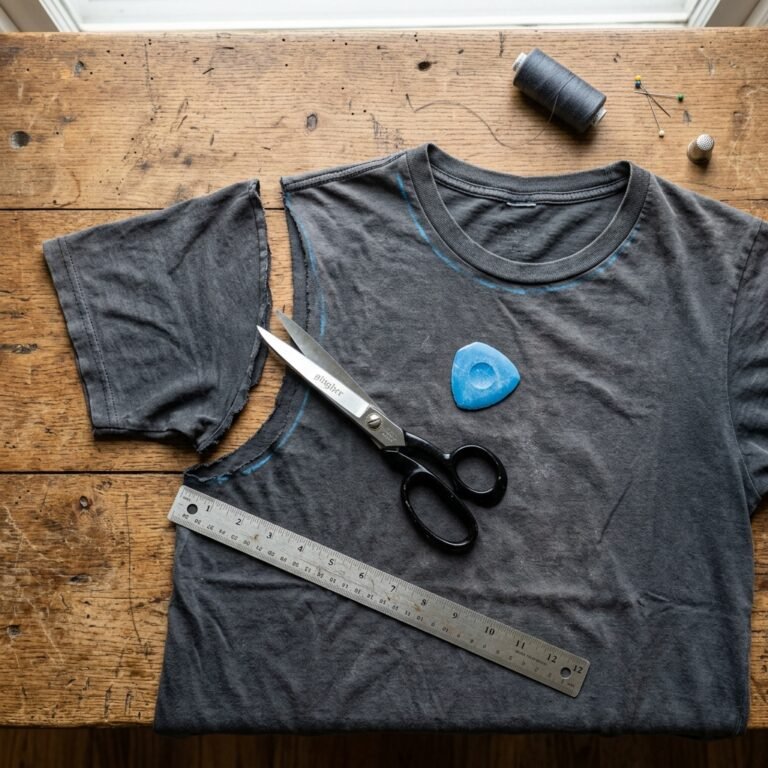
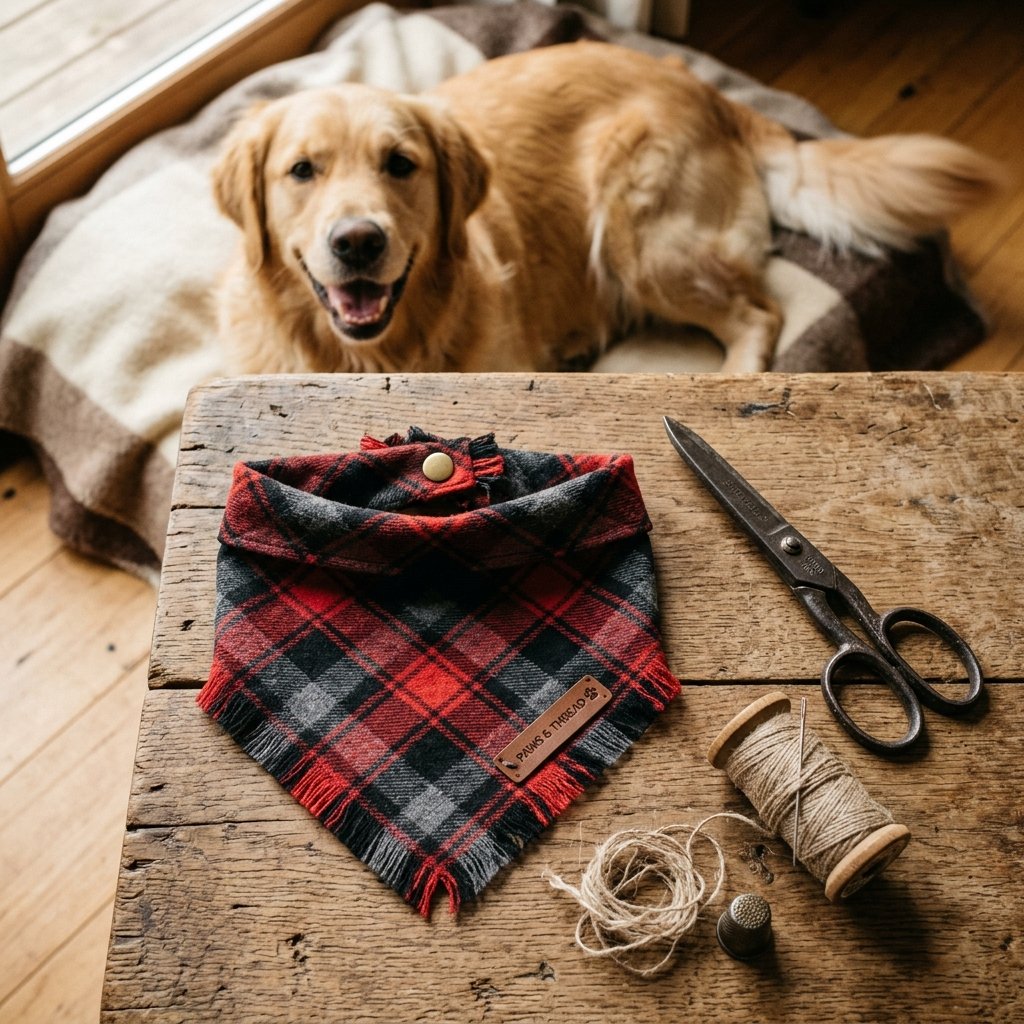
We all have that one flannel shirt—the one with the frayed cuffs or the mysterious bleach stain that makes it unwearable, yet the fabric is so soft and perfectly weathered you can’t bear to toss it. Instead of letting it gather dust in the back of your closet, why not transform it into a high-end, rugged accessory for your four-legged best friend? In this guide, we aren’t just making a scrap of fabric; we are engineering a durable, stylish, and 100% free dog bandana that rivals those $25 boutique versions. Whether you’re a seasoned crafter or a total novice with a needle, this resourceful project is designed to help you spoil your pup without spending a single dime. Let’s dive into the art of the upcycle and give that old shirt a second life on the trail.
The Inventory: Sourcing Your Materials for $0
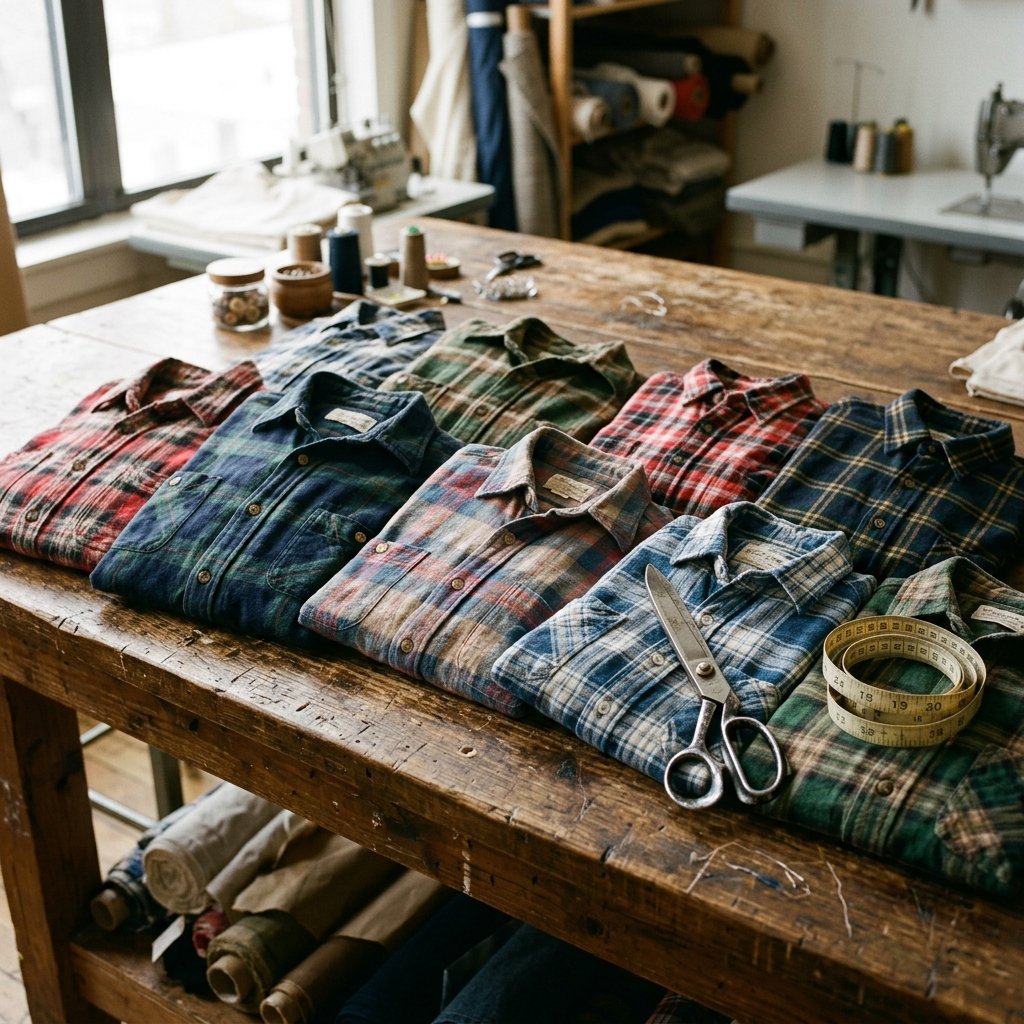
The beauty of this project lies in its resourcefulness. You likely already have everything you need sitting in a junk drawer or a laundry basket. Before we start cutting, let’s look at the breakdown of what you’ll need and how much you’re saving compared to the big-box pet stores.
| Item Needed | Upcycled Source | Estimated DIY Cost | Retail Price |
|---|---|---|---|
| Fabric | Old Flannel/Plaid Shirt | $0.00 | $12.00 |
| Thread | Leftover Spool or Unraveled Hem | $0.00 | $3.50 |
| Template | Cardboard Cereal Box | $0.00 | $8.00 |
| Fastener | Shirt Button or Velcro Scraps | $0.00 | $2.50 |
| Total | N/A | $0.00 | $26.00 |
Choosing the Perfect Shirt
Not all flannels are created equal. For a dog bandana that lasts through mud runs and park sessions, look for 100% cotton flannel. It’s breathable, washable, and has that classic rugged aesthetic. Avoid synthetic blends that might irritate your dog’s skin or trap too much heat. Check the back panel of the shirt first; this is usually the largest uninterrupted piece of fabric and is perfect for larger breeds.
Precision Engineering: Measuring Your Pup for the Perfect Fit
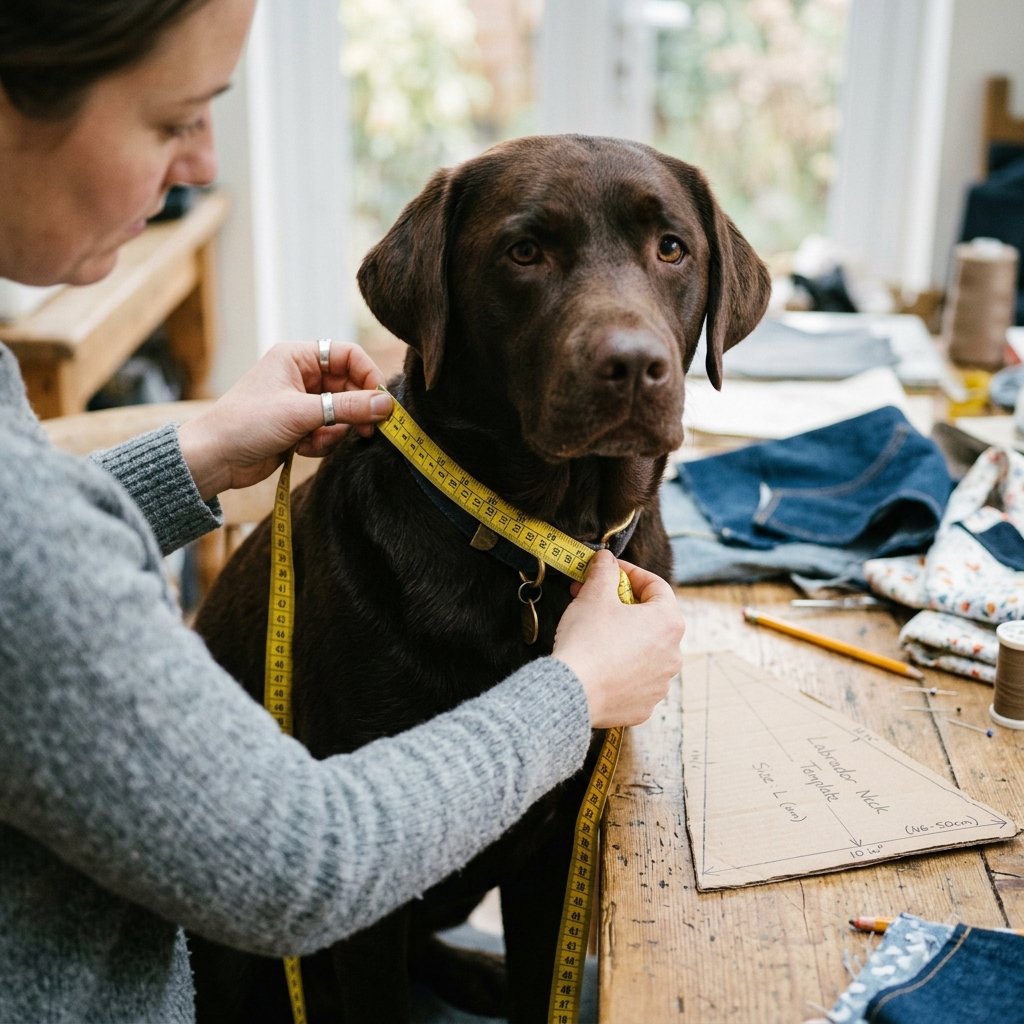
A bandana that’s too tight is a safety hazard, and one that’s too loose will be lost in the brush within five minutes. We use the ‘Two-Finger Rule’ to ensure the perfect fit. Follow these steps to create your custom template:
- Measure the Neck: Use a soft measuring tape (or a piece of string) to measure the base of your dog’s neck where the collar sits.
- Add the ‘Ease’: Add 2 to 3 inches to that measurement to ensure comfort.
- Determine the Triangle Depth: For a classic look, the ‘drop’ (the point of the triangle) should be about 1/3 of the neck measurement.
“The Golden Ratio of Dog Style: A bandana should cover the front of the chest without dragging on the floor or interfering with the dog’s front legs during a trot.”
Once you have your dimensions, cut a triangle out of an old cereal box or shipping box. This will be your master template for future bandanas—because once you make one, you’ll want a seasonal rotation!
The Cut and the Stitch: Hand-Mending Techniques for Longevity
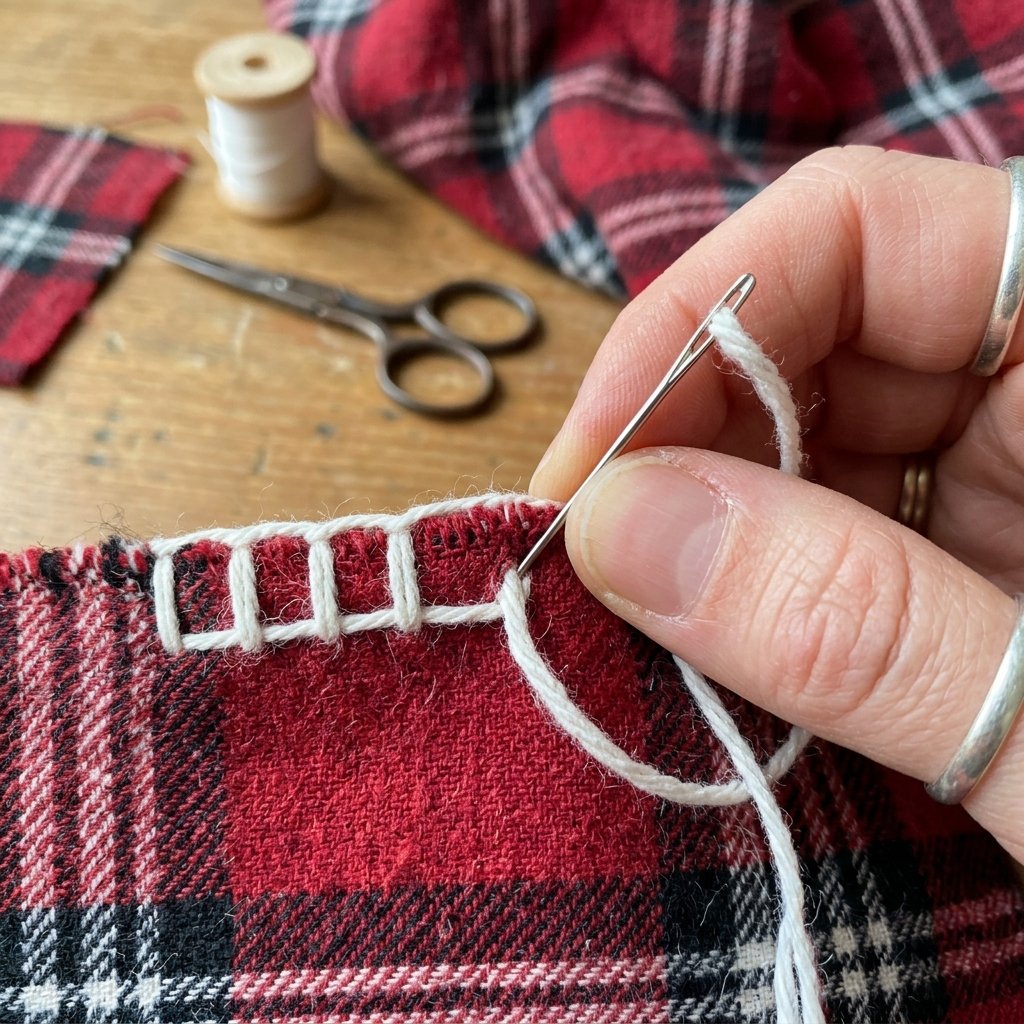
Since we are aiming for a ‘Rugged & Masculine-Elegant’ finish, we aren’t going to settle for raw, fraying edges. If you don’t have a sewing machine, don’t worry. A simple hand-stitch can be even more durable if done correctly.
The ‘Invisible’ Ladder Stitch vs. The ‘Rugged’ Blanket Stitch
- The Ladder Stitch: Perfect for a clean, professional finish where the thread is hidden inside the fold. Use this if you want the bandana to look store-bought.
- The Blanket Stitch: This is our favorite for flannel. Using a contrasting thread color (like white thread on a navy plaid), this stitch reinforces the edge while adding a decorative, hand-crafted charm.
To begin, fold the edges of your fabric triangle inward by 1/4 inch and pin them (or use paper clips if you’re in a pinch). This creates a ‘rolled hem’ that prevents the flannel from unraveling in the wash. Pro Tip: Iron the folds before stitching to get a crisp, professional line without the frustration of shifting fabric.
The Master’s Touch: Adding Functional Flair
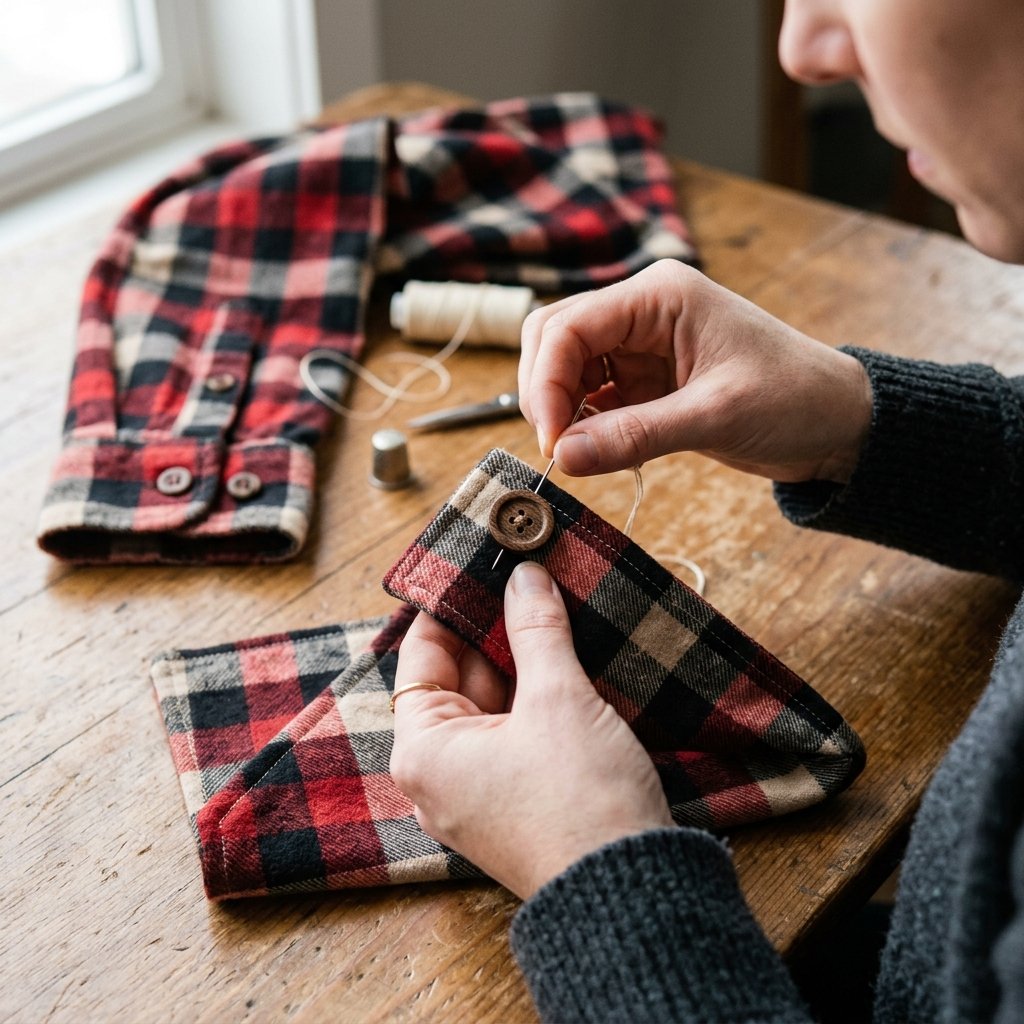
A truly clever DIYer knows that the details make the masterpiece. Since we are upcycling a shirt, we have access to a secret weapon: The Buttons. Instead of just tying the bandana (which can come undone), we are going to repurpose the shirt’s original buttons to create a secure closure.
| Closure Type | Difficulty | Durability | Best For |
|---|---|---|---|
| Traditional Tie | Easy | Medium | Small/Calm Dogs |
| Repurposed Button | Medium | High | Active/Large Dogs |
| Velcro Scraps | Easy | Low | Puppies (Quick Release) |
How to Attach the Button Closure
- Cut a small slit (buttonhole) on one wing of the bandana triangle.
- Reinforce the slit with a simple whip stitch around the edges to prevent fraying.
- Sew the button from the shirt’s cuff onto the opposite wing.
- Ensure the fit allows you to slide two fingers comfortably between the fabric and the neck.
“A button-down bandana isn’t just about style; it’s about security. It ensures your hard work stays on your pup, no matter how fast they chase that squirrel.”
Maintenance and Safety: Keeping the Style Sharp
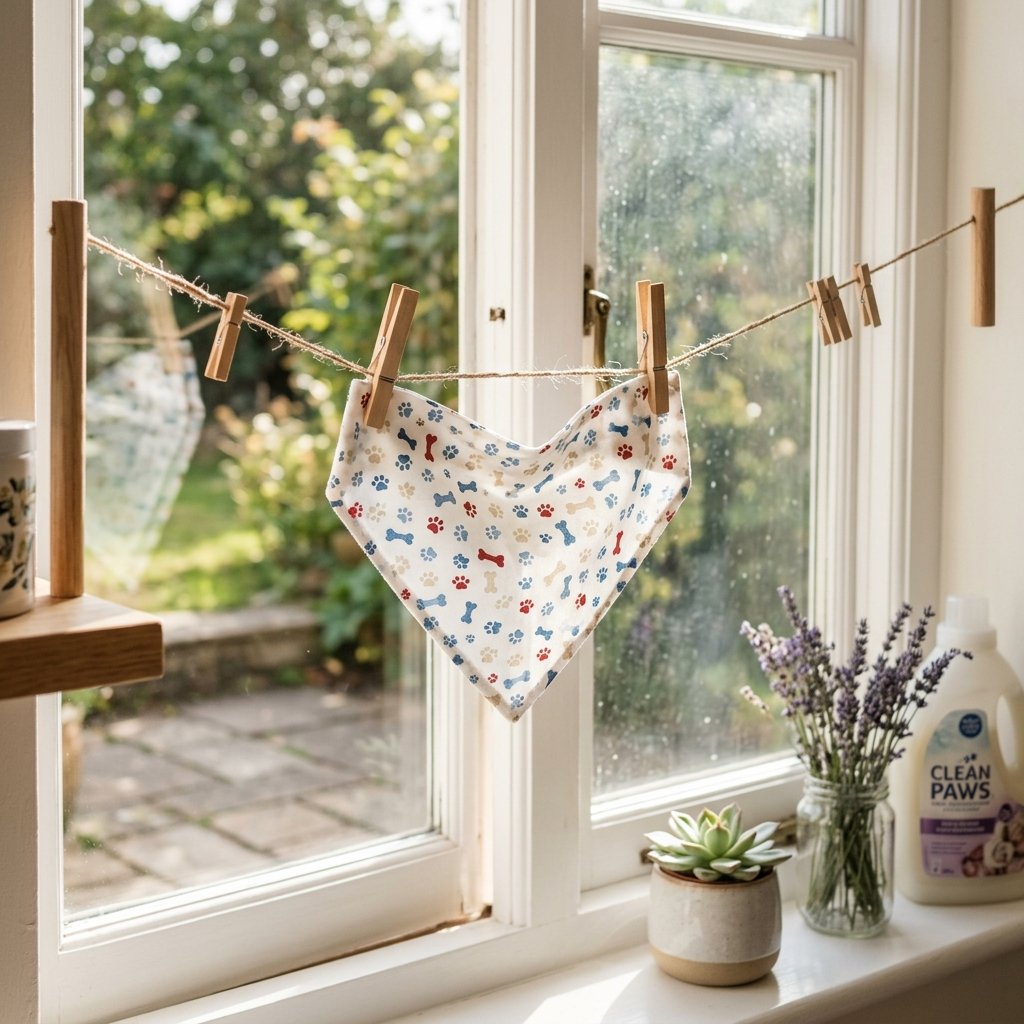
Your dog is going to get this bandana dirty—that’s a sign of a life well-lived. Because we used high-quality flannel, maintenance is simple, but there are a few rules to follow to ensure the accessory remains safe and vibrant.
- Washing: Machine wash on cold and tumble dry on low. Flannel tends to shrink, so avoiding high heat will preserve the custom fit you worked so hard to achieve.
- Safety Check: Periodically check the button or any embellishments for looseness. If your dog is a ‘chewer,’ stick to the traditional tie method to avoid any choking hazards.
- The Scent Trick: For anxious pups, rub the bandana against your own shirt before putting it on them. The familiar scent can provide comfort during thunderstorms or vet visits.
By using reinforced stitching and pre-shrunk fabric (since the shirt has likely been washed dozens of times already), your DIY bandana will actually outlast many cheap, thin polyester versions found in stores.
Conclusion
A New Life for Your Old Favorites
Congratulations! You’ve just successfully turned a piece of ‘trash’ into a treasure that your dog will wear with pride. By choosing to upcycle, you’ve saved roughly $25, kept textiles out of the landfill, and created a one-of-a-kind accessory that tells a story. This project is the epitome of being budget-savvy and resourcefully creative. Whether you’re heading to the farmer’s market or just lounging in the backyard, your pup is now the best-dressed dog on the block—and the best part? It didn’t cost you a cent. Now, take those remaining fabric scraps and see if you can’t whip up a matching keychain or a small toy. The world of upcycling is endless when you have a clever mind and a willing spirit. Happy crafting!

Makenzie is the founder and lead writer at MoneyHackTips.com — a personal finance blog dedicated to delivering street-smart financial wisdom for real people on real budgets. With 300+ published articles covering everything from debt management to investing fundamentals, Makenzie’s mission is to make every dollar work harder. When not writing about money hacks, Makenzie is testing frugal living strategies, optimizing side hustles, and helping readers build financial freedom from scratch.