
Silence the Jingle with Style
We’ve all heard it: the rhythmic, metallic clanking of a pocketful of keys that announces a person’s arrival from three hallways away. While the ‘janitor jingle’ has its own nostalgic charm, modern EDC (Everyday Carry) enthusiasts know that a silent, streamlined pocket is the hallmark of a prepared and organized individual. If you are looking for a gift that is rugged, practical, and incredibly budget-savvy, look no further than the DIY Leather Key Organizer.
In this guide, we aren’t just making a keychain; we are engineering a solution. This project is perfect for the frugal DIYer because it can be completed using scraps of leather from old belts or thrifted bags. By the time we are done, you will have a piece that rivals high-end brands like Orbitkey or Bellroy, which often retail for $40 to $60. Our cost? Under $5 if you play your cards right. Let’s dive into the world of leathercraft and create something he will actually use every single day.
The Anatomy of a Minimalist Key Organizer
Understanding the Mechanism
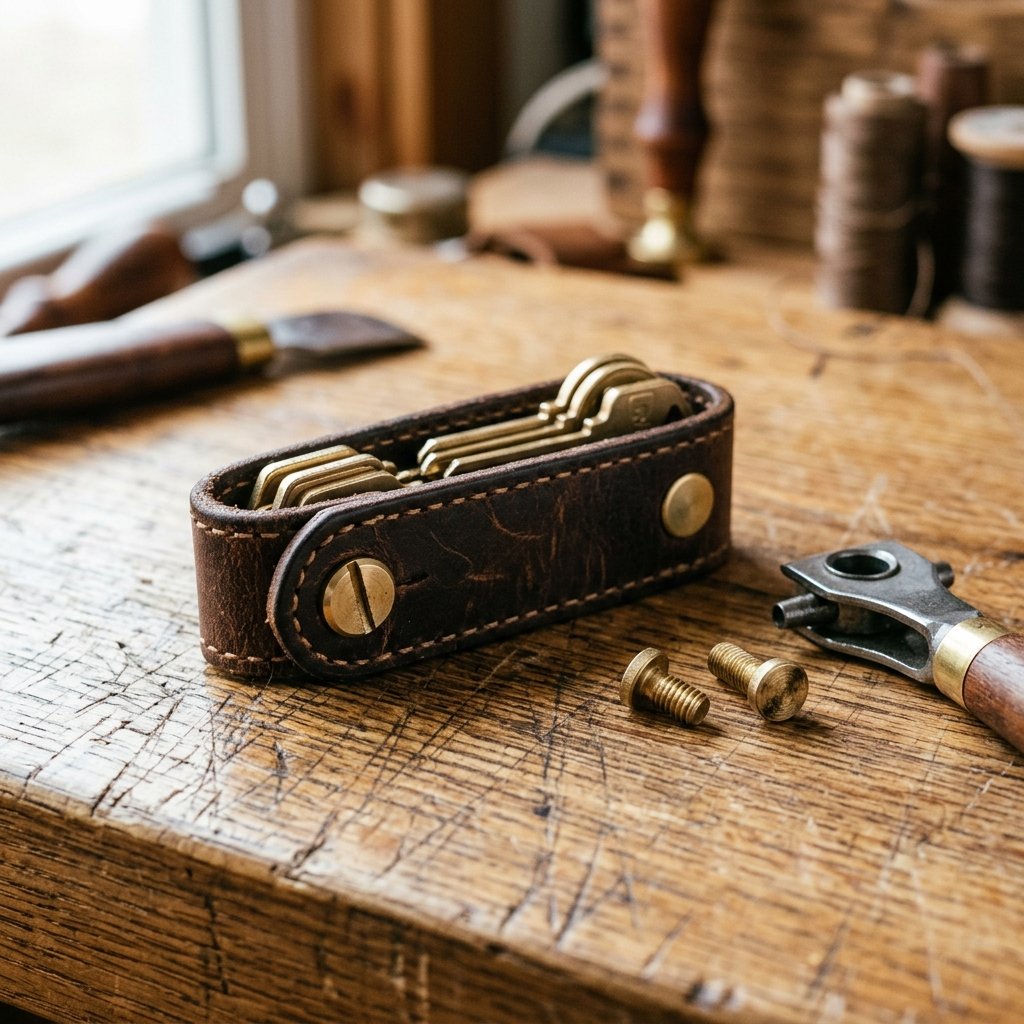
Before we start cutting, it is essential to understand how this clever device works. Unlike a traditional split ring that allows keys to flop around, the leather organizer uses a binding post (also known as a Chicago screw) to stack keys neatly between two layers of leather. This creates a friction-fit system where keys can be pivoted out like a Swiss Army knife and tucked back in to remain silent and compact.
To ensure the keys move smoothly without unscrewing the hardware, we use small nylon or rubber washers between each key. This is the ‘secret sauce’ that provides enough tension to keep keys from falling out while allowing them to glide effortlessly when needed.
| Component | Purpose | Budget Source |
|---|---|---|
| Leather Strap | Housing and protection | Old leather belt / Thrifted purse |
| Chicago Screw | The central pivot post | Hardware store / Amazon bulk |
| Nylon Washers | Friction and spacing | Plumbing aisle / Craft store |
| D-Ring (Optional) | Attachment for car fobs | Old bag hardware / Keyring scrap |
The Budget Mantra: Never buy new what you can reclaim. A $2 leather belt from a thrift store can yield enough material for five or six of these organizers.
Sourcing and Preparing Your Leather Scraps
Finding the Perfect Hide
For this project, you want leather that is 5oz to 7oz in weight (about 2mm to 2.8mm thick). If the leather is too thin, it will feel flimsy; if it is too thick, it won’t wrap around the keys comfortably. The most resourceful way to find this is to head to your local thrift shop and look for 100% genuine leather belts. Avoid ‘genuine leather’ labels that look like plastic; you want the rugged, full-grain variety that develops a beautiful patina over time.
Prepping the Material
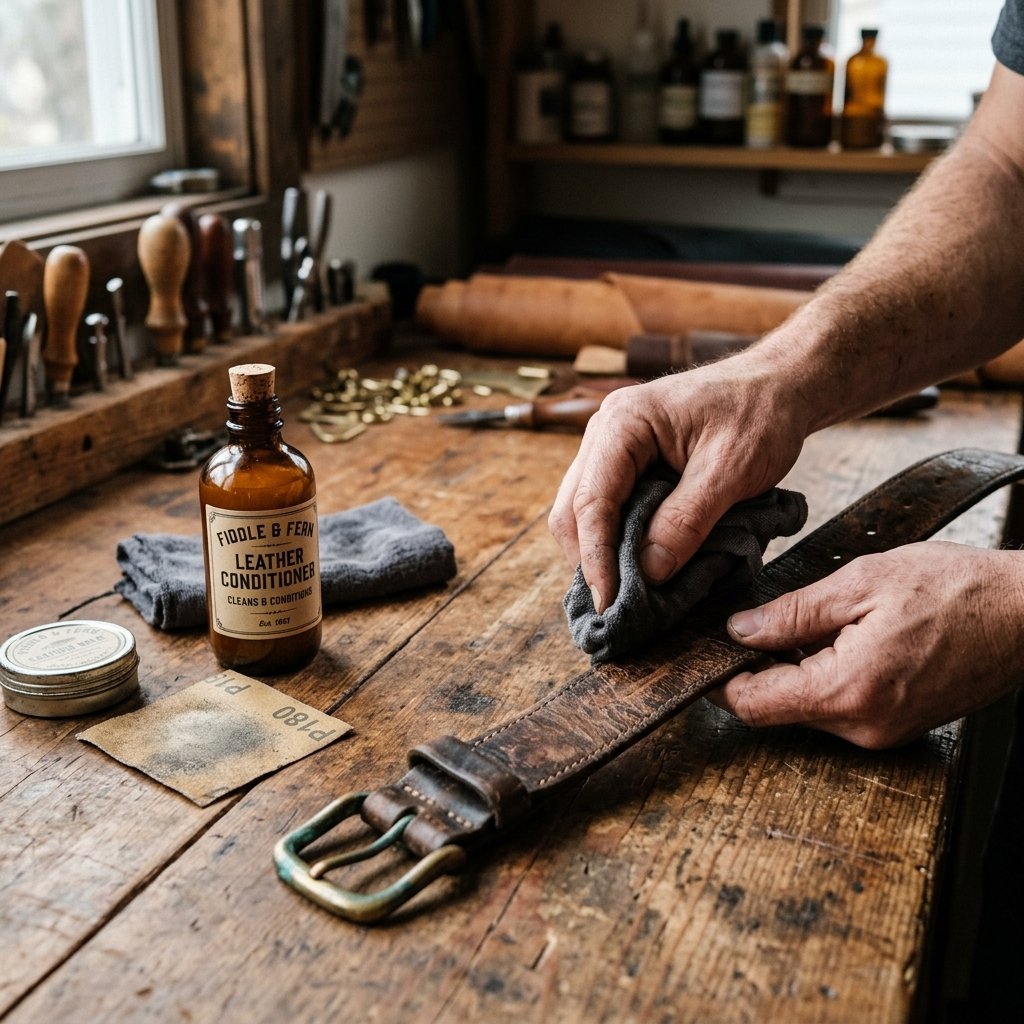
Once you have your leather, you need to clean it. A simple damp cloth with a tiny drop of mild soap will remove years of grit. If the leather feels stiff or dry, apply a small amount of olive oil or dedicated leather conditioner to bring back its suppleness. This is a crucial step for ensuring the finished gift looks masculine-elegant rather than just ‘old.’
Crafty Expert Tip: When using an old belt, try to incorporate the area near the buckle holes if they are in good shape; the pre-existing holes can sometimes save you a step in the punching process!
The Step-by-Step Construction Guide
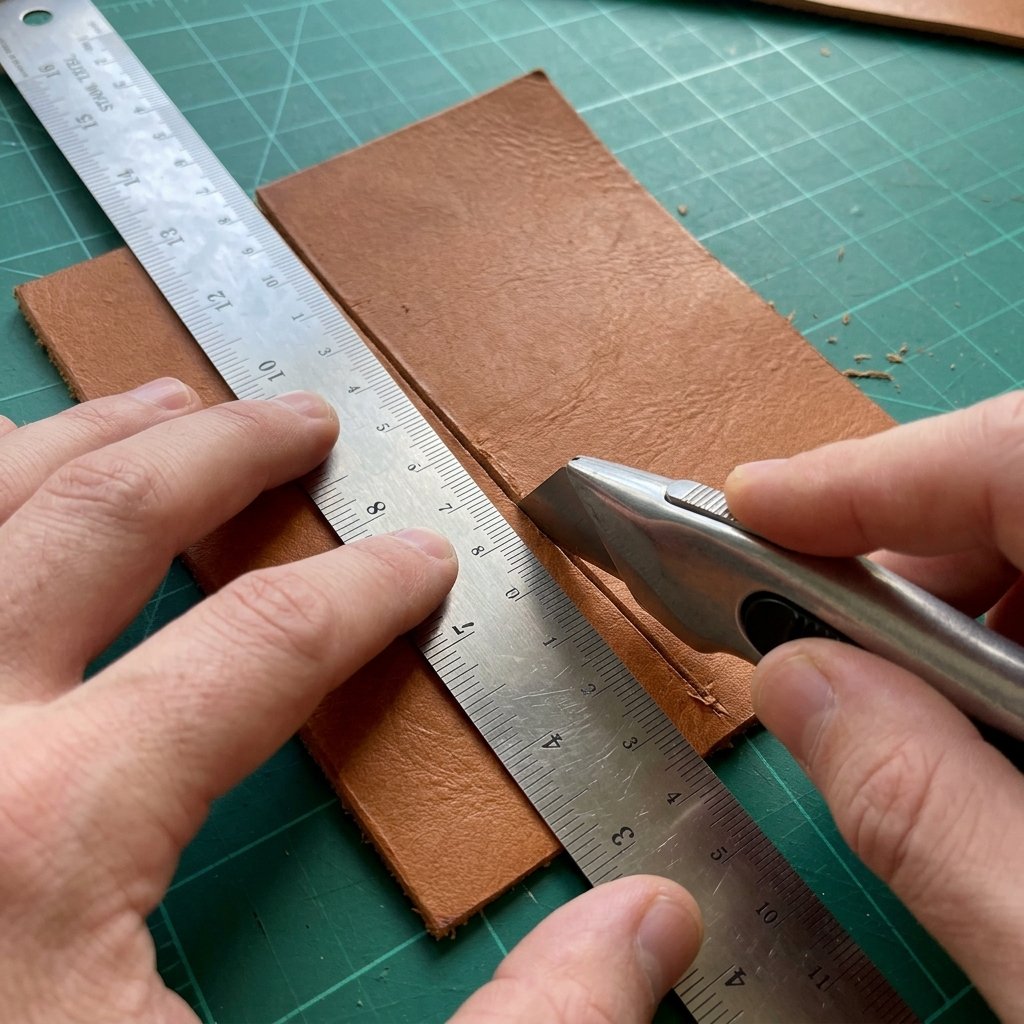
Step 1: Measuring and Cutting
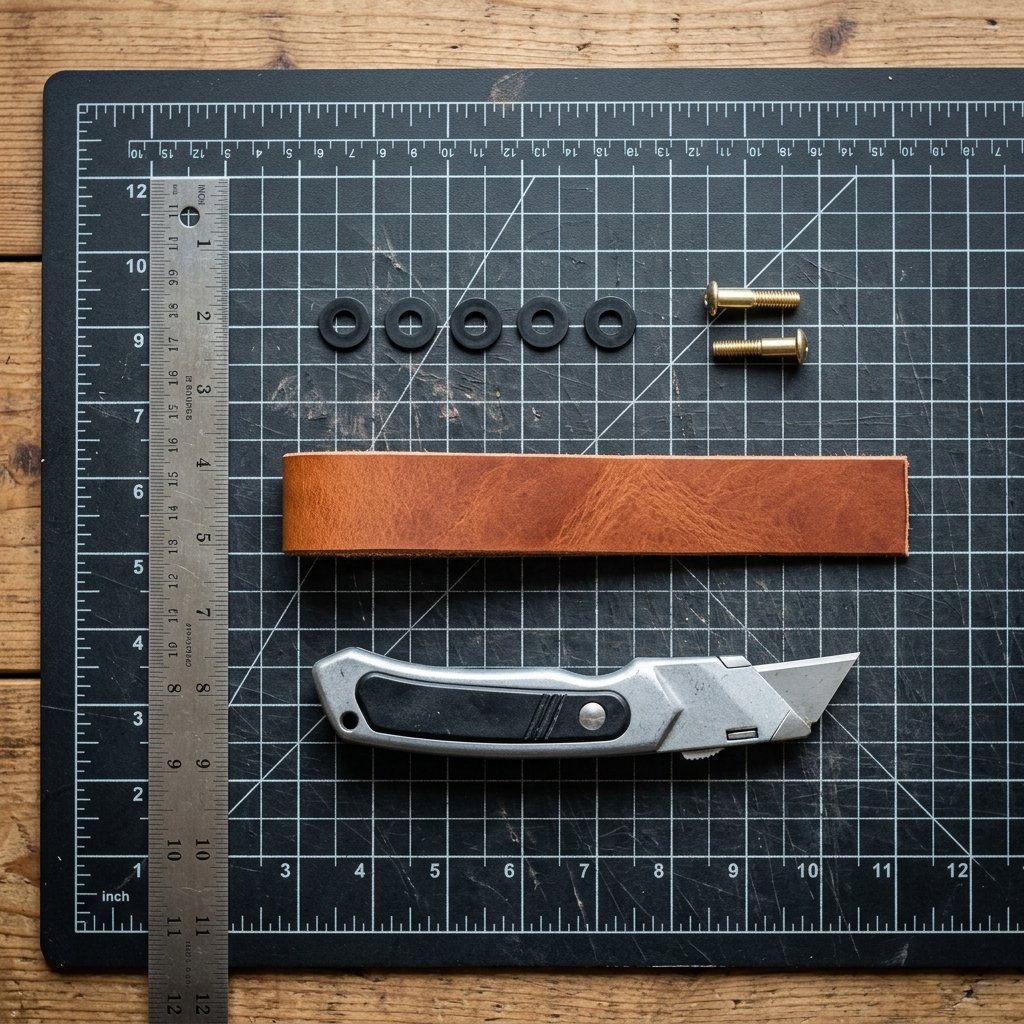
Standard keys are approximately 2 to 2.5 inches long. To accommodate the stack and the wrap-around fold, you will need a strip of leather approximately 0.75 inches wide and 6 to 7 inches long. Use a metal ruler and a very sharp utility knife to make clean, straight cuts. Precision is key here to ensure the edges look professional.
Step 2: Rounding the Ends
Square edges look unfinished. Use a small coin (like a penny or nickel) as a template to trace a curve onto the ends of your leather strip. Carefully trim the corners following the curve. This simple touch elevates the project from ‘homemade’ to ‘handcrafted.’
Step 3: Punching the Holes
You will need two holes: one at each end of the strip. Fold the strip in half to ensure the holes align perfectly. Using a rotary leather punch or a hammer-driven hole punch, create a hole that is the same diameter as your Chicago screw post (usually 3/16 inch or 5mm).
- Measure 0.5 inches from each end for the hole placement.
- Ensure the holes are perfectly centered horizontally.
- Punch firmly to get a clean exit on the back of the leather.
Step 4: Burnishing the Edges (The Pro Secret)
To get those smooth, shiny edges seen on designer goods, dampen the edges of the leather with a little water or wood slicker. Rub the edge vigorously with a piece of canvas or a smooth wooden dowel. The friction generates heat, which seals the fibers and creates a professional, high-end finish.
Assembly and Customization
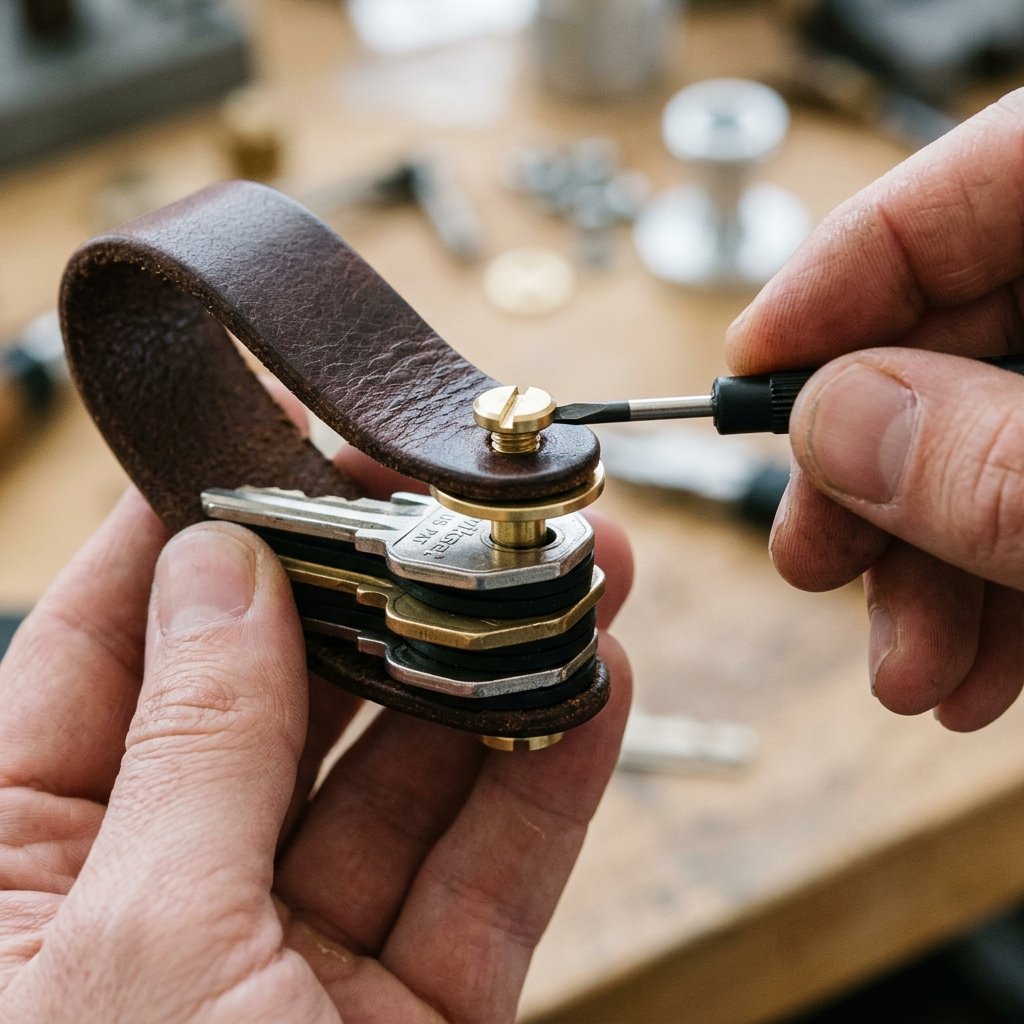
The Perfect Stack
Now comes the satisfying part: assembly. This is where you can customize the tension to the recipient’s preference. Follow this specific order for the best results:
- Insert the female end of the Chicago screw through one side of the leather.
- Slide on a nylon washer.
- Slide on your first key.
- Add another nylon washer (repeat this for every key).
- Once all keys are loaded, add a final washer and fold the leather over.
- Insert the male screw and tighten with a flathead screwdriver.
Personalization for Gifting
To make this a truly thoughtful Father’s Day or birthday gift, consider stamping his initials into the leather. You can buy a cheap set of letter stamps for $10, which will last for hundreds of projects. Dampen the leather slightly, place the stamp, and give it one firm strike with a hammer. The result is a permanent, elegant mark of ownership.
| Feature | DIY Method | Added Value |
|---|---|---|
| Initials | Letter Stamps | High personalization |
| Car Fob Loop | Add a small D-Ring | Increases utility |
| Color | Leather Dye or Oil | Custom aesthetic |
| Edge Detail | Contrast Stitching | Rugged, artisanal look |
Cost Comparison: DIY vs. Store-Bought
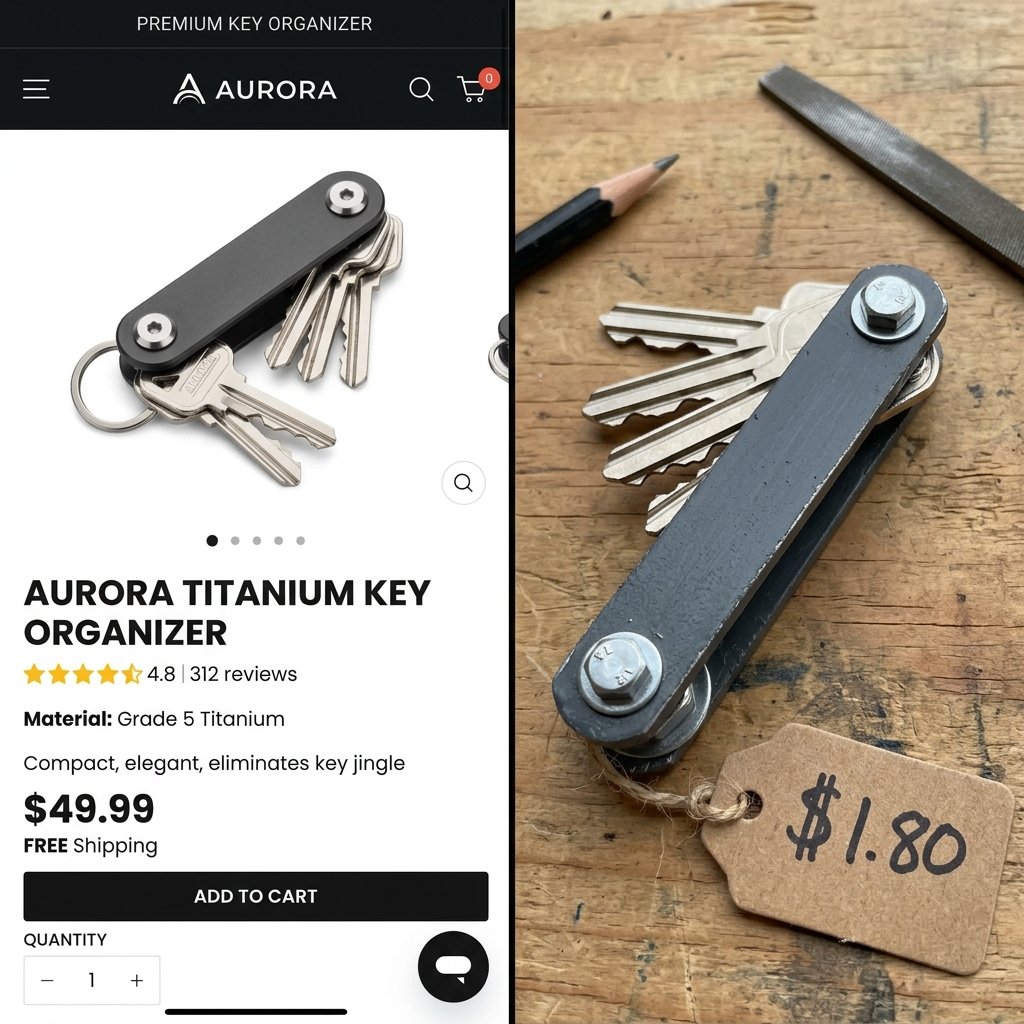
Why Being Resourceful Pays Off
When you choose to craft this yourself, you aren’t just saving money; you are gaining a skill. However, the financial savings are undeniable. Let’s look at the breakdown of making this versus buying a premium version online.
| Item | Retail Brand Price | DIY Budget Cost |
|---|---|---|
| Leather Organizer | $43.00 | $0.50 (Scrap) |
| Hardware | Included | $1.20 (Bulk purchase) |
| Washers | Included | $0.10 |
| Shipping/Tax | $7.00 | $0.00 |
| Total | $50.00 | $1.80 |
By following this tutorial, you are effectively saving over 95% of the retail cost. This allows you to spend that saved money on other parts of a gift, like a nice bottle of bourbon or a high-quality pocket knife to accompany the new silent keys.
Safety Note: When using sharp utility knives or leather punches, always cut away from your body and keep fingers clear of the punch zone. If the leather is very thick, multiple light passes with the knife are safer than one heavy, forced cut.
Conclusion
The Ultimate Everyday Carry Upgrade
Crafting a DIY Leather Key Organizer is more than just a weekend project; it’s a testament to the power of resourceful creativity. You’ve taken simple materials—perhaps even something destined for the trash—and transformed them into a rugged, masculine-elegant accessory that solves a real-world problem. Whether you are making this for yourself to enjoy a silent morning walk or gifting it to a handy dad who appreciates quality gear, the result is the same: a high-end product born from budget-savvy ingenuity.
Remember, the beauty of leather is that it only gets better with age. As this organizer spends years in a pocket, it will soften, darken, and tell the story of the person who carries it. Go forth and craft, knowing you’ve saved money without sacrificing a shred of style.

Makenzie is the founder and lead writer at MoneyHackTips.com — a personal finance blog dedicated to delivering street-smart financial wisdom for real people on real budgets. With 300+ published articles covering everything from debt management to investing fundamentals, Makenzie’s mission is to make every dollar work harder. When not writing about money hacks, Makenzie is testing frugal living strategies, optimizing side hustles, and helping readers build financial freedom from scratch.