
The Art of the Smoke: Why Crafting Beats Buying
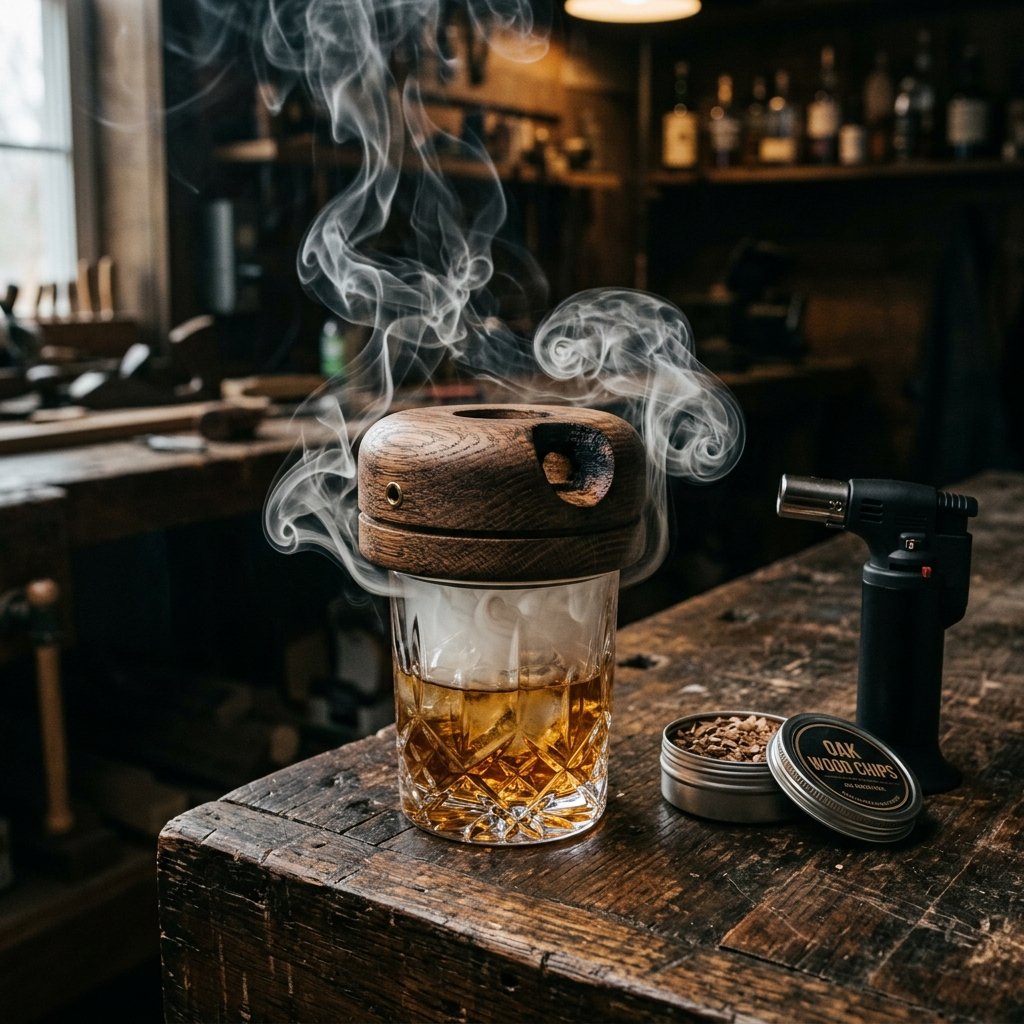
There is something undeniably primal and sophisticated about the aroma of charred oak mingling with the caramel notes of a fine bourbon. In recent years, cocktail smoking kits have exploded in popularity, often retailing for anywhere between $100 and $300 at high-end department stores. But here is a secret that the luxury brands do not want you to know: the most effective whiskey smoker is not a piece of overpriced plastic or branded gadgetry. It is a simple, elegant piece of hardwood that you can craft in your own garage or workshop for less than the price of a single cocktail at a fancy lounge.
As a resourceful DIYer, you know that the best gifts are not just bought; they are forged with intention. This project is the ultimate trifecta of gift-giving: it is rugged, it is practical, and it is budget-savvy. Whether you are building this for a Father’s Day surprise, a groomsman gift, or a centerpiece for your own home bar, you are about to save 90% compared to retail prices while creating a tool that produces a superior flavor profile. Let us roll up our sleeves and turn a simple scrap of wood into a professional-grade smoking engine.
The goal is not just to smoke the drink, but to honor the spirit. A DIY smoker allows you to control the wood type, the char level, and the presentation, making every sip a custom experience.
The Blueprint of Savings: Materials and Cost Comparison
Sourcing Your Components Like a Pro
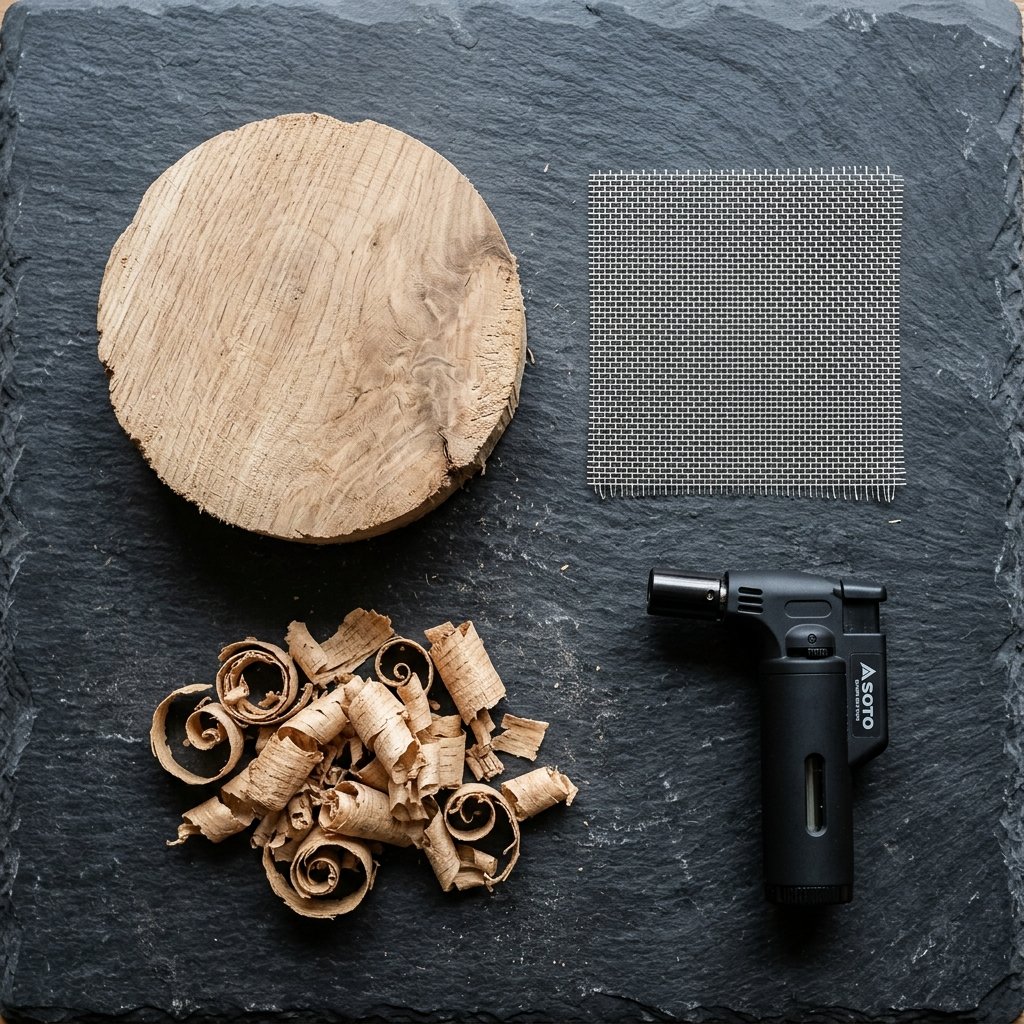
To build a high-end smoker kit, you do not need a factory. You need a trip to the local lumber yard (or your own scrap pile) and a quick visit to the hardware store. The core of the kit is the smoker chimney, which sits atop the glass. Traditionally made from white oak or cherry, these woods provide the best aromatic qualities when scorched. Below is a breakdown of how your DIY efforts will keep your wallet heavy while your glass stays full.
| Component | Retail Kit Price | DIY Cost |
|---|---|---|
| Hardwood Smoker Base | $45.00 | $0.00 (Scrap) |
| Stainless Steel Mesh Filters | $15.00 | $0.75 |
| Aromatic Wood Chips (4 types) | $40.00 | $2.00 |
| Butane Culinary Torch | $65.00 | $12.00 |
| Presentation Gift Box | $30.00 | $1.25 (Dollar Tree) |
| Total Investment | $195.00 | $16.00 |
By sourcing these items individually and crafting the base yourself, you are achieving a 92% savings. That is money you can now spend on a much higher quality bottle of whiskey to go with the kit!
Step-by-Step Construction: Forging the Smoker Chimney
Precision Cutting and Shaping
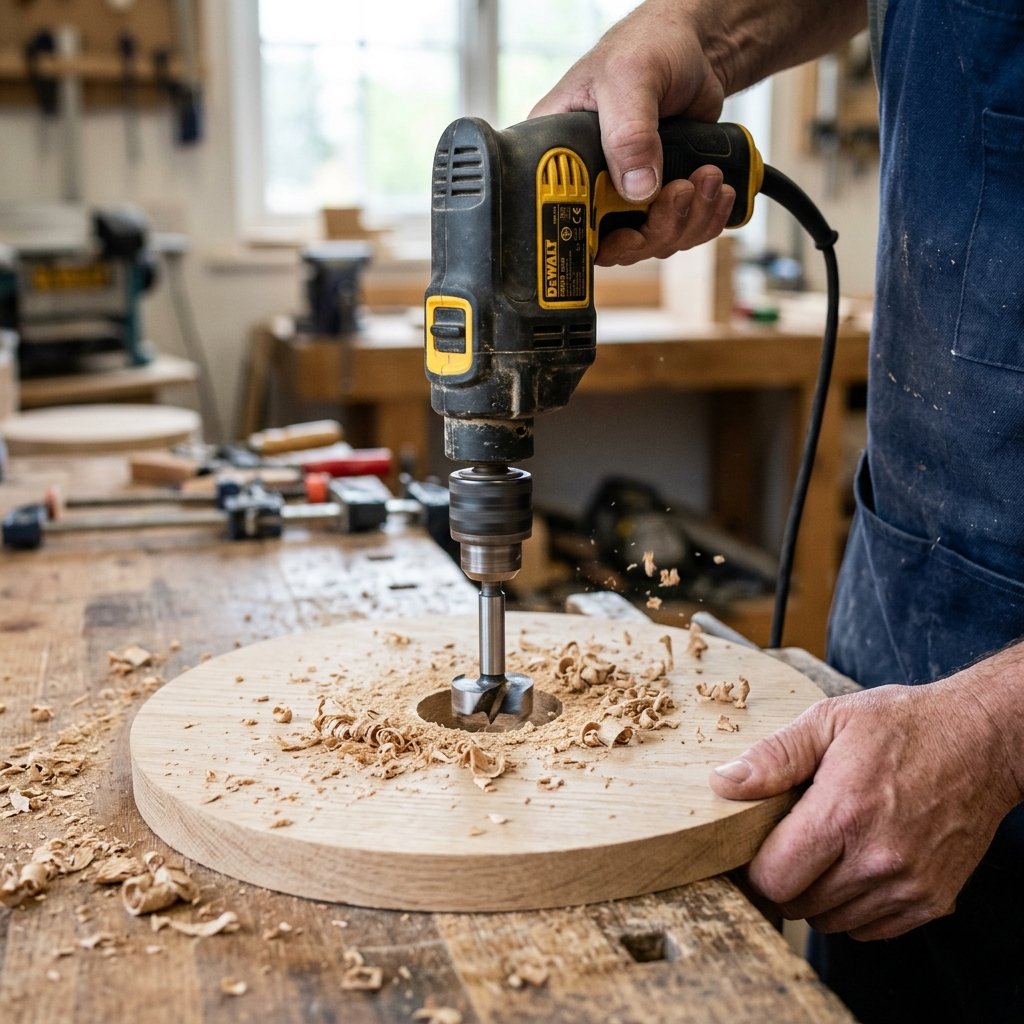
The smoker chimney is the heart of the operation. It needs to be wide enough to sit securely on a standard rocks glass (usually 3 to 3.5 inches in diameter) and have a tapered hole in the center to hold the wood chips and the mesh filter. Follow these steps for a perfect build:
- Select Your Wood: Use a dense hardwood like White Oak, Cherry, or Walnut. Avoid softwoods like pine or cedar, as they contain resins that taste terrible when burned.
- Cut the Round: Using a 3.5-inch hole saw or a jigsaw, cut a circular puck from a 1-inch thick board.
- The Center Bore: Use a 1-inch Forstner bit to drill a hole halfway through the center of your puck. This creates the ‘bowl’ for the wood chips.
- The Smoke Passage: Switch to a 1/4-inch drill bit and drill all the way through the center of that bowl. This allows the smoke to travel down into the glass.
- Sand to Perfection: Use 120-grit then 220-grit sandpaper to smooth the edges. Do not use any chemical stains or finishes on the wood, as these will release toxic fumes when the torch hits the wood.
Safety Note: Always wear eye protection when using power tools, and ensure your wood is untreated and ‘food-safe’ in its raw state. Never use pressure-treated lumber.
The Filter and the Flame: Perfecting the Combustion
Installing the Stainless Mesh
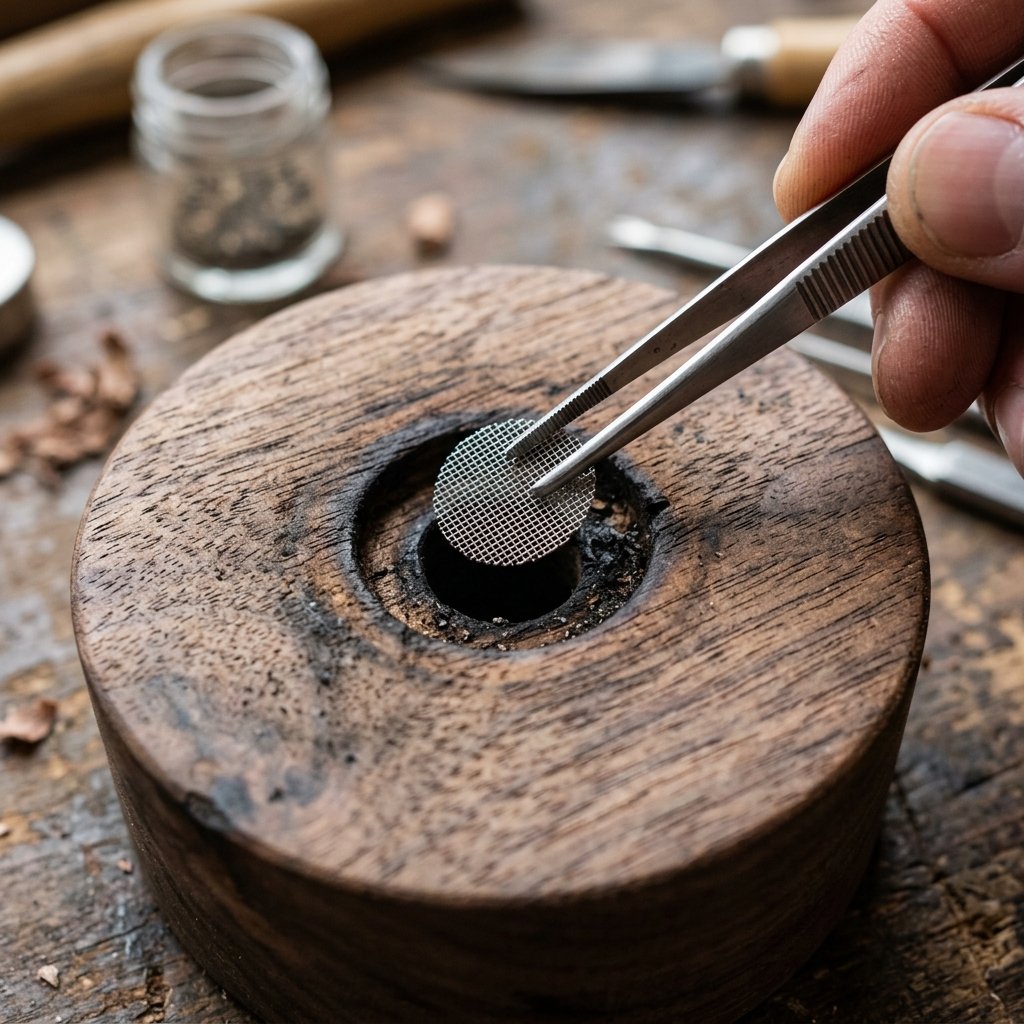
To prevent ash from falling into your expensive bourbon, you need a filter. You can buy 3/4-inch stainless steel pipe screens in bulk for pennies. These fit perfectly into the 1-inch hole you bored earlier. Simply press the screen into the bottom of the center hole. It should sit snugly against the ledge where the 1-inch hole meets the 1/4-inch passage.
Selecting the Torch
You do not need a professional welding torch. A simple butane culinary torch (often found in the baking aisle or at hardware stores) is perfect. Look for one with an adjustable flame and a safety lock. When gifting, ensure you include a small canister of triple-refined butane to ensure a clean, odorless burn that won’t taint the flavor of the smoke.
Flavor Profiles: Making Your Own Gourmet Wood Chips
Harvesting Aromatic Smoke
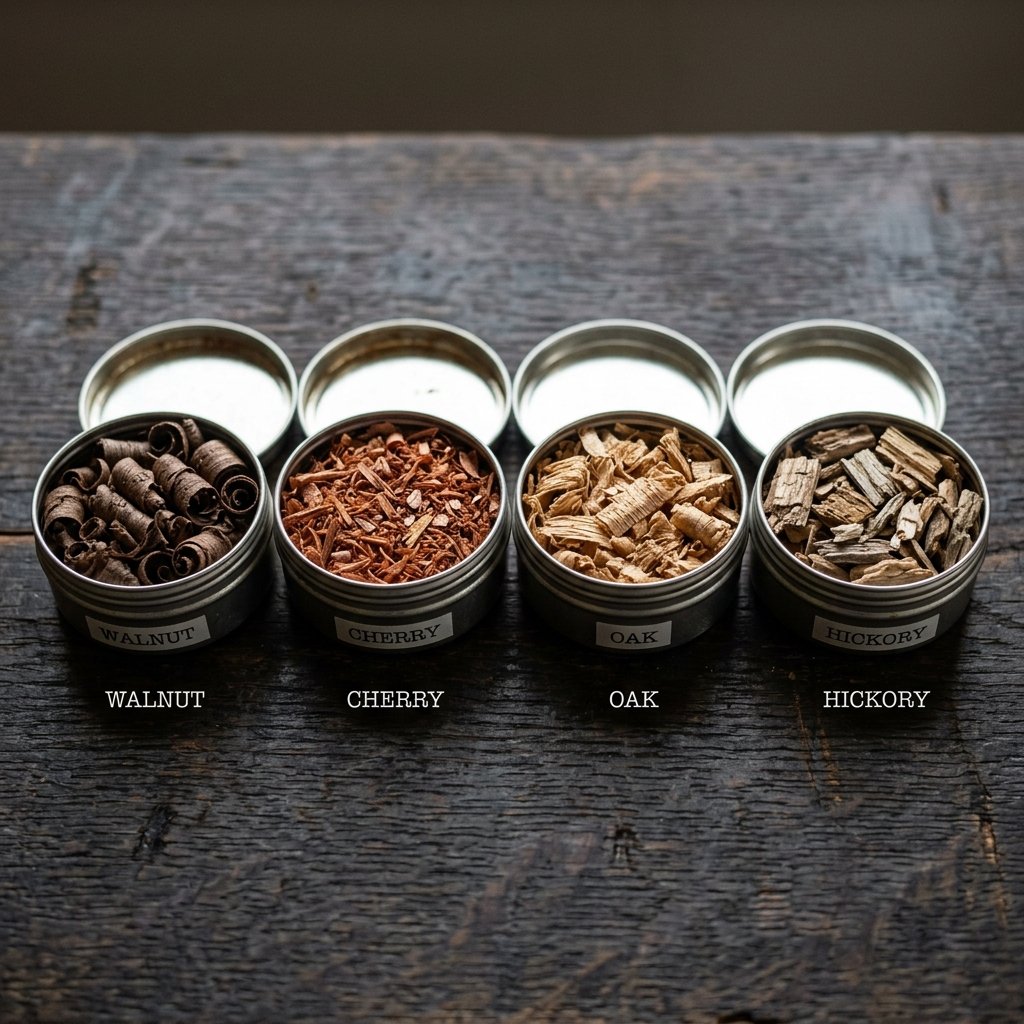
Instead of buying tiny tins of wood chips for $10 each, you can make a lifetime supply from a single piece of firewood or a fallen branch from your backyard. The key is the ‘shave.’ Use a hand plane or a cheese grater to create thin curls of wood. These thin shavings ignite instantly and produce more smoke than thick chunks.
| Wood Type | Flavor Profile | Best Paired With |
|---|---|---|
| Oak | Classic, Vanillin, Toasty | Bourbon, Rye Whiskey |
| Cherry | Sweet, Fruity, Delicate | Light Scotch, Gin Cocktails |
| Hickory | Bold, Bacon-like, Intense | Heavy Peated Scotch, Mezcal |
| Maple | Mild, Sweet, Mellow | Old Fashioneds with Maple Syrup |
Dry your shavings in a low oven (200 degrees F) for 20 minutes to ensure all moisture is removed. Store them in small 2-ounce aluminum tins for a professional look.
The Presentation: Packaging a Masculine-Elegant Gift
Creating the ‘Boutique’ Experience
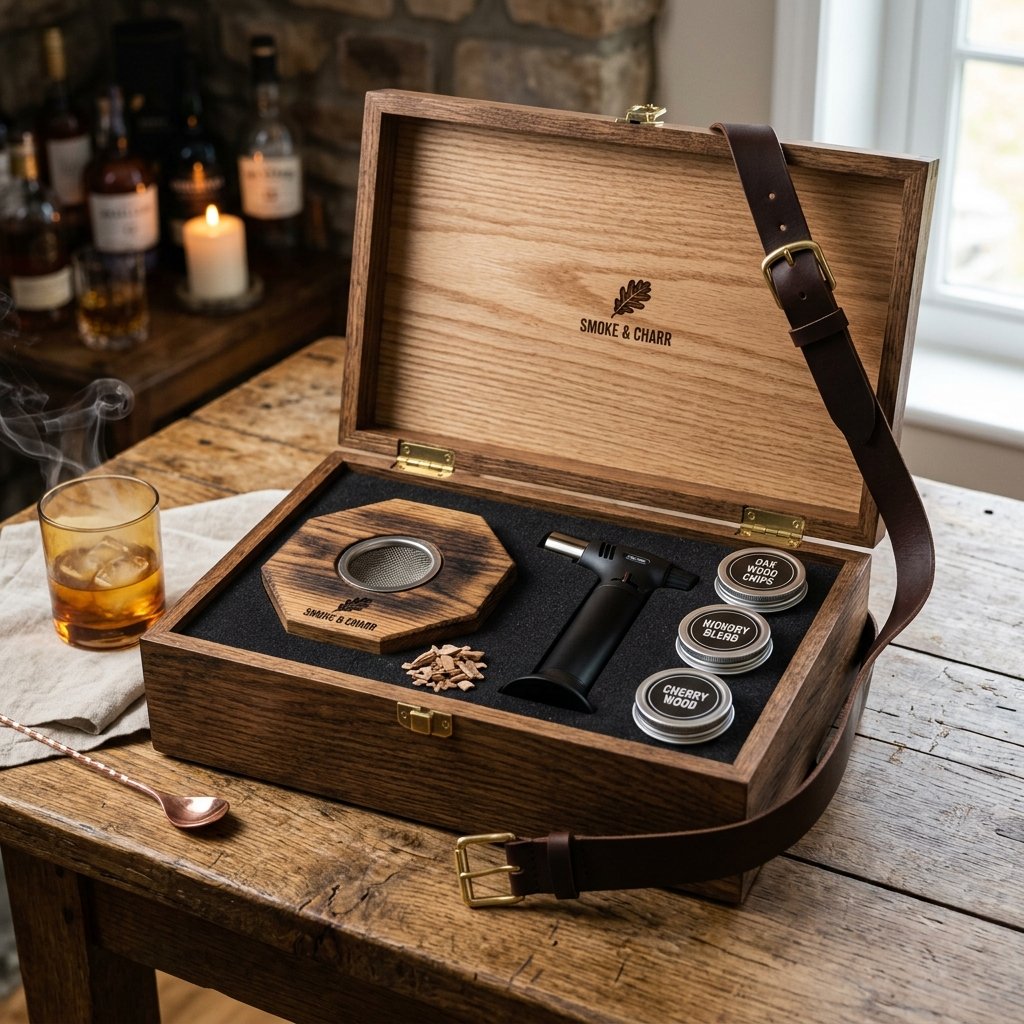
To make this look like a $200 boutique find, presentation is everything. Head to the craft aisle or a dollar store and find a sturdy wooden or cardboard box. Line it with black wood wool or shredded brown kraft paper. Arrange the smoker base, the torch, and three tins of your custom wood chips inside. For the final touch, add a hand-stamped leather tag or a simple printed instruction card on heavy cardstock.
Instruction Card Text: ‘Place smoker on glass. Fill with chips. Torch for 5 seconds until smoke fills the glass. Cap with the lid and let sit for 30 seconds. Enjoy the infusion.’
This level of detail transforms a simple DIY project into a heirloom-quality gift that any man would be proud to display on his bar cart.
Conclusion
The Reward of the Resourceful Maker
By following this guide, you have not only created a stunning, functional piece of barware but also mastered the art of budget-savvy craftsmanship. You have taken $15 worth of materials and turned them into a $200 experience. The ‘Ultimate DIY Whiskey Smoker Kit’ is more than just a gift; it is a testament to the idea that with a little creativity and a rugged DIY spirit, luxury is within reach for everyone.
Now, pour a glass of your favorite spirit, ignite those cherry wood shavings, and watch the smoke dance. You have earned it. Cheers to your craft!

Makenzie is the founder and lead writer at MoneyHackTips.com — a personal finance blog dedicated to delivering street-smart financial wisdom for real people on real budgets. With 300+ published articles covering everything from debt management to investing fundamentals, Makenzie’s mission is to make every dollar work harder. When not writing about money hacks, Makenzie is testing frugal living strategies, optimizing side hustles, and helping readers build financial freedom from scratch.