
There is something inherently timeless about the marriage of leather and the outdoors. For the fly fisherman, gear isn’t just equipment; it is a collection of stories, memories of cold mornings on the river, and the quiet satisfaction of a well-placed cast. If you are looking for a gift that screams rugged elegance without screaming at your bank account, a DIY leather fly fishing wallet is the gold standard. Unlike plastic fly boxes that crack or clatter, a leather wallet ages with grace, developing a patina that mirrors the angler’s journey. In this guide, we are going to channel our inner master craftsman to create a piece that looks like it cost $150 at a boutique outfitter, but can be made for a fraction of that using resourceful sourcing and a little elbow grease.
The Anatomy of a High-End Fly Wallet
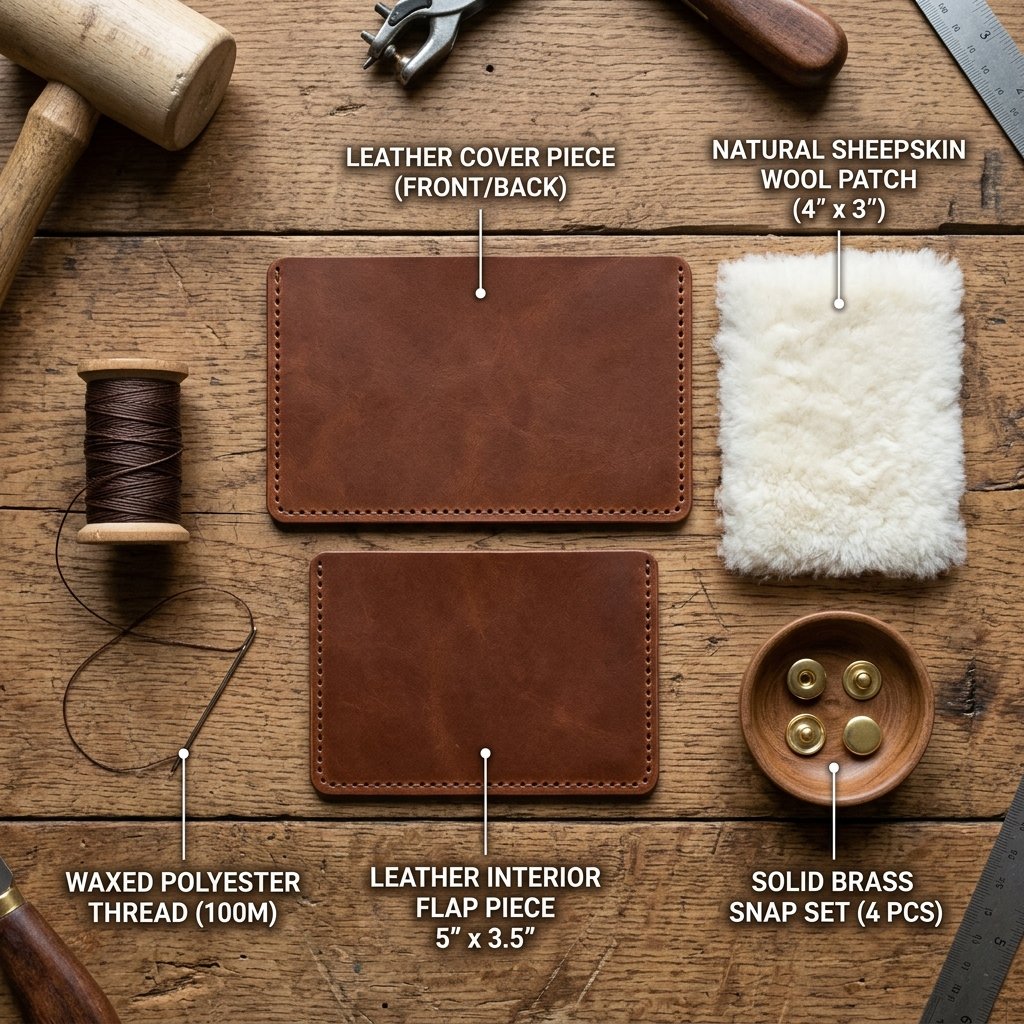
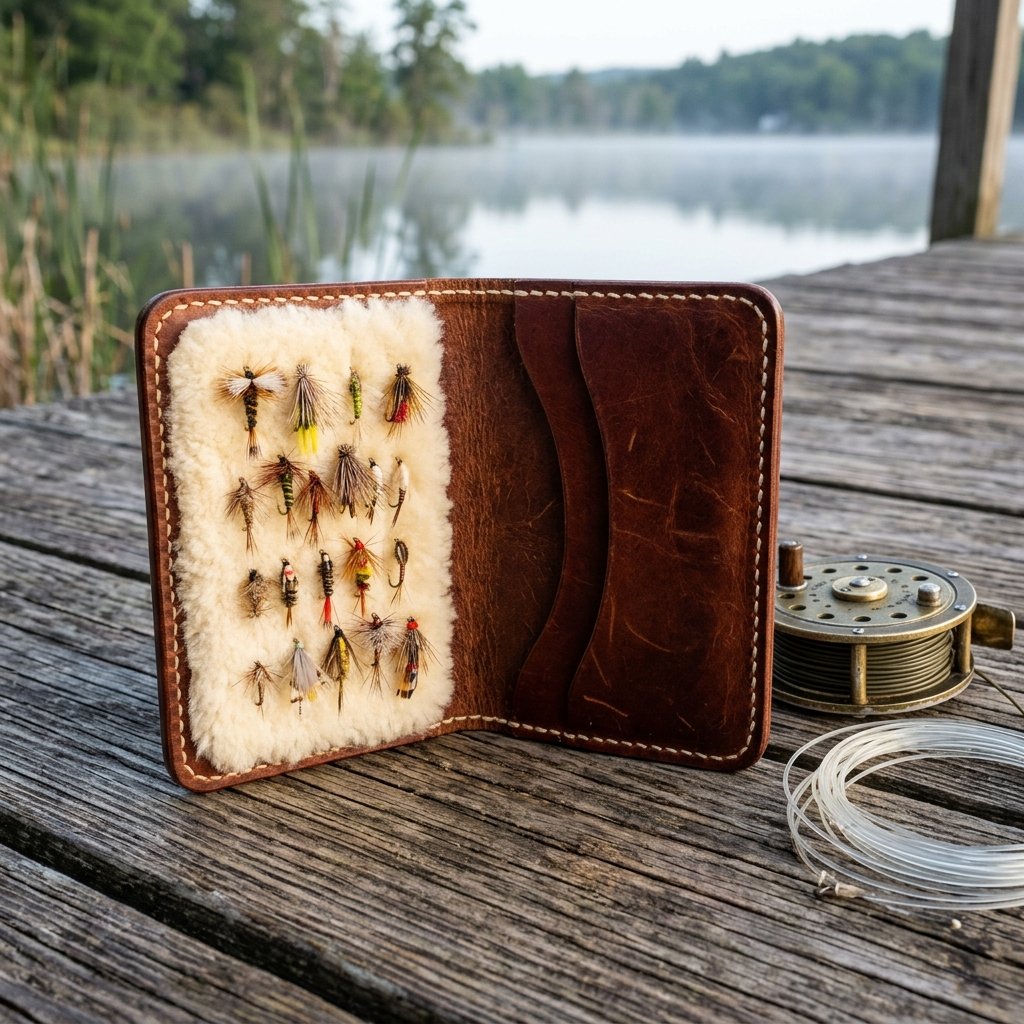
Before we cut into our materials, we need to understand why this specific design is so beloved by anglers. A fly wallet isn’t just a pouch; it is a functional tool designed to protect delicate feathers and hooks while remaining compact enough to slip into a vest pocket. Most commercial versions use cheap synthetic liners, but we are going for the luxury standard: real sheepskin or high-density wool felt.
Key Features to Include:
- Durable Exterior: A 4oz to 6oz vegetable-tanned leather provides the necessary structure and protection.
- Sheepskin Lining: The natural oils in wool help prevent hook corrosion, and the fibers hold flies securely without the ‘memory’ issues of foam.
- Leader Pockets: A clever addition of internal pockets to hold extra fishing line (leaders and tippets).
- Secure Closure: A heavy-duty brass snap or a simple leather wrap cord to ensure nothing is lost mid-stream.
Sourcing Materials: The Frugal Guru’s Secret Stash
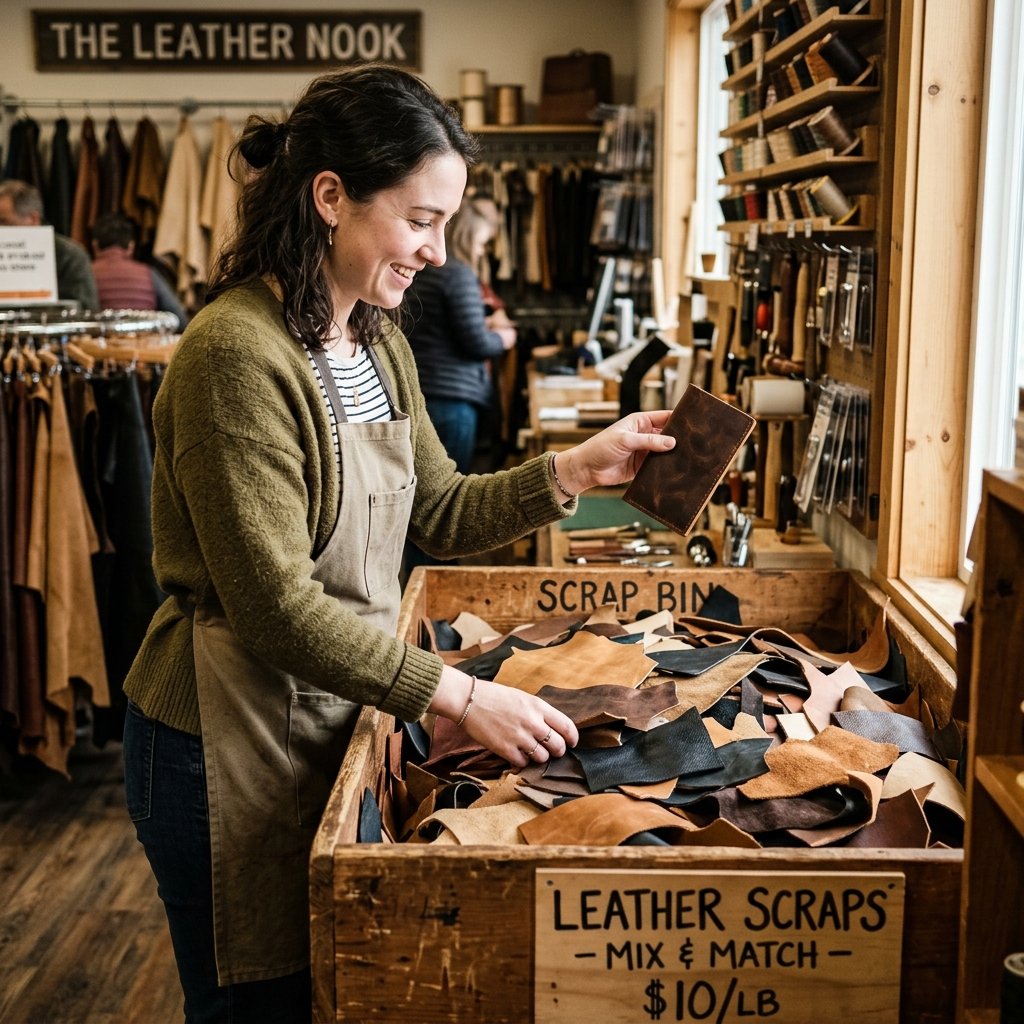
The biggest hurdle for leatherworking is often the cost of the hide. However, the resourceful crafter knows that you don’t need a full cowhide for a project this size. A fly wallet typically requires less than 1 square foot of leather. You can often find ‘scrap bags’ at craft stores or local upholstery shops for under $10.
Budget Comparison: DIY vs. Boutique
| Item | Boutique Store Price | DIY Frugal Method |
|---|---|---|
| Leather Material | $45.00 | $5.00 (Scraps/Thrifted) |
| Lining (Sheepskin) | $25.00 | $3.00 (Wool Felt or Reclaimed) |
| Labor/Craftsmanship | $80.00 | $0.00 (Your Skill!) |
| Total Cost | $150.00 | $8.00 |
The secret to a high-end look on a low-end budget is in the edges. A well-burnished edge makes a $5 scrap of leather look like a $100 heirloom.
Step-by-Step Construction: From Raw Hide to Rugged Accessory
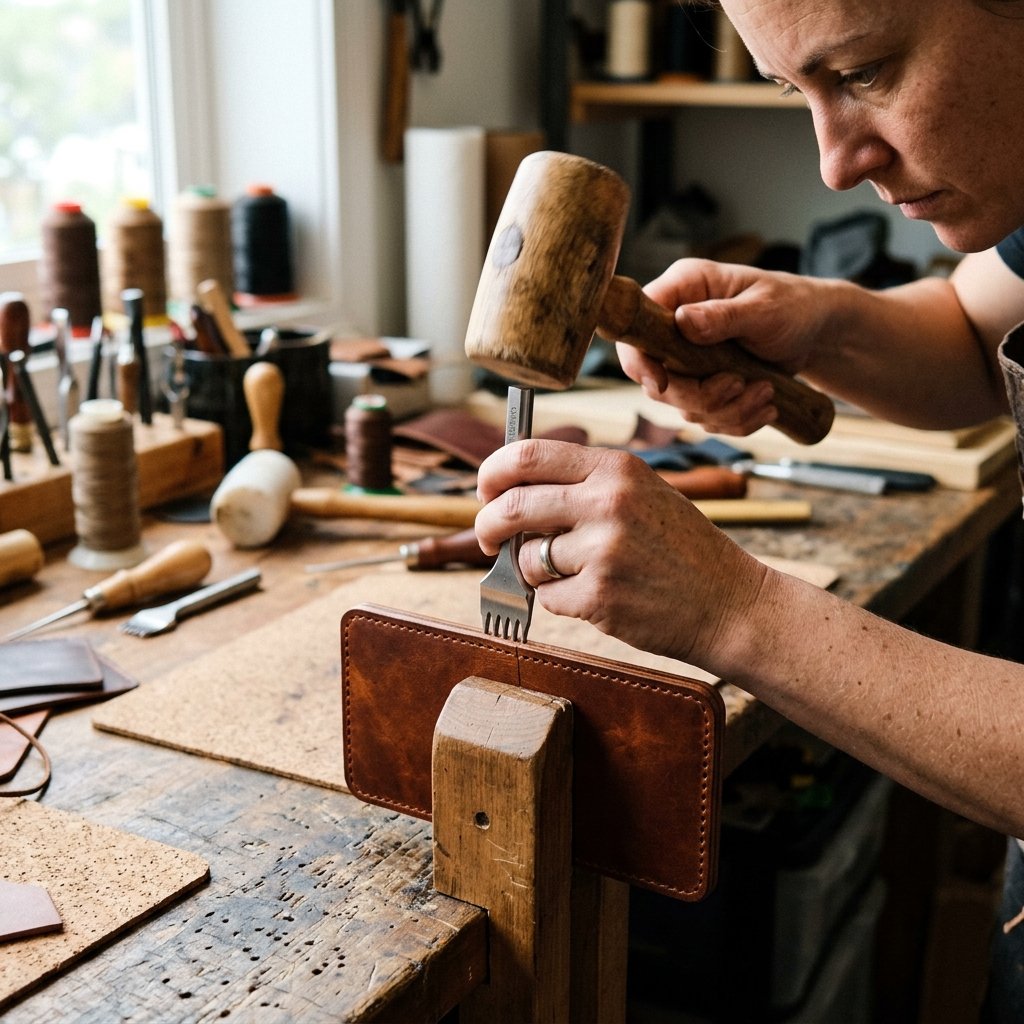
Ready to get your hands dirty? Follow these steps to assemble your masterpiece. Accuracy is your best friend here, so measure twice and cut once!
- Cutting the Template: Cut two rectangles from your leather. The outer shell should be 4 inches by 6 inches. The inner liner (if using a second thin layer of leather for pockets) should be 3.75 inches by 5.75 inches.
- Prepping the Wool: Cut your sheepskin or wool felt to be 0.5 inches smaller than your outer shell on all sides. This ensures the wool doesn’t get caught in your stitching line.
- Gluing (The Temp Hold): Use a tiny amount of contact cement around the very edges of the wool and the leather to hold them in place before sewing. Wait 5 minutes for the glue to become tacky before pressing together.
- Punching Stitch Holes: Using a stitching chisel or a 1/16th drill bit, mark holes every 4mm along the perimeter. Keep your line straight—this is where the ‘masculine-elegant’ aesthetic comes from.
- The Saddle Stitch: Use two needles and one long piece of waxed thread. This ‘figure-eight’ stitch is nearly impossible to unravel, making it far superior to machine sewing.
Safety First: When using sharp awls or rotary cutters, always cut away from your body and keep your fingers clear of the stitching pony’s grip.
The Art of the Finish: Burnishing and Waterproofing
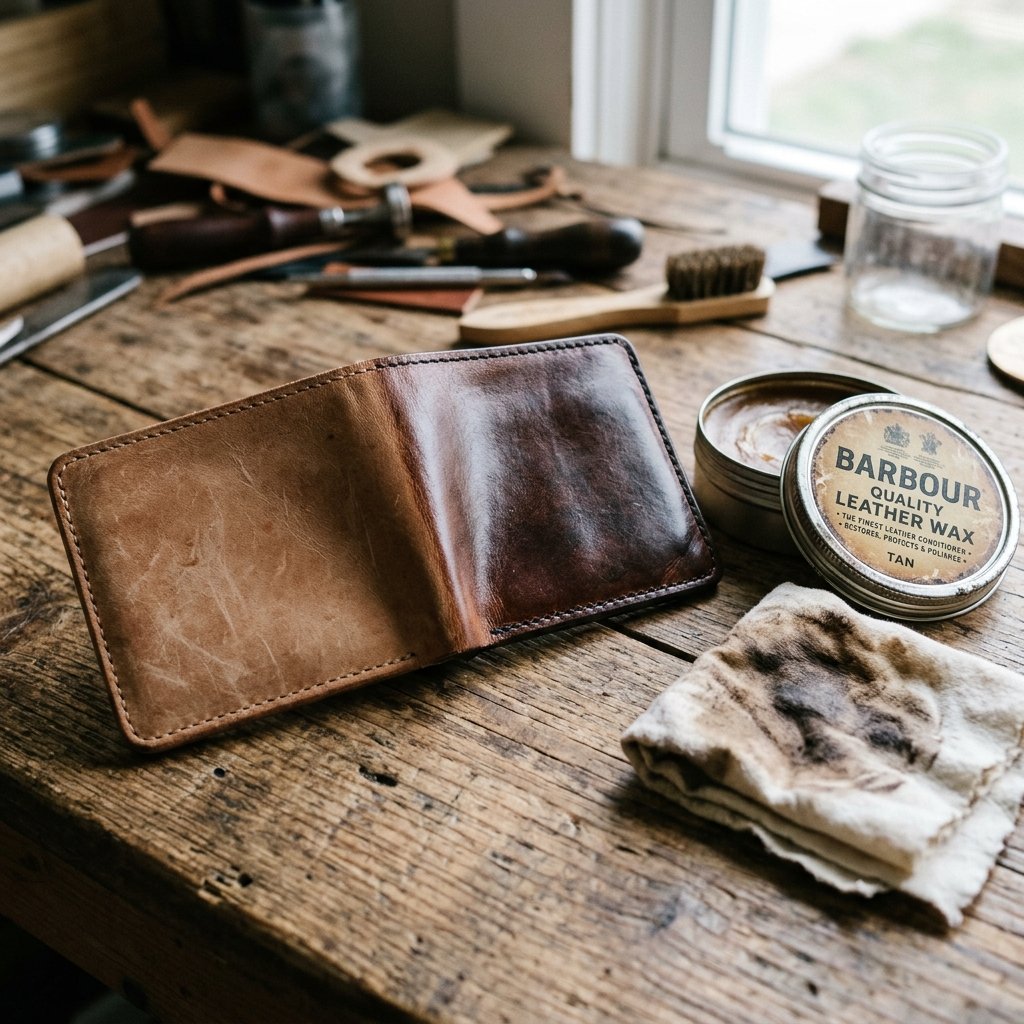
An outdoorsman’s gear is going to get wet. To ensure this gift lasts for decades, we must seal the leather and finish the edges. This is what separates the amateurs from the pros.
The 3-Step Finishing Process:
- Edge Beveling: Use a small beveling tool (or sandpaper) to round off the sharp corners of the leather edges.
- Burnishing: Rub the edges vigorously with a wooden slicker and a bit of water or beeswax. The friction generates heat, which melts the fibers together into a glass-like finish.
- Waterproofing: Apply a generous coat of mink oil or a homemade beeswax/linseed oil blend. This darkens the leather slightly and creates a water-resistant barrier that is essential for river life.
Expect the waterproofing process to take about 24 hours to fully cure and soak into the pores of the hide.
Personalization: Making It a Legacy Gift
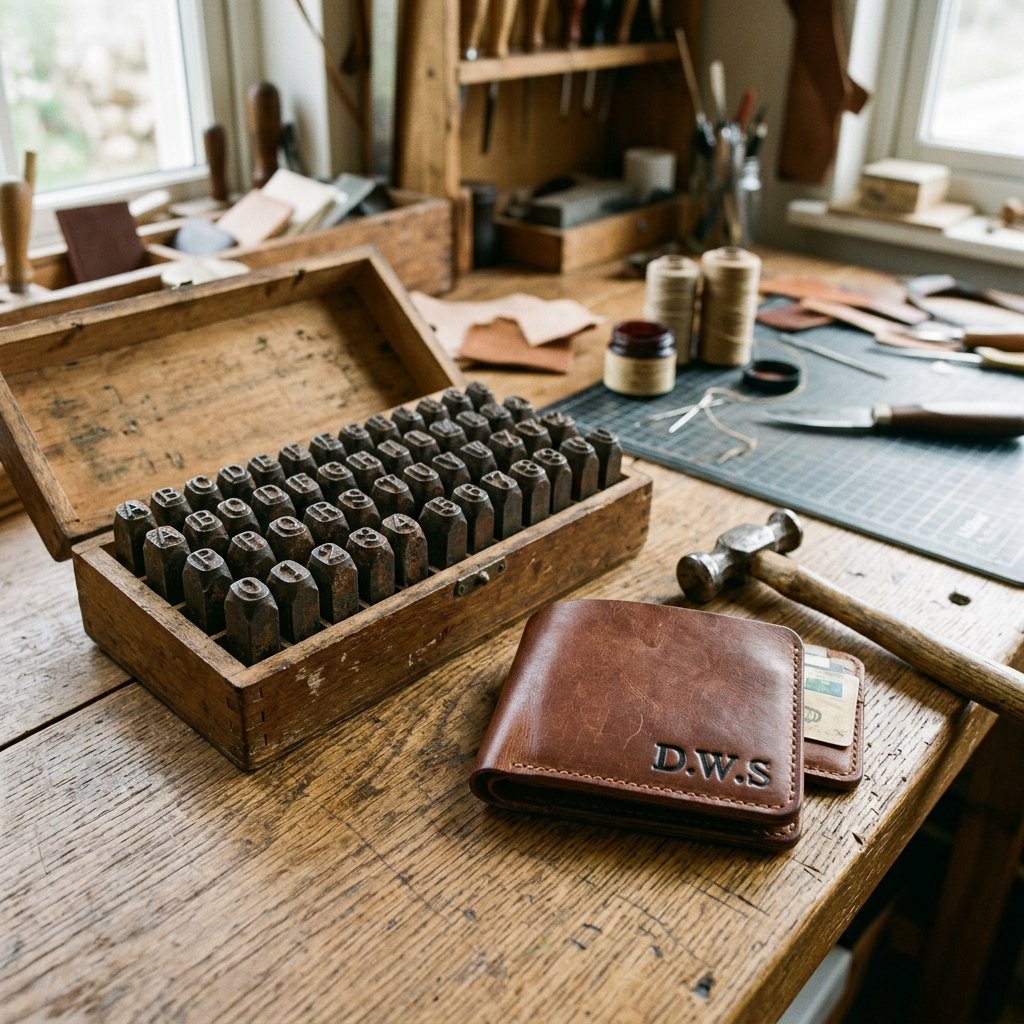
What makes this the ‘best personal gift’ isn’t just the utility; it’s the customization. Since you are the maker, you can add details that no factory ever could.
Customization Ideas:
- Initials: Use a metal stamping set to emboss the recipient’s initials into the bottom right corner of the front cover.
- The ‘First Fly’ Addition: If you really want to win at gift-giving, hook a hand-tied fly into the wool before wrapping it.
- Custom Thread: Use a high-contrast thread (like cream thread on dark leather) for a bold, rugged look, or matching thread for a sleek, sophisticated feel.
Conclusion
Building a leather fly fishing wallet is more than just a DIY project; it is an act of creation that honors the tradition of the sport. By choosing to make this yourself, you’ve saved over $100, upcycled materials that might have gone to waste, and created a functional piece of art that will likely outlive any store-bought alternative. Whether it’s for Father’s Day, a birthday, or ‘just because,’ this wallet carries the weight of your effort and the spirit of the outdoors. Now, grab your scraps, sharpen your blades, and start crafting—the river is calling!

Makenzie is the founder and lead writer at MoneyHackTips.com — a personal finance blog dedicated to delivering street-smart financial wisdom for real people on real budgets. With 300+ published articles covering everything from debt management to investing fundamentals, Makenzie’s mission is to make every dollar work harder. When not writing about money hacks, Makenzie is testing frugal living strategies, optimizing side hustles, and helping readers build financial freedom from scratch.