
The Luxury Aesthetic Without the Luxury Price Tag
We have all been there: scrolling through high-end home decor sites, spotting a stunning solid marble vanity tray, and then seeing the price tag of $85 to $150. It is enough to make any frugal decorator’s heart sink. But what if I told you that for less than the price of a fancy latte, you could recreate that exact look using items from your local dollar store? This isn’t just a craft; it is a strategic home-styling maneuver. By combining a bit of resourcefulness with the right technique, we are going to transform a humble plastic or wood tray into a piece that looks like it was carved from a quarry in Carrara, Italy. Whether you are a rugged DIYer looking to organize your EDC (Everyday Carry) or a budget-savvy decorator styling a guest bath, this hack is your ticket to a sophisticated space on a $5 budget.
The Blueprint: Comparing the High-End Look vs. Our Budget Build
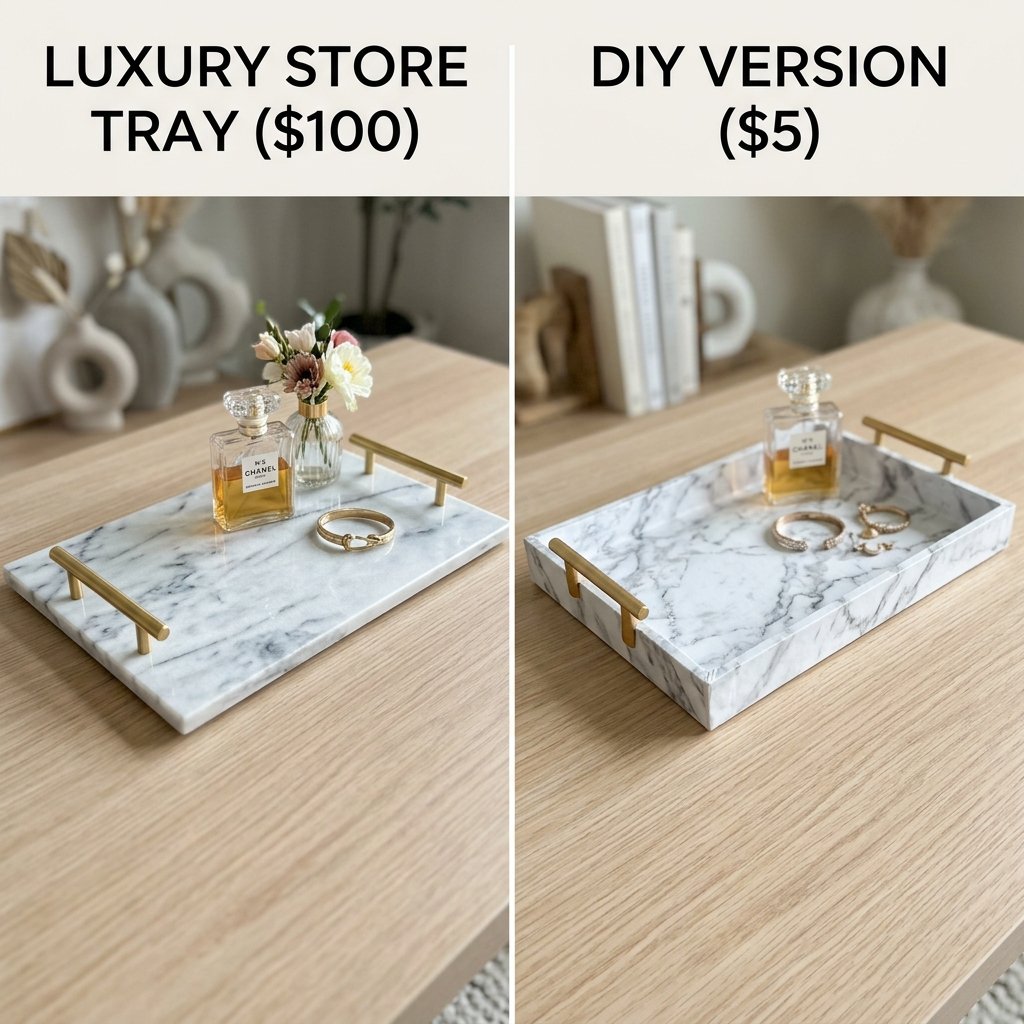
Before we dive into the ‘how-to,’ let’s look at the ‘why.’ In the world of interior design, marble represents timeless elegance and weight. However, real stone is heavy, porous, and expensive. Our DIY version uses a high-quality vinyl contact paper with a matte or gloss finish to mimic the visual depth of real stone without the maintenance or the cost. Below is a breakdown of how our project stacks up against the big-box retailers.
| Feature | Retail Store Marble Tray | DIY Dollar Store Faux Marble Tray |
|---|---|---|
| Cost | $65.00 – $120.00 | $3.75 – $5.00 |
| Weight | Heavy (3-5 lbs) | Lightweight (Under 1 lb) |
| Durability | Fragile/Stains easily | Water-resistant/Wipeable |
| Customization | Limited to stock | Infinite (Choose your vein pattern) |
| Time to Create | Shipping time (3-7 days) | 15 – 20 minutes |
“Budget Decorating Mantra: Never pay for the label when you can manufacture the look with your own two hands and a little bit of grit.”
The Treasure Hunt: Gathering Your $5 Arsenal
Sourcing the Perfect Base
The secret to a convincing faux stone look is the shape of the base tray. Look for a tray at the Dollar Tree that has clean, straight lines. Avoid overly ornate scalloped edges, as these are much harder to wrap with vinyl. A simple rectangular plastic serving tray or a wooden ‘DIY’ tray from the craft aisle works best.
The Material List
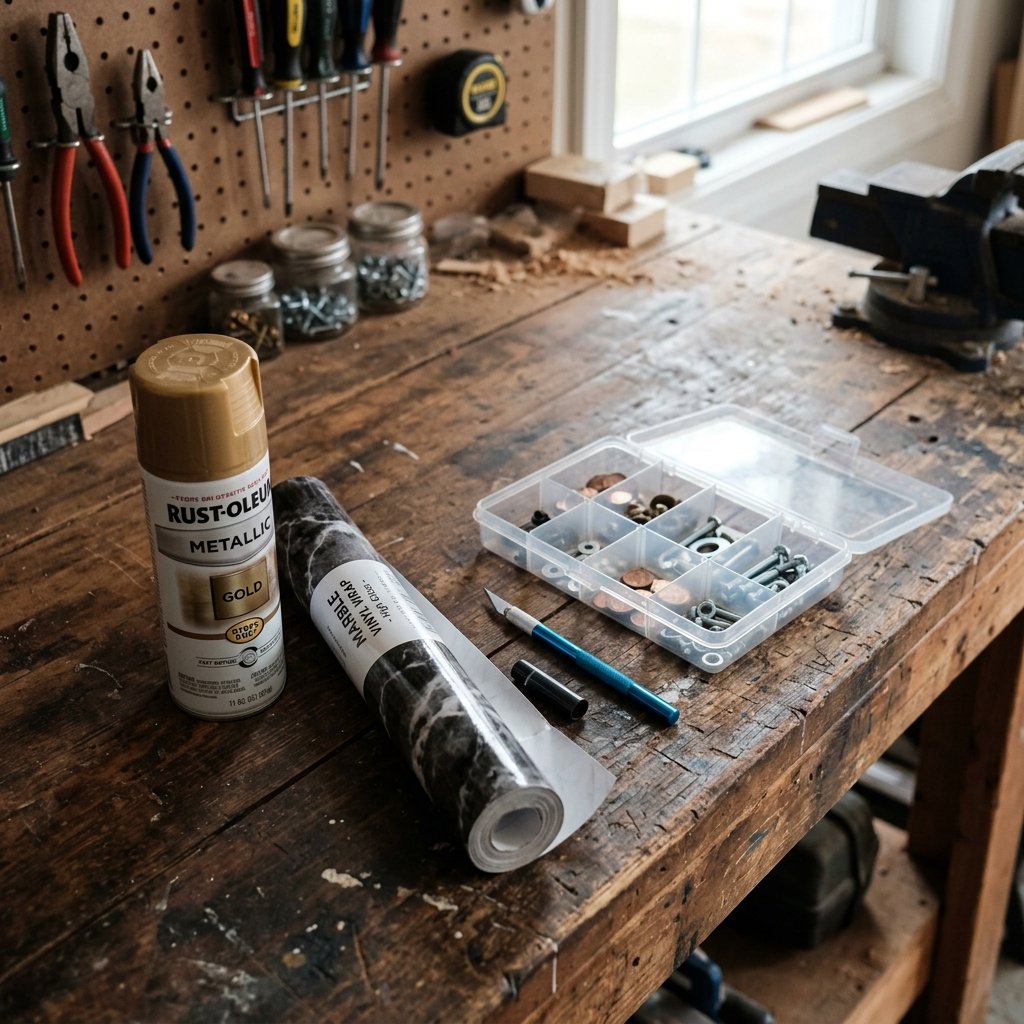
- 1 Plastic or Wood Tray: Found in the kitchen or craft aisle ($1.25).
- 1 Roll of Marble Contact Paper: Look for patterns with subtle grey veining rather than high-contrast blacks for a more realistic look ($1.25).
- 1 Utility Knife or X-Acto Blade: For precision trimming ($1.25).
- A Smoothing Tool: An old credit card or a plastic scraper works perfectly (FREE).
- Optional: Metallic Spray Paint: For the handles or edges ($1.25).
Total project cost: $3.75 to $5.00. You are saving over 95% compared to buying new!
The Master’s Method: Step-by-Step Application
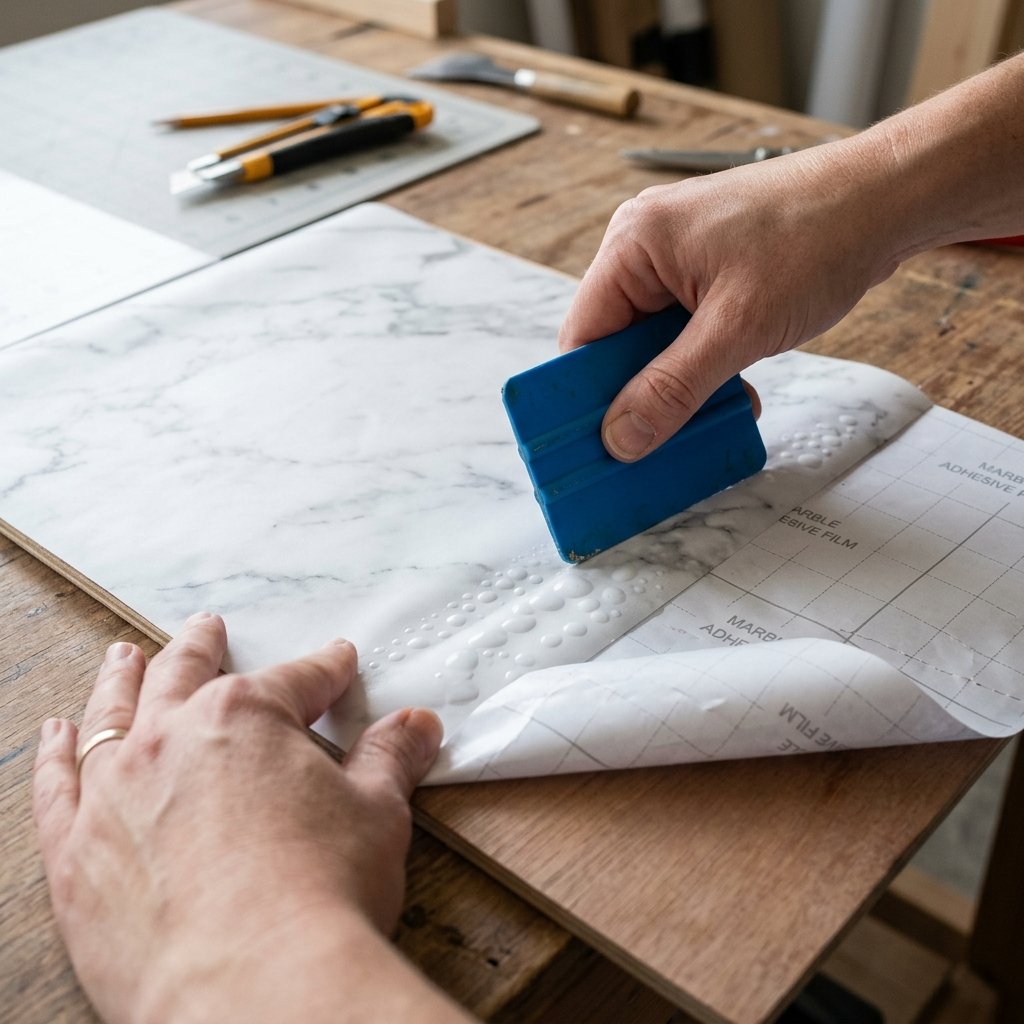
Step 1: Prep the Surface
Clean your tray thoroughly with rubbing alcohol. Any dust, oils, or fingerprints will prevent the adhesive from sticking properly. If your tray has handles you don’t want covered, now is the time to mask them off with painter’s tape or spray paint them a contrasting gold or matte black.
Step 2: Measure and Oversize
Place your tray on the back of the contact paper. Most contact paper has a grid on the back. Cut a piece that is at least 2 inches wider than your tray on all sides. This ‘bleed’ area is crucial for wrapping the edges cleanly.
Step 3: The ‘Slow-Peel’ Technique
- Peel back about 1 inch of the backing paper.
- Align the edge of the contact paper with the inner edge of the tray.
- Press down firmly and use your smoothing tool (credit card) to push air bubbles outward as you slowly peel the rest of the backing away.
- Pro Tip: If you get a stubborn bubble, don’t peel it all back. Use a tiny pin to prick the bubble and squeeze the air out.
“Precision is the difference between a ‘craft project’ and a ‘custom piece.’ Take your time with the smoothing process; it is the foundation of the ‘stone’ illusion.”
Tackling the Corners: The Secret to a Seamless Finish

The corners are where most DIYers fail, but a crafty expert knows the ‘Envelope Fold.’ This technique ensures no plastic is showing and the marble pattern looks continuous.
The Envelope Fold Method
- At the corner, cut a diagonal slit in the contact paper from the outer edge toward the corner of the tray.
- Fold the side flap over the edge and tuck it tightly.
- Fold the end flap over the top, overlapping the first fold. This creates a clean, 45-degree seam similar to high-end masonry joints.
- Use a hairdryer on a low heat setting for 10 seconds. The heat softens the vinyl, making it more pliable and activating the adhesive for a permanent bond.
Trimming the Excess
Once the tray is fully wrapped, flip it over. Run your utility knife along the bottom edge at a 45-degree angle. This creates a crisp, professional line that won’t peel up when the tray is moved across a counter.
Curating Your Countertop: Styling Tips for the Modern Home

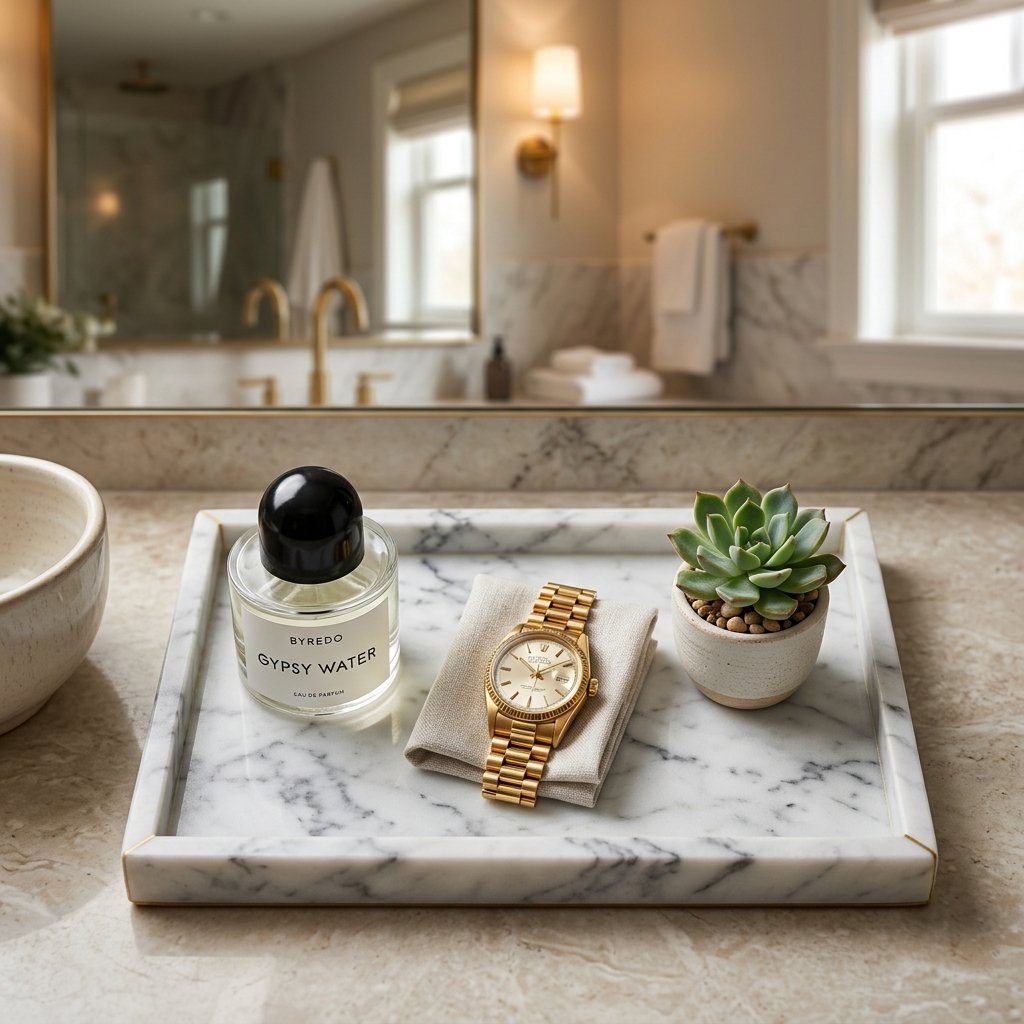
Now that you have your masterpiece, it is time to style it like a pro. A vanity tray is not just for holding ‘stuff’; it is a ‘zone’ that organizes chaos into a curated collection.
For the Masculine-Elegant Grooming Station
- Place a heavy glass bottle of your favorite cologne in the center.
- Add a small ceramic bowl for your watch and wedding band.
- Include a single textured element, like a small wooden comb or a piece of driftwood.
For the Budget-Savvy Spa Vanity
- Group items in threes (the rule of three is a designer’s secret weapon).
- Place a tall candle, a medium-sized jar of cotton swabs, and a small succulent on the tray.
- Ensure there is ‘white space’ on the tray so it doesn’t look cluttered.
| Room | Suggested Items to Style |
|---|---|
| Bathroom | Perfume, apothecary jars, hand towel |
| Entryway | Keys, sunglasses, mail opener |
| Office | Brass paperweights, fountain pen, notepad |
| Coffee Table | Remote controls, a small coaster, a candle |
Conclusion
A High-End Result for a Fraction of the Cost
By following this guide, you have successfully turned $5 worth of materials into a piece of decor that commands attention. This project proves that you don’t need a massive bank account to have a beautiful, organized home; you just need a bit of resourcefulness and the willingness to get your hands dirty. Your new ‘marble’ tray is water-resistant, stylish, and incredibly practical. So, the next time you see an overpriced item in a catalog, don’t reach for your credit card—reach for your utility knife and head to the dollar store. Happy crafting!

Makenzie is the founder and lead writer at MoneyHackTips.com — a personal finance blog dedicated to delivering street-smart financial wisdom for real people on real budgets. With 300+ published articles covering everything from debt management to investing fundamentals, Makenzie’s mission is to make every dollar work harder. When not writing about money hacks, Makenzie is testing frugal living strategies, optimizing side hustles, and helping readers build financial freedom from scratch.