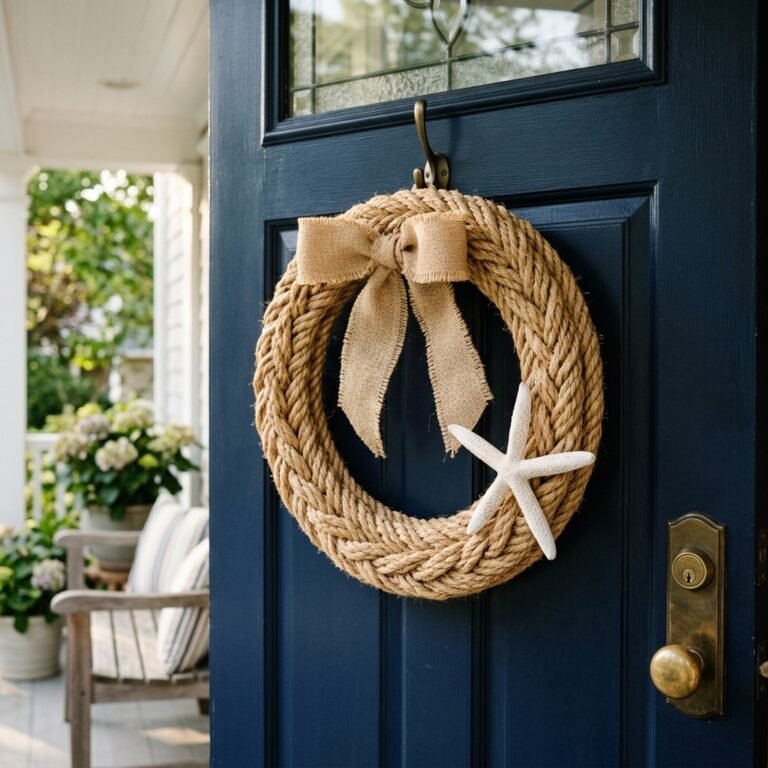
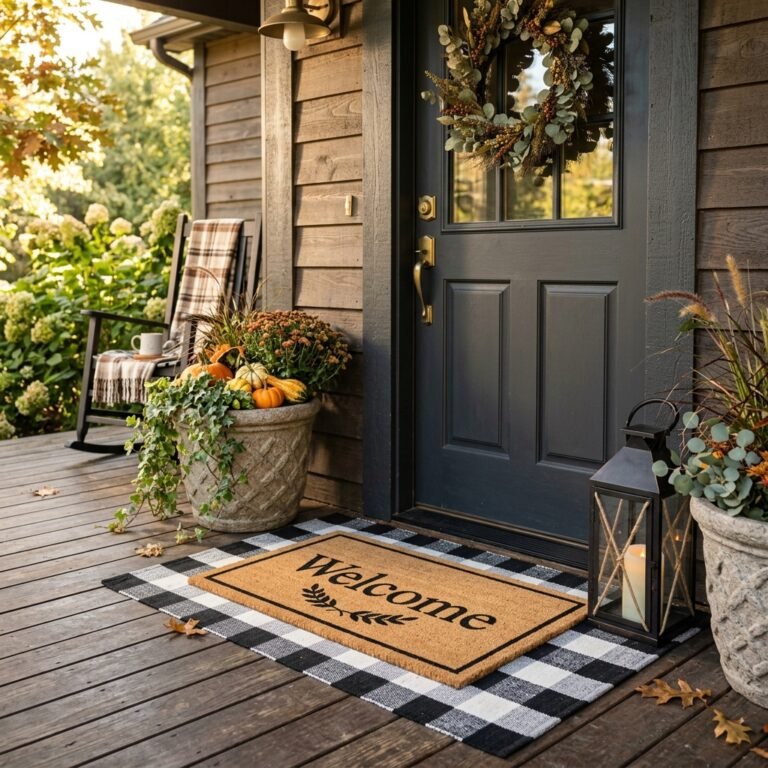
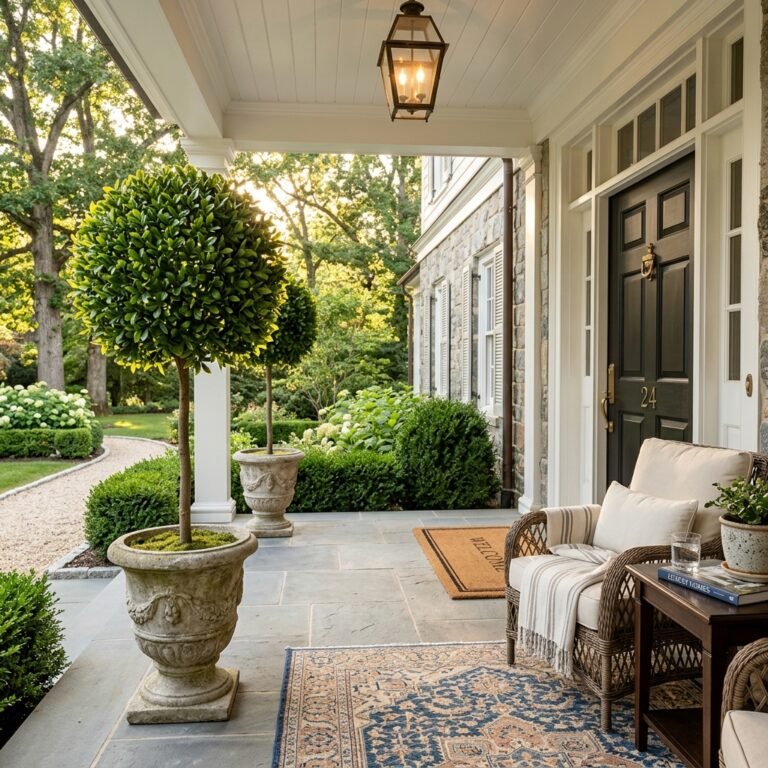
The Secret to a Million-Dollar Entryway on a Ten-Dollar Budget
Let’s talk about curb appeal. It’s the handshake of your home. It’s the first impression that tells the neighborhood, ‘A person of taste and resourcefulness lives here.’ But if you’ve stepped into a high-end home decor boutique lately, you’ve likely seen those lush, deep-green boxwood wreaths retailing for anywhere from $65 to $150. For a savvy DIYer, those prices aren’t just high—they’re a challenge. Why spend a week’s grocery budget on a circle of plastic when you can craft a rugged, elegant, and nearly identical version for the price of a fast-food meal?
As a seasoned ‘Trash-to-Treasure’ guru, I’ve spent years perfecting the art of the Dollar Tree Dupe. The boxwood wreath is the ultimate project because it relies on repetition and texture rather than expensive materials. By using a few clever assembly techniques and a rugged approach to construction, we are going to create a piece of decor that survives the elements and looks like it was plucked straight from a Pottery Barn catalog. Whether you are a frugal parent looking to spruce up the porch or a budget-savvy crafter aiming for that masculine-elegant aesthetic, this guide is your blueprint for success.
‘True luxury isn’t about how much you spend; it’s about the cleverness of the execution.’ — The Frugal Guru’s Mantra
The Treasure Map: Sourcing Your Materials for Under $10

Success in any DIY project begins with the hunt. To achieve that high-end, ‘full’ look, we need to bypass the flimsy pre-made wreaths and build our own from the ground up. The secret lies in the density of the greenery. We aren’t just sticking a few sprigs on a frame; we are engineering a lush, architectural piece of art.
The Essential Shopping List
Head to your local Dollar Tree or discount shop and look for these specific items. Don’t be afraid to dig through the bins to find the most realistic-looking stems.
| Item | Quantity | Estimated Cost |
|---|---|---|
| 12-inch or 14-inch Wire Wreath Form | 1 | $1.25 |
| Faux Boxwood Bushes/Stems | 6-8 | $7.50 – $10.00 |
| Green Floral Wire or Zip Ties | 1 pack | $1.25 |
| Hot Glue Sticks (High Temp) | 1 pack | $1.25 |
| Matte Black or Dark Green Spray Paint (Optional) | 1 can | $0.00 (Use Scraps) |
| TOTAL PROJECT COST | — | ~$11.25 |
When selecting your boxwood, look for stems with varied shades of green. This mimics the natural growth of a real plant, where new leaves are lighter than the old ones. This subtle detail is what separates a ‘cheap’ looking craft from a professional-grade home accent.
Foundation First: Prepping the Rugged Framework
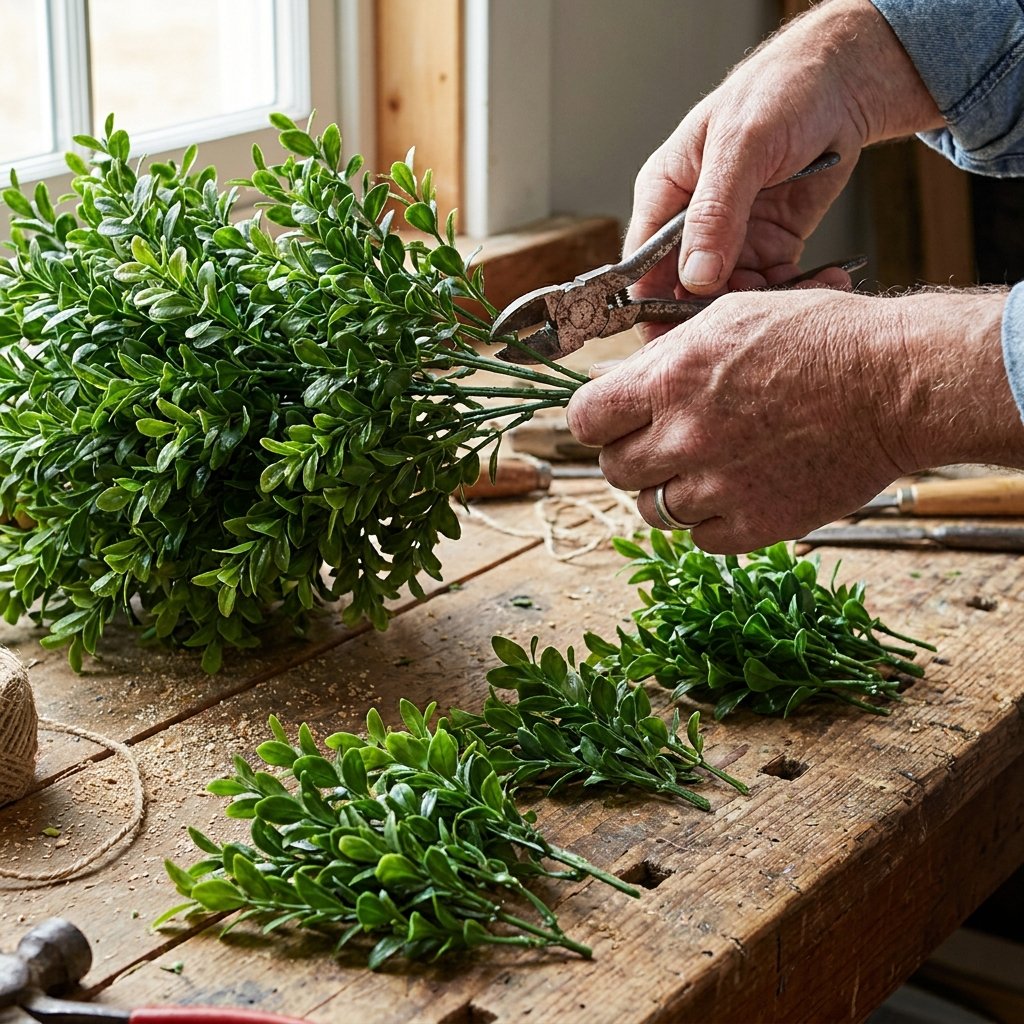
A common mistake many crafters make is starting with a bright silver or shiny green wire frame. If your greenery shifts in the wind, that metallic glint will give away your secret. We want a foundation that disappears into the shadows.
The Pro-Level Base Prep
- Paint the Frame: Take your wire wreath form outside and hit it with a quick coat of matte black or forest green spray paint. This ensures that any gaps in your greenery look like natural shadows rather than a cheap wire frame.
- The Stem Breakdown: While the frame dries, begin ‘harvesting’ your boxwood. Do not use the full bushes as they are. Pull the individual stems off the main plastic trunk. This gives you much more control over the direction and density of the leaves.
- Sorting by Size: Separate your stems into ‘long’ and ‘short’ piles. We will use the longer ones for the outer perimeter and the shorter ones to fill in the ‘gut’ of the wreath for maximum volume.
‘A solid foundation is the difference between a one-season craft and a multi-year heirloom.’
The Assembly Masterclass: Achieving Maximum Density
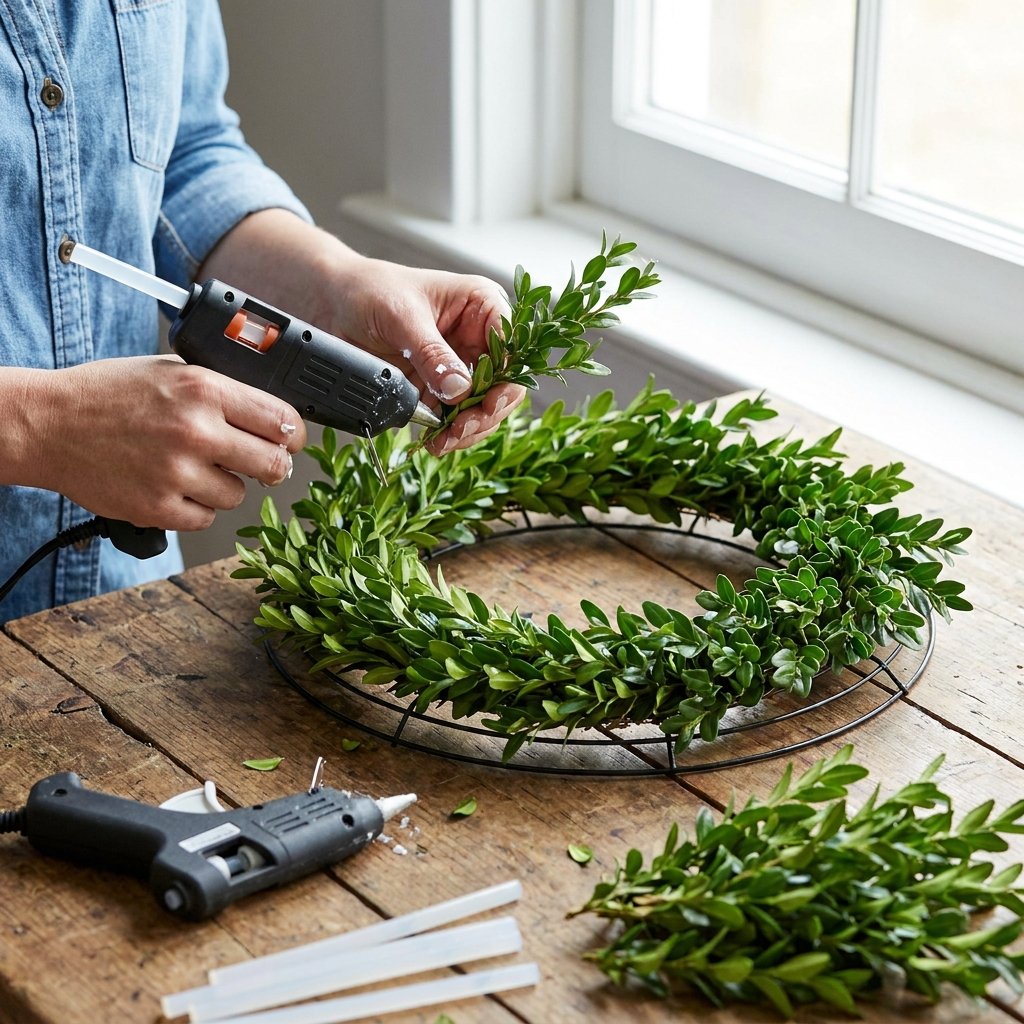
This is where the magic happens. To get that ’boutique’ look, we are going to use a layering technique that creates depth. We aren’t just gluing; we are weaving. This rugged approach ensures that even a stiff breeze won’t deconstruct your hard work.
Step-by-Step Layering Process
- The Outer Ring: Start by securing your longer stems to the outermost wire of the frame. Use a small piece of floral wire or a dab of hot glue to point the stems in a clockwise direction. Overlap each stem by about 2 inches to hide the mechanics.
- The Inner Ring: Repeat the process on the innermost wire, but this time, point the stems slightly inward. This creates a ‘cupping’ effect that makes the wreath look three-dimensional.
- Filling the Middle: Now, take your shorter sprigs and fill the two middle wires. This is where you use the bulk of your material. Glue these sprigs more vertically to create height.
- The ‘Shake Test’: Once the glue has set (about 5 minutes), pick up the wreath and give it a firm shake. If any pieces fall off, secure them with a ‘surgical’ application of hot glue.
By following this clockwise rotation, you create a sense of movement that mimics how real plants grow toward the sun. It’s a clever trick that fools the eye every time.
Masculine Elegance: Styling Your Wreath for Every Season
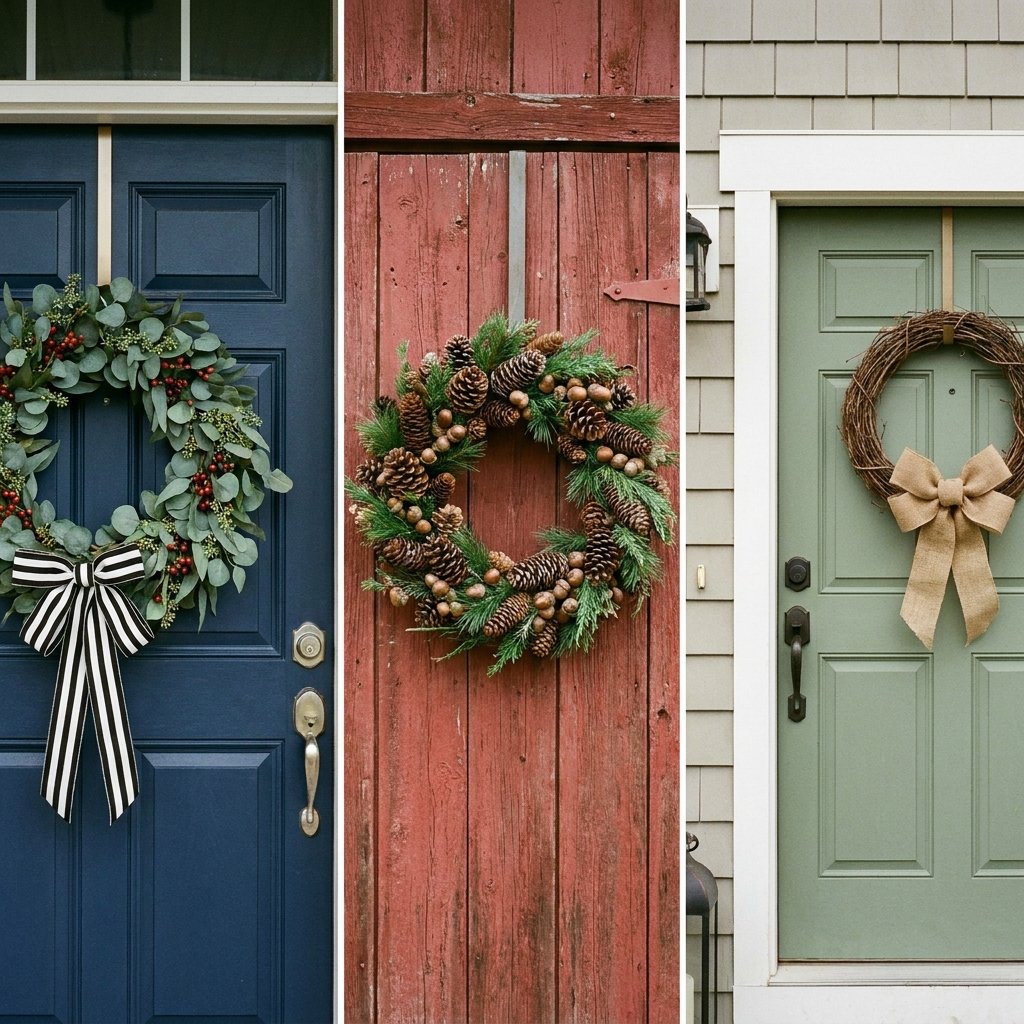
A plain boxwood wreath is a classic, but sometimes you want a bit more ‘oomph.’ Because we saved so much money on the base, we have a ‘surplus’ budget to add a touch of sophistication. Think of your wreath as a suit; the boxwood is the fabric, and the accents are the tie and pocket square.
Styling Options for the Budget-Savvy
- The Minimalist Look: Leave it plain. The deep green against a white or black door is the height of modern elegance.
- The Rugged Naturalist: Use a piece of twine or burlap to hang the wreath. Add three small pinecones or a single wood slice with your house number painted on it.
- The Holiday Pivot: The beauty of this hack is its versatility. Come December, tuck in some red berries and a plaid ribbon. In spring, add a few faux white hydrangeas.
| Style Type | Key Accessory | Vibe |
|---|---|---|
| Modern Farmhouse | Black & White Striped Ribbon | Clean & Trendy |
| Rustic Cabin | Burlap Twine & Pinecones | Rugged & Warm |
| Traditional | Red Velvet Bow | Classic & Stately |
Always remember to keep your accents in odd numbers (groups of 3 or 5). This is a professional styling secret that creates a more pleasing visual balance for the human eye.
Weatherproofing: Protecting Your Hard Work from the Elements

Since this wreath is destined for your front door, it needs to stand up to the sun, rain, and wind. Plastic from the Dollar Store can sometimes fade or become brittle if left unprotected. We want this ‘Genius Hack’ to last for years, not just weeks.
Survival Tips for Outdoor Decor
- UV Protection: Spray your finished wreath with a clear UV-resistant matte acrylic sealer. This prevents the ‘cheap plastic’ look and stops the green pigment from turning blue or yellow in the sun.
- Wind-Proofing: Instead of a flimsy over-the-door hanger, use a heavy-duty magnetic hook or a command hook rated for 5+ pounds. For extra security, use a small piece of dark fishing line to tether the bottom of the wreath to a small hook on the door.
- Cleaning: Every few months, take the wreath down and give it a quick blast with a hair dryer on the ‘cool’ setting to remove dust and spiderwebs.
‘Maintenance is the quiet partner of creativity. A well-kept DIY project is a testament to the maker’s skill.’
The Comparison: DIY Genius vs. Store-Bought Price Tags

Let’s take a moment to appreciate the ‘win’ here. When you finish this project, you’ll have a piece of decor that rivals high-end retailers. Not only did you save money, but you also gained the satisfaction of building something with your own hands. That’s the true ‘Trash-to-Treasure’ spirit.
| Feature | High-End Retailer | Our Dollar Tree Hack |
|---|---|---|
| Price | $89.00 | $11.25 |
| Time to Acquire | Shipping (3-5 Days) | 1 Hour Assembly |
| Customization | None (Standard) | 100% Customizable |
| Durability | Standard Plastic | Reinforced & Sealed |
You just saved over $75. That is money that can go toward your next project, a nice dinner, or your savings account. This isn’t just about a wreath; it’s about a lifestyle of clever, resourceful living.
Conclusion
Your Porch, Reimagined
By now, your front door should be looking like a million bucks. This faux boxwood wreath hack proves that with a little bit of ‘rugged’ effort and some ‘crafty’ intuition, you don’t need a huge budget to have a beautiful home. You’ve taken simple, inexpensive plastic stems and transformed them into a symbol of curb appeal excellence.
Don’t stop here! Use these same principles of density, layering, and foundation-prepping for other areas of your home. Whether it’s a centerpiece for your dining table or a gift for a lucky friend, the skills you’ve used today are the hallmarks of a true master of frugal DIY. Now, stand back, grab a cold drink, and admire that beautiful, budget-friendly view. You earned it!

Makenzie is the founder and lead writer at MoneyHackTips.com — a personal finance blog dedicated to delivering street-smart financial wisdom for real people on real budgets. With 300+ published articles covering everything from debt management to investing fundamentals, Makenzie’s mission is to make every dollar work harder. When not writing about money hacks, Makenzie is testing frugal living strategies, optimizing side hustles, and helping readers build financial freedom from scratch.