
The Designer Entryway on a Shoestring Budget
We have all seen them—those stunning, heavy-duty coir welcome mats at high-end home boutiques that boast chic typography or intricate geometric patterns. Then we look at the price tag: $50, $70, or even $100 for something that people are literally meant to wipe their muddy boots on. As resourceful DIYers, we know better. A plain, ‘blank’ coir mat can be found at hardware stores or discount retailers for as little as $5 to $10. With a little bit of craftiness, some rugged outdoor paint, and a clever stencil, you can replicate that boutique look for a fraction of the cost.
This guide isn’t just about slapping some paint on a rug; it’s about mastering the technique to ensure your design doesn’t peel, fade, or wear away after the first week of foot traffic. Whether you are a budget-savvy bride prepping your first home or a handy dad looking to sharpen the curb appeal of the family house, this project is the ultimate ‘low-investment, high-impact’ win. Let’s dive into how to turn a ‘cheap’ mat into a ‘chic’ masterpiece.
The Blueprint: Material Selection and Cost Comparison
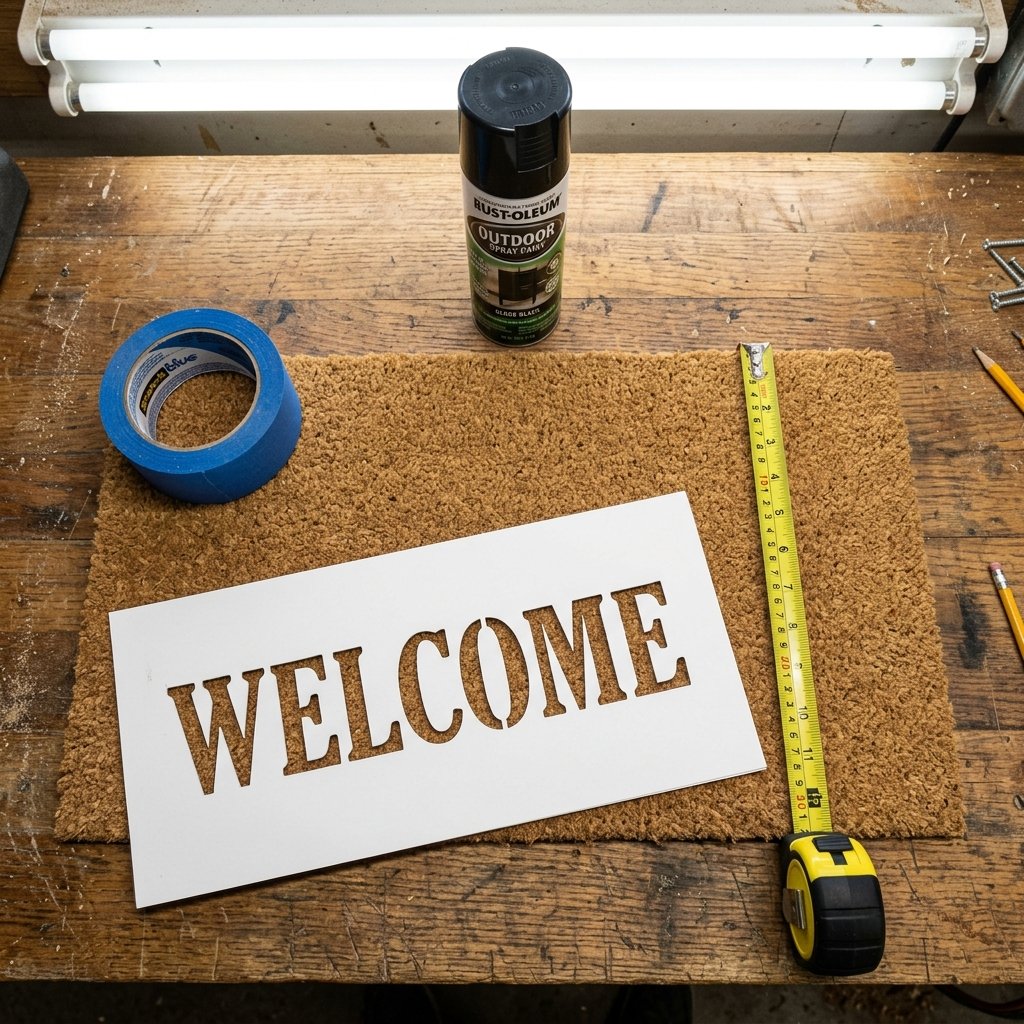
Before we pick up a brush, we need to understand the ‘why’ and ‘how’ of our savings. The secret to a designer look is starting with a high-quality ‘blank’ and using the right medium for the rough, fibrous texture of coir. Coir is made from coconut husks, making it incredibly durable but also very thirsty. You need a paint that can penetrate those fibers without making them brittle.
Budget Breakdown: DIY vs. Boutique
When you buy a designer mat, you aren’t paying for better coconut fibers; you are paying for the brand and the pre-printed design. By doing it yourself, you control the aesthetic and keep your hard-earned cash.
| Item | Boutique Retailer Price | Frugal DIY Price |
|---|---|---|
| Plain Coir Mat (Large) | $45.00 | $8.00 |
| Custom Design/Stencil | Included | $2.00 (DIY Cardstock) |
| Outdoor Paint/Ink | Included | $4.00 (Sample Pot) |
| Weatherproofing Sealant | N/A | $3.00 |
| Total Cost | $45.00 – $85.00 | $17.00 |
Pro-Tip: Check the ‘oops’ paint section at your local hardware store. You can often find high-quality exterior latex paint samples for $1 or $2 that are perfect for this project.
Prepping the Canvas: Cleaning and Mapping Your Design
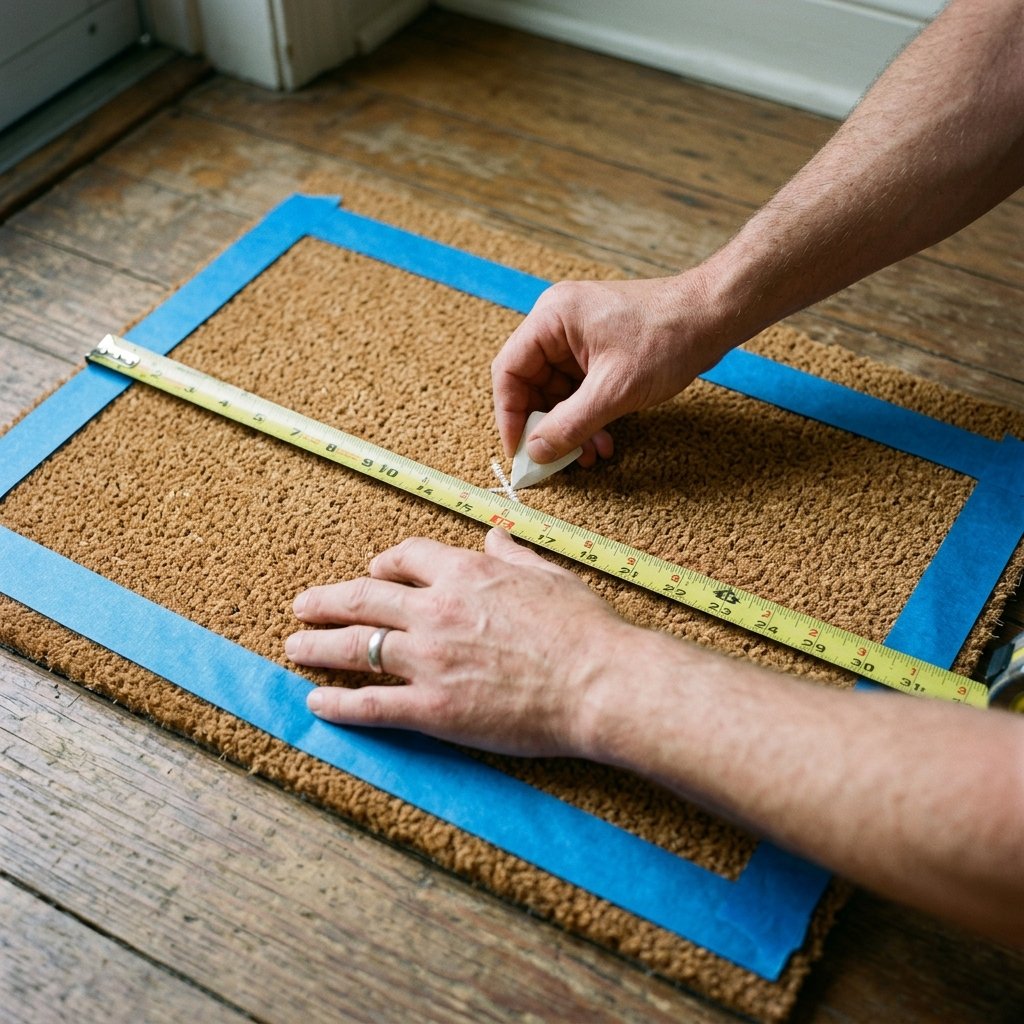
The biggest mistake most crafters make is painting directly onto a dusty mat. Coir mats shed naturally, and if you paint over loose fibers, your design will literally walk away with the first person who wipes their feet. Start by taking your mat outside and giving it a vigorous shake. For the best results, use a high-powered vacuum to pull out any deep-seated dust.
Mapping the Layout
Precision is what separates a ‘DIY project’ from a ‘Designer Dupe.’ Use a measuring tape to find the exact center of your mat. If you are doing a border, use 2-inch painter’s tape to mask off the edges. This creates a crisp, professional frame that instantly elevates the look.
- Step 1: Shake and vacuum the mat thoroughly.
- Step 2: Use a lint roller to remove any remaining loose coconut hairs.
- Step 3: Measure and mark your ‘safe zone’ for typography using chalk or light pencil.
- Step 4: Secure your stencil using repositionable spray adhesive. This is crucial for preventing paint bleed on the uneven surface.
The Stencil Strategy: Crafting Your Custom Graphic
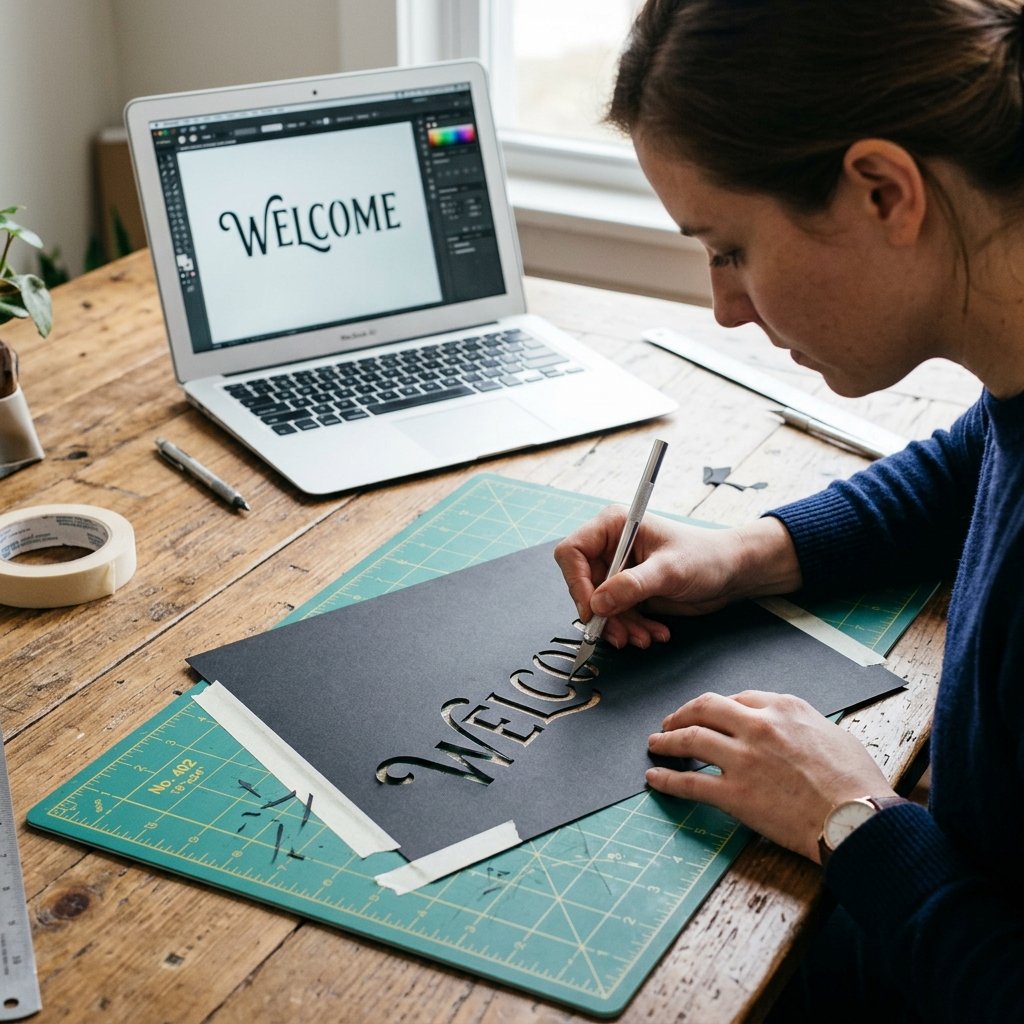
You don’t need an expensive cutting machine to create a stunning stencil, though it certainly helps. If you are a crafty gift-giver on a budget, you can print your design on heavy cardstock and cut it out with a sharp utility knife. The key is choosing a font or shape that isn’t too intricate; the rough texture of the coir doesn’t handle tiny details well.
Top Design Trends for Front Porches
Consider these styles to match your home’s architecture:
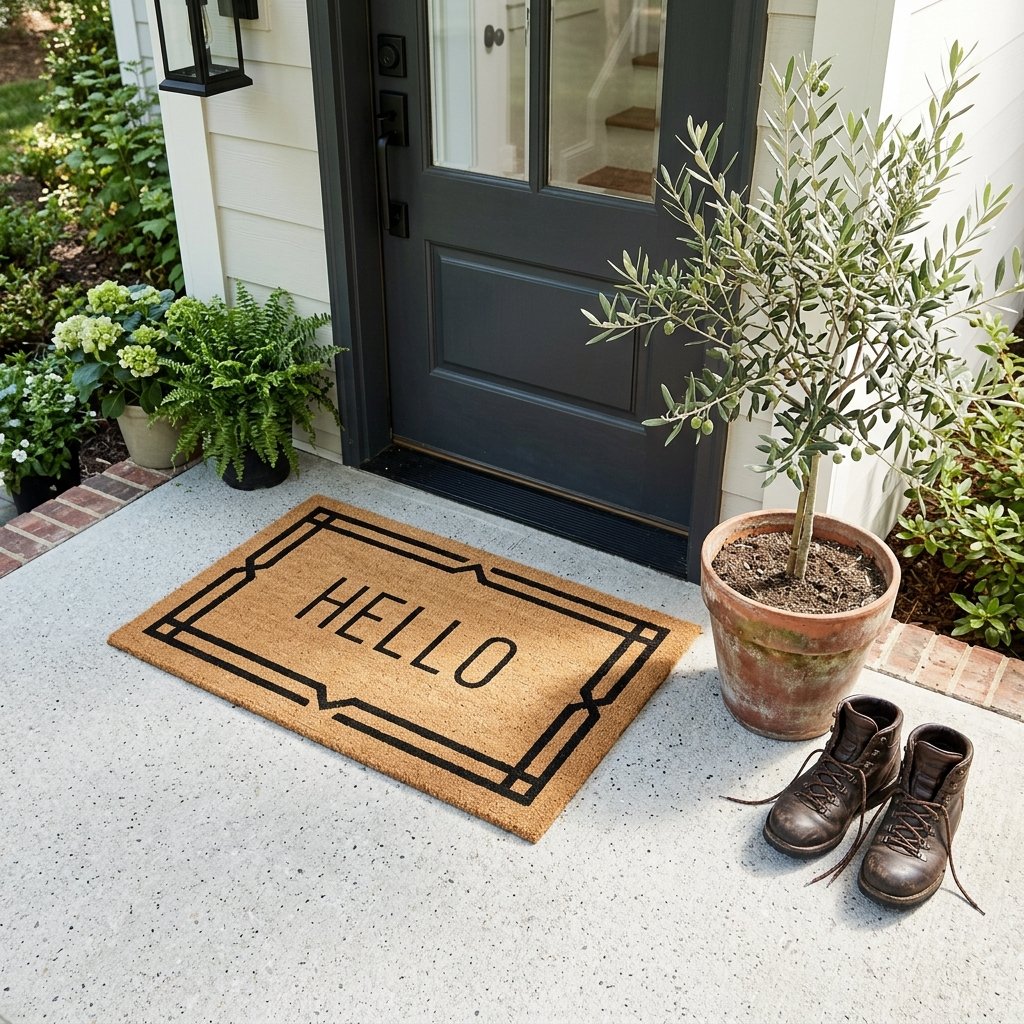
- Modern Minimalist: A simple ‘HELLO’ or ‘HOME’ in a bold, sans-serif font like Helvetica.
- Rugged Traditional: A large, single-letter monogram surrounded by a thin circular border.
- Whimsical & Clever: Phrases like ‘Yay, You’re Here’ or ‘Hope You Brought Snacks.’
- Geometric Chic: Repeating triangles or a classic herringbone pattern using only painter’s tape.
Mantra for Success: “Measure twice, cut once, and always use a fresh blade for your stencil to ensure the sharpest lines possible.”
Mastering the Paint Application: Techniques for Longevity
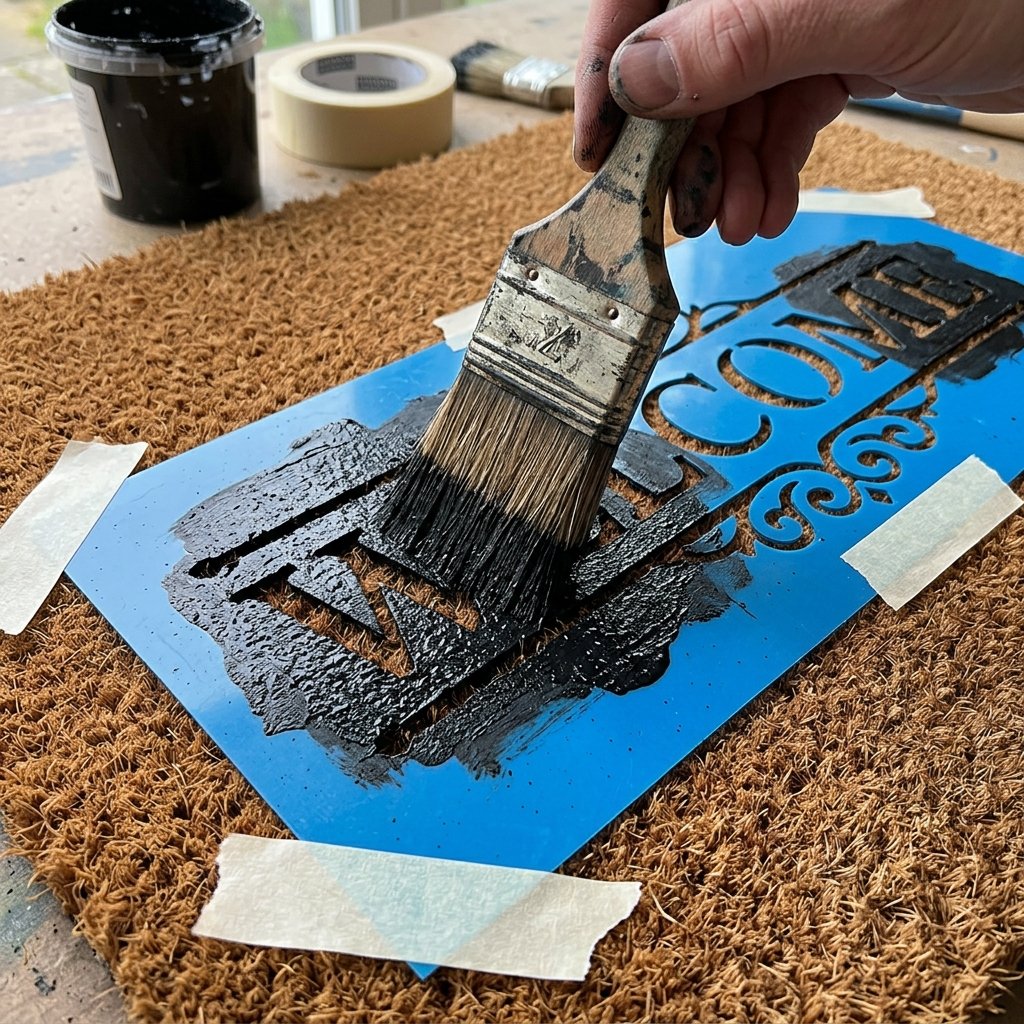
Applying paint to coir is different than painting a wall. You cannot use long strokes, or you will pull up fibers and create a mess. The ‘Stipple Method’ is the gold standard here. By using a stiff-bristled brush and a vertical ‘pouncing’ motion, you drive the paint deep into the mat’s core.
Choosing Your Medium
| Paint Type | Pros | Cons |
|---|---|---|
| Outdoor Acrylic | Cheap, easy cleanup, vibrant colors. | Requires multiple coats for deep coverage. |
| Exterior Latex | Extremely durable, weather-resistant. | Thicker; harder to get into deep crevices. |
| Rubberized Spray (Flex Seal) | Waterproof, flexible, won’t crack. | More expensive, harder to control for fine detail. |
| Industrial Spray Paint | Fastest application, great penetration. | Requires heavy masking to prevent overspray. |
The Stippling Process
- Load the brush: Dip only the tips of a 1-inch stencil brush into the paint.
- Off-load: Dab the brush on a paper towel so it is ‘dry’ to the touch. This prevents the paint from running under the stencil.
- Pounce: Press the brush firmly straight down into the mat fibers. Do not ‘swipe.’
- Build Layers: It is better to do three light coats than one heavy, gloppy coat.
Sealing and Weatherproofing for Rugged Durability
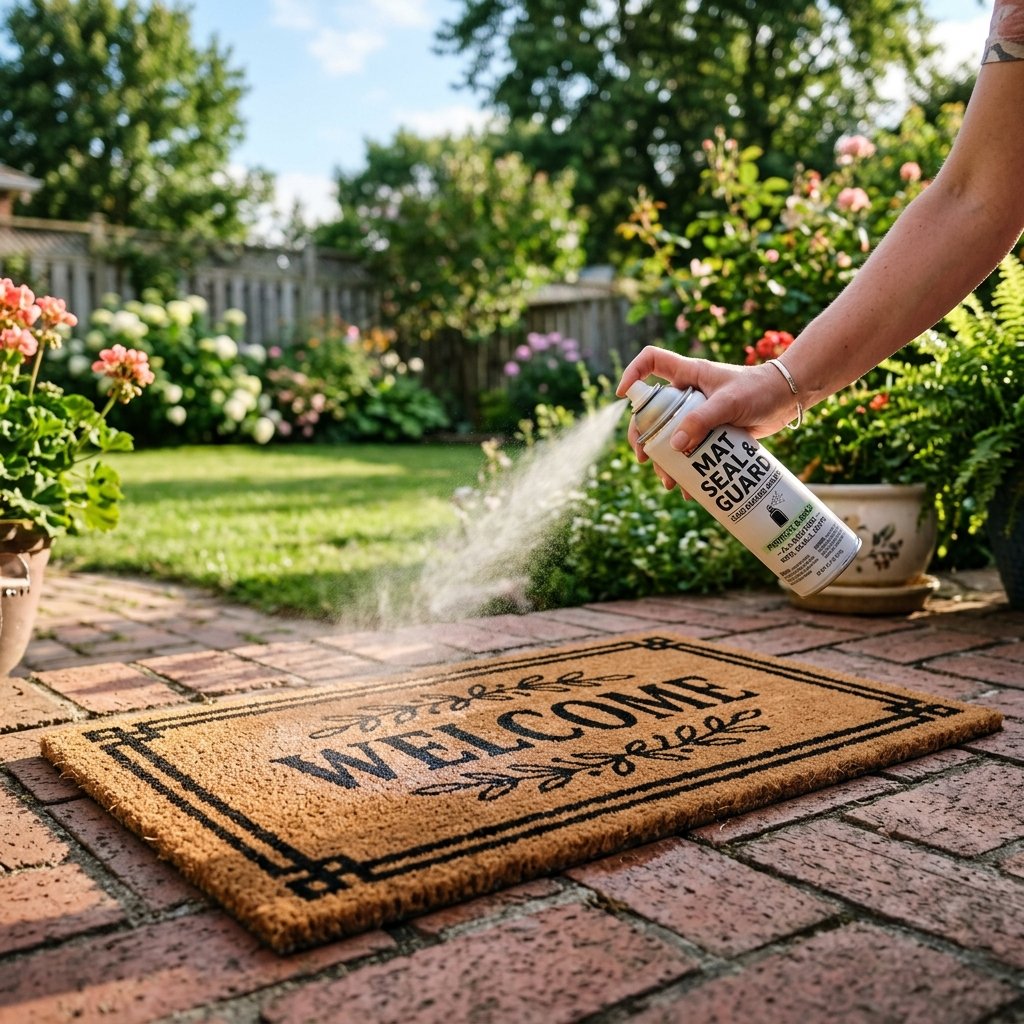
Your mat is going to face rain, snow, UV rays, and the friction of hundreds of shoes. To make your $10 investment last for years, you must seal it. A clear, UV-resistant outdoor acrylic sealer is your best friend here. It acts as a raincoat for your design, preventing the sun from bleaching the black paint into a dull gray.
The Finishing Touches
Once your paint is completely dry (wait at least 24 hours), remove your stencils and tape. This is the most satisfying part of the process! If you have any minor bleeds, you can ‘erase’ them by carefully trimming the painted fiber tips with a pair of sharp scissors. Finally, apply two thin coats of clear sealer, allowing 2 hours of dry time between them.
Safety Note: Always apply spray sealants in a well-ventilated area, preferably outdoors. Wear a mask if you are sensitive to fumes, and keep away from open flames.
The Layered Look: Styling Your Designer Mat

To truly achieve that ‘Pottery Barn’ or ‘Magnolia’ aesthetic, don’t let your painted mat stand alone. The secret used by professional home stagers is the ‘Layered Rug’ look. Place your custom-painted coir mat on top of a slightly larger, flat-weave outdoor rug. A black-and-white buffalo check or a simple striped rug provides a frame that makes your DIY work look intentional and expensive.
Styling Checklist
- Base Layer: 24″ x 36″ patterned outdoor rug (cotton or polypropylene).
- Top Layer: Your custom 18″ x 30″ painted coir mat.
- Flanking: Add a tall black lantern on one side and a textured planter on the other.
- Symmetry: If space allows, double up on the greenery to frame the door.
Conclusion
Walk All Over Your Hard Work (In a Good Way!)
Creating a designer-look welcome mat is the ultimate gateway project for the frugal DIYer. It requires minimal tools, a very small financial investment, and yields a result that instantly boosts your home’s ‘curb appeal’ and personality. By choosing rugged materials and following a disciplined painting technique, you’ve created a piece that is as functional as it is beautiful.
Remember, the best part of a DIY project isn’t just the money you saved—it’s the story you tell every time a guest steps over your threshold. You didn’t just buy a mat; you crafted an invitation. Now, take that $50 you saved and put it toward your next big upcycling adventure!

Makenzie is the founder and lead writer at MoneyHackTips.com — a personal finance blog dedicated to delivering street-smart financial wisdom for real people on real budgets. With 300+ published articles covering everything from debt management to investing fundamentals, Makenzie’s mission is to make every dollar work harder. When not writing about money hacks, Makenzie is testing frugal living strategies, optimizing side hustles, and helping readers build financial freedom from scratch.