
Mastering the Art of the Frugal Upgrade
Let’s be honest: high-end home organization can cost a small fortune. You walk into a boutique home store, see a set of minimalist floating shelves, and your jaw drops at the $60 to $100 price tag. But what if I told you that the secret to a clutter-free, sophisticated home isn’t found in a luxury catalog, but in the aisles of your local Dollar Tree? As a seasoned ‘Trash-to-Treasure’ guru, I’ve spent years perfecting the art of the high-end dupe. Today, we are going to tackle one of the most versatile projects in the DIY world: the floating shelf. Whether you are a budget bride looking for reception decor, a handy dad organizing a small workshop, or a frugal crafter wanting to spruce up the guest bath, this hack is for you. We aren’t just slapping items together; we are using rugged, practical techniques to ensure these shelves are as sturdy as they are stylish. By the end of this guide, you will have the skills to turn basic wood canvases or crates into masculine-elegant shelving that fools even the most discerning interior designers. Let’s get our hands dirty and clear that clutter with some clever, budget-savvy ingenuity.
The Blueprint: Why These Shelves Beat Big-Box Prices
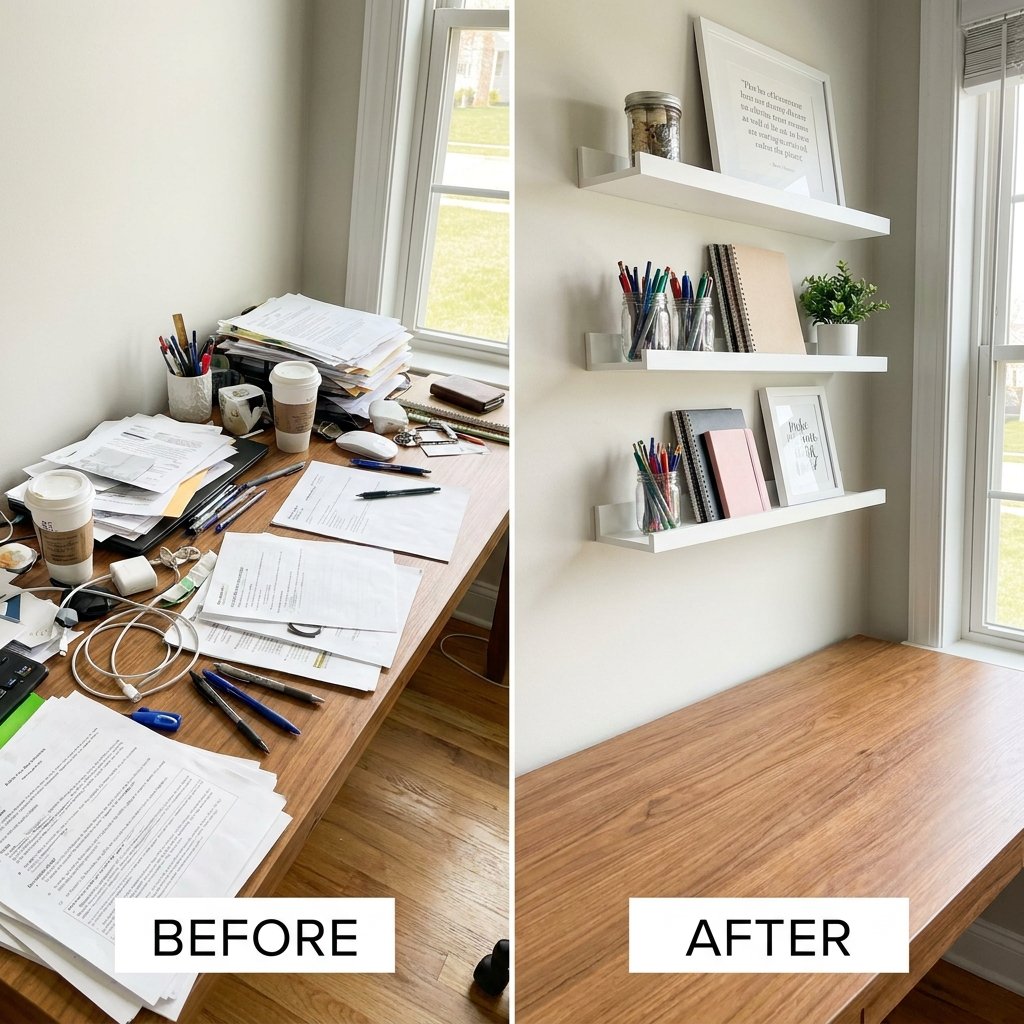
When you buy a shelf from a big-box retailer, you aren’t just paying for wood; you’re paying for marketing, shipping, and a massive retail markup. By sourcing our ‘bones’ from the Dollar Tree, we eliminate those overheads. The core of this hack relies on using Dollar Tree wooden canvases or wooden crates. These items are lightweight, which is actually an advantage for a ‘floating’ look, as they require less heavy-duty anchoring than solid oak or maple. However, the ‘secret sauce’ is in the finish. We are going to treat these $1.25 items with the respect of fine mahogany. Below is a breakdown of what you’ll save by choosing the DIY route.
| Material Item | Dollar Tree Cost | Retail Store Equivalent |
|---|---|---|
| Floating Shelf Base | $1.25 | $24.99 |
| Wood Stain/Finish | $1.25 (Small bottle) | $9.00 |
| Mounting Hardware | $1.25 | $7.50 |
| Total per Shelf | $3.75 | $41.49 |
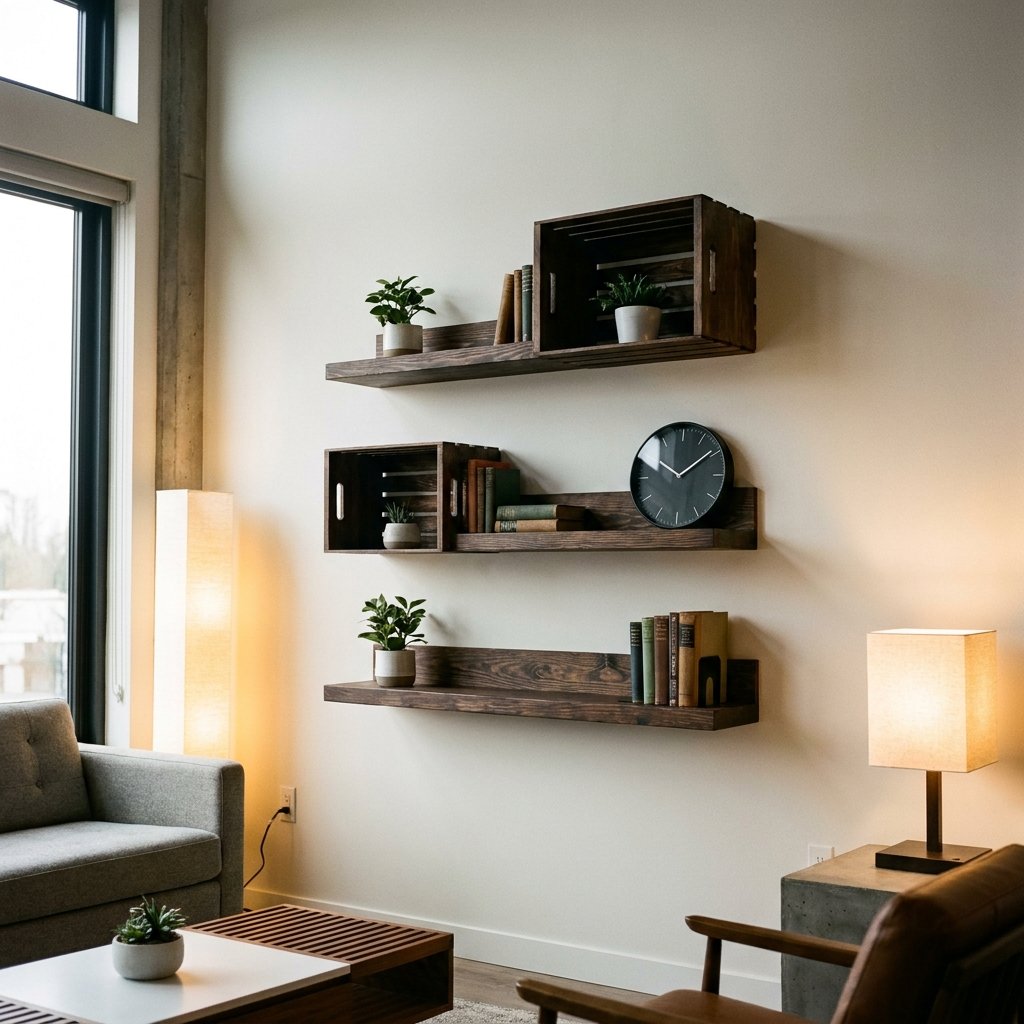
By following this method, you are achieving a 90% savings. That is the definition of being resourcefully creative. We are going to focus on two variations: the Modern Canvas Box Shelf and the Rustic Crate Shelf. Both are incredibly easy to assemble and require zero power tools if you choose the right adhesives.
The Inventory: Everything You Need for the Ultimate Hack
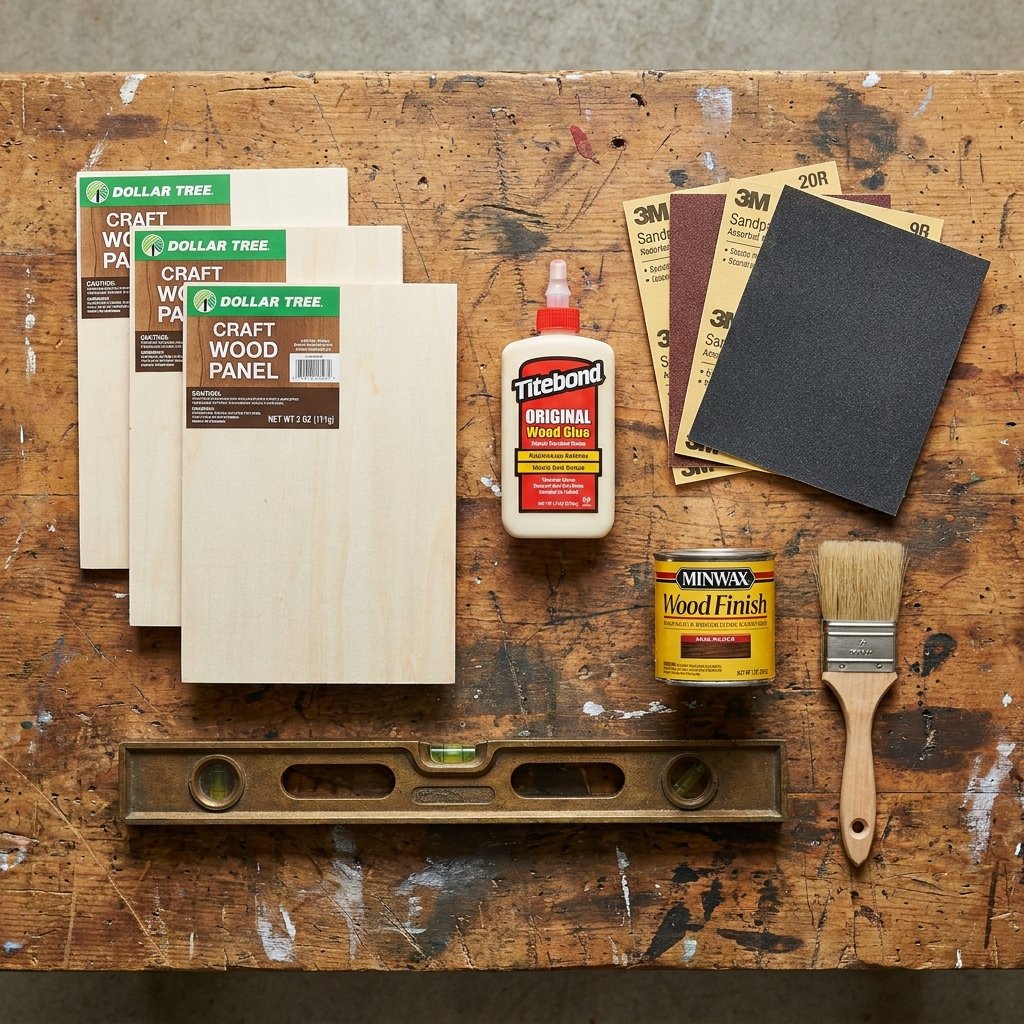
To achieve that ‘rugged yet elegant’ look, you need to gather your supplies. Don’t be fooled by the price point; the quality comes from the preparation. You will want to look for the wooden ‘stretched canvas’ frames in the craft aisle or the small slatted crates in the home decor section. Here is your master list:
- 2-4 Dollar Tree Wooden Canvases (the deep-edge variety works best for a ‘thick’ shelf look).
- Wood Glue (a strong, fast-acting craft glue or Gorilla Glue).
- Sandpaper (120-grit and 220-grit for a smooth-to-the-touch finish).
- Stain or Paint (I recommend a dark walnut stain or the ‘baking soda paint’ trick for a stone look).
- Command Strips or Small L-Brackets (depending on your weight requirements).
- Level (essential for that professional finish).
‘The difference between a DIY project that looks cheap and one that looks chic is 10 minutes of sanding.’
If you are going for a more masculine-elegant vibe, look for wood stains that mimic dark oak or espresso. If you want a modern farmhouse look, white-washing or a matte black finish is the way to go. Remember, we are building a curated lifestyle on a dime.
The Transformation: Step-by-Step Construction Guide
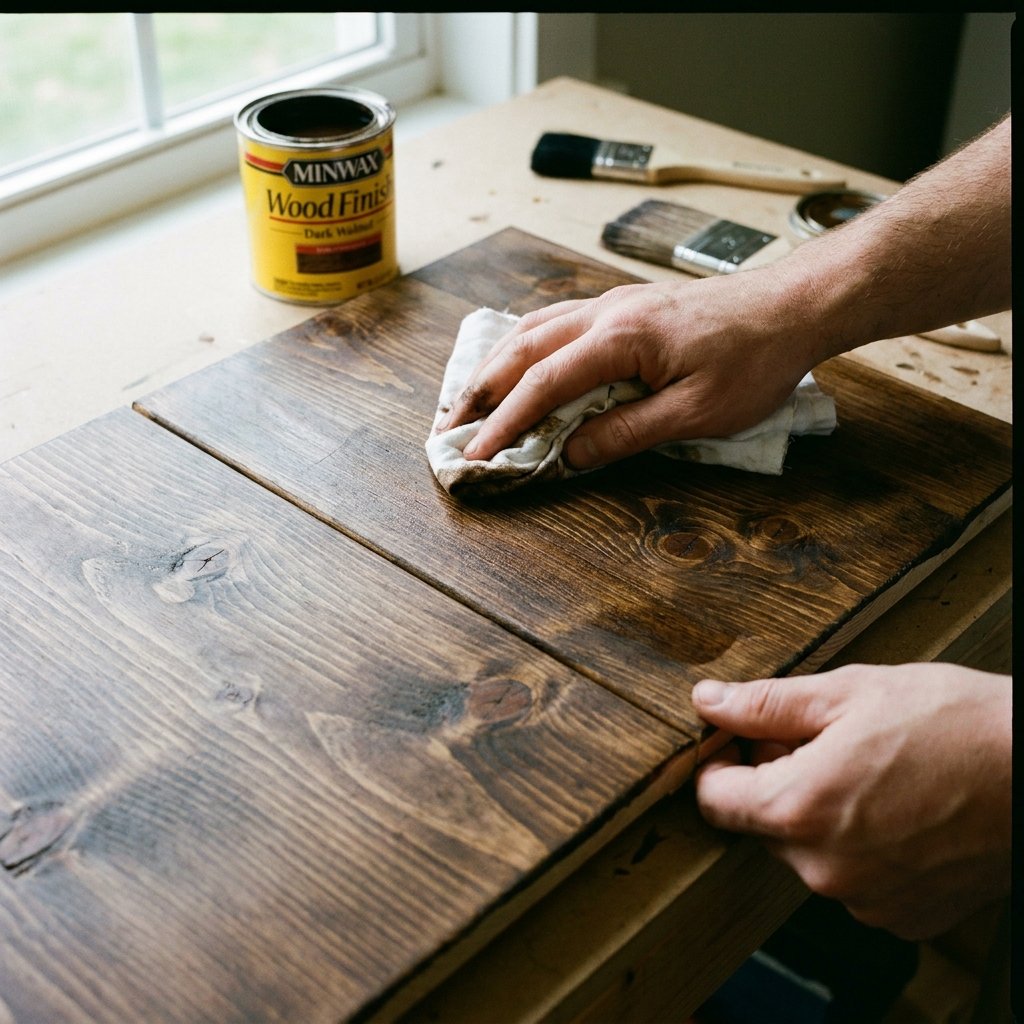
Phase 1: Prepping the Wood
First, remove any staples or labels from your Dollar Tree canvases. Use your 120-grit sandpaper to smooth out the factory edges. These items often come with slight splinters or rough patches. Sanding ensures that your stain will absorb evenly. Wipe away the dust with a damp cloth before moving to the next step.
Phase 2: Bonding the Bases
To create a shelf with depth, we are going to glue two canvases together, back-to-back. This creates a hollow ‘box’ that looks like a solid piece of timber once finished.
- Apply a generous bead of wood glue along the edges of the first canvas frame.
- Press the second canvas firmly against it, ensuring all four corners align perfectly.
- Use painter’s tape or clamps to hold them together for 30 minutes.
- Once dry, sand the seam where the two canvases meet until it is invisible.
Phase 3: The High-End Finish
Now for the magic. If using stain, apply it with a lint-free rag in the direction of the wood grain. For a deeper, more ‘expensive’ color, let the first coat sit for 5 minutes before wiping away the excess. If you prefer paint, try the Baking Soda Hack: mix 1 cup of acrylic paint with 1/4 cup of baking soda. This creates a thick, textured ‘terracotta’ or ‘stone’ appearance that is incredibly trendy right now.
Mounting for Success: Keeping Your Shelves Sturdy
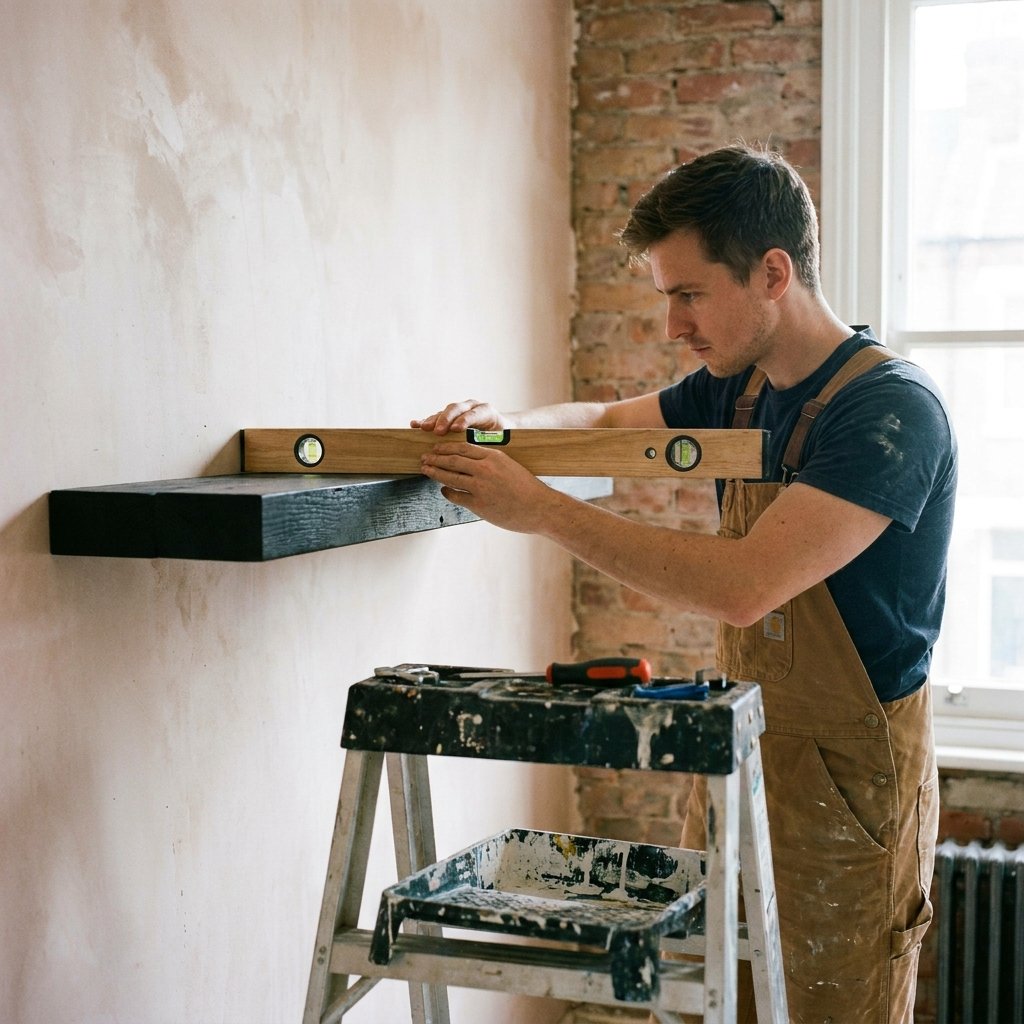
A shelf is only as good as its stability. Since these DIY shelves are lightweight, you have several options for mounting. For renters or those who want a zero-damage solution, heavy-duty Command Strips are your best friend. However, if you plan on displaying heavier items like books or small potted plants, we need a more rugged approach.
The ‘Invisible’ L-Bracket Method
To keep the ‘floating’ illusion, you can use small metal L-brackets. Position the bracket so that one side is screwed into the wall (preferably into a stud) and the other side sits inside the hollow part of your shelf. Slide the shelf over the bracket and secure it with a small screw from the top or bottom. This hides the hardware completely.
‘Safety First: Always use a level. A shelf that is even 1/8th of an inch off will drive you crazy every time you walk past it. Precision is free; use it!’
| Weight of Item | Recommended Mounting Method |
|---|---|
| 0-2 lbs (Small decor) | Command Strips (Large) |
| 2-10 lbs (Books/Succulents) | L-Brackets into Drywall Anchors |
| 10+ lbs (Heavy items) | L-Brackets into Wall Studs |
Styling Your Masterpiece: From Utility to Aesthetic
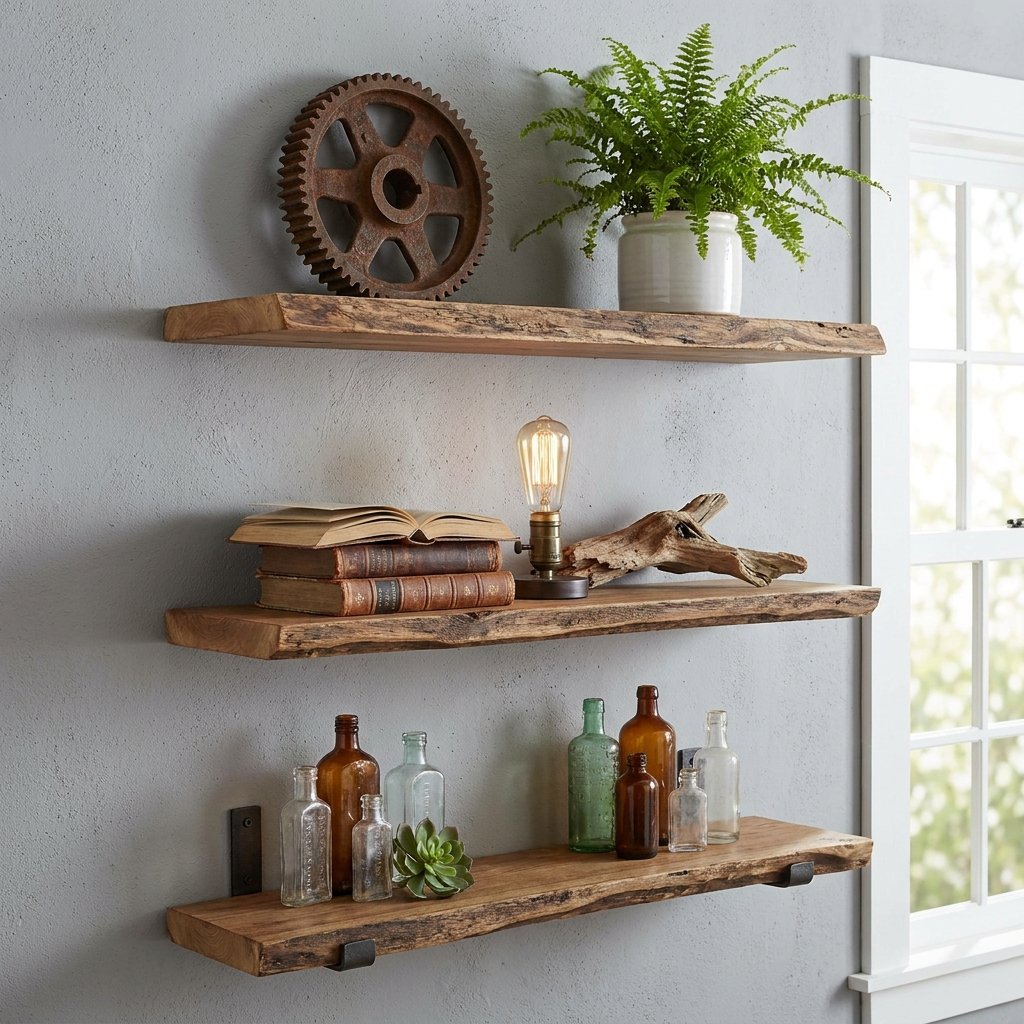
Now that your shelves are mounted and looking like custom-built millwork, it’s time to style them. This is where you transition from ‘builder’ to ‘stylist.’ To maintain that masculine-elegant or crafty-expert look, follow the ‘Rule of Three.’ Group items in threes of varying heights to create visual interest.
- The Foundation: Start with something tall, like a sleek glass vase or a tall candle.
- The Texture: Add something organic, like a small trailing ivy plant or a piece of driftwood.
- The Personal Touch: Finish with a small framed photo or a vintage brass object.
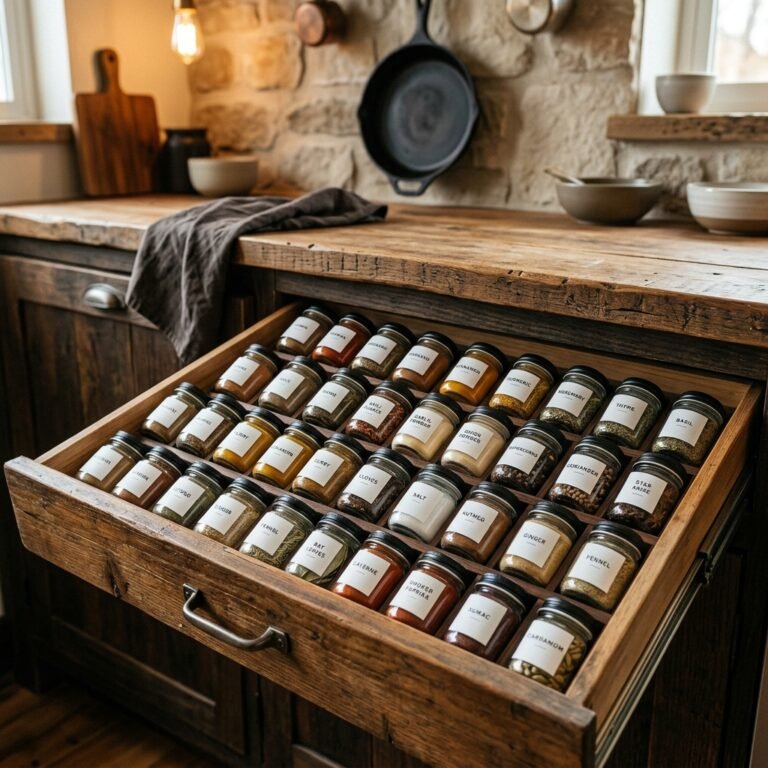
For a kitchen setup, use these shelves to display your most-used spices in matching Dollar Tree jars. In a bathroom, roll up small hand towels and stack them neatly with a bar of handmade soap on top. The goal is to make the shelf look like it was always meant to be there, a natural extension of your home’s architecture.
Advanced Variations: The Crate & Rope Hack
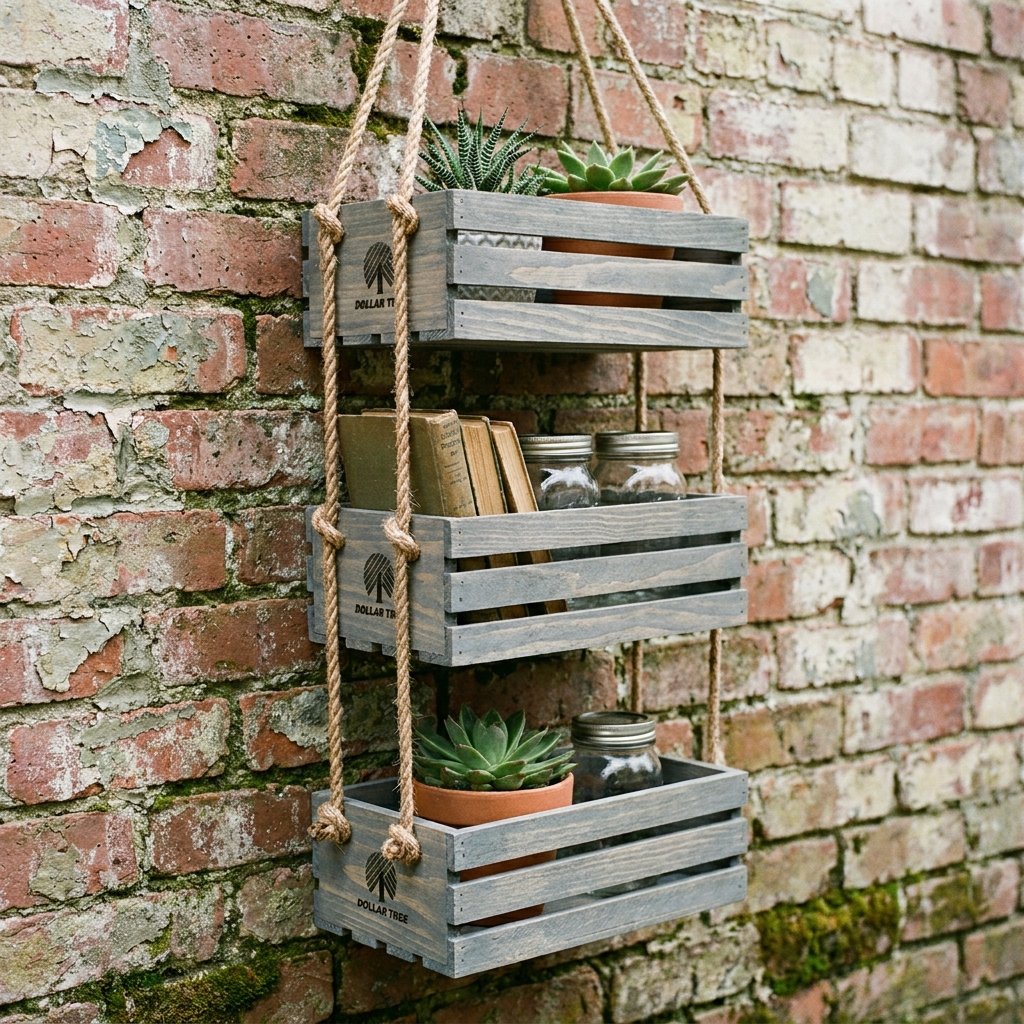
If the canvas box look is too modern for you, consider the Rustic Crate Variation. Dollar Tree often carries small slatted crates that are perfect for a more ‘rugged’ look. Instead of mounting them flat, turn them on their side so they act as a shadow box. You can even drill small holes in the corners and thread nautical rope through them to create a hanging tiered shelf system. This is an incredible gift idea for Father’s Day or a housewarming present. By staining the crates a deep ‘Weathered Grey’ and using thick manila rope, you create a piece of furniture that looks like it came straight out of a high-end coastal boutique. The cost remains under $10, but the perceived value is easily $50+. This is the power of the savvy upcycler!
Conclusion
Your Journey to a Clutter-Free, Stylish Home Starts Now
Clearing the clutter doesn’t require a massive budget or a professional contractor. It requires a bit of cleverness, a dash of resourcefulness, and the willingness to see the potential in the mundane. We’ve taken a $1.25 canvas and transformed it into a piece of functional art. This floating shelf hack is more than just a storage solution; it’s a testament to the fact that with a little ‘Trash-to-Treasure’ spirit, you can curate a home that reflects your personality and your pragmatism. So, head to your local Dollar Tree, grab those supplies, and start building. Your walls—and your wallet—will thank you. Remember, the best things in life aren’t just bought; they are crafted with pride. Happy DIYing!

Makenzie is the founder and lead writer at MoneyHackTips.com — a personal finance blog dedicated to delivering street-smart financial wisdom for real people on real budgets. With 300+ published articles covering everything from debt management to investing fundamentals, Makenzie’s mission is to make every dollar work harder. When not writing about money hacks, Makenzie is testing frugal living strategies, optimizing side hustles, and helping readers build financial freedom from scratch.