
The High-End Wedding Secret the Industry Doesn’t Want You to Know
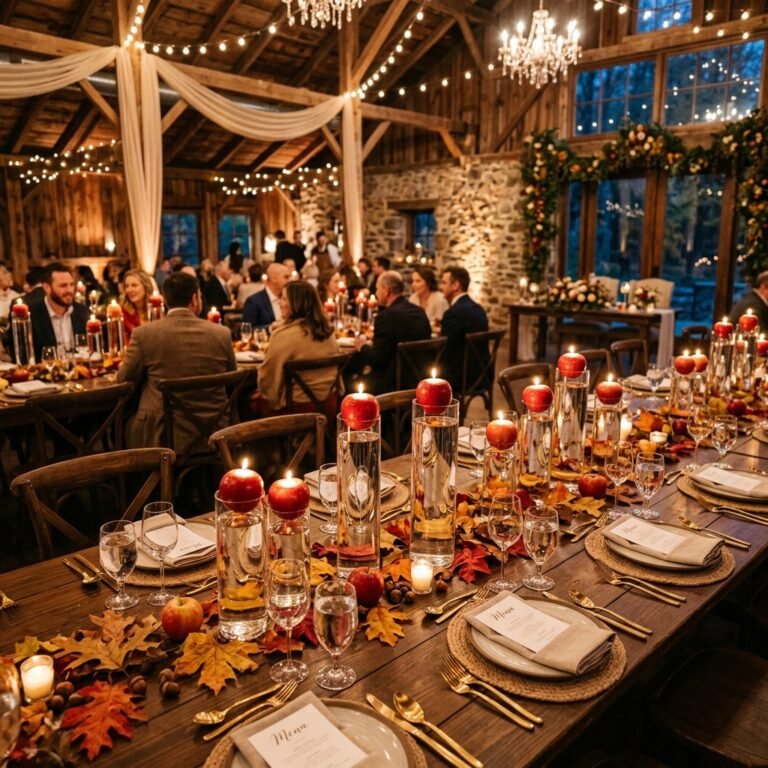
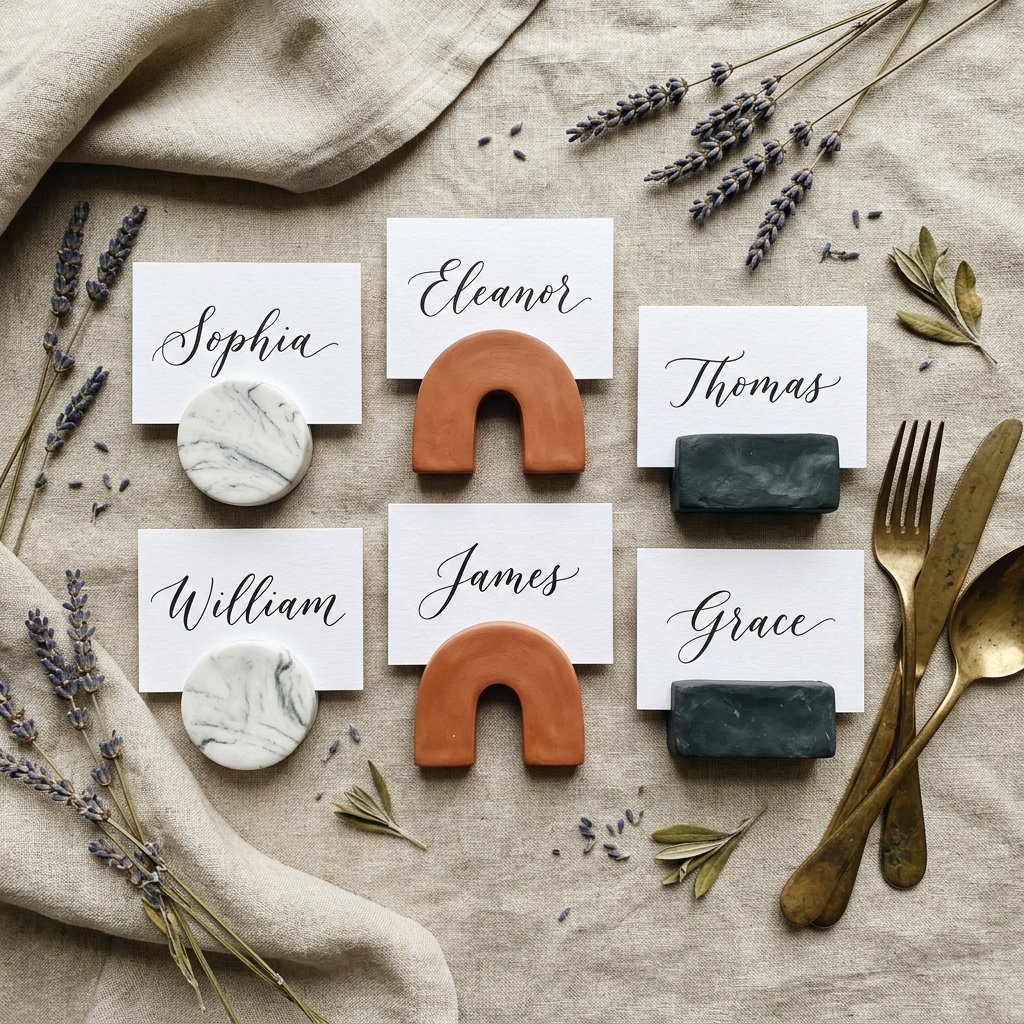
Let’s talk brass tacks: the wedding industry is designed to make you feel like ‘elegant’ and ‘expensive’ are synonymous. But for the resourceful DIYer and the budget-savvy couple, we know better. You don’t need a four-figure decor budget to create a tablescape that leaves your guests breathless. The secret? It’s sitting in a small, $3.00 block of polymer clay. Whether you are aiming for a rugged, masculine-elegant vibe with slate-grey textures or a soft, airy aesthetic with faux-marble finishes, polymer clay is the ultimate chameleon of the craft world. Today, we are diving deep into the art of creating custom place card holders that look like they were plucked from a high-end boutique but cost less than a cup of coffee to produce. Grab your craft knife and let’s get to work on saving you hundreds of dollars.
The Economics of Elegance: DIY vs. Store-Bought
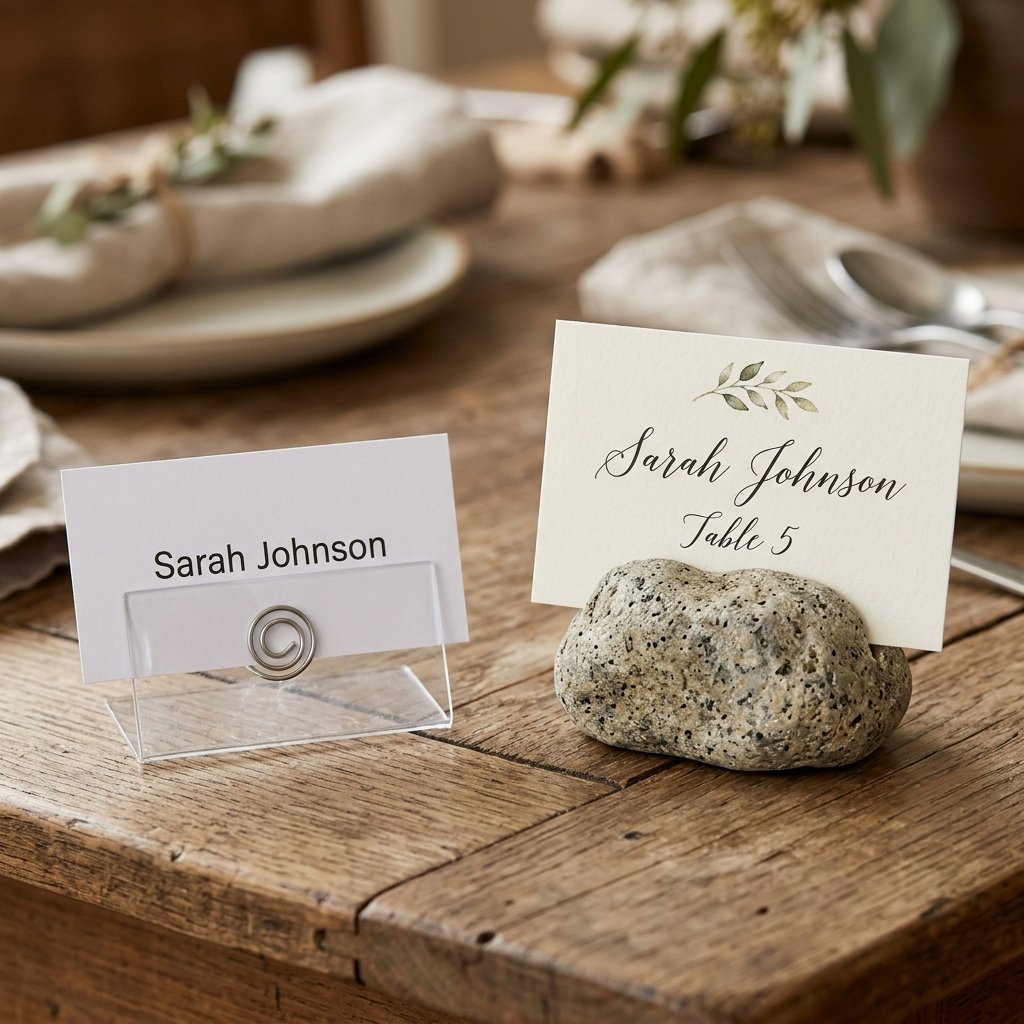
Before we touch the clay, let’s look at the numbers. In the world of wedding rentals and retail, place card holders are often an overlooked expense that adds up with terrifying speed. When you are hosting 100 to 150 guests, even a ‘cheap’ $2.00 holder results in a $300 bill. By taking the DIY route, you are not just saving money; you are injecting personality into your event. Our polymer clay method allows you to create 10 to 15 holders from a single standard block of clay, bringing your cost per guest down to roughly $0.20.
| Expense Item | Store-Bought/Rental (100 Guests) | DIY Polymer Clay (100 Guests) | Total Savings |
|---|---|---|---|
| Place Card Holders | $250.00 – $500.00 | $25.00 – $35.00 | $225.00+ |
| Customization Fees | $50.00+ | $0.00 | $50.00 |
| Shipping/Handling | $20.00 | $0.00 (Local Pickup) | $20.00 |
As you can see, the frugal crafter wins every time. Not only do you save over $200, but you also end up with a set of custom keepsakes that guests often take home as mementos. That is what we call a ‘double-win’ in the world of savvy event planning.
The Master Material List: Rugged Tools for Refined Results
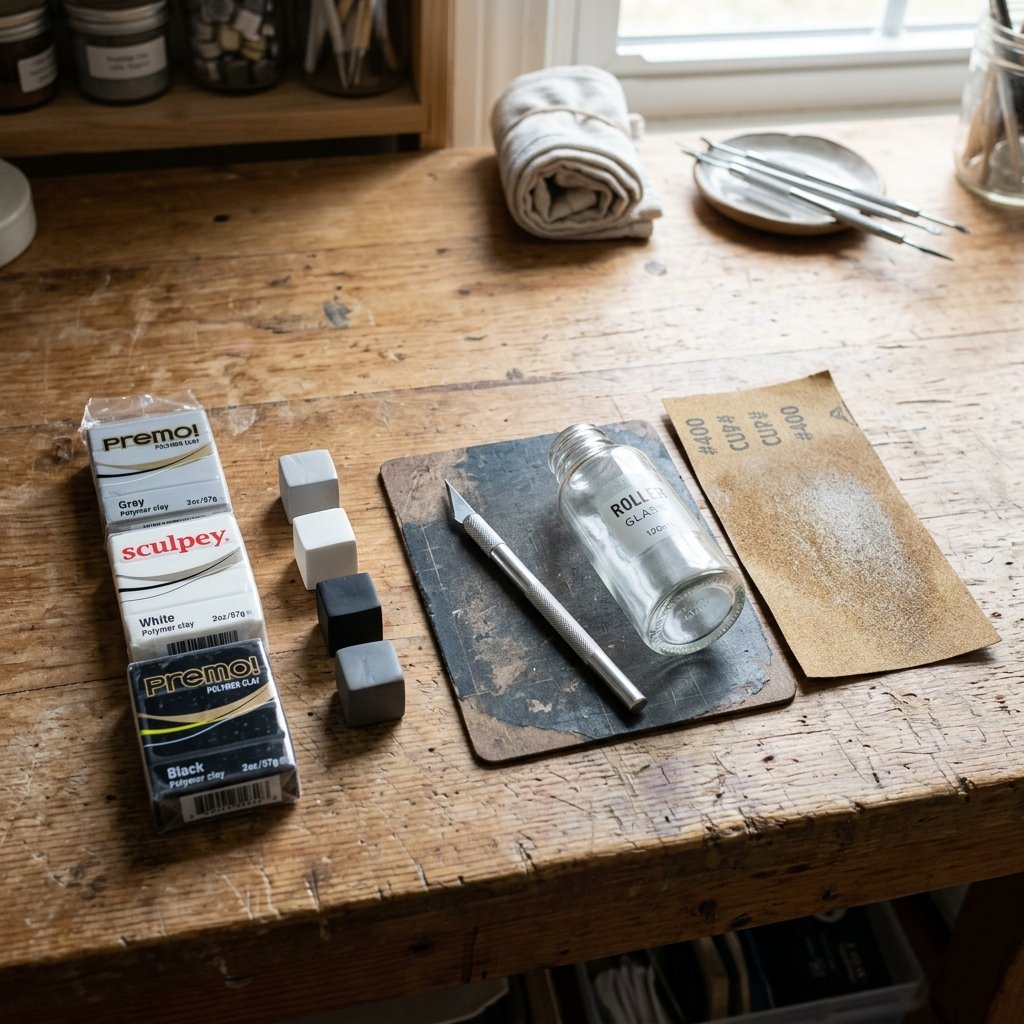
To achieve a professional, ‘masculine-elegant’ finish, you need the right kit. We aren’t looking for expensive machinery; we are looking for practical, multi-purpose tools that you likely already have in your junk drawer or can find at a local dollar store. The goal is to keep our overhead low while maximizing the ‘wow’ factor.
Essential Supplies
- Polymer Clay: Brands like Sculpey or Fimo work best. Look for ‘Premo’ for a firmer, more professional feel.
- Acrylic Roller: Or a smooth glass bottle (upcycled wine bottles work perfectly).
- Craft Knife or Bench Scraper: For clean, precise cuts.
- Parchment Paper: To protect your work surface and baking sheet.
- Fine-Grit Sandpaper: To smooth out any fingerprints or imperfections after baking.
- Liquid Gold Leaf or Acrylic Paint: For that high-end metallic edge.
Safety Note: Polymer clay is non-toxic but should not be used on surfaces where food is prepared. Always use a dedicated baking sheet or cover your tray with foil/parchment paper. Wash your hands thoroughly after sculpting.
Step-by-Step Sculpting: The ‘Pebble’ and the ‘Geometric Cube’
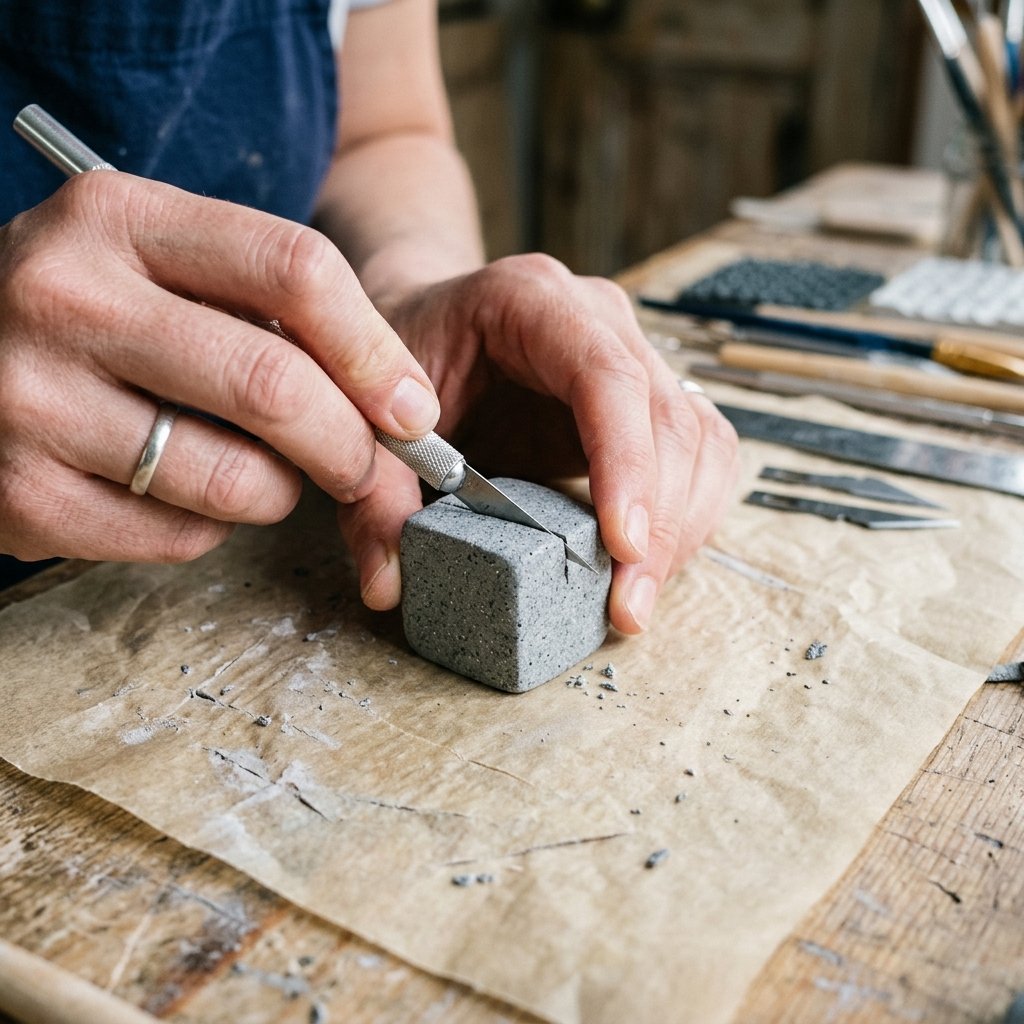
We will focus on two distinct styles: the Organic Pebble (perfect for rustic or beach weddings) and the Geometric Cube (ideal for modern, minimalist themes). Both are incredibly easy to master, even if you’ve never touched clay in your life.
The Organic Pebble Style
- Condition the Clay: Break off a piece of clay about the size of a large walnut. Knead it in your hands for 2-3 minutes until it is soft and pliable.
- Roll and Shape: Roll the clay into a ball, then gently flatten it with your palm. Don’t worry about perfect symmetry; the beauty is in the natural, stone-like variation.
- Create the Slit: Using your craft knife, press a straight line about 1/2 inch deep into the top of the pebble. This is where your card will sit.
The Geometric Cube Style
- Roll a Thick Slab: Roll your clay out to a thickness of 1 inch.
- The Precision Cut: Use your bench scraper or knife to cut 1-inch squares. For a ‘rugged’ look, shave off the corners at different angles to create a faceted, gemstone effect.
- Final Slit: Carefully cut your card slot across the top face of the cube.
Pro-Tip for the Perfect Slit: Insert a scrap piece of cardstock into the slit before baking to ensure the gap doesn’t close up in the oven. Remove it immediately after baking while the clay is still warm.
The Marbling Technique: Faux Marble for Pennies

If you want that Pottery Barn or Anthropologie look, marbling is your best friend. It looks incredibly complex but is actually a 5-minute process that relies on the natural blending of colors.
How to Marble Like a Pro
- Select your base color (usually white or light grey) and two accent colors (like black and gold-colored clay).
- Roll the base color into a long ‘snake’ shape. Roll the accent colors into much thinner ‘snakes’.
- Twist the strands together like a candy cane.
- Fold the twisted strand in half and twist again. Repeat this 3 to 4 times.
- Roll the mass into a ball and then shape it into your desired holder. You will see beautiful, organic veins of color running through the piece.
Warning: Do not over-mix! If you knead the clay too much, the colors will blend into a solid, muddy grey. Stop as soon as you see the marble pattern you like.
The Curing Process: Baking for Durability

Curing is where the magic happens. Polymer clay is essentially a PVC-based material that hardens when exposed to heat. To ensure your holders don’t snap or crumble, you must follow the temperature guidelines strictly.
| Clay Type | Baking Temperature | Time per 1/4 Inch Thickness |
|---|---|---|
| Sculpey III / Premo | 275°F (135°C) | 15 – 30 Minutes |
| Fimo Professional | 230°F (110°C) | 30 Minutes |
| Kato Polyclay | 300°F (150°C) | 20 Minutes |
Once the timer goes off, turn off the oven and leave the door cracked. Let the pieces cool completely inside the oven. This slow cooling process prevents cracking and ensures the most rugged and durable finish. Once cool, use your fine-grit sandpaper to buff away any rough edges or stray fingerprints for a professional, matte finish.
Finishing Touches: The ‘Masculine-Elegant’ Edge

To take your holders from ‘craft project’ to ‘designer decor,’ we need to add a finishing touch. A bit of metallic leaf or a matte sealant can make a world of difference.
The Gilded Edge
Take a small brush and dip it into gold or copper liquid leaf. Lightly brush the very top edge of your holders, or follow the line of the card slit. This adds a pop of luxury that catches the candlelight on the wedding table. It’s a clever trick that makes the clay look like heavy, cast metal or high-end ceramic.
The Matte Stone Look
If you prefer a more rugged, industrial look, skip the paint. Instead, take a stiff-bristled toothbrush and lightly ‘stipple’ the raw clay before baking. This creates a porous texture that looks exactly like concrete or cast stone. It’s a fantastic option for a modern loft wedding or a rustic barn setting.
Conclusion
Your Tablescape, Your Way (And Your Budget)
Creating your own wedding place card holders isn’t just about saving $200; it’s about the satisfaction of looking at your reception tables and knowing that every detail was crafted with intention. These polymer clay holders are durable, elegant, and infinitely customizable. Whether you went with the faux-marble chic or the rugged stone aesthetic, you’ve proven that a clever, budget-savvy approach can outperform a big-box wedding store any day of the week. Now, take that money you saved and put it toward your honeymoon or your first home. You’ve earned it, crafty expert! Happy making!

Makenzie is the founder and lead writer at MoneyHackTips.com — a personal finance blog dedicated to delivering street-smart financial wisdom for real people on real budgets. With 300+ published articles covering everything from debt management to investing fundamentals, Makenzie’s mission is to make every dollar work harder. When not writing about money hacks, Makenzie is testing frugal living strategies, optimizing side hustles, and helping readers build financial freedom from scratch.